Reviewed by Thomas B. · Last Updated September 24, 2026 · How we review
To inspect brood for disease without missing eggs, look for eggs first, on a frame you haven’t shaken, with the light shining straight into the cells. Then shake the bees off and check the open brood and the capped brood separately. Egg-spotting and disease-checking need different handling. Eggs are easiest to see when you move bees aside gently and angle the frame so light reaches the bottom of the cell. Disease signs are easiest to see on a frame cleared of bees with a sharp downward shake. Doing both in the same order on every visit means you confirm the queen is laying and catch early foulbrood without extra time in the hive.
This guide covers the inspection technique. For detailed diagnosis of individual diseases, see our guides to European foulbrood early signs, what foulbrood smells like and sacbrood vs chilled brood.
Key Takeaways
- Check for eggs before you shake any frame. Stand with the sun behind you and tilt the frame until light reaches the cell bottoms.
- The youngest brood stage present tells you roughly when the queen last laid. Eggs mean within about three days.
- For a disease check, confirm the queen isn’t on the frame, then shake the bees off and examine open brood and capped brood separately.
- Healthy larvae are pearly white and C-shaped. Healthy cappings are dry, even and slightly domed.
- Suspected foulbrood is a job for your state apiary inspector. Close the hive, reduce the entrance and clean your tools before touching another colony.
Table of Contents
- Before You Open the Hive
- Step 1: Find Eggs Before You Shake Anything
- Step 2: Read the Youngest Brood Present
- Step 3: Shake and Check for Disease
- Healthy vs Suspect Brood at a Glance
- If Something Looks Wrong
- Frequently Asked Questions
Before You Open the Hive
A good brood check starts outside the hive.
- Pick the light. Choose a bright, calm day, ideally late morning to mid-afternoon, when the sun is high enough to shine into cells. On overcast days, a headlamp or small flashlight helps.
- Look at the entrance and bottom board. The UK National Bee Unit (NBU) recommends checking the ground outside the entrance and any removable floor tray for dead or diseased brood that the bees have carried out. Chalkbrood mummies, for example, often show up there before you see them in the comb.
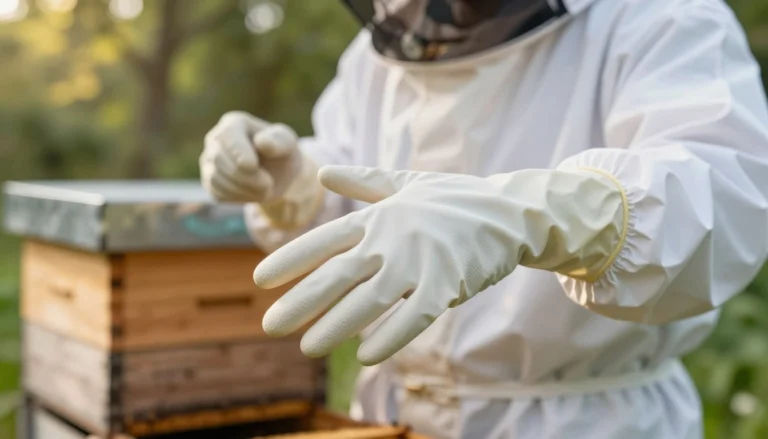
- Bring clean tools. Have a hive tool you can clean between colonies, disposable matchsticks or wooden toothpicks for probing cells, and, if your eyes need it, reading glasses or a magnifier.
- Have a reason. The NBU’s handling guideline advises always having a reason for opening a colony, and inspecting specifically for brood disease at least twice a year (NBU Best Practice Guideline No. 2). A spring check and a late-summer check fit the northern season well.
Step 1: Find Eggs Before You Shake Anything
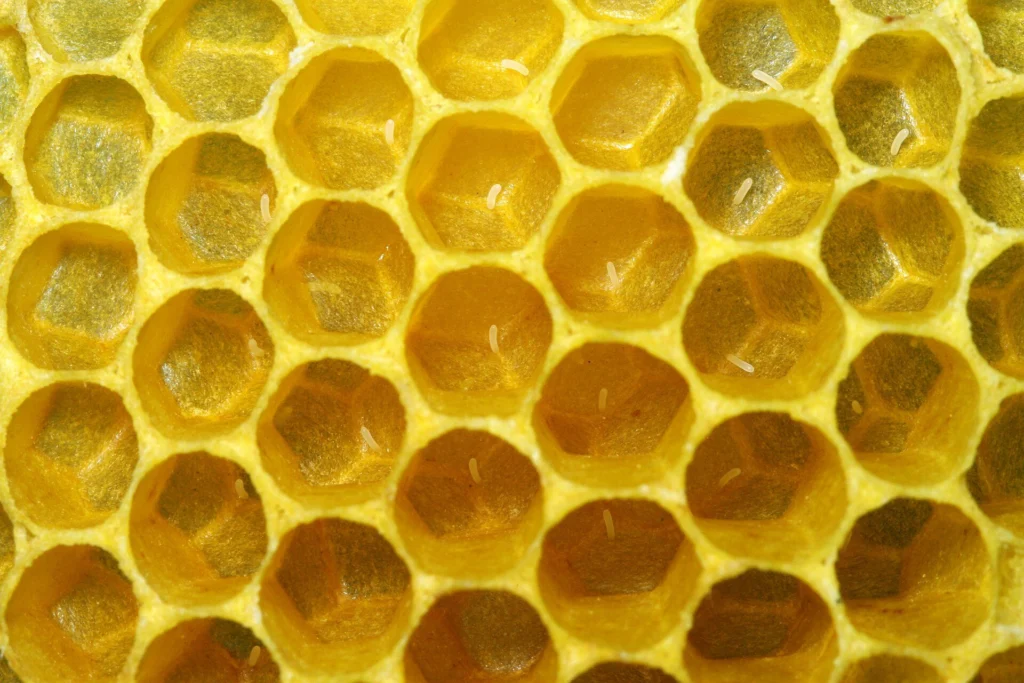
Eggs are small, white and upright or slightly tilted at the base of the cell. They are easy to miss for three reasons: bees are covering them, glare on the cell walls hides them, or the light isn’t reaching the cell floor.
- Start near the center of the brood nest. Eggs are usually in the middle of the brood area or just outside the ring of open larvae, where the queen is currently laying.
- Stand with the sun behind you. Hold the frame by the lugs and tilt it toward you until sunlight falls straight down into the cells. Rotate it slowly. The egg appears when the light hits the cell bottom.
- Move bees, don’t shake them yet. A gentle puff of breath or smoke, or the back of your hand drawn across the bees, clears a patch without disturbing the queen.
- Use dark comb to your advantage. Eggs stand out more on older, darker comb than on new white wax. On new comb, look for the small egg shadow rather than the egg itself.
- Stop once you find them. One patch of eggs confirms the queen has laid within about three days. You don’t need to find more.
If you are checking a new colony, our guides to the first inspection after installing a nuc and how to read a brood frame explain what a normal nest layout looks like.
Step 2: Read the Youngest Brood Present
A worker spends about three days as an egg, roughly six as an open larva and about twelve as capped brood before it emerges around day 21. That timeline turns the youngest stage you can find into a rough clock for when the queen last laid.
| Youngest stage you find | When the queen last laid | What to do |
|---|---|---|
| Eggs | Within the last ~3 days | Queen present; carry on with the disease check |
| Small larvae, no eggs | About 3–5 days ago | Recheck in a few days; look for queen cells |
| Only large larvae and capped brood | About a week or more ago | Likely queenless or a brood break; look for queen cells |
| Only capped brood | About 9 or more days ago | Probably queenless unless there’s a known brood break |
| No brood at all | About 3 weeks or more ago | Watch for laying workers; act quickly |
There are normal reasons for a gap, including a recent swarm, a new queen not yet laying, a dearth or late-autumn slowdown. So use the table together with what you know about the colony. If eggs are present but the pattern is scattered, our guides to spotty brood patterns and finding a failing queen help separate queen problems from disease.
Step 3: Shake and Check for Disease
Disease signs are easy to miss under a layer of bees. The NBU’s foulbrood leaflet sets out the method: examine one frame at a time, and on a brood frame, check the queen is not on it, then hold it firmly by both lugs and give it a sharp downward shake into the hive (NBU, Foulbrood Disease of Honey Bees). Then examine the two brood stages separately.
Open brood (larvae): European foulbrood, sacbrood and mite damage
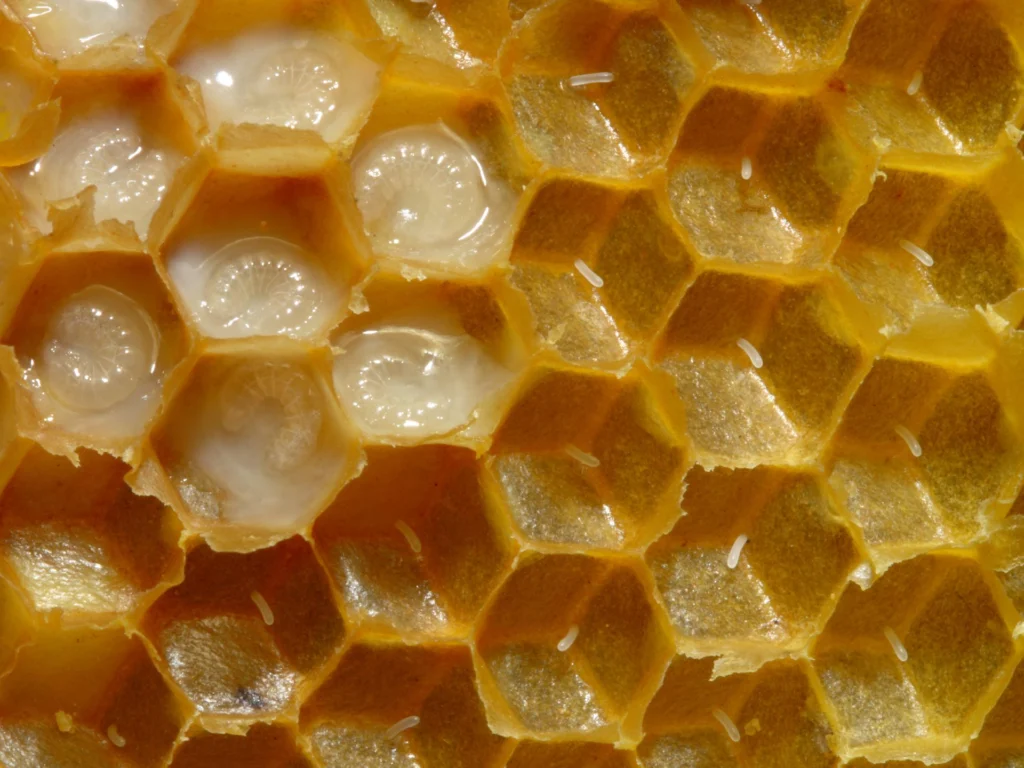
Healthy larvae are glistening, pearly white, C-shaped and lying in a small pool of food. Look for larvae that are yellowish, twisted, melted-looking or lying at odd angles in the cell. These can indicate European foulbrood. Sacbrood larvae stretch out with the head raised, and mite-related damage often looks similar. Use a toothpick to lift a suspect larva. Remains of dead larvae that are watery or granular and do not rope out point toward EFB rather than AFB.
Capped brood: American foulbrood
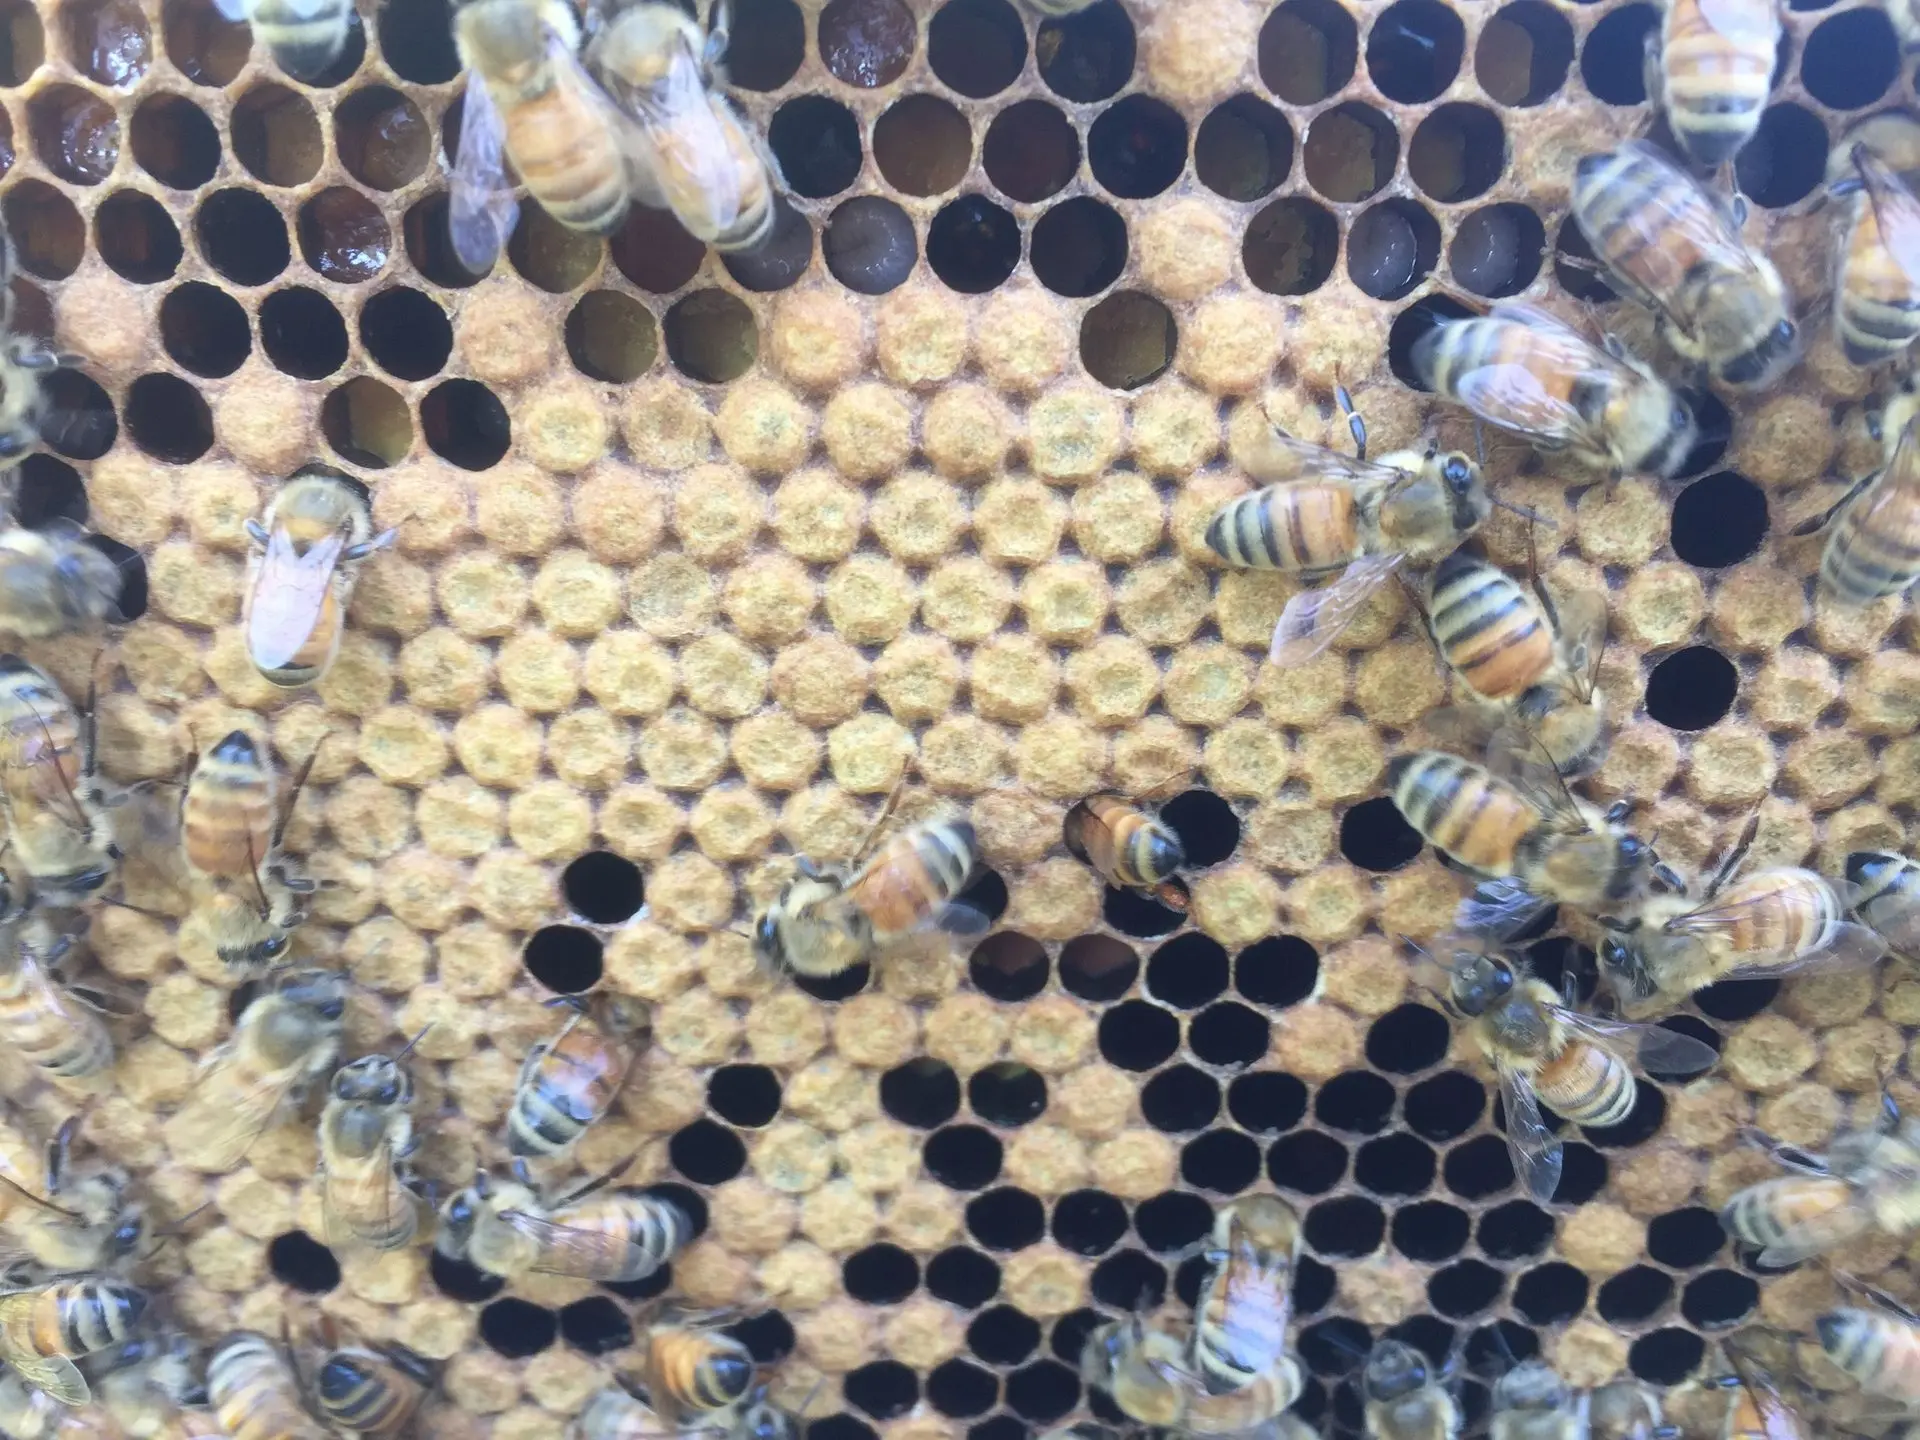
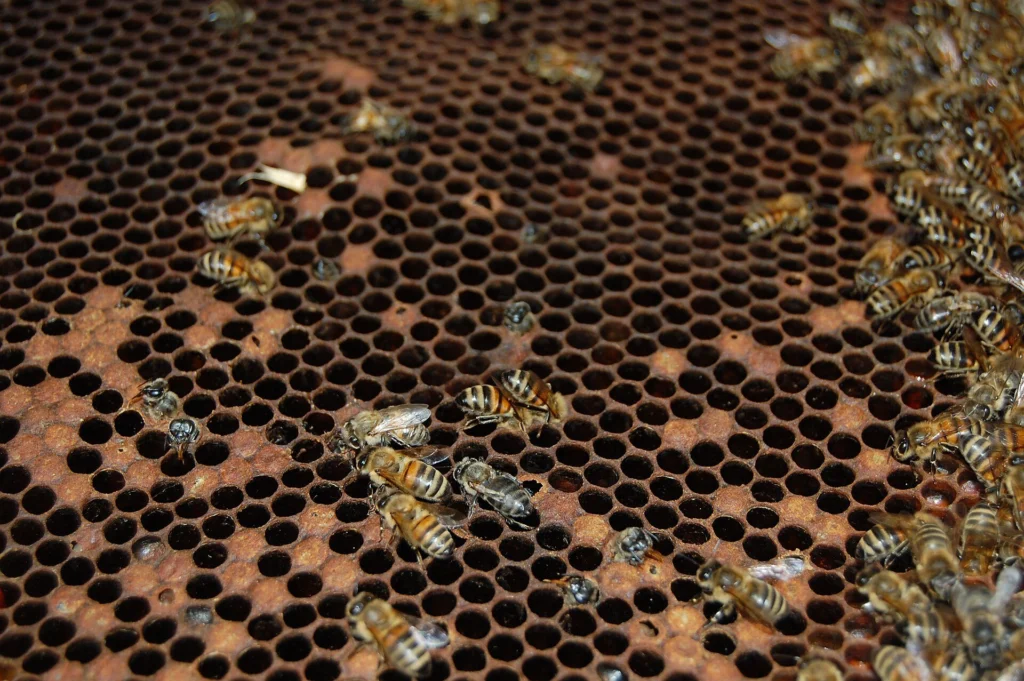
Healthy cappings are dry, even in color and slightly domed. Look for cappings that are sunken, darker, greasy-looking or perforated with ragged holes. The Maine State Apiarist’s fact sheet summarizes the healthy standard:
“Healthy larvae are pearly white and the pupal cappings should appear convex, not perforated or greasy.”
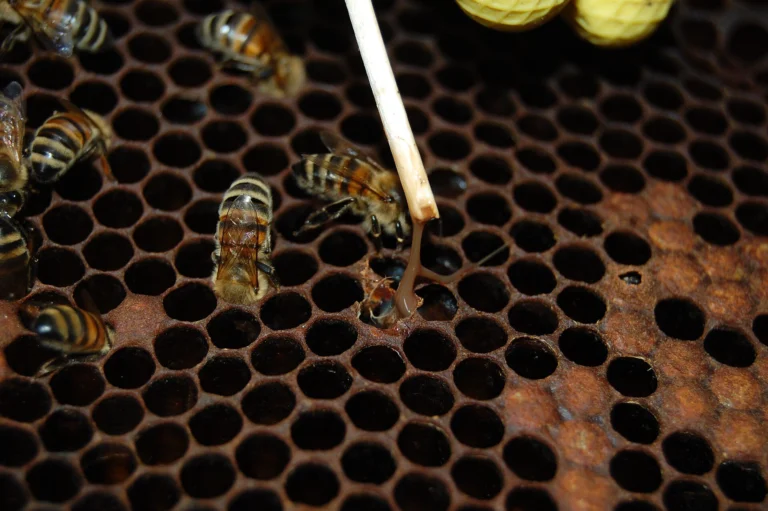
For a suspect cell, insert a matchstick or toothpick and draw it out slowly. The same fact sheet notes that if brown, sticky remains rope out half an inch or more, AFB is highly probable. To check for dried scale, hold the frame at a 45-degree angle with the light behind you. AFB scale lies flat and tight against the lower cell wall and is very hard to remove.
Healthy vs Suspect Brood at a Glance
| Where | Healthy | Suspect | Possible cause |
|---|---|---|---|
| Eggs | One per cell, centered at the base | Several per cell or on the cell walls | Laying workers or a new queen still settling in |
| Open larvae | Pearly white, C-shaped, glistening | Yellow or brown, twisted or melted | European foulbrood; also mite-related disease |
| Open larvae | Lying curled at the cell base | Stretched out with the head raised, sac-like | Sacbrood |
| Capped brood | Dry, even, slightly domed | Sunken, greasy or perforated | American foulbrood (confirm with a rope test); also other brood problems |
| Cells or bottom board | Clean | Hard, white to gray-black mummies | Chalkbrood (see chalkbrood treatment) |
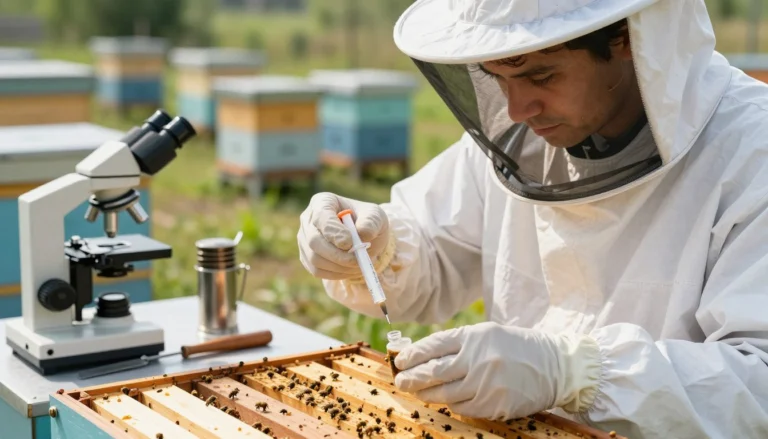
Perforated cappings alone do not confirm AFB. The NBU notes they can also appear with EFB, sacbrood and parasitic mite syndrome. When in doubt, sample and test rather than guess. Our guide to laboratory testing for honey bee diseases covers the options.
If Something Looks Wrong
- Stop and close up. Put the frames back, close the hive and reduce the entrance to limit robbing.
- Don’t move anything. Don’t take frames, honey or equipment from the colony to other hives.
- Clean before the next hive. Scrape and disinfect tools, and change or wash gloves. See how to disinfect hive tools after disease.
- Call the inspector. In North Dakota, the NDDA Apiary Program inspects hives at the beekeeper’s request and checks for AFB, EFB, chalkbrood and other problems. Elsewhere, contact your state department of agriculture.
- Protect the rest of the apiary. Our guide to preventing disease spread between apiaries covers the next steps.
Frequently Asked Questions
Why can’t I see eggs in my frames?
Usually it’s the light or the bees. Stand with the sun behind you, tilt the frame until light reaches the cell bottoms, and move bees aside gently. If there are still no eggs, check for small larvae and queen cells before concluding the colony is queenless.
Does shaking a frame damage eggs or larvae?
A firm downward shake, holding the frame by both lugs without banging it on the box, removes bees without harming the brood. That is the method the UK National Bee Unit recommends for disease checks. Check that the queen isn’t on the frame first.
How often should I check brood for disease?
Look at the brood briefly on every inspection. Do a thorough shake-and-check at least twice a year, for example in spring and late summer, and more often if disease has been reported nearby.
What does a healthy brood frame look like?
A compact patch of capped brood with larvae and eggs toward the center, rings of pollen and honey around it, pearly white larvae and dry, slightly domed cappings.
Is a spotty brood pattern always disease?
No. It can come from a failing queen, inbreeding, a dearth, chilled brood or mites, as well as from disease. Check the individual cells before deciding.
What should I do if I think I have American foulbrood?
Close the hive, reduce the entrance, clean your tools and contact your state apiary inspector. Don’t move any equipment. AFB spores survive for decades, and most states regulate how infected colonies are handled.
The Bottom Line
Look for eggs first, using good light and gentle handling. Then shake the frame and check open and capped brood separately. Done in that order every time, it takes only a few extra minutes and catches both queen problems and early disease.