Last Updated September 15, 2026
Frames act like a ledger for a colony, recording eggs, larval feeding, stored nectar, and pollen in each cell. Inspecting those patterns gives immediate, practical information about current strength and likely trends for the beehive.
The colony’s main business is raising young, while honey plays the role of insurance against lean weeks or cold snaps. With practice, what first looks like a mass of bees resolves into clear stages: eggs, larvae, capped brood, and resource arcs.
This guide shows when to inspect, what tools and prep matter, and a repeatable FEDSS workflow. You will learn precise visual cues and gain confidence making data-backed choices without always finding the queen.
Key Takeaways
- Frames condense a colony’s past and present into one inspection moment; a solid worker cycle runs egg (3 days) → larva (6 days) → capped pupa (12 days) → emergence at day 21.
- Brood production is the core indicator of colony vigor, but a spotty pattern doesn’t always mean a bad queen — research has found colony conditions, not just queen quality, drive brood pattern.
- Short, regular checks (every 2-3 weeks in spring/summer) help spot issues before they spread.
- A FEDSS workflow (Food, Eggs, Disease, Space, Swarm) gives consistent, repeatable findings.
- Methods apply across common hive formats; examples here use Langstroth frames.
Table of Contents
- Why Brood Frames Are Your Hive's "Ledger" of Past, Present, and Future
- When and How to Inspect Brood Frames Safely
- How to Read a Brood Frame: Signs of Hive Health
- Interpreting What You See: Confirming a Queenright Colony
- Acting on Findings: Packages, Swarms, Nucs, and Drawn Comb
- Managing Resources and Space Across Seasons
- Conclusion
- Frequently Asked Questions
Why Brood Frames Are Your Hive’s “Ledger” of Past, Present, and Future
Brood frames act as a running ledger that records recent colony activity and forecasts short-term growth. Each queen pass leaves a time-stamped trail: eggs, larvae, then capped cells. That layered record makes trends obvious at a glance.
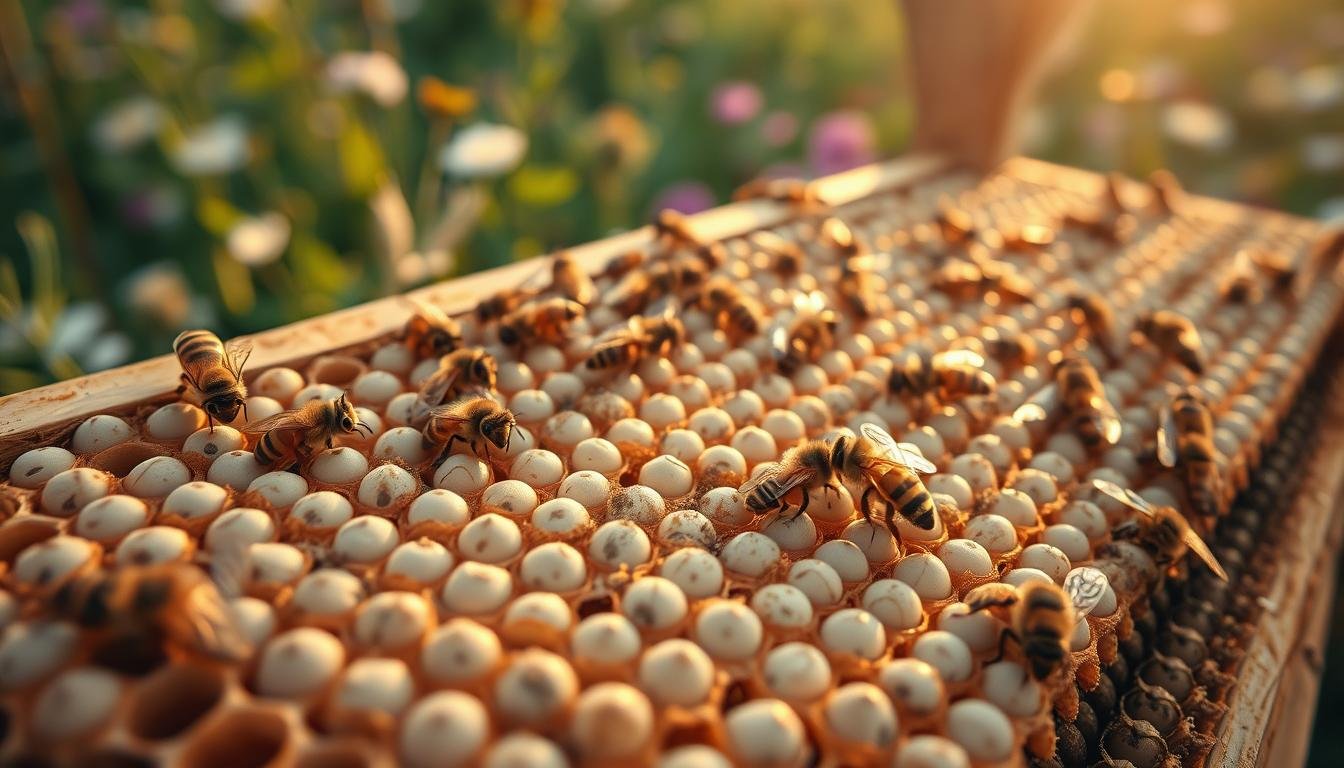
The nest often forms a 3D, football-shaped patch across central frames. The largest ovals sit in the middle and taper toward edges — an efficient use of space and heat by the workers. Outside the brood oval you usually see a rainbow progression: pollen next to the young, then honey beyond. Pollen is stored as bee bread for quick feeding, while honey’s lighter cappings sit at the perimeter as a reserve buffer.
- Dense, uninterrupted brood areas are a fast performance metric.
- Dark, textured brood caps differ visually from pale, smooth honey caps.
- Gaps or odd placement often indicate imbalance and merit closer inspection.
When and How to Inspect Brood Frames Safely
Plan inspections in calm, warm, dry conditions. Inspect every 2-3 weeks during spring and summer. Choose midday when most foragers are out and temperatures exceed 59°F (15°C).
Protective prep matters. Wear a fully zipped suit and veil. Start the smoker before you open the hive so cool smoke and a few entrance puffs mask alarm pheromones and calm the bees.
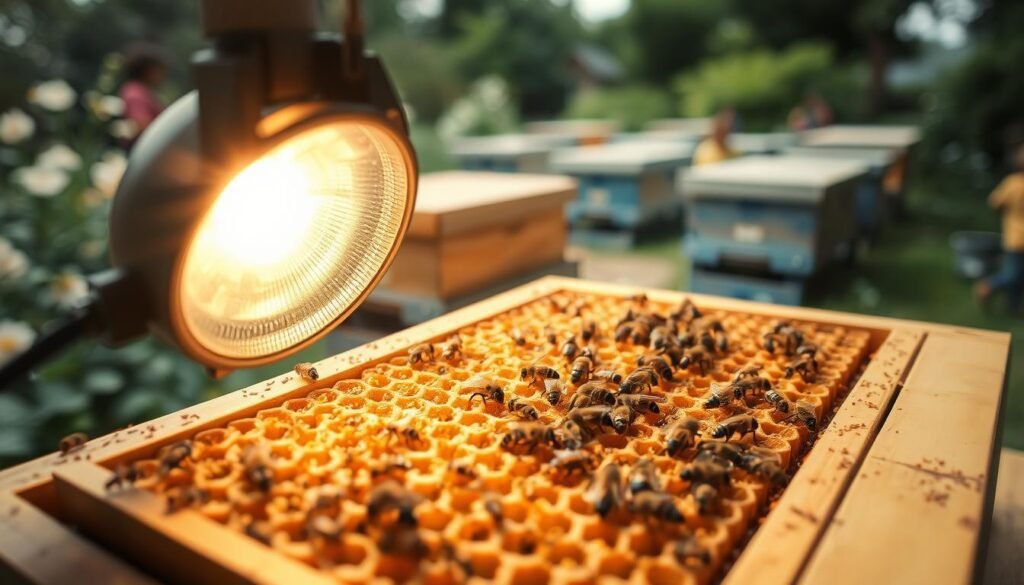
Tools and light: bring a hive tool, a reliable flashlight for spotting eggs at cell bottoms, and a simple inspection log. A prepared beekeeper saves time and gathers better information.
- Note frame order; lift and pivot gently and return frames in the same orientation.
- Limit each session’s duration; answer the specific questions you came for and close up promptly.
FEDSS Workflow
Work methodically through FEDSS: Food (check capped honey and pollen), Eggs (pattern and recent layers), Disease (sunken or pinholed caps), Space (crowding, cross-comb), and Swarm (queen cells at edges, excess drones). This ordered check keeps inspections focused and repeatable.
| Topic | Action | Best time |
|---|---|---|
| Frequency | Inspect every 2-3 weeks during strong nectar flows | Spring/summer midday |
| Smoker technique | Build flame, pack bellows, top with damp grass for cool smoke | Start before opening; puff entrance |
| Record keeping | Use a short log or app for trends and actions | During inspection, immediately after frame checks |
| Frame handling | Keep original order and orientation; maintain bee space | Every inspection |
For additional safety guidance, review our safety precautions for beekeepers.
How to Read a Brood Frame: Signs of Hive Health
Bring the frame close to steady light and look straight down individual cells. Upright, rice-grain eggs sit centered in the cell floor. Small, milky larvae curl in the base. Nearby glints of nectar mean active foraging and feeding.
Development Timeline and Cues
For a worker bee, the classic timeline is: egg for 3 days, uncapped larva for 6 days, then capped for 12 days until emergence — 21 days total from egg to adult worker. Seeing capped brood means the queen was laying in that cell roughly 9 to 21 days earlier. (Queens develop faster, emerging around day 16; drones take longer, around day 24 — a useful cross-check if you’re not sure whether a capped cell is worker or drone brood.)
Worker vs. Drone Distinctions
Worker cell caps are smaller and slightly convex. Drone cells are larger, with more domed, bullet-tipped caps, and often cluster near lower edges or comb corners where it’s warmer for the larger developing bee.
Pattern, Pantry Arcs, and Queen Cells
Healthy pattern forms a solid oval in the center, with pollen next outboard and honey beyond — a clear rainbow arc that fuels nursing. Single vertical cups mid-frame may hint at supersedure. Multiple vertical, peanut-shaped cells along the bottom signal swarm preparation.
- Angle the frame under bright light and inspect straight into cells for eggs and milky larvae.
- Note whether cues mirror on each side; asymmetry often shows the queen’s pass or thermal preferences.
- Watch for temporary pantry arcs of pollen and nectar placed close to brood for efficient feeding.
Interpreting What You See: Confirming a Queenright Colony
Use staged clues on the comb to confirm the queen’s presence when she cannot be found. Fresh eggs, tiny larvae, and capped brood each mark timing: eggs mean the queen was present within the last 3 days; small larvae indicate activity about 5-6 days prior; capped cells show laying roughly 9-21 days earlier.
Flow Hive walks through the practical, at-the-hive signs of a queenless colony — a useful companion to the staged egg/larva/capped-brood clues covered here.
Signs of a Recently Active Queen When You Can’t Find Her
Quick checklist: look for eggs, a spread of similarly aged larvae, and a reasonable ratio of stages (roughly 1:2:4 eggs:open brood:capped brood) as an example of steady expansion.
Healthy Versus Spotty Patterns — and a Real Nuance Worth Knowing
Good-looking brood forms dense, continuous patches with few random gaps, which generally signals strong laying, competent workers, and adequate stores. But it’s worth knowing that a spotty pattern doesn’t automatically mean a failing queen. A 2019 study in the journal Insects by Lee, Goblirsch, McDermott, Tarpy, and Marla Spivak found that brood pattern alone was an insufficient proxy for queen quality — when researchers swapped queens between colonies with poor and good brood patterns, queens from the poor-pattern colonies significantly improved once placed in a good-pattern colony’s environment, suggesting colony conditions (nutrition, disease pressure, population balance), not just the queen herself, often drive a spotty pattern. That’s a genuinely useful caveat before jumping straight to requeening based on pattern alone.
Red Flags and Actions
Sunken or perforated caps can point toward disease; excessive drones or patchy drone placement may indicate queen failure or laying workers. Clusters of queen cells along lower edges suggest swarm prep; single mid-frame vertical cells often mean supersedure. Document findings with notes and photos for later comparison.
| Observation | Interpretation | Immediate action |
|---|---|---|
| Eggs + small larvae + capped brood | Queen present and laying on timeline | No queen replacement; monitor |
| Spotty, scattered brood | Poor laying, stress, or colony-condition effects (see above) — not necessarily a bad queen | Check forage, temp, and disease before requeening |
| Sunken or pinholed caps | Possible bacterial or fungal disease | Isolate frame, seek local guidance, test |
| Lots of drones in center | Possible queen decline or laying workers | Assess queen presence; requeen if needed |
Acting on Findings: Packages, Swarms, Nucs, and Drawn Comb
Act on inspection results quickly. When you find a recently installed package on undrawn foundation, check the queen cage frame at about three days. If the candy plug is hard and the cage still holds the queen, gently puncture the candy and leave the feeder full so bees can draw comb and feed.

Packages on Undrawn Foundation
After the queen is released and accepted, remove the cage, tighten frames, and give the colony quiet time. Expect meaningful comb building in roughly 10-12 days before a deep inspection.
Hived Swarms
Hang a frame with open brood to anchor pheromones and encourage commitment. Recheck in about one week; original open brood should be capped and fresh brood may appear, showing the swarm is settling.
Nucleus Colonies and Empty Drawn Comb
Wait a few days up to a week before opening a nuc. Check for continuous brood, adequate stores, and early queen cells at edges that warn of swarm intent. Empty drawn comb setups can show capped worker brood by day ten and often present clear resource arcs of pollen and nectar around the central brood. When growth is brisk, add a box or redistribute frames to prevent congestion and keep records of timing.
For further reading, see our beekeeping resources and books guide for practical timelines and management tips.
Managing Resources and Space Across Seasons
Seasonal management balances stores and room so colonies neither starve nor swarm. Plan nutrition first — leave season-appropriate frames of honey for winter based on local climate, and keep honey, pollen, and nectar reserves adequate during summer variability.
Make space early. Read edge frames: honey at the sides gives thermal mass. If brood reaches end frames, add frames or a new box to relieve congestion and protect brood. Keep frames tight, level equipment, and inspect new comb early to avoid cross-comb on foundationless comb; bees accept beeswax-coated plastic foundation faster, and dark brood foundation improves egg visibility.
Watch swarm cues. Rising drone numbers, crowded brood frames, and multiple queen cells along bottom edges are clear signals. Increase space or apply timely swarm-management tactics when these appear.
| Seasonal goal | Key signs | Action | Timing |
|---|---|---|---|
| Summer expansion | Strong nectar, rising foragers, need for space | Add frames/box; ensure honey and nectar accessible | During major flows |
| Pre-winter stores | Frames with capped honey at edges, stable brood | Leave extra honey frames; reduce entrances if cold | 4-6 weeks before local winter |
| Comb management | Cross-comb, loose foundation, dark brood visibility | Replace or straighten frames; use beeswax-coated or dark foundation | Early season inspections |
| Swarm prevention | Many drones, bottom-edge queen cells, packed brood | Increase space or split colony; remove queen cells if appropriate | At first detection |
Conclusion
Consistent inspections turn patterns in comb into clear, timely decisions. Regular, focused checks using FEDSS let you spot eggs, larvae, capped brood, and resource arcs that reveal colony momentum. Use findings to act: add space, protect stores, or investigate further before requeening — remembering that a spotty pattern alone isn’t proof of a bad queen. For deeper reference, consult the Eastern Apicultural Society’s “Reading the Frames” guide for field examples and timing cues.
Frequently Asked Questions
What basic signs tell me a colony is thriving when inspecting brood frames?
Look for a compact brood pattern with few empty cells in the center, bright larvae in a C-shape, shiny nectar stores nearby, and ample pollen arcs. Worker activity and clean, convex capped brood are strong signs the queen is laying well and the colony has adequate resources.
When is the best time and weather for inspections?
Inspect on warm, calm days when foragers are active — mid-morning to early afternoon during nectar flows, above about 59°F (15°C). Avoid cold, rainy, or windy conditions and major dearths.
How does the FEDSS method guide inspections?
FEDSS stands for Food, Eggs, Disease, Space, Swarm. Check stores and pollen first, confirm eggs or recent brood, scan for disease signs (sunken caps, foul odor), evaluate available space and room for expansion, and inspect for swarm cells, in that order.
What should eggs, larvae, and capped brood look like, and how long does each stage last?
Eggs are tiny and upright for the first 3 days. Larvae are white, C-shaped, and fed by nurse bees for about 6 more days. Capped worker brood stays sealed for about 12 more days (day 9-21) before emergence — 21 days egg to adult for a worker.
Does a spotty brood pattern always mean the queen is failing?
No. Research (Lee et al., 2019, Insects) found brood pattern alone is an unreliable proxy for queen quality — colony conditions can drive a poor pattern independent of the queen herself. Rule out nutrition, disease, and stress before assuming the queen is at fault.
If I can’t find the queen, how can I confirm the colony is queenright?
Presence of fresh eggs and very young larvae within the last three days confirms recent laying. A consistent brood pattern and well-populated nurse bee area also indicate an active queen, even when she isn’t seen during the inspection.
What are common red flags for disease or poor colony health on brood frames?
Watch for sunken or perforated cappings, uneven brood colors, foul odor, or excessive dead brood. High numbers of drone brood in worker-sized cells and many uncapped or discolored cells indicate it’s time to test and treat per local extension guidelines.