Reviewed by Michael R. · Last Updated September 23, 2026 · How we review
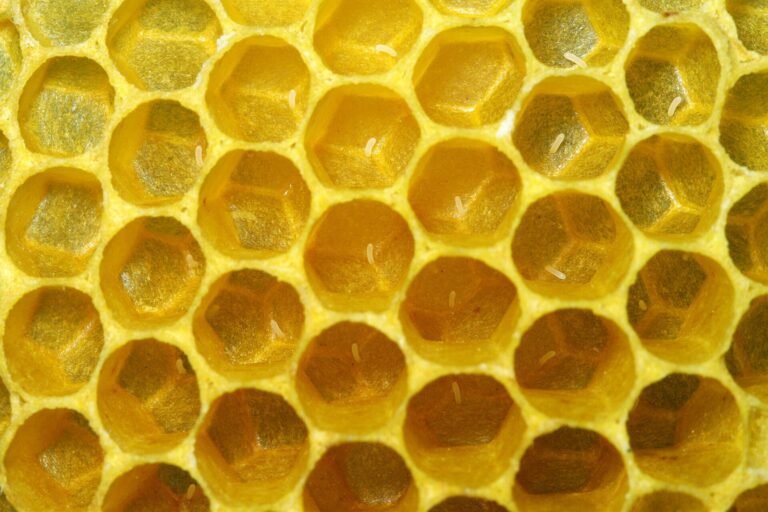
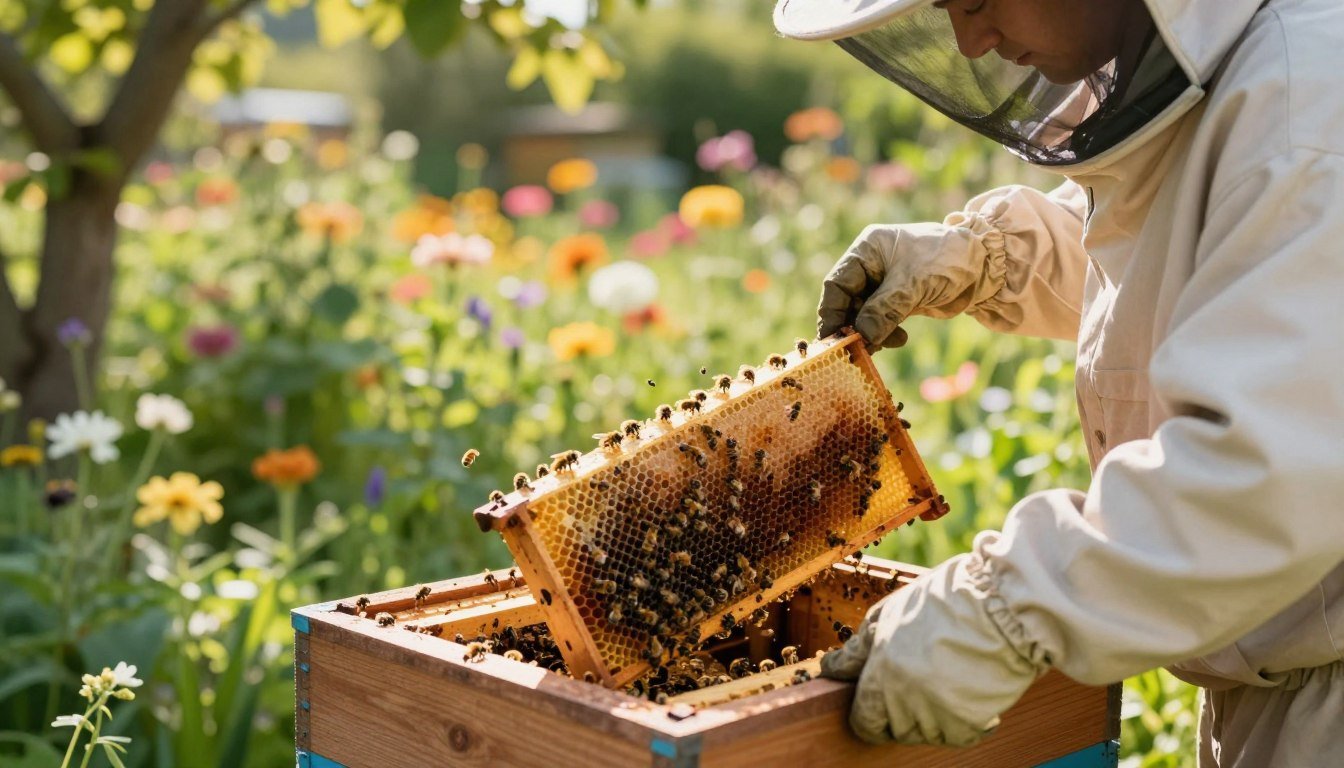
Open a newly installed nuc for its first inspection about seven days after you install it, on a calm afternoon of 65°F or warmer. Keep the inspection to about ten minutes. You are checking four things: eggs (proof the queen survived the move and is laying), brood at every stage in a solid pattern, enough stores with the feeder being taken, and new comb being drawn on the frames you added. While the frames are out, also scan for queen cells and for any brood that looks sick. You do not need to find the queen. Eggs tell you what you need to know.
A nuc arrives with a laying queen, brood and comb, so this check is about whether it came through the move intact, not whether it has started.
Key Takeaways
- Wait about 7 days after installation. Published guidance ranges from 5 days to 2 weeks.
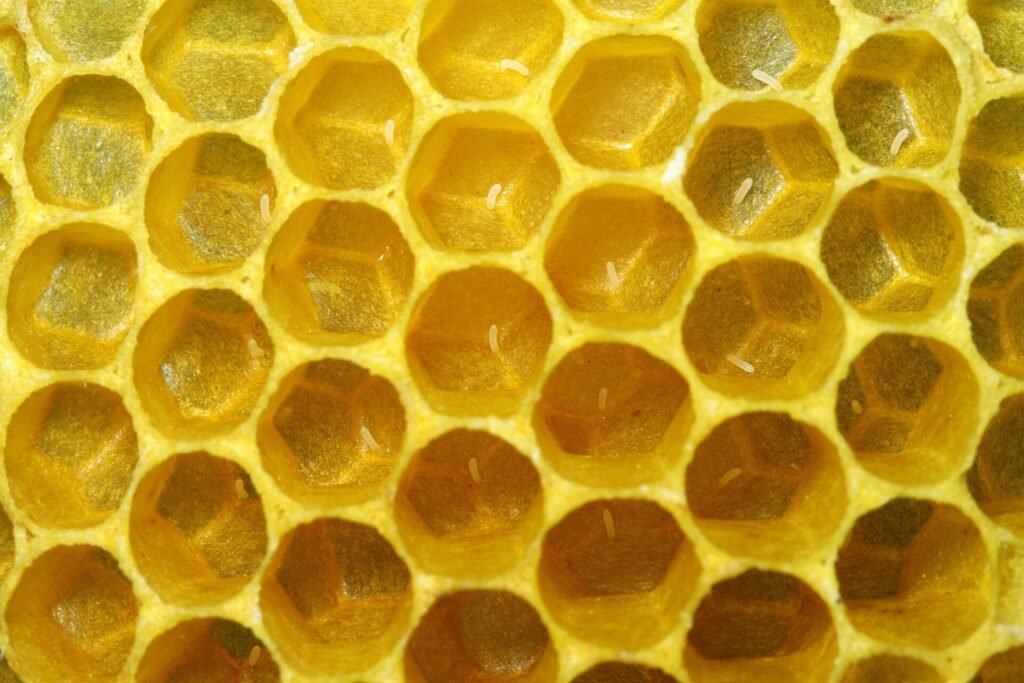
- Eggs are the proof you want. A worker egg hatches in 3 days, so eggs mean the queen was laying within the last three days.
- Use the brood stages as a calendar: eggs, open larvae and capped brood each tell you when the queen was last laying.
- Look closely for queen cells. A crowded or queen-damaged nuc may start them within days of installation.
- Return frames in the same order, keep the brood nest together, and don’t spread brood frames apart during cold spring nights.
Table of Contents
Why a Nuc’s First Inspection Is Different
A package’s first inspection asks whether the caged queen got out and started laying; see the first inspection after installing package bees. A nuc already has a laying queen, brood, stores and drawn comb, so its first-week risks are different:
- The queen was injured or lost during transport or while you moved frames at installation.
- The nuc was overcrowded when it was sold and has already started swarm or supersedure cells.
- Something came in with the frames, such as brood disease, heavy mites or small hive beetles, from the supplier’s yard.
- The colony isn’t expanding onto the new frames because it is short of bees, food or warmth.
Each shows up on the frames within a week. If you haven’t installed yet, start with how to install a nuc.
When to Open It
Published advice varies. UK nuc suppliers, including BS Honey Bees and Eden Honey Bees, recommend 5–7 days. The Southern Oregon Beekeepers Association suggests waiting two weeks and inspecting between 10 a.m. and 2 p.m. when it is above 65°F. We recommend about seven days, for three reasons:
- It is long enough for the bees to settle and for the queen to show a new round of eggs.
- It is early enough to catch queen cells before any of them emerge. A queen cell is sealed about day 9 after the egg is laid, and the queen emerges on day 16.
- It is early enough to deal with a queen lost at installation while the colony still has young larvae to rear a replacement from.
Pick a still, sunny afternoon when foragers are out. Topping up the feeder can be done at any time. Our best time of day to inspect a hive guide covers timing in more detail.
“Always have a plan as to why you are inspecting.”
Southern Oregon Beekeepers Association — First Inspection of a New Hive
Start at the Entrance
Spend two or three minutes watching the entrance before you light the smoker.
- Pollen coming in: bees carrying pollen loads is one of the best outside signs that the colony is raising brood.
- Orientation flights: young bees hovering and circling in front of the hive in the afternoon show the colony is producing new workers.
- Fighting or bees tumbling on the landing board: possible robbing. A new nuc on syrup is an easy target, so reduce the entrance.
- Dead or crawling bees with shriveled wings: look for this now and check mite levels early (see below).
Frame by Frame: What to Check
Give a light puff of smoke at the entrance, wait half a minute, and open up. Start with an outer frame, usually new foundation, which gives you room to work.
- Outer, new frames: Is there fresh white wax being drawn? New comb on the frames next to the nuc’s own frames shows the colony is expanding into the space you gave it.
- The nuc’s original frames: Tilt each frame toward the sun and look straight down into cells in the center of the brood area. Eggs stand upright or lie at the bottom of the cell, one per cell. Then look for curled, pearly-white larvae and capped brood.
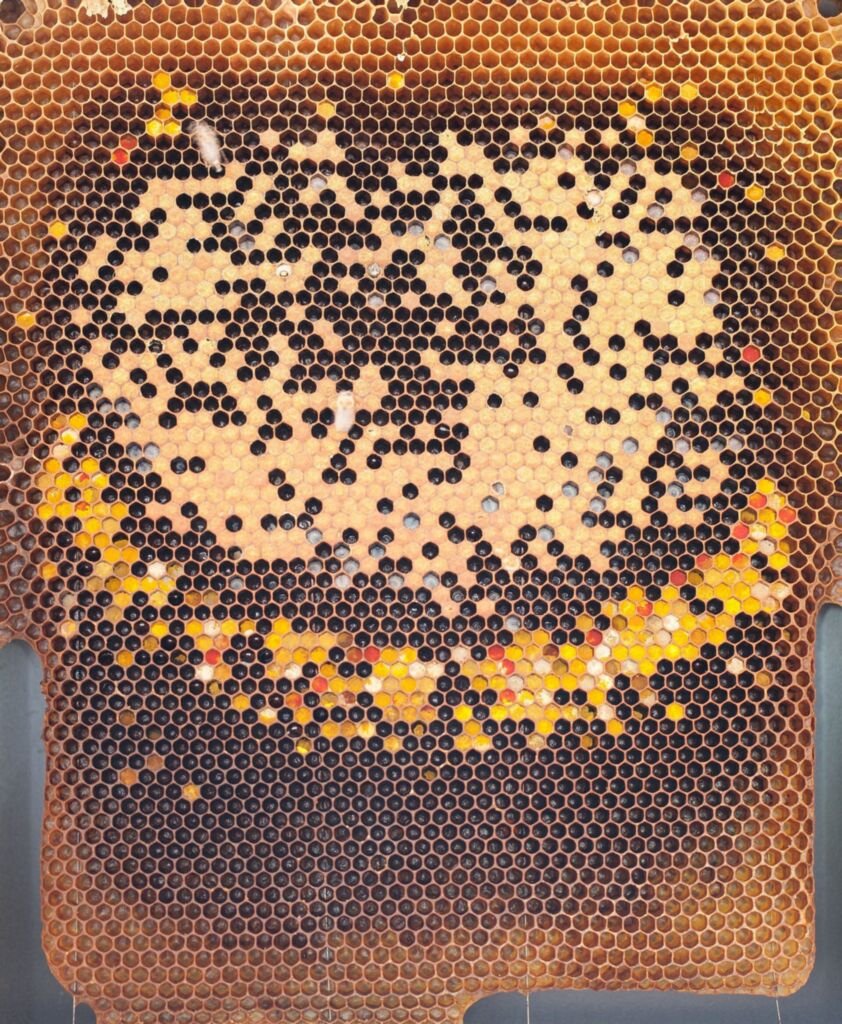
- Brood pattern: Look for a compact patch with few empty cells. A scattered pattern needs a closer look. See brood disease identification on frames.
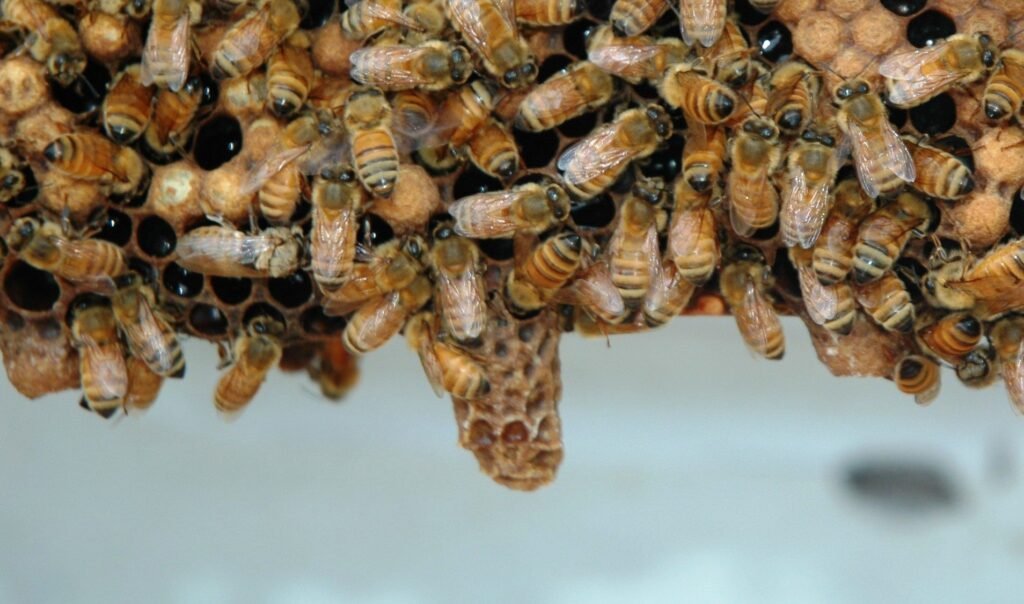
- Queen cells: Check the bottom edges and the faces of every frame, and shake bees off if you need to. Cells hidden under a mass of bees are the ones beginners miss.
- Stores: Look for a band of pollen and nectar or honey around the brood, and check that the feeder level has dropped.
Put every frame back in the order it came out, with the nuc frames together in the center. Keep the whole inspection to about ten minutes. For general frame-handling technique, see how to inspect a beehive step by step.
Reading the Brood as a Calendar
This is the most useful skill for a first nuc inspection, and most first-inspection guides skip it. Worker development follows a fixed schedule: as David Evans sets out in The Apiarist’s guide to brood timing, a worker spends “three days as an egg, five as an open larva and 13 capped,” emerging on day 21. So each brood stage tells you roughly when the queen last laid.
| What you find | What it means | What to do |
|---|---|---|
| Eggs, open larvae and capped brood | Queen present and laying within the last 3 days | Close up; next check in 7–10 days |
| Larvae and capped brood, no eggs | Laying stopped 3–8 days ago, probably around installation | Look for queen cells; recheck in 3–4 days before buying a queen. See why a new nuc has no eggs. |
| Only capped brood, no eggs or larvae | No laying for more than about 8 days, so the queen was likely lost or failing before you got the nuc | Contact the supplier; check for a virgin queen or sealed queen cells before requeening |
| Eggs, plus queen cells along the bottom edges | Swarm preparation, often in a nuc that was crowded before sale | Give more room right away; see whether a nuc can swarm in its first season |
| Eggs, plus one or two cells on the comb face | Likely supersedure: the bees are replacing a queen they judge to be failing | Usually leave them; judge the new queen’s brood in 3–4 weeks |
| Several eggs per cell, or eggs on cell walls | Laying workers, or a newly mated queen still settling in | Recheck in a week; persistent multiple eggs with bullet-shaped drone cappings means laying workers |
Don’t hunt for the queen. Eggs prove she was there, and every extra minute with the box open cools the brood.
Nuc-Specific Red Flags
A nuc arrives on someone else’s comb, so the first inspection doubles as a check of what you bought. Look for:
- Sunken, greasy or perforated cappings scattered through the brood, or larvae that are tan, brown or melted-looking instead of pearly white. These are foulbrood warning signs, and you should get them confirmed. See inspecting purchased nucs for disease risk.
- Chalky white or gray mummies (chalkbrood), usually a stress sign that clears as the colony grows.
- Very old, black comb in every frame: not a disease, but plan to rotate it out.
- Too few bees for the frames: a nuc that can’t cover its brood will chill it. Compare against our guide to how many frames of bees a strong nuc should have.
- Small hive beetle adults running from the light when you lift the cover.
“Any person who acts as a beekeeper in the state of North Dakota, with 1 or more colonies, is required to obtain a beekeeper’s license every year.”
North Dakota Department of Agriculture — Information for Beekeepers
That matters here for a practical reason. The same North Dakota Department of Agriculture page says “all inspections and certificates are free,” and its lab can test for American and European foulbrood. If a new nuc’s brood looks wrong, a free state inspection is a better next step than guessing. Minnesota and other states have their own rules, so check with your state’s apiary program.
After the Inspection
- Write it down right away: date, frames of bees, frames of brood, eggs yes or no, queen cells, stores and temperament. The next inspection only means something if you can compare it with this one.
- Feeding: keep syrup on while the bees are drawing new comb and there is little nectar coming in; see when to stop feeding a new nuc.
- Space: once most frames in the box are drawn and covered with bees, add the next box; see when to add a second box to a nuc.
- Mites: a nuc brings its supplier’s varroa with it. Plan a first mite count within the first month and compare it against the thresholds in the Honey Bee Health Coalition’s varroa management guide. Our alcohol wash guide shows how.
- Next inspection: in 7–10 days, sooner if you found queen cells or no eggs.
Northern Plains Notes
In eastern North Dakota, the Red River Valley and western Minnesota, most nucs are picked up in May or early June. That timing brings two local issues:
- Cold nights shrink the working area. A late-May night near freezing forces the cluster to pull in over its brood. Don’t put empty frames between brood frames, because brood on the edge of the cluster can be abandoned overnight. If inspection day turns cold and windy, wait a day or two.
- Early nectar is patchy. Dandelion and fruit bloom can bring nectar in fast one week and nothing the next when a cold front stalls. Check stores by lifting the back of the hive between inspections, and keep feeding a new nuc until it has drawn out its first box.
The Bottom Line
A nuc’s first inspection answers one question: did the colony come through the move with a laying queen and room to grow? Eggs, brood at every stage, stores and new comb say yes. A missing stage, queen cells or sick-looking brood tells you what to deal with next.
Frequently Asked Questions
How soon after installing a nuc should I inspect it?
About seven days after installation, on a warm, calm afternoon. That is long enough for the colony to settle and short enough to catch queen problems or queen cells before they emerge.
Do I need to find the queen during the first nuc inspection?
No. Eggs prove she was laying within the last three days. Looking for the queen keeps the hive open longer and adds to the risk of rolling or crushing her.
Is it normal to find queen cells in a new nuc?
It isn’t unusual. Cells along the bottom edges usually mean swarm preparation in a crowded nuc, and the fix is more space. One or two cells on the comb face usually mean supersedure, and the bees are generally best left to finish it.
What if there are no eggs a week after installing a nuc?
Check the larvae. Open larvae mean the queen was laying within the last eight days or so, and she may just have paused after the move. If you see only capped brood, the queen is probably gone. Look for a virgin queen or queen cells, recheck in a few days, and contact the supplier.
Should I keep feeding a nuc after the first inspection?
Yes, usually, as long as the bees are drawing comb and there is little nectar coming in. Stop once the box is drawn out and a steady nectar flow has started.
How long should the first inspection of a nuc take?
About ten minutes with the box open. Work from the outer frames in and close up once you’ve confirmed eggs, brood, stores and new comb.