Last Updated September 15, 2026
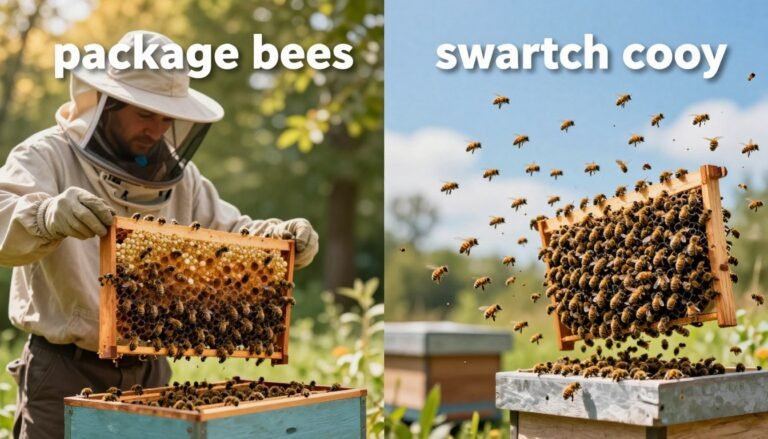
Timing your hive expansion matters for healthy growth. Start with one deep hive body after installing a package or nucleus colony. This limits pests and lets the colony focus on building drawn comb on foundation.
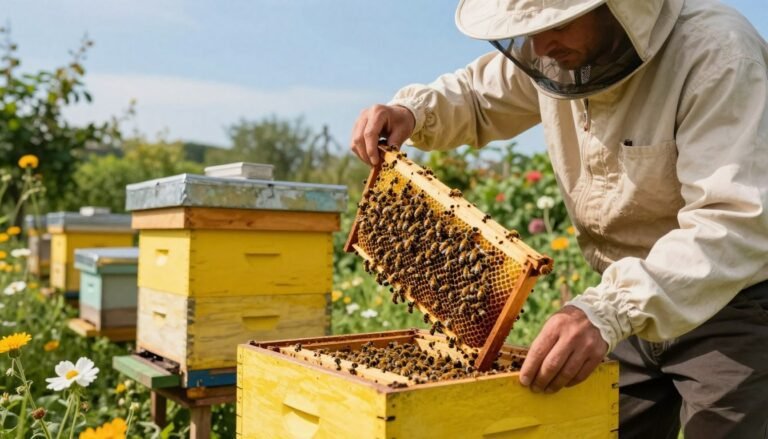
David Burns, an EAS certified Master Beekeeper, recommends inspecting frames every two weeks to track brood, stores, and comb progress. Bees must gather 8–11 pounds of nectar for each pound of wax they need, so plan space needs around nectar flows and local weather.
Careful planning for a frame nuc helps the colony expand without inviting pests like wax moths. If growth is rapid, add the next hive body after watching progress for about one week. For practical advice on purchasing stock and build-up, see this resource: buying packaged bees and nucs.
Key Takeaways
- Start with one deep hive body to protect young colonies, and inspect every two weeks to monitor drawn comb and brood.
- Bees need 8–11 lbs of nectar per pound of wax they build, so plan expansion around real nectar flows and local weather rather than a fixed calendar date.
- A practical trigger point: consider adding a second box once six or more frames in a 10-frame nuc are full of brood, pollen, or nectar.
- Both supering (on top) and nadiring (underneath) work — choose based on your workflow, climate, and whether you want to encourage the queen downward.
- Give bees room before crowding starts; a strong colony with adequate space is far less likely to swarm.
Table of Contents
- Understanding Hive Expansion Basics
- Determining When to Add a Second Box to a Nuc
- Assessing Colony Strength and Frame Coverage
- Choosing Between Top or Bottom Placement
- Managing Foundation and Drawn Comb
- Preventing Swarming Through Proper Space Management
- Handling the Queen During Hive Inspections
- Monitoring Progress After Expansion
- Frequently Asked Questions
Understanding Hive Expansion Basics
Early hive success depends more on steady checks and local nectar flows than on a fixed expansion schedule. Inspecting frames often helps you spot brood patterns, stored nectar, and drawn comb. These clues show whether the colony needs more room before winter.
Initial Installation Requirements
When you install a package or nuc, start with one deep body and monitor growth weekly. Professional beekeepers debate the best way forward, but all agree on careful checks. Give the colony enough room so bees do not cluster and feel cramped.
The Importance of Wax Production
Wax production drives how fast drawn frames appear. Bees must gather nectar and convert it into wax; that takes energy and time. Ensuring proper space helps colonies focus on comb building rather than defensive clustering.
- Watch comb progress: drawn frames speed expansion.
- Balance stores and brood: prevents congestion late in the year.
- Use local cues: nectar flow and weather guide timing.
In this video, David Burns demonstrates exactly the spring build-up decisions covered above — reading frame coverage, judging nectar flow, and deciding when a colony has actually earned more space.
For practical expansion tips, see this apiary expansion guide.
Determining When to Add a Second Box to a Nuc
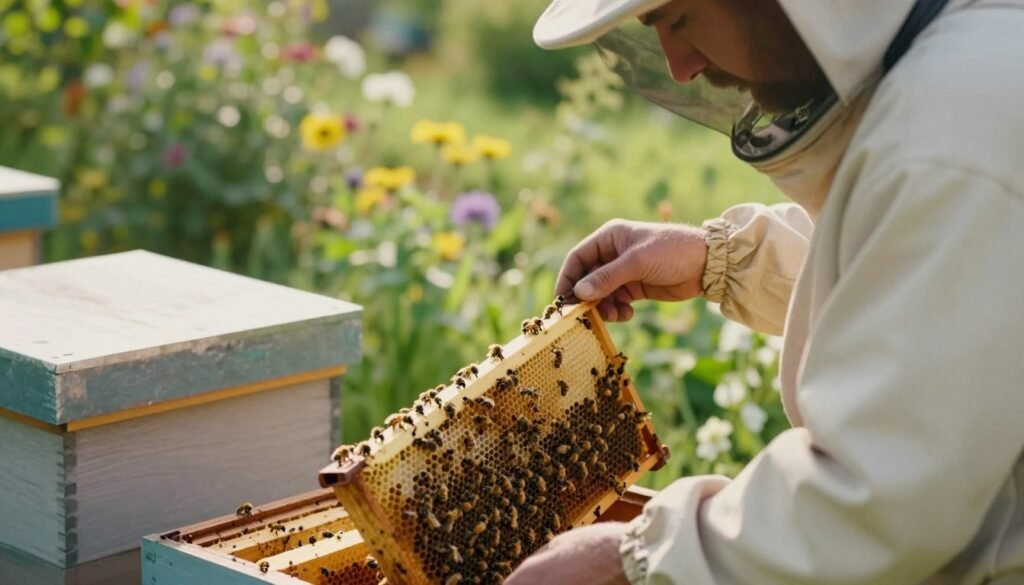
A clear sign you need extra capacity is steady brood expansion combined with full frames of stores. Check your hive every two weeks and watch the queen’s laying pattern. If brood and drawn comb fill space fast, the colony needs more room.
Rule of thumb: in a 10-frame setup, consider adding another unit when six or more frames are full of brood, pollen, or nectar. Rapid frame fill often precedes swarming and reduces winter survival if not addressed.
Inspect weather and nectar flow during checks. A strong colony with an active queen will expand in days, not weeks. Timely action keeps bees calm and focused on honey and comb production.
- Space indicator: six+ full frames in a 10-frame nuc box.
- Inspection cadence: every two weeks during build-up.
- Priority: prevent crowding to reduce swarming risk and protect winter stores.
| Condition | Indicator | Recommended Action |
|---|---|---|
| Brood expansion | Large, continuous brood pattern | Provide extra frames or a new hive body |
| Frame fill | 6+ full frames in 10-frame nuc | Install another box or rearrange frames |
| Seasonal cues | Strong nectar flow and warm weather | Act quickly; inspect every 2 weeks |
| Overcrowding signs | Idle space reduced, many bees on front | Give room now to avoid swarming |
For step-by-step guidance on installing the next hive body, see this practical guide: adding the next hive box.
Assessing Colony Strength and Frame Coverage
Estimate colony strength by counting solid, drawn frames that hold brood, pollen, or nectar. A full frame means the comb is drawn and used for brood or stores. This simple check shows if the hive needs more room for growth.
Start by looking at the brood area. If brood is continuous and not blocked by nectar, count how many frames are full. That number tells you the colony’s laying capacity and short-term needs.
Defining Full Frames
A full frame is drawn comb storing brood, pollen, or nectar. Move frames of honey outward toward the outside wall of the hive body to free central space for the queen to lay.
- Quick rule: six or more full frames in a 10-frame box usually signal readiness for expansion.
- Brood frames: keep them free from excess nectar so the queen can maximize egg laying.
- Practical tip: shifting honey to the wall gives instant space without major disturbance.
For guidance on strengthening small colonies and identifying weak versus strong groups, see this signs of a strong colony guide.
If you need transport or box options for moving bees, review the best nuc box for transporting bees to choose the right gear.
Choosing Between Top or Bottom Placement
Deciding whether to place new frames above or below the brood nest affects colony flow, comb shape, and queen movement. This choice shapes how bees use space and how the queen expands her brood pattern.
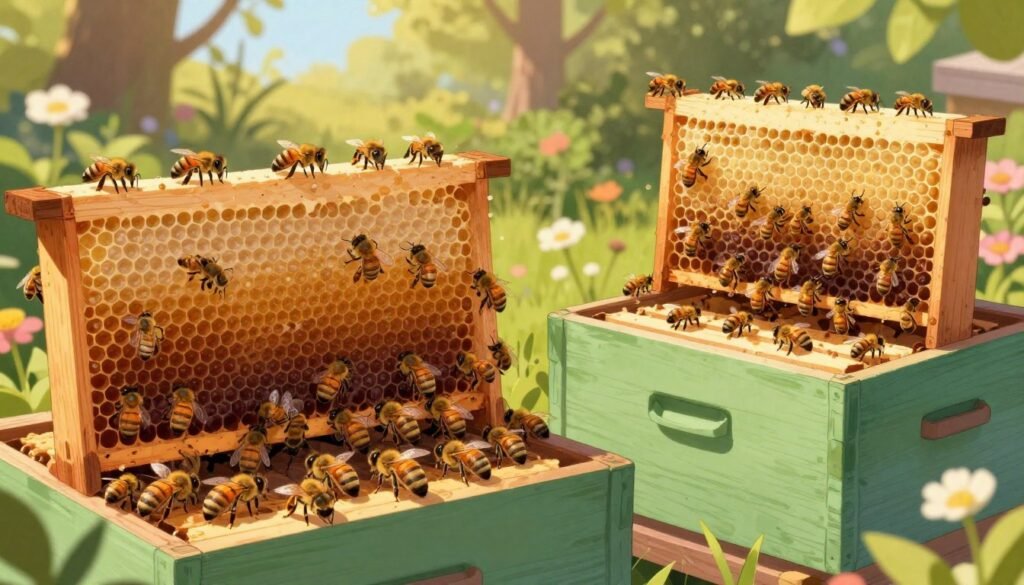
Benefits of Nadiring
Nadiring means slipping a fresh box under the brood. Many beekeepers find this helps the queen move downward into clean foundation. In a active beekeeping forum discussion on the question, Southern California beekeeper Dawn_SD reports success nadiring with foundation frames, noting it can reduce erratic comb building along the walls and ease traffic in the brood area.
Advantages of Supering
Placing a super on top is the common approach, and it keeps brood and stores layered by natural habit. In that same forum thread, beekeeper Gerald_Nickel described good results stacking boxes on top while still encouraging other beekeepers to experiment with nadiring to compare results themselves. Wait until about 5–7 frames are drawn before giving honey frames.
- Space management: top placement follows bee flow.
- Brood health: nadiring can protect brood from laddered comb.
- Winter readiness: well-timed expansion helps end-of-year stores.
For the full discussion of under versus over placement, see this over/under brood discussion.
Managing Foundation and Drawn Comb
Strategic mixing of drawn frames and blank foundation encourages orderly comb expansion.
Checkerboarding is an effective technique for this. In the same forum thread referenced above, beekeeper John_Yeager recommends alternating comb-filled frames with new foundation to guide bees — a pattern that prompts straight comb growth in the new unit. Beekeeper Eva, in the same discussion, switched to placing the second box below the original mid-season and found the bees drew comb more evenly and filled brood frames faster afterward.
“I’d try the box under method… it’s worth experimenting with and reporting your results back to the group.”
— Gerald_Nickel, Flow Hive Forum discussion on brood box placement
- Spacing: when placing a box on the top, ensure frames sit evenly so comb alignment stays consistent.
- Structure: foundation gives bees a template for neat brood frames and honey storage.
| Action | Benefit | Notes |
|---|---|---|
| Checkerboard drawn and blank | Straight comb draw | Use alternate frames for best results |
| Place the box lower | Improved comb spread | Works well in rapid build-up phases |
| Use foundation | Uniform brood and honey cells | Helps manage frame placement |
Tip: monitor frame progress weekly and shift honey frames outward to free central brood frames. For related swarm cues, see this swarm signals guide.
Preventing Swarming Through Proper Space Management
Crowding often triggers swarming, so well-timed space relief settles bees and keeps the colony productive.
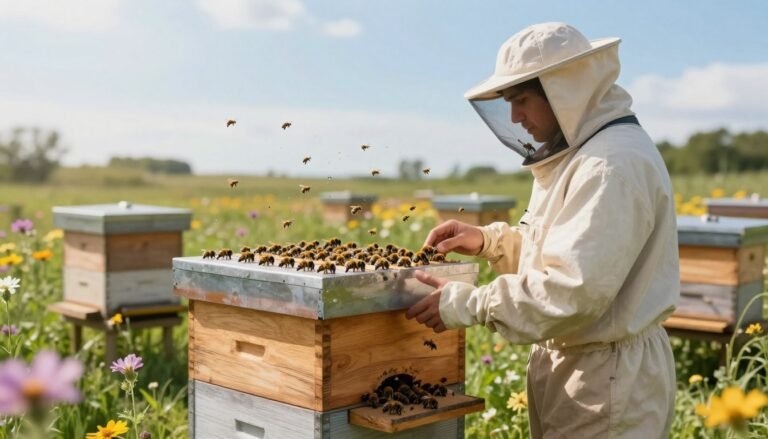
Watch activity levels over several weeks. If the frame area fills and bees look busy at the entrance, the colony may need another unit. Offering room early reduces stress and keeps brood laying steady.
Important: a strong colony will not be pushed into swarming simply by receiving more space during the active year. Proper placement matters; align new frames with the brood nest and keep foundation near the wall so comb draws straight.
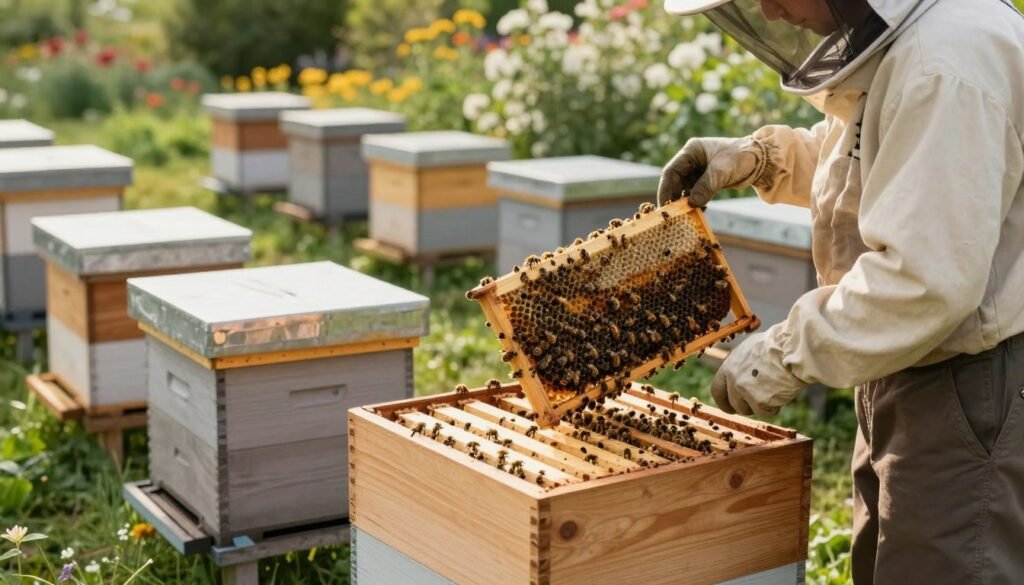
- Spot crowding: many bees on the landing or clustered inside the top day after day.
- Act on burst activity: give room after a few weeks of rapid frame fill.
- Placement tip: set the extra unit so brood can expand without disruptive gaps.
For step-by-step methods on how to prevent swarming in small colonies, see this guide on how to prevent swarming in a five-frame honey bee.
Handling the Queen During Hive Inspections
Gentle handling during checks prevents accidental harm to the queen and limits brood disruption.
Plan each inspection so the queen stays calm and central. Begin by scanning frames for brood patterns. If you spot her in the super, act calmly and with purpose.
Techniques for Queen Safety
- Pick the queen by her wings and place her between two frames in the deep brood area for safe relocation.
- Gently bump the super frame to shake the queen down into the brood nest if you prefer a hands-off move.
- Use a queen excluder to keep the queen out of the honey super and preserve brood placement.
- Check each super frame quickly on inspection day so the queen has not made her way into storage.
- Handle frames so your two brood frames remain productive and free from accidental damage.
| Situation | Action | Result |
|---|---|---|
| Queen in super | Pick by wings or bump frame | Returns queen to brood area |
| Queen wandering upward | Install queen excluder under super | Keeps queen below, protects honey |
| Busy inspection day | Check each super frame fast | Prevents missed queen in storage |
Monitoring Progress After Expansion
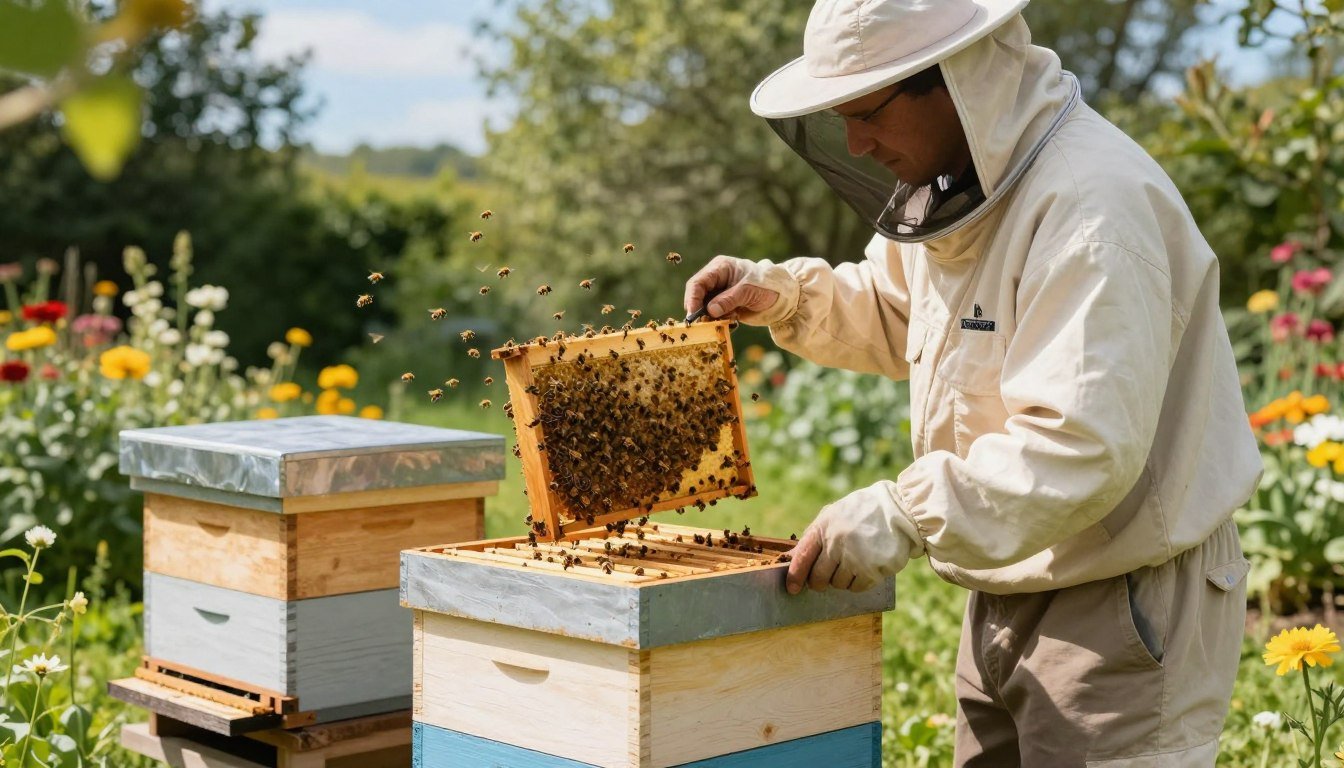
Once the extra hive body is in place, monitor frames weekly so the queen has room for brood.
Check for 5–7 drawn combs with bees before giving the next super. This rule helps the colony focus on comb build and storage rather than relocating brood.
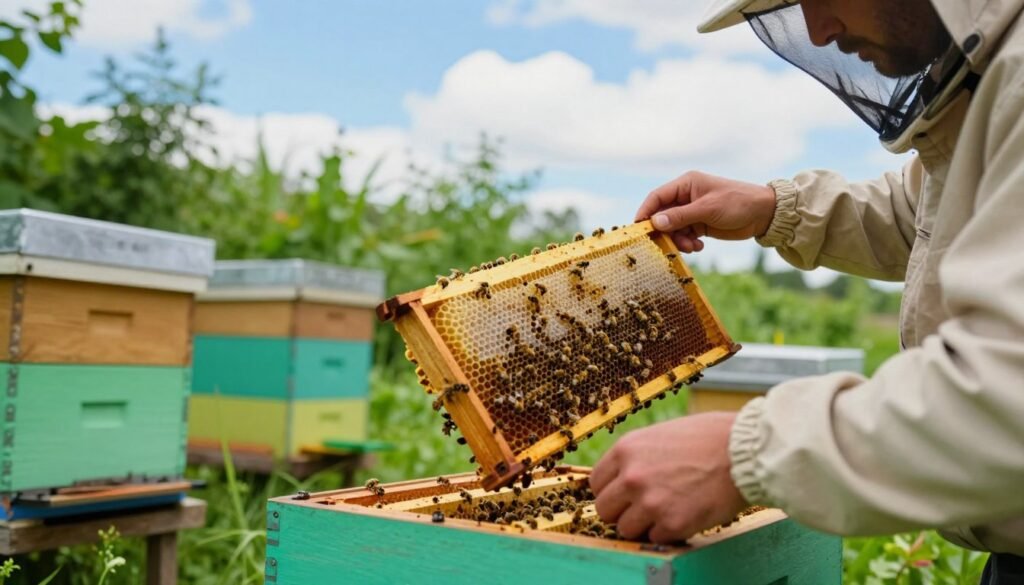
Weekly checks after expansion are the most reliable way to confirm the second box is actually being used rather than sitting empty while the colony stays clustered below.
- Watch frames weekly during peak build-up.
- Wait for 5–7 drawn combs with bees before adding the super.
- Track honey and pollen so reserves are healthy at the season’s end.
Consistent monitoring after change ensures long-term success. For tips on inspecting stock, review inspecting purchased nucs.
Conclusion
Small, regular checks reveal if your colony needs room for growth. Inspect frames often and watch brood patterns. Clear signs let the queen expand without stress and keep the hive calm. Proper space management prevents swarming and supports steady honey stores — move drawn frames outward and offer new capacity when core frames fill. For practical guidance on boosting population and planning expansion, see this guide: boost colony population naturally.
Frequently Asked Questions
How do I know the right time for adding another brood box to a nuc?
Watch frame coverage and bee behavior. When bees cover most frames with brood, pollen, and stores and workers are busy capping brood, the colony needs more room. Check for sustained nectar flow, plenty of foragers, and at least five strong, drawn comb frames before expanding. If frames are crowded and bees are stacking honey in the top corners, give them space quickly to reduce stress and swarming risk.
How do you define a “full frame” in a nuc context?
A full frame has brood or stores across most of the comb surface with bees consistently occupying it. For practical purposes, when several frames are over 75% covered and drawn, consider the box full. Two or three such frames left undrawn won’t suffice during peak flow; plan accordingly.
Should I place the extra brood chamber on top or below the original box?
Both methods work. Adding a new box above (supering) follows bees’ natural upward movement and eases inspections. Nadiring, placing below, can encourage the queen downward and prevent congestion. Choose based on your workflow, local weather, and hive design.
How should I handle foundation versus drawn comb when expanding?
Drawn comb accepts brood and honey immediately; foundation requires time and resources. If you add foundation, provide syrup and ample nurse bees. When possible, include at least some drawn frames in the new box to encourage acceptance and reduce robbing or abandonment of new comb.
How can proper space management prevent swarming after expansion?
Give bees room before congestion triggers swarming. Add boxes early when brood frames fill, maintain good ventilation, and avoid overpopulating single boxes. Regular inspections to remove queen cells and split overly strong colonies also help. Balanced feeding and adequate forage reduce swarming impulse.
What should I do with the queen during inspections and expansion?
Keep the queen safe and calm. Locate her before heavy manipulation and avoid crushing her in frames. If you must move frames, place queen-right frames together and handle brood gently. In some cases, temporarily marking or caging the queen during a split aids control, but most additions require only careful handling.
How should I monitor the colony after expanding its space?
Inspect weekly at first. Track brood pattern, stores, and comb drawing. Watch for fresh nectar being stored in the new chamber and for any signs of queenlessness or disease. Adjust feeding based on forage and remove unnecessary boxes once the colony stabilizes to conserve warmth and resources.