Last Updated September 15, 2026
Jen Adams, a beekeeper who lost a hive to heavy winter condensation, raised this exact question in a beekeeping forum discussion after confirming her dead-out tested clean for mites and foulbrood: is it safe to reuse that hive’s frames for a brand-new package? This guide explains the risks, benefits, and practical checks before bringing new package bees into that space.
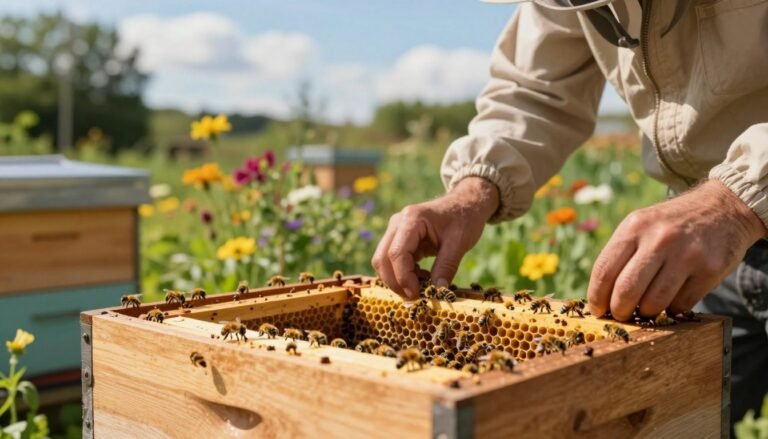
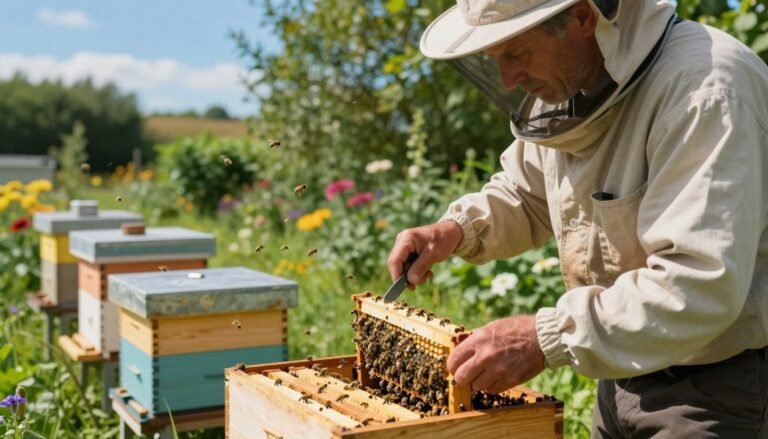
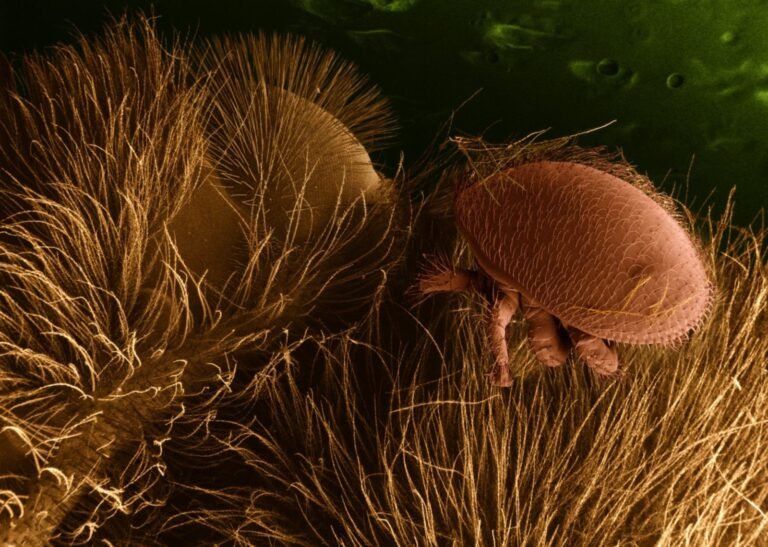
First, evaluate each frame and box for disease, wax moth damage, and varroa signs. If foulbrood is suspected, discard affected items and follow state guidance. When disease is not present, reusing drawn comb gives the new package a head start by saving time and energy.
Handle the queen carefully: she arrives in a small cage and needs gentle, deliberate introduction. Inspect hive placement and stores, and plan to add one or two foundation or foundationless frames to guide comb building. For practical guidance about reusing frames, read more about reusing drawn comb and steps for sanitation such as how to clean plastic foundation.
Key Takeaways
- Inspect gear thoroughly before placing new bees into any hive.
- Reused comb can speed colony buildup when no serious disease exists — frames lost to condensation (not disease) are generally safe to reuse.
- Queen arrives in a cage and requires careful, calm handling at setup.
- Sanitize or discard frames with heavy pest or disease damage.
- Balance reuse with adding new foundation frames to guide growth.
Table of Contents
- Assessing the Suitability of Old Comb
- Can You Install a Package on Old Drawn Comb Safely
- Preparing Your Hive and Equipment
- Essential Tools for a Successful Installation
- Techniques for Introducing Your New Colony
- Monitoring Progress After Installation
- Frequently Asked Questions
Assessing the Suitability of Old Comb
Inspect each frame for signs of disease, pests, or heavy mold before any reuse. Small mold patches often get cleaned by bees, but heavy buildup needs scraping. In that same forum thread, beekeeper Karby noted that frames from a hive lost to condensation are usually safe for spring use, adding that “the bees will clean any remaining mould” once installed.
Identifying Disease Risks
Make sure to look closely for foulbrood symptoms. If foulbrood appears, discard affected frames and follow state rules.
Beekeeper JeffH, in the same discussion, cautioned against reusing frames that still contain brood, since dead brood attracts hive beetles and can trigger absconding — he suggested freezing suspect brood frames longer and introducing them to an established colony one at a time to reduce swarm risk and pest pressure.
Managing Minor Mold Issues
Scrape away excessive wax and light mold before spring. Place honey frames at the hive edges and brood frames in the center to help bees rebuild quickly.
- Monitor for pests for a couple days after placement.
- A single day of careful inspection can save the colony from bigger problems.
- For new beekeepers, read this first-year beekeeping guide and note when to discard comb after disease at when to discard comb.
Can You Install a Package on Old Drawn Comb Safely
A heavier colony offers better cleanup power and faster buildup in used comb. Beekeeper Doug1, in the same forum thread, recommended starting with a 4lb package rather than the standard 3lb since a larger colony removes mold and dead brood more quickly.
Place the queen cage correctly between two central frames so the colony can access her. Positioning matters; the cage should sit where heat and worker movement encourage release.
Use one or two fresh frames with the box of drawn comb to guide brood placement and maintain proper spacing. Many beekeepers report faster acceptance and improved honey flow in the first few days when drawn frames are present.
- Monitor the queen cage daily to ensure the candy plug does not trap her.
- Check brood and honey frames for pests or sticky buildup during early inspections.
- Prepare the new hive carefully to give the colony the best chance for success.
“There’s no problem using old brood comb… a 4lb package will clean up mold and dead brood faster than a 3lb package will.”
— Doug1, Flow Hive Forum discussion on reusing brood and honey frames
For practical guidance about reusing brood and honey frames, read this using old brood and honey frames note. For storage tips that reduce pests before spring, see how to store frames to prevent pest buildup.
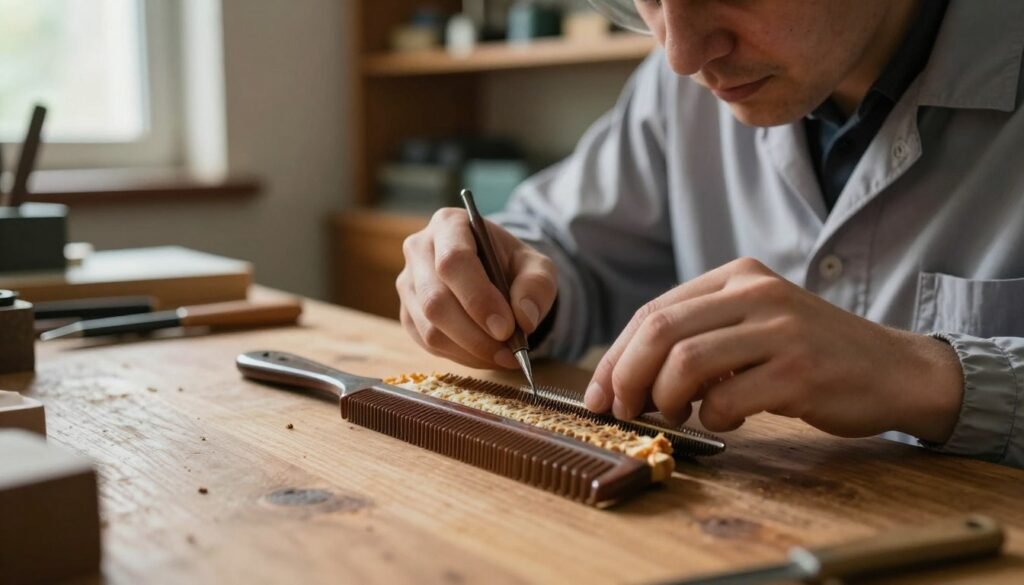
Preparing Your Hive and Equipment
Set up the hive so frames sit evenly and workers find room to move immediately.
Remove four frames from the center to create space for the incoming package and the queen cage. This gap helps airflow and gives bees clear lanes to work brood and honey frames.
JeffH also recommends checkerboarding drawn comb with foundation. That pattern encourages bees to draw fresh wax and expand the colony faster in spring.
Optimizing Frame Arrangement
Use a mix of drawn comb and wax foundation to balance resources. Place brood frames centrally and honey frames toward the edges to support brood rearing and food storage.
Set the queen cage at the top of the frames with the candy plug facing down so workers free her within the first few days. Provide syrup access near the entrance so bees sustain themselves until foraging begins.
- Prep gear early: have boxes and frames ready months ahead.
- Check daily: each day spent arranging the hive improves early survival.
For a gentler way to introduce packages, see gentler way to introduce packages for step-by-step guidance.
Essential Tools for a Successful Installation
Gathering the right tools before the day of setup saves time and reduces stress at the hive.
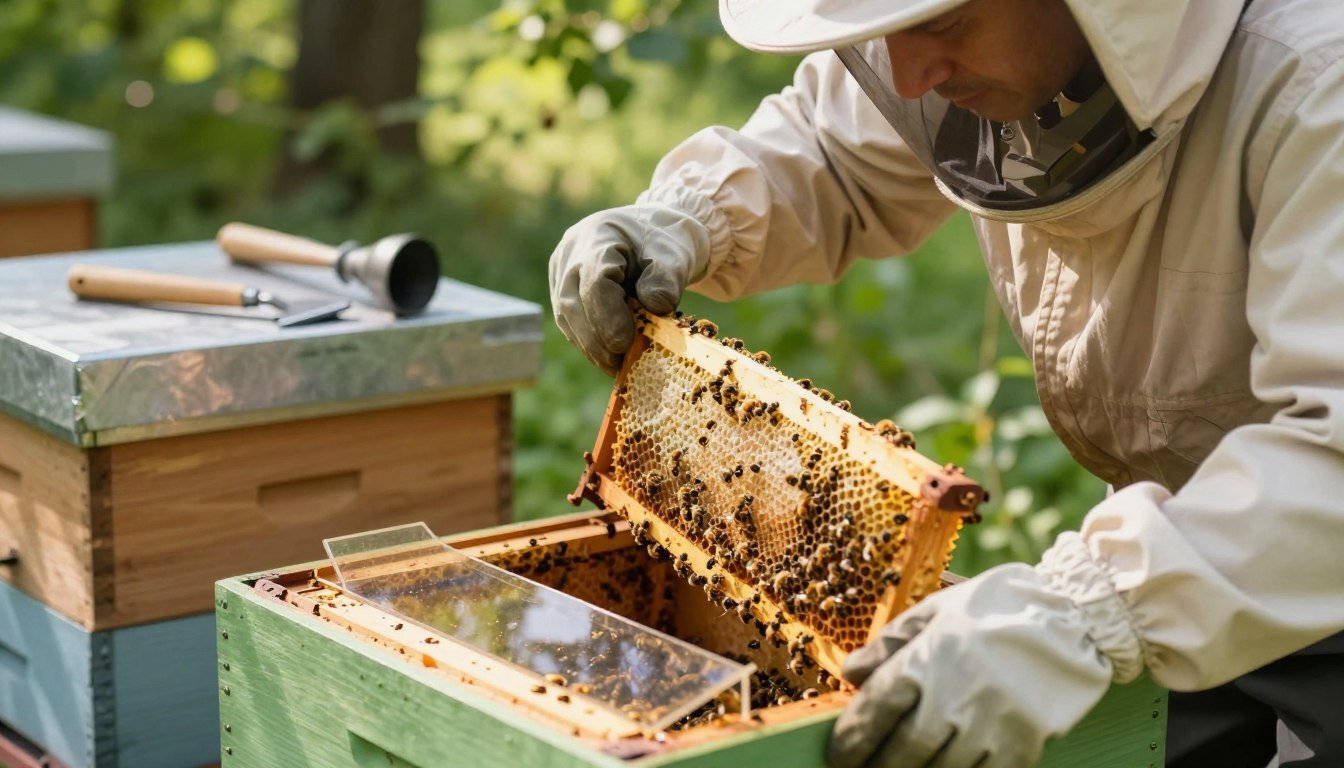
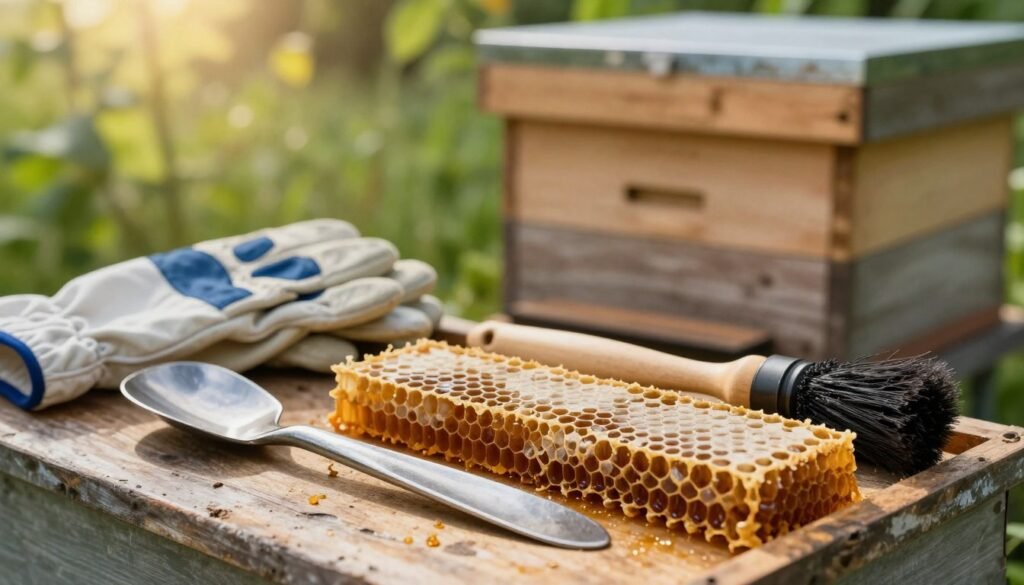
Carry a basic toolkit: a hive tool and needle nose pliers make removing the syrup can and queen cage simple. A staple gun secures the cage to the top of a frame so it stays stable during initial activity.
Keep bees calm: a spray bottle filled with sugar water helps mist the cluster and reduces flight. A smoker gives short, controlled puffs to slow aggressive behavior during handling.
| Tool | Purpose | When to Use |
|---|---|---|
| Hive tool | Pries and separates frames | Frame checks, removing debris |
| Needle nose pliers | Extract staples and handle cage pins | Opening box and retrieving queen |
| Staple gun | Secure cage to top of frame | Before closing the hive |
| Feeder & syrup | Provide emergency sugar until foraging | First 3–7 days |
| Spray bottle | Gentle misting with sugar water | During handling to calm bees |
Keep spare frames and some fresh wax foundation available — the right gear makes installing a package more manageable each year and helps new colonies build comb and store honey faster.
For step-by-step guidance about installing package equipment, see installing a package.
Techniques for Introducing Your New Colony
Choose an introduction method that balances stress and speed for your new colony. The right approach helps the queen reach the brood area and lets workers occupy frames and start storing honey.
This video walks through a full package installation onto prepared frames — shaking the cluster in, placing the queen cage, and closing up the hive — covering the same shaking and placement techniques compared below.
The Traditional Shaking Method
Quick transfer: tip the box and shake bees into the hive. This moves most workers in minutes and gets them to the frames faster.
It is effective but stressful for bees. Use gentle smoke and work at low light to reduce agitation.
The Gentle Placement Approach
Low-stress option: set the box inside the hive and let bees exit at their own pace. Many beekeepers report fewer flightless bees and less chance of a swarm with this method.
The cluster will head for drawn comb and honey, settling in over hours rather than minutes.
Managing the Queen Cage
Always remove the queen cage only after checking that she is alive. Place her between two central frames with the candy plug down.
- Use a bit of marshmallow to protect the candy plug for a few hours.
- Check after three days to confirm the queen is released and laying in the brood area.
- Provide syrup or sugar water at the entrance if foraging is slow.
| Method | Speed | Stress Level | Best Use |
|---|---|---|---|
| Shaking | Fast (minutes) | Higher | When quick colony buildup is needed |
| Box placement | Slow (hours) | Lower | When gentle start and lower swarm risk desired |
| Queen cage technique | Depends (hours to days) | Low if done correctly | Essential for safe queen release near brood frames |
Monitoring Progress After Installation
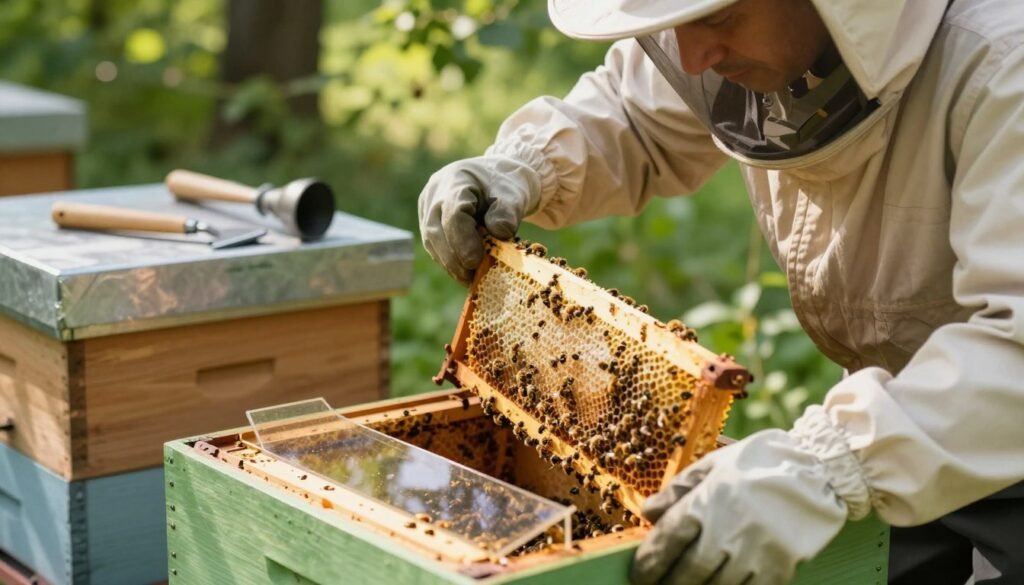
Start checking the hive after 72 hours to note whether the queen is free and how workers use the frames.
Open the hive briefly on day three to confirm the queen has been released from her cage. If the queen remains inside, gently push a nail through the candy plug so workers can finish cleaning it out.
The bees will be busy fixing wax and restoring comb. Expect to see fresh wax drawn within hours and early brood production thanks to syrup and sugar water provided at setup.
Remove the empty box from the bottom once most bees have moved out. Monitor the top of the frames to track honey and brood placement as the colony organizes its home.
- Check queen status at three days and again after the first week.
- Watch for steady activity across frames rather than crowded clusters.
- Keep feeders stocked until foraging is consistent.
| When | What to check | Why it matters |
|---|---|---|
| Day 3 | Queen release, cage status | Ensures laying starts and reduces stress |
| Day 3–7 | Frame activity, wax drawing | Shows comb repair and colony buildup |
| After bees leave box | Remove empty box | Prevents pest harboring at the bottom |
| Daily | Top of frames, stores | Tracks honey and brood organization |
Regular observation gives insight into how your new package adapts. For troubleshooting when comb is slow to form, consult this guide on 7 reasons bees won’t draw comb.
Conclusion
Good timing and tidy gear turn leftover wax into a strong start for new bees. Assess each frame, set the queen cage near the center, and keep the hive orderly so the colony finds a safe home fast. Provide syrup and sugar water during the first week to boost early brood and reduce stress — this lowers the chance of a swarm while workers draw fresh wax and store honey. For step-by-step setup tips see how to install a package and for box repairs consult repair damaged hive boxes.
Frequently Asked Questions
Can I install a new bee package into frames with older drawn comb?
Yes, you can introduce new bees into drawn comb that’s in good condition. Inspect frames for wax moth damage, foulbrood symptoms, or heavy mold. Replace frames with sunken cappings, perforated wax, or foul odor. If frames look healthy and have clean brood patterns or stored honey, they offer immediate nesting space and save the colony time and energy.
What disease risks should I watch for in older comb?
Primary concerns include American and European foulbrood, sacbrood, and chronic bee paralysis signs. Visual cues include sunken or punctured cappings, uneven brood, or brown/black scales on the comb. If any of these appear, isolate frames and follow state regulations — often destruction or sterilization is required for contaminated comb.
Can minor mold or light soiling be managed, or should I discard the frame?
Light surface mold can sometimes be cleaned or trimmed away, and bees will often clean slightly soiled comb. For moderate to heavy mold, discard the frame. Replace with fresh foundation or a new drawn frame to prevent health issues and to avoid discouraging nurse-bee activity.
What’s the best frame arrangement when using older drawn comb?
Place drawn comb in the center of the brood box with at least two drawn frames adjacent to the queen’s expected laying area. Keep empty drawn frames or foundation to the sides to allow orderly expansion. Avoid clustering all old comb in one spot — spread drawn comb to balance brood and food storage.
How does the traditional shaking method work for installing bees into frames?
In the shaking method, remove the package lid and gently shake bees from the can into the center of the brood nest over drawn comb. Place the queen in a cage between frames or release her per package instructions. Close the hive and offer syrup. This disperses workers quickly into the new home so they can begin cleaning and caring for brood.
How should I manage the queen cage during installation?
Position the queen cage between two frames, with candy or mesh end facing outward for workers to consume and free the queen over 24–72 hours. Monitor acceptance signs: workers feeding and tending the cage, no persistent stinging at the cage, and normal colony activity. If aggression occurs, consider re-caging and delaying release.
Should I replace old comb routinely even if it appears clean?
Rotate out very old comb every few years to reduce pesticide residue and disease buildup. Keep a schedule to retire the darkest, most brittle frames and replace them with fresh foundation or new frames. This helps long-term colony health and honey quality.