Last Updated September 17, 2026
To install package bees, you remove three or four center frames from the brood box, spray the bees lightly with 1:1 sugar syrup, lift out the feeder can and queen cage, shake the workers into the gap, wedge the queen cage candy-end-up between two center frames, replace the frames, fit an entrance reducer and a feeder, and leave the colony alone for three to five days — installing only when the temperature is above 65°F, ideally in the late afternoon. This guide covers every step of that process, plus the questions that surround it: when to install, what to buy, how to handle a hot day, how to do it alone, and what to check in the first two weeks.
Key Takeaways
- A standard 3 lb package holds roughly 10,000 worker bees, a can of syrup and a mated queen in her own small cage — it is a starter kit for a colony, not a colony yet.
- Install only when temperatures are above 65°F and, if you can choose, in the late afternoon; hold a package you can’t install right away in a cool, dark spot (roughly 50–70°F) and mist it with 1:1 syrup two or three times a day.
- The workers chew through the queen cage’s candy plug and release her on their own in one to three days; check on day three to five that she is out, and on day seven to ten that she is laying.
- Feed 1:1 syrup continuously until the bees have drawn comb on about seven of the ten frames — a package has no comb, no brood and no stores, and wax costs energy.
- Heat kills packages faster than cold: never leave the box in a hot car or the sun, and on a hot day work after the peak heat with shade and water available.
Table of Contents
- What Comes in a Package of Bees
- When to Install Package Bees
- Package Bee Installation Checklist: Equipment You Need
- Preparing the Hive and the Site
- Caring for the Package Before Installation
- How to Install Package Bees Step by Step
- Installing Package Bees in Hot Weather
- Installing Package Bees Without a Helper
- Queen Cage Placement and Release
- Feeding After Installation
- The First Two Weeks: What to Check and When
- Troubleshooting Common Installation Problems
What Comes in a Package of Bees
A package is a screened wooden or plastic box holding loose worker bees sold by weight — usually 2 or 3 lb, at roughly 3,000–4,000 bees per pound, so a 3 lb package is on the order of 10,000 bees. Inside sits an inverted can of sugar syrup that feeds the bees in transit, and a small queen cage hung from a metal tab next to it. The queen is newly mated and was not raised by these workers; the cage keeps her safe until the colony has accepted her scent. There is no comb, no brood and no honey — everything the colony will live in has to be built from scratch, which is the single biggest difference between a package and a nuc. If you are still deciding between the two, our guide to buying packaged bees and nucs in the USA compares them, and how to install a nuc covers the other route.
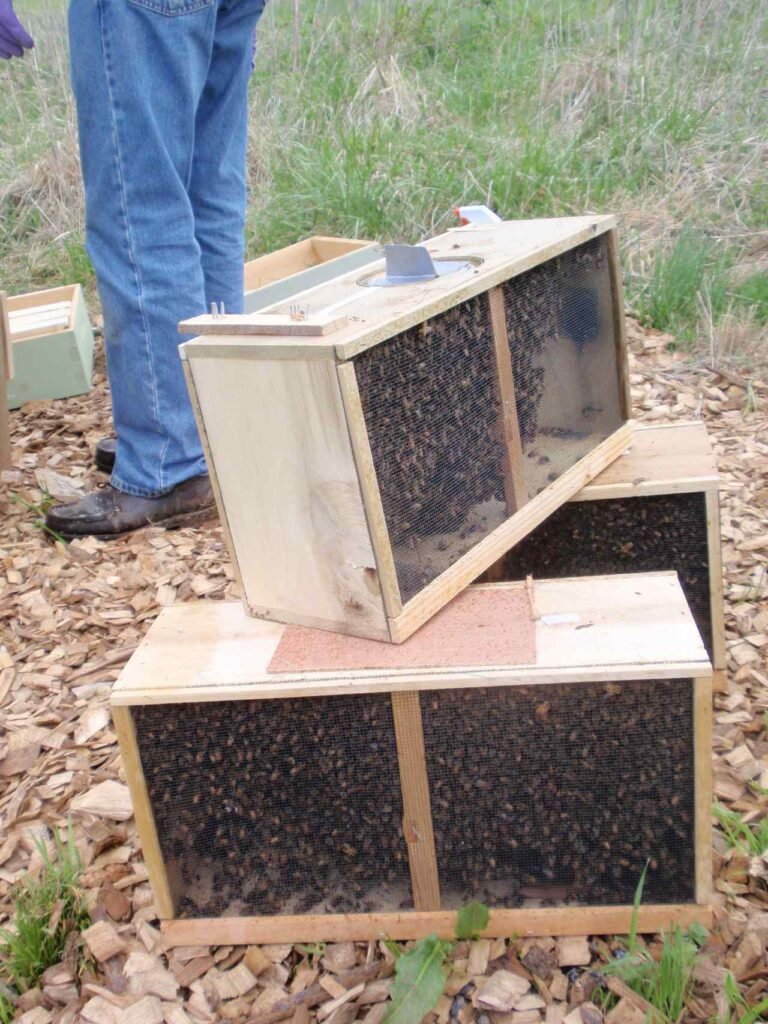
A layer of dead bees about an inch deep on the floor of the box is normal after shipping. Much more than that — or a dead queen — is a reason to photograph the box before you open it and contact the supplier the same day, since most sellers only honor claims made on arrival.
This walkthrough from the supplier Betterbee shows the whole sequence covered below — removing the feeder can and queen cage, shaking the bees in, and placing the cage — on a real package.
When to Install Package Bees
Package bees are shipped in spring, usually from late March through May depending on where the producer is, and you should install them the day they arrive whenever the weather allows. Because packages sell out, most suppliers take orders in winter — ordering in January or February is normal, and our guide on the best time of year to start beekeeping explains how delivery windows line up with the nectar flow in different regions.
The temperature rule from NC State Extension’s package-installation guide is the one to remember:
“When shipping, storing, receiving, or installing a package of honey bees, it is critical to ensure temperature control. … Thus always keep the bees in a warm, secured place and only install into a hive if temperatures are above 65°F.”
Time of day matters as well. Late afternoon or early evening is the usual recommendation: the bees have an hour or two of light to orient to the new entrance, then darkness settles them in place before any of them can drift or abscond. Avoid installing into a forecast of nights below about 40°F for several days running — a package has no comb to cluster on and no brood to keep warm, so a cold snap hits it harder than it hits an established colony.
| Condition | Install? | Notes |
|---|---|---|
| Daytime above 65°F, calm, dry | Yes | Ideal — aim for late afternoon |
| Cool day (55–65°F) but warm nights ahead | Usually | Work quickly, feed immediately, keep the entrance reduced |
| Rain or strong wind | Wait | Hold the package indoors and mist with syrup; try again the next day |
| Nights forecast below 40°F for several days | Wait if possible | Package can be held 2–3 days at 50–70°F in the dark |
| Above roughly 95°F in the shade | Wait for evening | See the hot-weather section — heat kills packages fast |
Package Bee Installation Checklist: Equipment You Need
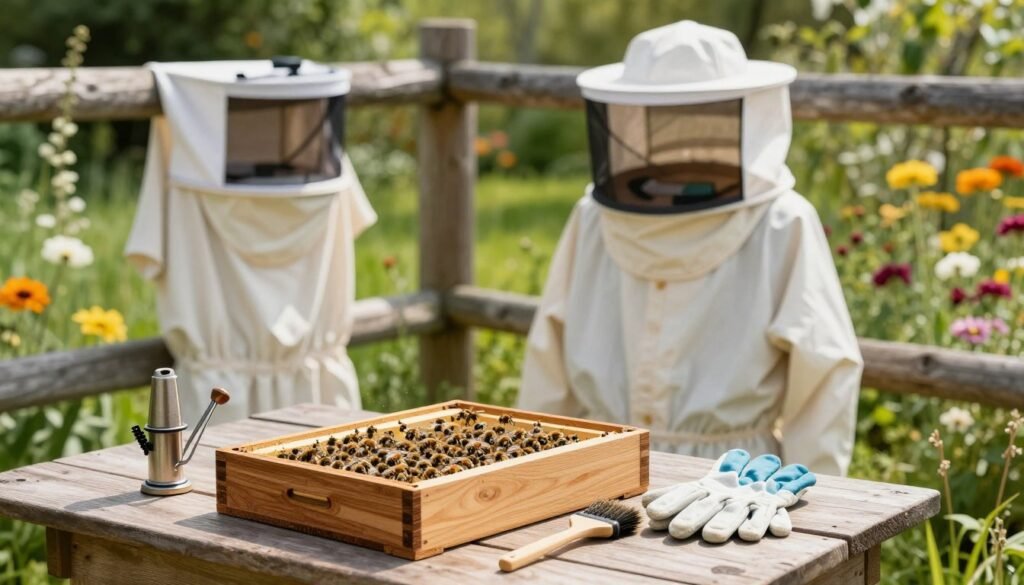
Everything on this list should be assembled, painted and standing in the apiary before the bees arrive — a package is not the moment to discover that a hive body is still flat-packed. If you are buying from scratch, our beekeeping starter kit guide covers the hive and tools together.
| Category | Item | Why you need it |
|---|---|---|
| Hive | Bottom board, one deep brood box with 10 frames of foundation (or drawn comb), inner cover, outer cover, hive stand | A single deep is enough to start; a second box comes later |
| Hive | Entrance reducer | A 10,000-bee colony can’t defend a full-width entrance against robbers |
| Feeding | Feeder (frame, top or pail type) plus a gallon of 1:1 sugar syrup | The colony must draw comb before it can store anything |
| Feeding | Spray bottle of 1:1 syrup | Misting the screen calms and feeds the bees before and during the shake |
| Tools | Hive tool | Prying the package lid, lifting frames, removing the cork |
| Tools | Smoker (lit, but used sparingly) and bee brush | Mostly for closing up; syrup mist does most of the calming |
| Tools | Small screw or nail, mini marshmallow | To pull the cork from the queen cage; the marshmallow plugs a cage that has no candy |
| Protection | Veil, gloves, jacket or suit, closed footwear | Package bees are gentle, but you will be inverting 10,000 of them |
Two of these deserve a note. The 1:1 syrup is simply equal weights of granulated sugar and warm water stirred until clear; NC State’s guide uses the same recipe. The feeder is worth choosing carefully: an entrance (Boardman) feeder is cheap but advertises syrup to every robber in the neighborhood, so an in-hive frame feeder or a top feeder is the safer choice for a brand-new colony — our comparison of the best feeders for newly installed packages goes through the options.
Preparing the Hive and the Site
Set the hive on a level stand roughly 12–24 inches off the ground, facing away from prevailing wind and, if possible, toward morning sun with some afternoon shade. Utah State University Extension’s guidance on setting up and placing a hive is a good checklist for siting, and our own apiary setup guide and climate-based hive placement strategies cover regional details such as shade in the South and windbreaks in the North.
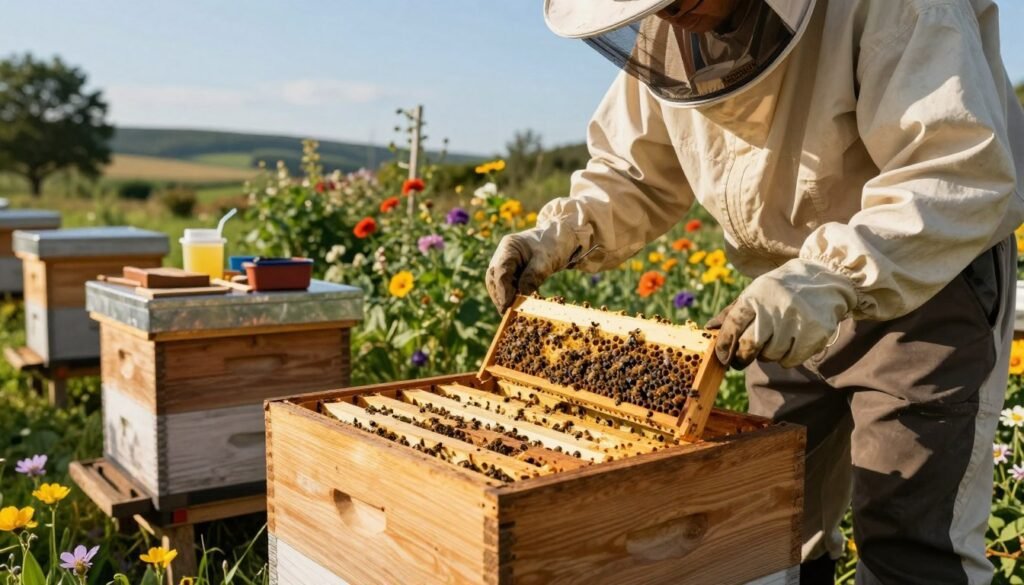
Inside the brood box, remove three or four frames from the center — this is the step NC State’s guide emphasizes, because it creates the cavity you will shake the bees into. If you have clean drawn comb from a healthy hive, put one or two of those frames next to the gap; bees build up far faster on drawn comb than on bare foundation (see can you install a package on old drawn comb for what “clean” means). Fit the entrance reducer on its smallest opening, fill the feeder, and have the inner and outer covers within reach so you can close up within seconds of placing the queen. If the bees are joining an existing apiary, read how to quarantine new bees first.
Caring for the Package Before Installation
If you cannot install the day the bees arrive, hold the package somewhere cool, dark and quiet — a garage or basement at roughly 50–70°F is ideal — and never in a parked car, on a sunny porch or under a blanket. Overheating is the fastest way to lose a package: the bees are packed tightly, cannot fan effectively inside the box, and a closed box in the sun can climb past lethal temperatures in an hour. Cold is more forgiving for the workers, but there is evidence that temperature extremes in transit can damage the queen: a 2016 USDA study led by Jeffery Pettis found that low sperm viability was linked to failing colonies and that “temperature extremes that queens are exposed to during shipment” were a plausible cause (Pettis et al., PLOS ONE). Treat the box gently either way.
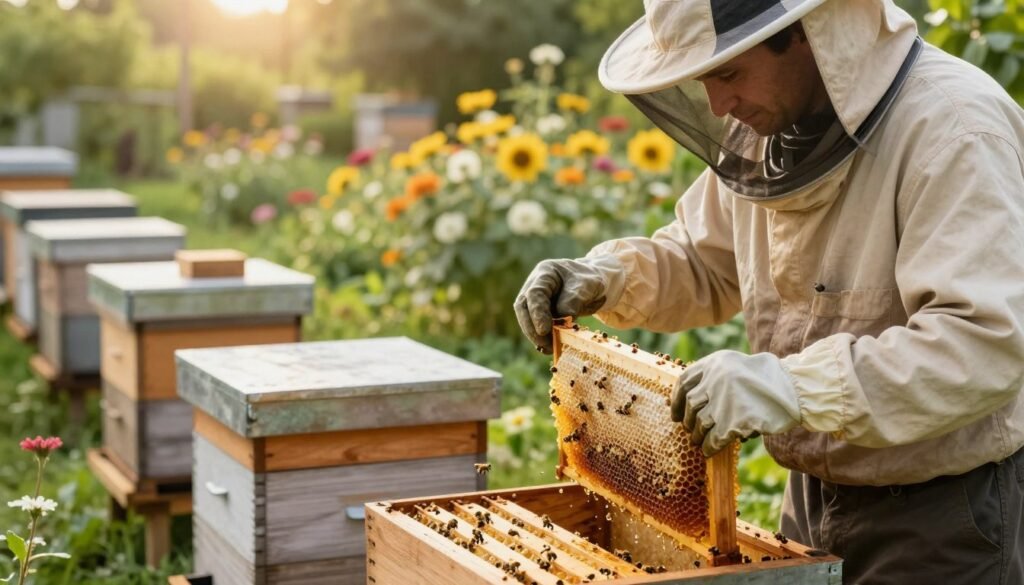
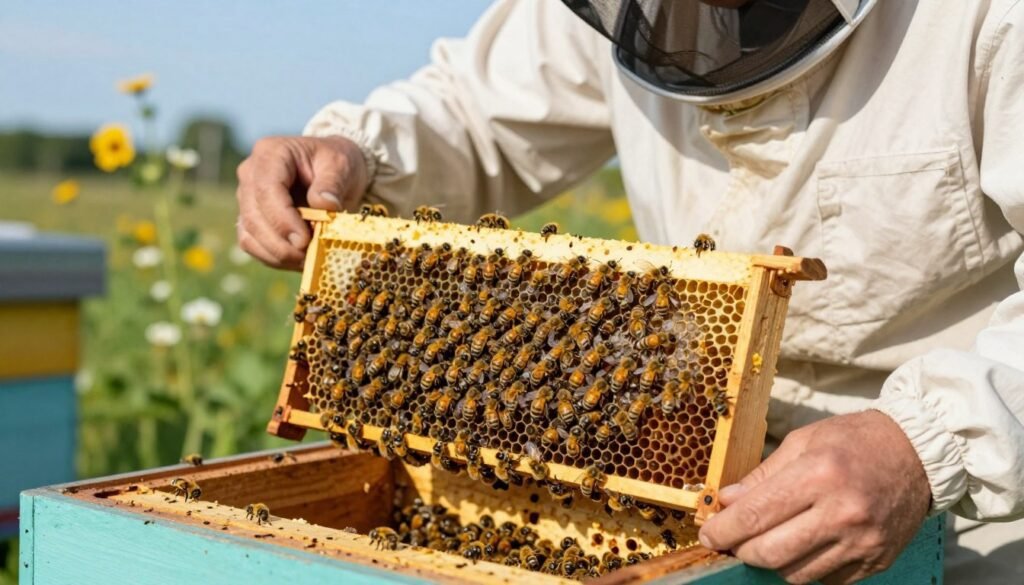
Mist the screen lightly with 1:1 syrup two or three times a day while the package waits — enough that the bees lick it off each other, not enough to soak them. Before you open anything, check the syrup can is still in place, look at the queen through the screen if you can see her cage, and note how deep the layer of dead bees is. A package can be held like this for two or three days without harm; longer than that and the colony starts to weaken.
How to Install Package Bees Step by Step
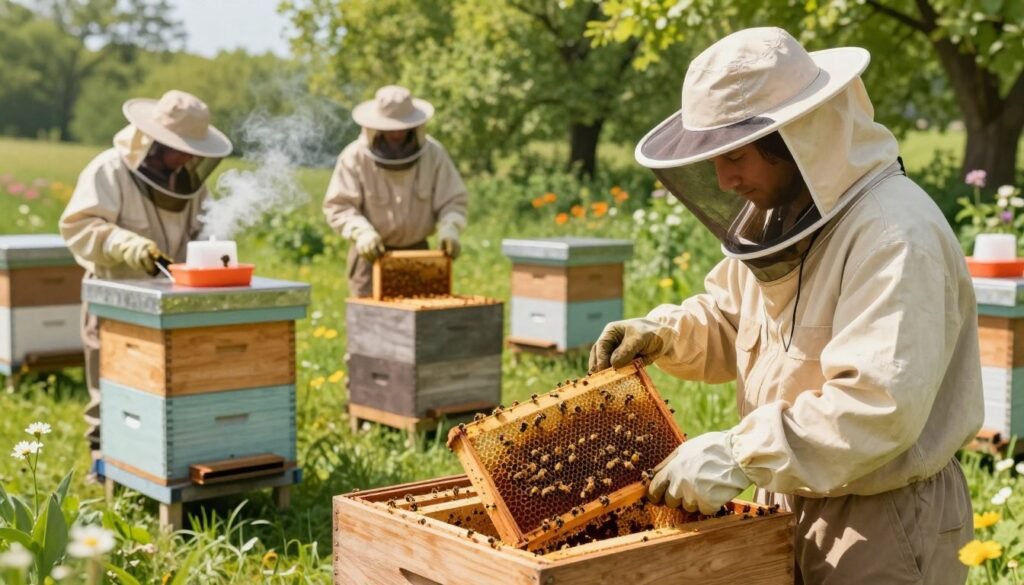
Step 1: Suit up and mist the bees
Put on your veil and gloves, carry the package to the hive by its wooden sides, and give the screen a generous mist of syrup. Wet bees don’t fly well and are busy cleaning, which makes everything that follows calmer. A small puff of smoke is optional; most beekeepers find the syrup alone is enough.
Step 2: Open the lid and remove the feeder can
Pry off the thin wooden lid with your hive tool. Underneath you will see the top of the syrup can and the metal tab holding the queen cage. Lift the can straight up and out — bees will begin to boil out of the hole, which is fine — and set it aside. Some beekeepers cover the hole with the lid for a moment while they deal with the queen.
Step 3: Remove the queen cage and check the queen
Slide the queen cage out by its tab, brush off the clinging workers, and look at her. If she is alive and moving, put the cage in your shirt pocket or a shaded spot for now. If she is dead, stop here and call the supplier before installing: a queenless package can be installed and requeened, but you want the replacement on order before the workers start raising laying workers.
Step 4: Knock and shake the bees into the hive
Rap the package firmly on the ground once so the cluster drops to the bottom, then invert it over the gap in the brood box and shake. Rock the box side to side and tap it to keep the bees falling; a few stubborn hundred will remain, and that is fine. Set the nearly empty package on the ground in front of the entrance, open side toward the hive, and the stragglers will walk in over the next hour.
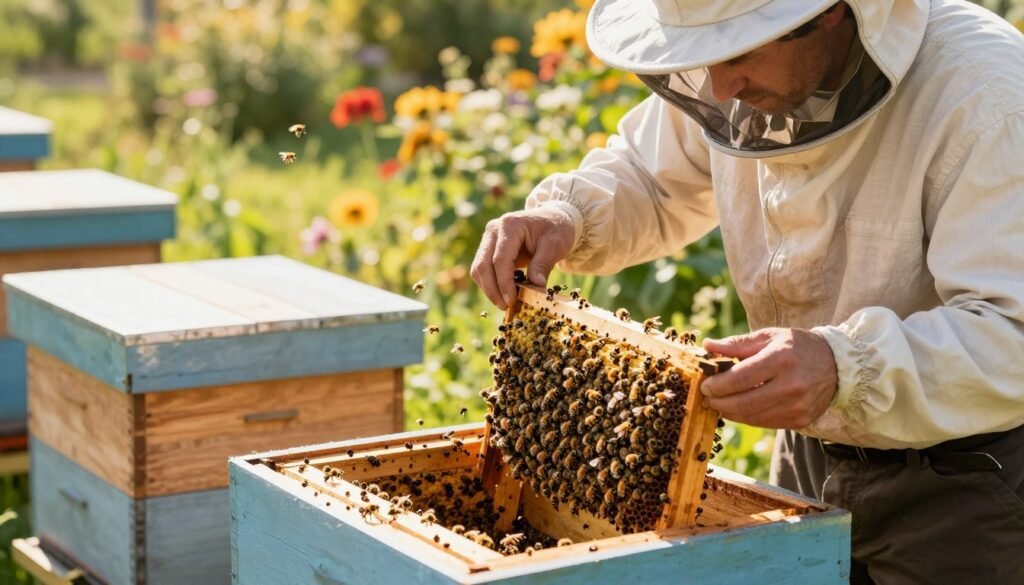
Step 5: Place the queen cage
Pull the cork from the candy end of the cage with a small screw or nail — the candy end only, never the plain end. Wedge the cage candy-end-up between the two frames nearest the center of the bees, screen facing into the gap between the frames so the workers can reach her through it. Push the frames together so the cage cannot fall to the bottom board. Full detail, including the direct-release alternative, is in the queen cage section below.
Step 6: Replace the frames and close up
Gently lower the removed frames back into the box, letting the bees move out of the way rather than pressing them down. Put the feeder in place, fit the inner and outer covers, and set the entrance reducer to its smallest opening. Then walk away — the colony needs a few days of quiet more than it needs anything else you could do.
| Step | Action | Why it matters |
|---|---|---|
| 1 | Mist the screen with 1:1 syrup | Calms the bees and stops most flying |
| 2 | Pry the lid, lift out the syrup can | Opens the box; some bees will fly, which is normal |
| 3 | Remove the queen cage and confirm she is alive | A dead queen changes the plan before, not after, the shake |
| 4 | Knock the box, invert and shake into the frame gap | Gets 90% of the bees onto the frames in a minute |
| 5 | Cage candy-end-up between the center frames, cork out of the candy end | Slow release lets the workers accept her scent |
| 6 | Frames back in, feeder on, covers on, reducer in | Feeding and protection from robbers start immediately |
There is a gentler variation worth knowing about: instead of shaking, leave five frames out, set the whole opened package inside the brood box beside the queen cage, close up, and let the bees walk out on their own. Rusty Burlew, who describes the method on Honey Bee Suite, adds the caveat that makes it work:
“Don’t wait longer than two or three days to remove the shipping package and replace the frames, or the bees will start building comb in the wrong places.”
Installing Package Bees in Hot Weather
Heat is the emergency case. A package that has already spent two or three days in transit has little tolerance left, and a closed box in direct sun can overheat within an hour, killing workers and queen alike. If your bees arrive on a day that is pushing past 90°F, do three things: get the box into shade or an air-conditioned room the moment you pick it up, mist it with syrup and a little plain water so the bees can cool themselves, and plan the installation for the last two hours of daylight, when the air has started to cool and the bees will settle into the dark hive rather than beard on the outside.
During the installation itself, keep the hive in the shade if it is not already, have a shallow water source with floats set up within a few yards, and don’t drench the bees with syrup — on a hot afternoon, evaporation from wet bees is welcome, but a soaked cluster can chill overnight if the temperature drops sharply. Ventilation matters too: a screened bottom board, a slightly propped outer cover or an upper entrance helps a new colony move air until it has the numbers to fan properly. Bees hanging on the front of the hive on the first evening are usually just hot rather than leaving; our post on new package bees bearding outside the hive covers when it is a problem. If the forecast is genuinely extreme, holding the package indoors at 50–70°F for a day and installing the next evening is safer than forcing it.
Installing Package Bees Without a Helper
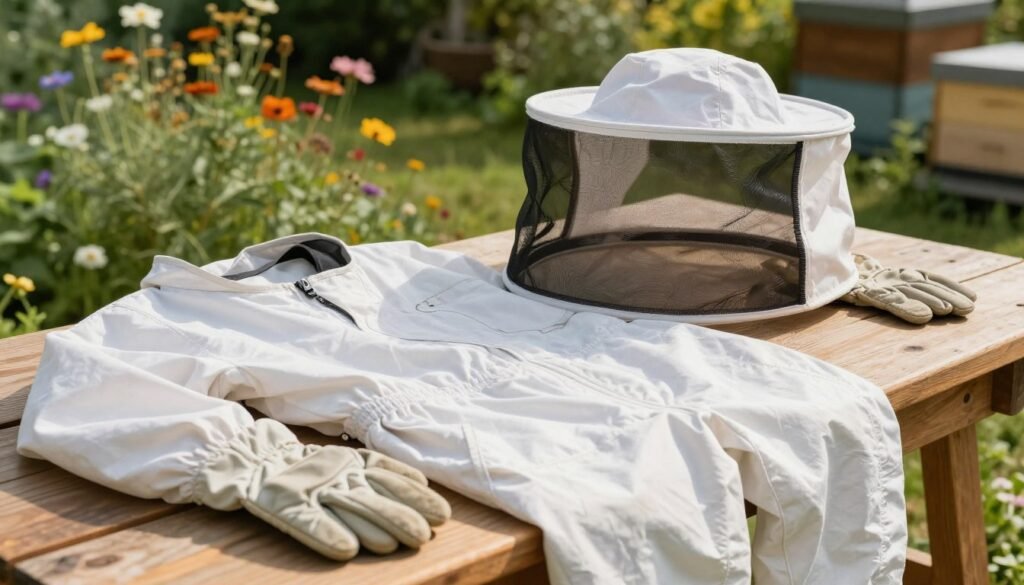
A second pair of hands is nice but not necessary; most beekeepers install their first package alone. The trick is sequencing so that you never need three hands. Before you open the package: hive fully assembled and open, frames removed, feeder filled and standing beside the hive, entrance reducer set, spray bottle and hive tool in your pockets, a screw or nail for the cork in your pocket, and the covers stacked within arm’s reach. Then work in the order above, but do the queen first: remove the cage, pull the cork, and wedge it between the frames before you shake the bees, so that when the box is upended you have both hands free for it and the cage is already where it belongs. Set the empty package at the entrance, replace the frames, and close up — the whole job takes ten minutes solo once everything is staged. If you are nervous about handling the cage with gloves on, a rubber band around the cage and a frame top bar holds it as well as wedging does.
Queen Cage Placement and Release
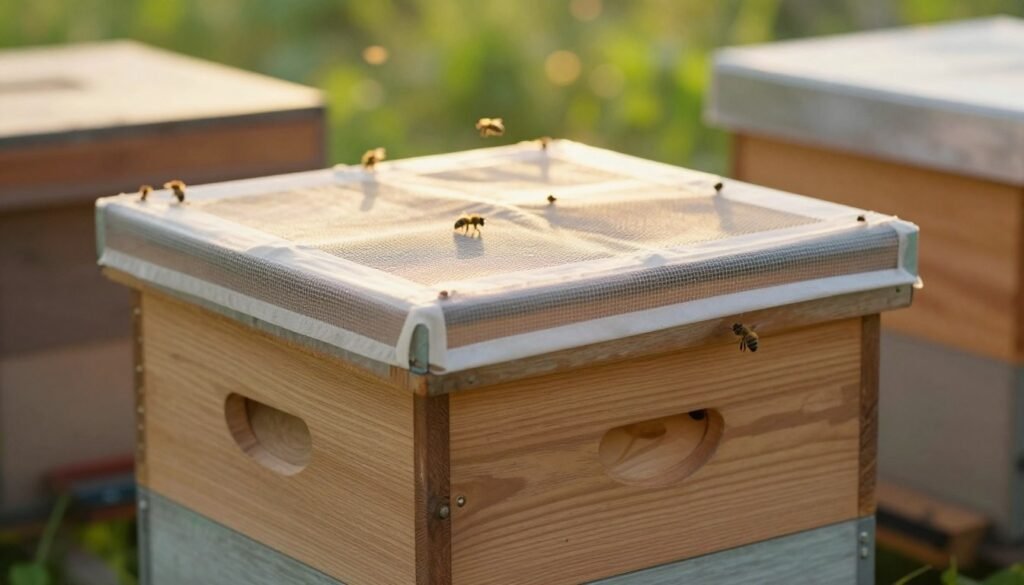
The cage has two ends: one plugged with a cork over sugar candy, the other with a cork alone. Remove only the candy-end cork. The workers eat through the candy from the outside and, in NC State’s words, “will eat the candy and eventually release the queen within one or two days” — often up to three in cool weather. That delay is the point: by the time she walks out, the colony has been feeding her through the screen and has accepted her scent, and the risk of her being balled and killed is low. If your cage arrives with no candy (some producers ship cages with a cork at both ends), pull one cork and push a mini marshmallow into the hole to create the same slow release. Wedge the cage candy-end-up between two center frames with the screen exposed, and push the frames snug so it cannot drop. A guide to the cage types themselves is in best queen cages for introducing new queens.
Check on day three to five. If the cage is empty, remove it and push the frames together. If she is still inside and the workers on the cage are calm — feeding her, not biting the screen — you can open the screen end and let her walk down between the frames. If the workers are clamped onto the cage and biting, close up and check again in two days. Some experienced beekeepers release the queen directly at installation, but for a first package the candy release is the safer default.
Feeding After Installation
A new package has to build ten frames of comb before it can store a drop of nectar, and wax is expensive — the workers convert sugar into it, so the syrup you supply is the raw material of the colony’s first home. Keep the feeder full of 1:1 syrup from the day of installation until roughly seven or eight of the ten frames are drawn; NC State’s guide notes that even well-fed packages “may still take several weeks to furnish ten frames with wax comb.” Only then add a second brood box — adding one earlier spreads a small cluster across too much space. Our post on how fast package bees draw comb gives realistic timelines by region.
Pollen is the other half of the diet. In a spring with good forage the bees will bring their own; in a cold, wet start, a small pollen patty placed over the cluster keeps brood rearing going (see how to feed pollen patties to a new colony). Refresh syrup before it ferments, keep the entrance reduced while feeding, and stop feeding when the bees start ignoring the feeder and capping nectar — feeding into a flow just produces sugar “honey” in your supers.
The First Two Weeks: What to Check and When
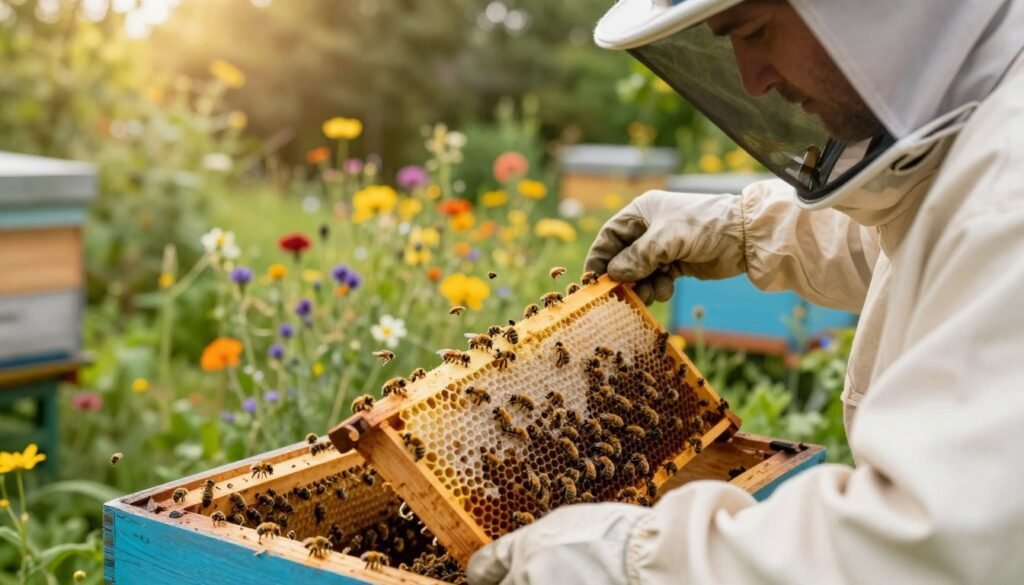
The most common mistake after installation is opening the hive too often. Two short checks are all the colony needs in its first ten days.
| When | What to do | What you’re looking for |
|---|---|---|
| Day 1 | Look at the entrance only; top up the feeder | Orientation flights, bees carrying out dead workers — normal |
| Day 3–5 | Open briefly, remove the empty queen cage and shipping box, push frames together | Queen out of the cage; comb starting between the center frames |
| Day 7–10 | Lift one center frame | Eggs standing upright in cells, then young larvae — proof she is laying |
| Day 14 | Quick inspection, straighten any cross comb | Capped worker brood in a solid pattern; comb on 3–5 frames |
| Week 3–6 | Weekly check; add second box at 7–8 frames drawn | Steady growth, no drone-only brood, feeder still taking syrup |
Eggs are tiny, white and stand on end at the bottom of the cell; if you cannot see them, our guide to checking for eggs after package installation shows what to look for and how to angle the frame. Most package queens start laying within a few days of release (when do package bees start laying eggs?). Mark the queen when you find her; it makes every later inspection faster. As the colony grows, the entrance reducer setting can be opened up, and by the time the second box is drawn you can think about whether a first-year colony should get a honey super — most in the North should not.
Troubleshooting Common Installation Problems
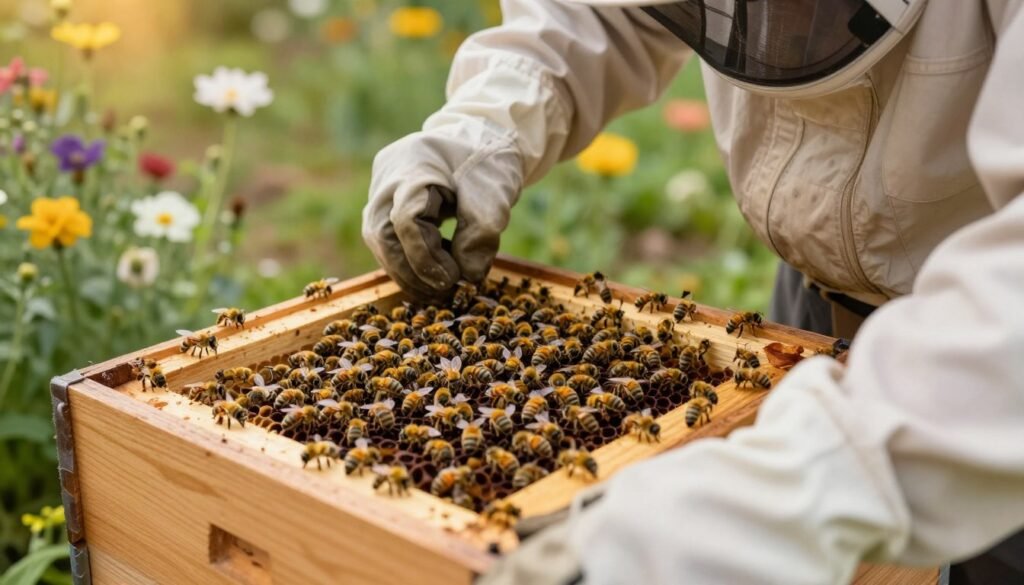
| Problem | What it usually means | What to do |
|---|---|---|
| Queen still caged after 5 days, workers calm | Hard candy or cool weather slowed release | Open the screen end and let her walk down between frames |
| Queen dead in or outside the cage | Shipping injury or rejection | Order a replacement queen immediately; the workers will hold a few days |
| No eggs by day 10–14 | Queen failed, or was never released | Recheck for her; if absent, requeen — see when to requeen a weak package colony |
| Only bulging drone brood after 3 weeks | Drone-laying queen or laying workers | Requeen; if laying workers, combine with a queenright colony through newspaper |
| Bees clustering outside or leaving | Heat, or absconding from a bare box | Shade, water, reduced entrance, drawn comb or a frame of open brood if you have one |
| Fighting at the entrance, syrup-soaked bees | Robbing | Reduce the entrance to one bee width, move feeding inside the hive |
| Comb built across frames or in the frame gap | Frames left out too long, or cage hung in the gap | Straighten within a day or two; keep frames pushed together |
| Inch or more of dead bees at the entrance on day 1 | Shipping losses being carried out | Normal; contact the supplier only if the whole cluster looks thin |
The newspaper method mentioned above is simple: put a single sheet of newspaper over the brood box of a queenright colony, slit it in two or three places, set the queenless box on top, and let the bees chew through over two or three days. Once the first brood is capped and the second box is on, the package is just a colony, and its care follows the ordinary calendar in our spring beekeeping checklist and seasonal beekeeping guide.
Sources
Installation steps, the 65°F threshold and the syrup recipe follow David Tarpy’s “How to Install a Package of Honey Bees” (NC State Extension). The package-in-hive variation is from Rusty Burlew’s Honey Bee Suite. Hive siting draws on Utah State University Extension’s “Setting Up and Placing a Hive”. The shipping-temperature and sperm-viability link is from Pettis et al. (2016), “Colony Failure Linked to Low Sperm Viability in Honey Bee (Apis mellifera) Queens”, PLOS ONE. Supplier practice is cross-checked against Mann Lake’s package and nuc installation guide.
FAQ
What temperature do I need to install package bees?
Above 65°F, per NC State Extension’s guidance. On a cooler day you can still install if the nights ahead are mild, but work quickly and feed immediately; if nights will fall below about 40°F for several days, hold the package indoors at 50–70°F and wait.
What time of day is best to install a package?
Late afternoon or early evening. The bees get an hour or two to orient to the entrance, then darkness keeps them in the hive overnight, which reduces drifting and absconding on the first night.
How long should the queen stay in her cage?
Until the workers eat through the candy, typically one to three days. Check on day three to five; if she is still inside and the workers on the cage are calm, release her by hand. If they are biting the screen, wait two more days.
How long should I feed a new package?
Keep 1:1 syrup on continuously until about seven or eight of the ten frames are drawn, then add the second brood box. Stop feeding once a natural nectar flow is on and the bees ignore the feeder, so you don’t end up with sugar syrup stored as “honey.”
Can I install package bees by myself?
Yes. Stage everything before you open the package, place the queen cage between the frames before you shake the bees, and keep your hive tool, spray bottle and cork-removal screw in your pockets. Done that way the whole job takes about ten minutes alone.
What if it’s very hot on installation day?
Get the box into shade or indoors immediately, mist it with syrup and a little water, and install in the last two hours of daylight when the air is cooling. Keep the hive shaded, provide water nearby, and don’t soak the bees. If the heat is extreme, holding the package indoors and installing the next evening is safer.
How many dead bees in the package is normal?
A layer roughly an inch deep on the floor of the box is normal after shipping. Much more than that, or a dead queen, warrants photographs and a call to the supplier the day the package arrives.
Further Reading
- How to Install a Nuc: A Complete Step-by-Step Guide
- Can You Install a Package on Old Drawn Comb?
- How to Check for Eggs After Package Installation
- Newly Installed Nuc? Here’s What to Inspect
For beekeepers dealing with this, our article on beekeeping 101: package bees vs swarm catch walks through the details.