Introducing a new queen into an established hive is a delicate task that shapes colony health and productivity. Workers can perceive an unfamiliar queen as a threat rather than their new leader, and a rushed introduction is one of the most common ways a perfectly healthy queen ends up balled and killed within hours.
Using a genuinely reliable queen introduction cage helps the new queen acclimate safely while workers gradually smell and accept her presence. This controlled approach reduces fighting and loss during the critical first days.
A well-designed cage holds the queen and provides food so she can be cared for without immediate release. Professional beekeepers use this method to protect the colony and keep brood rearing steady through the active season, since a botched introduction can mean weeks of lost egg-laying while the colony scrambles to raise an emergency replacement.
Follow a structured, repeatable plan when placing the device in the brood nest and monitor worker behavior closely throughout. For detailed steps and care tips, see this resource on queen introduction.
Table of Contents
- Key Takeaways
- Why the Best Queen Cages for Introduction Are Essential for Hive Health
- Key Features and Design Specifications
- How to Properly Install Your Queen Introduction Cage
- Conclusion
- FAQ
Key Takeaways
- Use a timed-release cage to let the colony adapt gradually rather than forcing immediate contact.
- Place the device in the center of the brood nest, surrounded by young nurse bees, for best results.
- Monitor worker behavior closely to judge acceptance before release, rather than releasing on a fixed schedule alone.
- Provide water and keep the cage dark and cool if a queen must wait some time before introduction.
- Following professional, proven methods consistently reduces risk and supports long-term hive stability.
Why the Best Queen Cages for Introduction Are Essential for Hive Health
Keeping a new queen enclosed briefly lets the colony learn her pheromone signature while she begins laying. This slow approach gives worker bees time to accept the scent signals that define her role. Because scent, not appearance, is how bees recognize their queen, this gradual exposure period is doing far more biological work than it might appear from the outside.
A quality introduction cage protects the queen from attack and reduces stress on the rest of the hive. Workers can feed and groom her through the mesh while she remains safe. This controlled contact is what actually builds acceptance, since bees that repeatedly feed and tend to a queen gradually stop treating her as an intruder.
This video demonstration shows the queen acclimation process from placement through release.
- Protects the queen during the vulnerable acclimation period, when workers are statistically most likely to reject or attack an unfamiliar queen.
- Allows laying to start so brood patterns stay steady and the colony remains productive, avoiding the gap in new brood that a delayed introduction would otherwise create.
- Reduces the risk of worker aggression and sudden loss during direct introduction attempts, which remain one of the riskiest ways to requeen a colony without a proven, docile-tempered strain.
For further practical steps and research-backed tips on managing a genuinely smooth transfer, consult this queen management guide.
Key Features and Design Specifications
Practical dimensions and durable materials ensure reliable performance when placing a cage on an active brood frame. A cage that is too flimsy or poorly sized can shift out of place during routine inspections, undoing days of careful acclimation in a single moment.
The wire mesh cage measures 4” long x 5” wide, giving ample room for movement while sitting on the comb. This size helps the enclosed queen lay eggs in empty cells without undue restriction, striking a balance between confinement large enough to feel natural and small enough that workers on the outside remain in constant contact through the mesh.
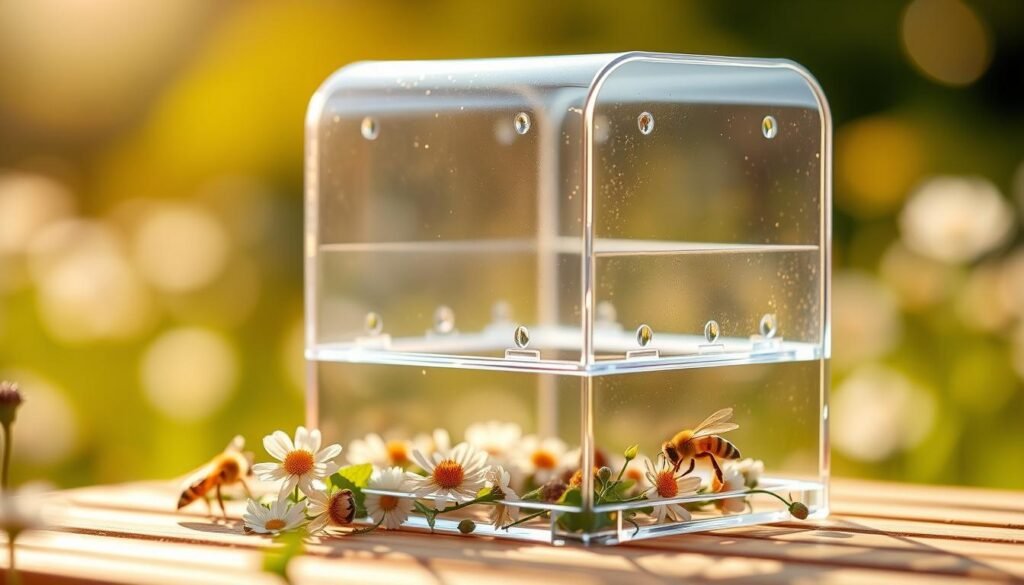
Material and Mesh Quality
The mesh is engineered to balance protection with access. Workers can feed and groom through the wire while the confined queen keeps safe from aggression. The gauge and spacing of the mesh matters more than it might seem, since openings that are too large let workers sting through and openings that are too small block the physical contact needed for acceptance to actually happen.
- Mesh density: Allows egg laying and close contact with nectar and emerging brood while still keeping the queen physically separated from direct worker attack.
- Durability: Corrosion-resistant wire holds shape across seasons, resisting the moisture and propolis buildup that can gradually deform lower-quality mesh.
- Health access: The queen can reach food and stay near developing brood to maintain her condition and body weight during the confinement period.
Secure Attachment Mechanism
The design includes a push-in mechanism and labeled push pins to attach the device securely to comb. The push feature makes placement quick and repeatable during inspections, so the same technique can be used confidently on every frame regardless of how much comb has already been drawn.
| Specification | Details | Benefit |
|---|---|---|
| Dimensions | 4” x 5” | Fits standard brood frames; space for movement |
| Attachment | Push-in pins | Easy, secure mount to comb |
| Colors | White, red, blue, green, yellow | Quick visual ID in the apiary |
| Mesh function | Wire mesh allowing egg laying | Supports brood continuity and care |
For a broader comparison of available designs, see this equipment guide.
How to Properly Install Your Queen Introduction Cage
Mounting the introduction cage over active brood helps young bees meet and accept her scent. Young nurse bees are generally far more accepting of a new queen than older foragers, which is exactly why positioning matters as much as the cage itself.
Select a strong brood frame with a mix of open comb and capped cells that are due to emerge. This brings freshly hatched nurses into immediate contact with the caged queen and her pheromone. Frames pulled from the outer edges of the box, by contrast, tend to have older, more established foragers that are typically the least receptive to a new queen.
Use the included push pins to secure the device directly onto the frame. Push firmly so the cage stays put during inspections and hive activity, and double-check the seating after the first inspection, since a fresh installation is more likely to shift before the wax has had a chance to settle around it.
This installation video walks through securing the cage onto a brood frame step by step.
Optimizing Brood Frame Placement
Place the cage over open comb and adjacent capped brood about to hatch. The emerging bees will accept the new queen far more readily than older workers and will help feed her almost from the moment they emerge.
- Secure the cage using push pins so it sits flush on the frame.
- Position the cage where nurse bees can cluster underneath and access the queen through the mesh.
- Leave the queen confined for 3 to 5 days to allow pheromone spread and colony acceptance, then remove the cage to release.
For further step-by-step tactics on timed releases and general handling, see a detailed guide on queen introduction. For much broader hive placement and general setup tips, consult this beehive installation guide and a small-scale apiary planning resource.
Conclusion
A controlled transfer routine reduces stress on workers and improves the new queen’s chances of acceptance. Use a solid introduction cage and follow a short confinement period to let the hive adapt.
Follow the recommended 3 to 5 day hold to boost acceptance and keep brood patterns steady. A proper cage helps the colony smell and care for the new queen while she settles in, and rushing the release even by a day can undo most of the benefit of the whole process.
If you need step-by-step help, see this queen introduction guide and these introducing a queen tips.
FAQ
What type of introduction cage should I use when adding a new queen to a hive?
Choose a solid, well-ventilated introduction tool that protects the queen while allowing steady worker access to her pheromones throughout the confinement period. Look for cages made from durable plastic or wood with fine mesh or screened vents to prevent direct contact but permit feeding and scent transfer. Select a design that fits standard frames or can be suspended inside the brood nest, and avoid anything so bulky it disrupts the surrounding comb when installed.
How long should a queen remain confined in the introduction device?
Confinement periods vary by cage type: a push-in candy or mesh cage like the one described above is typically left in place for 3 to 5 days, while some direct-release methods use a longer 7 to 10 day period. Either way, the goal is giving the colony time to accept her scent and reduce rejection or fighting. Monitor brood and worker behavior; if aggression persists, extend confinement slightly or re-evaluate the introduction method.
Where in the hive do I place the introduction unit for best results?
Position the introduction unit near open brood in the center of the hive to maximize exposure to nursing bees. Attach it to a brood frame or tuck it between frames so workers can easily tend to the device. Avoid placement near the outer frames or the hive entrance, which decreases interaction with nurse bees and slows the whole acceptance process down considerably.
Can I feed the colony while the queen is in the introduction cage?
Yes. Provide pollen or sugar syrup as needed to ensure strong feeding activity around the cage, particularly if a nectar dearth is limiting natural forage. Feeding supports nurse bee activity and speeds pheromone distribution. Use feeders that won’t flood the frames or force excessive movement away from the introduction site.
How do I check if the colony has accepted the new queen?
Acceptance signs include calm worker behavior near the cage, care of the queen by workers, and later seeing eggs and young larvae after the queen is released. Inspect discreetly through the mesh whenever possible rather than opening the cage; avoid removing the queen too often. If you find aggression, dead workers, or a missing queen after release, the introduction may have failed and the colony will need another attempt.
Are there introduction devices that help with emergency or queenless situations?
Yes. Some introduction units include push-in candy or removable plugs that allow staged, gradual release, which is especially helpful in emergency requeening or when a colony has been queenless for some time and is more prone to rejecting a replacement. Choose a model that balances secure confinement with easy release once acceptance is confirmed.
How important is material and mesh quality in an introduction unit?
Material and mesh affect durability, ventilation, and pheromone exchange. High-quality plastic or untreated hardwood paired with fine galvanized or stainless mesh resists weather and hive wear over repeated uses. Avoid materials that trap moisture or corrode, as that can stress the colony, harbor mold, and ultimately reduce the odds of a successful introduction.
Can color or visibility affect the introduction outcome?
Color and visibility have a fairly minor impact compared to placement and timing, but neutral tones do blend more naturally with the hive interior and reduce visual disturbance when handling. Choose an introduction unit with a finish that won’t flake or emit odors that could repel workers over time.
What preparations should I make before introducing a new queen?
Ensure the target colony is healthy, with open brood and adequate nurse bees. Remove any existing queen or confirm the colony is genuinely queenless first, reduce robbing risk by working during calm weather, and have all tools and feeders ready before you begin. Introducing during mid-morning, once foraging activity has picked up and fewer bees are clustered defensively near the entrance, improves the overall chances of acceptance.
Where can I buy reliable introduction equipment and replacement parts?
Reputable beekeeping suppliers such as Mann Lake, Betterbee, and local apiary stores are a good starting point for tested introduction devices, replacement push-in plugs, and related accessories like feeder adapters and frame-friendly mounts. Established suppliers generally offer more consistent fit and material quality than unbranded, unverified alternatives sold on general marketplace sites.
We go deeper into this topic in our post on how to sanitize queen cages before reuse.
You can find more background in our guide to queen cage candy plug: what it is and how it functions.