Reviewed by Michael R. · How we review
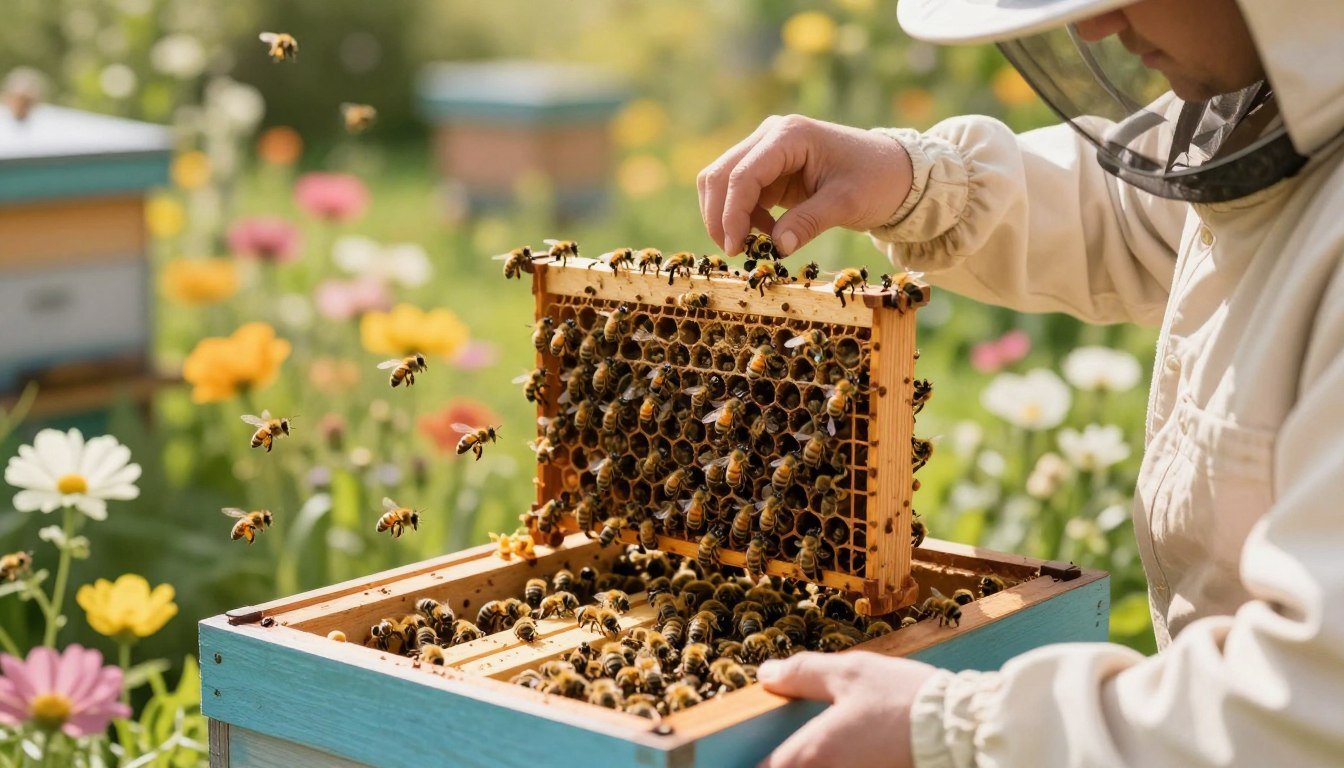
Replacing the hive leader is one of the most important skills for modern beekeepers. This short intro sets the stage for a careful, proven approach that lowers rejection risk and keeps the brood stable.
Szabo T.I.’s 1977 behavioral studies remain a cornerstone for understanding how a replacement integrates into a colony. Use those findings with practical steps: inspect for laying workers, check for queen cell presence, and confirm whether a virgin queen or a new mated monarch has arrived.
Patience and preparation matter. Order your new queen from a reputable breeder and plan the introduction using a standard cage and an accepted method. Small, deliberate actions help the hive accept the new ruler and resume regular egg laying.
Goal: keep the hive stable, protect brood, and ensure the queen begins laying promptly. The following sections will detail timing, cage use, and signs that the colony welcomes the replacement.
Key Takeaways
- Follow established methods and use a standard cage for best results.
- Szabo’s 1977 work offers key behavioral insights for introductions.
- Check for laying workers and queen cells before proceeding.
- Order from reputable breeders and time the arrival of mated queens.
- Patience and careful observation protect brood and hive stability.
Table of Contents
- Understanding the Importance of Queen Introduction
- Assessing Colony Status Before You Begin
- How to Introduce a New Queen Bee Safely
- Evaluating Queen Health and Quality
- Preparing the Hive for a New Arrival
- Utilizing the Candy Plug Method
- Implementing the Push-in Cage Technique
- Managing Aggressive Colonies During Requeening
- Monitoring for Acceptance and Success
- Conclusion
- FAQ
Understanding the Importance of Queen Introduction
A single change at the top can reshape the fate of an entire colony. The presence of a healthy, mated ruler affects brood production, worker behavior, and seasonal strength.
David Cushman and Roger Patterson noted that two hives in the same yard may respond very differently when a replacement arrives. One might accept the newcomer, while the other rejects her without clear cause.
That unpredictability stems from pheromone signaling. A strong queen colony relies on her scent to keep workers organized and productive. If the hive lacks cohesion or resources, workers may react aggressively and kill the newcomer.
Practical note: mated queen options usually gain acceptance faster than virgins. Monitor the colony closely after any introduction and prioritize queen health. For equipment that eases acceptance, consider best queen cages when planning requeening: best queen cages.
- Why it matters: success preserves brood and prevents collapse.
- What affects success: brood presence, food stores, and worker temperament.
Assessing Colony Status Before You Begin
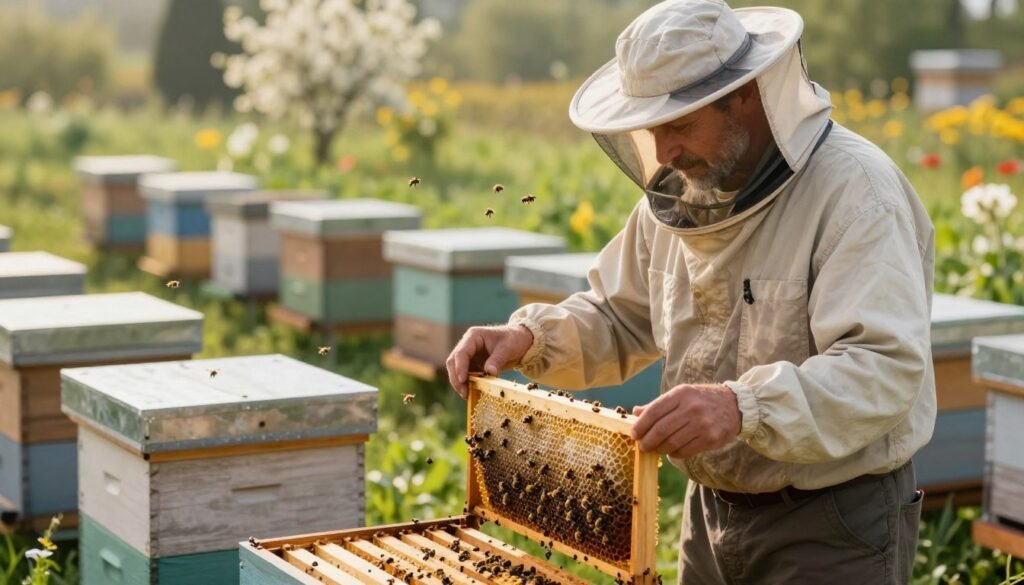
Start by confirming the colony’s status through a full frame-by-frame inspection. Check comb, eggs, larvae, and capped brood for a steady pattern.
Identifying queenless colonies
Look for consistent egg patterns and nurse activity. If you cannot find the queen after careful searching, add a frame of fresh eggs and return in 5–7 days.
A truly queenless colony will usually draw queen cells on an introduced frame. If those cells appear, the hive is attempting renewal and is likely queenless.
Dealing with laying workers
Laying workers complicate requeening. They lay poorly centered eggs and often multiple eggs per cell. A colony with laying workers will not produce viable queen cells from an added frame of eggs.
Remove any existing queen cells before any introduction. If you find a virgin queen in the hive, remove her prior to placing a mated queen to avoid conflict.
- Inspect every frame to be certain you can find queen or queen cells.
- Use an introduced frame of eggs as a practical test for laying workers.
- Be thorough: hidden queens or missed cells will cause introduction failure.
| Condition | Key Sign | Recommended Action |
|---|---|---|
| Queenright | Consistent eggs and brood | Delay introduction until necessary |
| Queenless (recent) | New queen cells on introduced frame | Remove queen cells if planning external introduction |
| Laying workers | Multiple eggs per cell; scattered pattern | Combine or requeen after eliminating laying workers |
| Virgin queen present | Small developing queen; active search reveals her | Remove virgin before placing a mated queen |
When the colony is confirmed queenless and any laying workers are managed, you are ready to proceed with a careful introduction. For practical tips on timing and technique, see queen introduction tips and review common rejection causes at why bees reject a queen.
How to Introduce a New Queen Bee Safely
A measured, stepwise introduction reduces stress for both monarch and colony.
Begin by leaving the hive queenless for about 24 hours. This interval lowers immediate aggression and gives workers time to notice the absence.
Spray workers lightly with a 1:1 sugar syrup before opening. The syrup distracts foragers and calms nurse bees during placement.
Place the cage snugly between frames where nurse activity is highest. Secure positioning lets the slow-release design work and helps the colony accept the newcomer.
“Slow, careful placement and brief surveillance are the best safeguards against balling.”
- Handle the cage gently; avoid abrupt movements that could injure the occupant.
- Monitor for several days after introduction for signs of acceptance or attack.
- Expect variable success in large colonies versus nucs; patience remains essential.
| Method | Purpose | Placement | Risk |
|---|---|---|---|
| Slow-release cage | Gradual scent exchange | Between brood frames | Low if secure |
| Syrup spray | Distract workers | Across frames before opening | Minimal |
| 24-hour wait | Reduce immediate hostility | Leave hive undisturbed | Moderate if overdone |
| Close monitoring | Catch balling early | Daily checks for 5 days | Prevents loss |
Evaluating Queen Health and Quality
Examine physical traits first; a healthy leader shows clear signs of vigor at a glance.
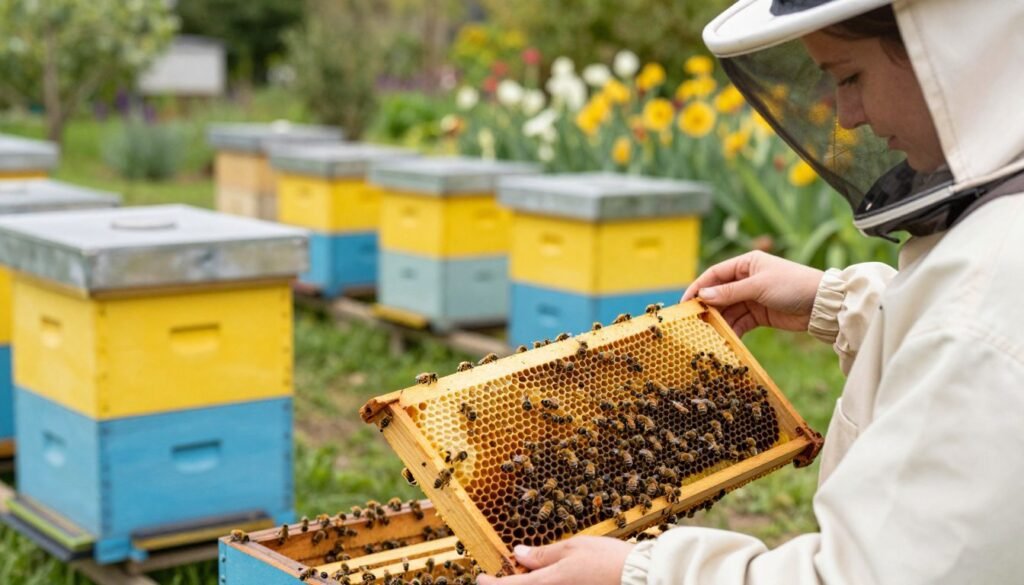
Visual checks matter. Inspect wings, legs, and abdomen. A rounded abdomen and intact wings suggest robust laying potential. Gently prod the insect; a lively response indicates good stamina.
Confirm consistent laying patterns on nearby frames and comb. Even spacing of eggs and steady brood growth are reliable performance signals. Avoid adding a virgin queen when immediate laying eggs are needed; virgins must complete mating flights first.
Check for parasites and disease. Look closely for Varroa mites or deformities that hint at viral issues. If you receive a mated queen, verify activity and absence of mites before placing her in a cage for introduction.
- Physical signs: strong legs, intact wings, rounded abdomen.
- Behavioral signs: active movement and prompt response.
- Health checks: parasite screening and clear brood pattern.
“A careful in-hand assessment cuts risk and supports colony strength.”
| Check | Good sign | Action if poor |
|---|---|---|
| Wings & legs | Intact and mobile | Return or request replacement |
| Brood pattern | Even eggs on frames | Delay full introduction; observe |
| Parasites | No Varroa or deformities | Treat and quarantine in cage |
| Behavior | Active when prodded | Provide syrup and rest in cage |
For signs your hive is preparing for major events, review swarm indicators on this guide: preparing to swarm.
Preparing the Hive for a New Arrival
A calm, well-organized hive greatly improves the odds when you place a new ruler. Begin by removing any failing ruler and search frames carefully to find queen cells or hidden queens. Remove all queen cells; they will distract the workers during introduction.
Allow the colony to remain queenless for about 24 hours. This short interval helps workers notice the absence and lowers aggression. If you manage a large colony, consider creating a split so younger workers lead the acceptance process.
Place the cage centrally in the frames brood area so the newcomer sits among nurse bees. Check that frames are properly spaced; the cage must slide in without crushing comb or bees.
- Remove old queen and any queen cell immediately.
- Use 1:1 sugar syrup during dearth to mimic a flow and calm the workers.
- Keep disturbances minimal after placement to allow pheromone acclimation.
“A well-prepared hive is the foundation of successful introduction and prompt egg laying.”
Follow this order of operations and consult practical guides such as beehive installation for related setup tips.
Utilizing the Candy Plug Method
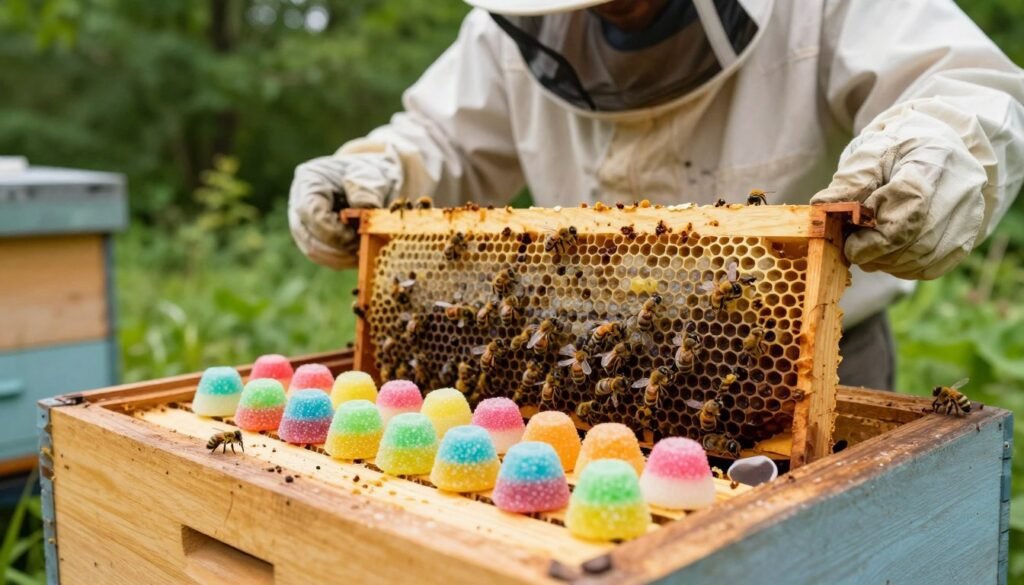
Using a firm candy plug in the cage sets up a gradual release that reduces shock to the colony. This method gives workers time to meet and accept the newcomer through the mesh and learn her scent.
Preparing the Candy Tube
Mix 1 cup of honey with 2 pounds of powdered sugar until you have a firm, kneadable dough. Pack this fondant-like mix into the tube end of the cage and shape a plug that fills the opening.
Keep a spare plug for repairs. If you need a slower release, cap the candy for an extra day or two with tape or a small cap. JzBz cages work well here because they are reusable and give the queen a safe retreat from aggressive workers during the introduction.
Proper Cage Orientation
Place the cage between frames brood where nurse activity is highest. Angle the candy end slightly upward so dead bees cannot block the exit.
Expose the mesh so workers can interact with the queen through the screen. Workers will chew the candy plug in about 2–4 days, creating a stress-free release of the queen.
“A slow, worker-driven release reduces the chance of balling and gives the colony time to accept the ruler.”
| Step | Action | Why it matters |
|---|---|---|
| Prepare plug | 1 cup honey + 2 lb powdered sugar | Creates firm candy that workers can chew |
| Place cage | Between frames brood, candy angled up | Keeps exit clear and near nurse bees |
| Expose mesh | Mesh faces workers | Allows pheromone exchange through screen |
| Delay option | Cap or tape plug for 1–2 days | Extends acclimation period if needed |
For an evidence-based reference on queen candy technique and related practices, see the queen candy technique guide.
Implementing the Push-in Cage Technique
Use an 8‑mesh push‑in cage and press it firmly into the comb midrib. This secures the occupant and keeps the mesh ventilated while preventing escape.
Select a frame with emerging brood before placement. Nest the cage so the insect sits among nurse bees and can begin laying eggs without immediate exposure.
Handle frames gently. Slide the cage into the comb with even pressure. Avoid cracking comb or injuring brood during insertion.
Plug the entrance with fondant or queen candy for added security during the first days. Check the mount after 3–5 days and inspect for chewing under the edges that would let workers reach the cage.
- Works well with aggressive colonies: provides a controlled acclimation period.
- Allows immediate laying eggs: brood presence helps the colony accept her scent.
- Remove the cage once the colony shows calm behavior and regular egg patterns, then allow full release queen movement.
“The push‑in method gives valuable or instrumentally inseminated rulers the safest start.”
Managing Aggressive Colonies During Requeening
Handling an irritable stock calls for patience, firm technique, and careful placement. Aggressive colonies resist change and may harm a new ruler unless steps are taken.
Plan extra time. Wyatt Mangum’s 2020 research found that attendant bees inside the cage slow acceptance. Removing those attendants can speed acceptance and cut risk.
Managing Attendant Bees
Leave the hive queenless for at least 48 days before the introduction. Place the cage in the center of the frames brood so the newcomer meets nurse workers.
If workers bite the cage, do not release the queen. Use fondant or queen candy as a slow-release plug and wait for chewing rather than forcing entry.
- Remove attendants from the cage before placement when possible.
- Repeat the method if the colony remains hostile.
- Prioritize queen safety and avoid introducing foreign pheromones or disease.
| Issue | Action | Timing |
|---|---|---|
| Attendant bees present | Remove from cage | Before placement |
| Cage biting | Delay release; replace fondant | 1–3 days |
| Persistent aggression | Try alternate method or repeat | After 5 days |
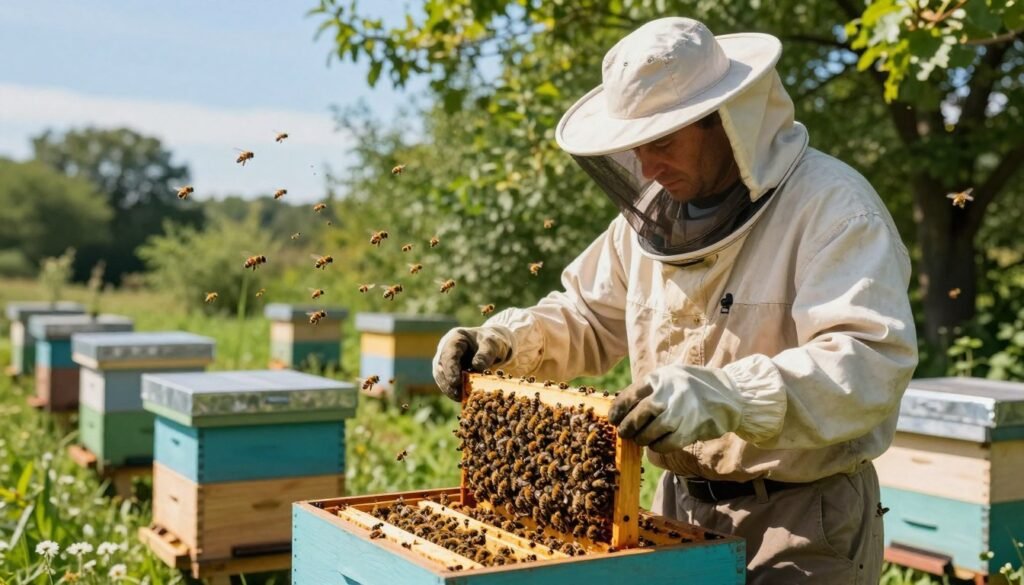
“Removing attendants and using slow-release candy protects the ruler and steadies the colony.”
Monitoring for Acceptance and Success
The first week after release is critical for spotting eggs, larvae, and calm worker behavior. Check the hive gently on day 5–7 for clear signs that the new queen is laying eggs.
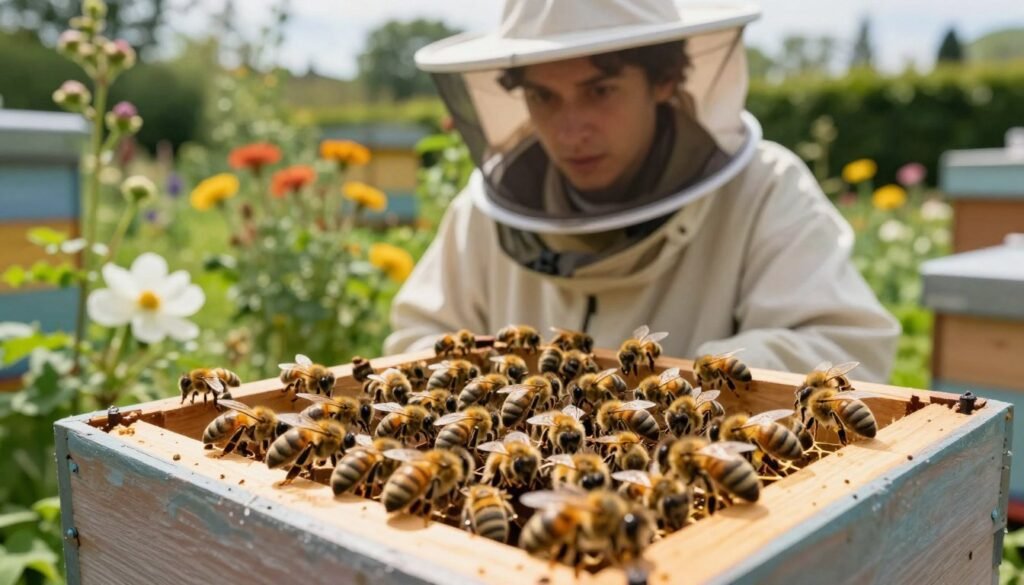
Signs of Successful Acceptance
Look for fresh eggs and small larvae on several frames near the brood nest. Even, consistent patterns mean the ruler is performing her role.
Capped brood appearing within two to three weeks confirms steady laying eggs and colony recovery. Calm workers and normal foraging are positive behavioral signs.
Troubleshooting Rejection
If you find the queen dead or the colony still aggressive, treat that as a failed introduction. Remove any existing cells and search each frame for hidden queens.
- Common reasons for rejection: an existing queen, active queen cells, or prolonged queenlessness.
- If laying workers are present, address them before any further attempts.
- A different method or replacing the ruler may be necessary to reduce risk of collapse.
“Avoid disturbing the hive for at least 10 days after release; let pheromones settle.”
For stepwise methods and practical tips, review successful queen introduction techniques.
Conclusion
,
Successful requeening rests on steady preparation and patient follow-up. Use the chosen method and place the sealed cage between brood frames. Keep disruptions low for several days and watch for eggs on nearby frames.
Monitor the hive daily at first, then less often as calm returns. If the colony accepts the ruler, brood growth will follow within weeks. If not, act quickly and check for hidden rivals or cells.
Keep records of each introduction and adapt timing and cage choice over seasons. For a practical guide on mated monarch introduction, see mated monarch introduction.
FAQ
What are the first steps before placing a mated queen in a hive?
Check frames for eggs and brood, inspect for any active queen, and confirm the colony is calm and free of disease. Remove old or failing queens if present, and provide a frame of emerging brood to boost nurse bee numbers. Prepare a clean queen cage and some fondant or queen candy for gradual release.
How can I tell if a colony is queenless?
Look for scattered brood without a central brood pattern, many uncapped queen cells, and no marked laying pattern. Worker bees may act restless, and you might find multiple small, created queen cells on frame bottoms. A quick sign is the absence of a visible laying queen during a thorough frame check.
What steps should I take when laying workers are present?
Replace several frames of drone brood with new foundation or brood frames, unite the colony with a queen-right colony using newspaper method, or requeen directly after reducing worker-laid eggs. Laying workers are harder to manage; using a strong nucleus with plenty of young nurse bees helps acceptance of a new mated queen.
When is the candy plug or candy tube method appropriate?
Use the candy plug method when introducing a mated queen to minimize immediate aggression and allow gradual scent mixing. Place the queen in a standard cage with a candy plug, position the cage between brood frames, and ensure attendants remain inside. The colony will eat through the candy over several days, reducing rejection risk.
How should I prepare queen candy for a cage?
Make a firm, sugar-based candy or use commercially available queen candy. Pack it into the cage opening so it plugs securely, and avoid making it too soft or too hard. Keep the candy dry and fresh; wet or fermented fondant can spoil and harm the queen or deter attendants.
What is the correct orientation for placing the queen cage in the hive?
Place the cage between two frames with attendants facing the center of the brood nest so workers can interact through the mesh. Ensure the candy end faces upward if rain might drip into the cage. Secure the cage so it won’t shift when manipulating the hive.
How does the push-in cage technique work?
The push-in cage sits directly into a frame comb cell or between combs where bees can access her through the mesh. It forces close contact with nurse bees and brood odors, encouraging acceptance. Leave the cage in place until attendants can exit naturally, typically several days depending on colony activity.
What if the colony shows aggression toward the incoming queen?
Reduce aggression by using a queen cage with attendants and candy, placing the cage deep in the brood nest, and adding calming smoke while working. Consider uniting the colony with a strong, queen-right colony for a few days or using a brood frame from a strong colony to introduce familiar scents.