Starting a colony with natural comb requires clear steps and good preparation. Michael Bush offers practical, step-by-step guidance that helps new beekeepers set up a healthy hive. This short introduction explains the core ideas behind using foundationless frames and how to avoid common mistakes.
Successful installation depends on understanding how comb forms and how to manage frame spacing. Prepare each frame carefully so the insects build straight, manageable comb and you limit cross comb problems.
Proper queen introduction and good hive setup are the first steps to a productive colony. This guide covers basic beekeeping methods, wax handling, and practical tips to keep natural comb strong and orderly.
Key Takeaways
- Preparation matters: set frames so comb grows straight.
- Learn natural comb development before you install your colony.
- Introduce the queen carefully to reduce stress and losses.
- Watch for cross comb and adjust spacing early.
- Foundationless methods let insects build wax in their own pattern.
Understanding Foundationless Beekeeping
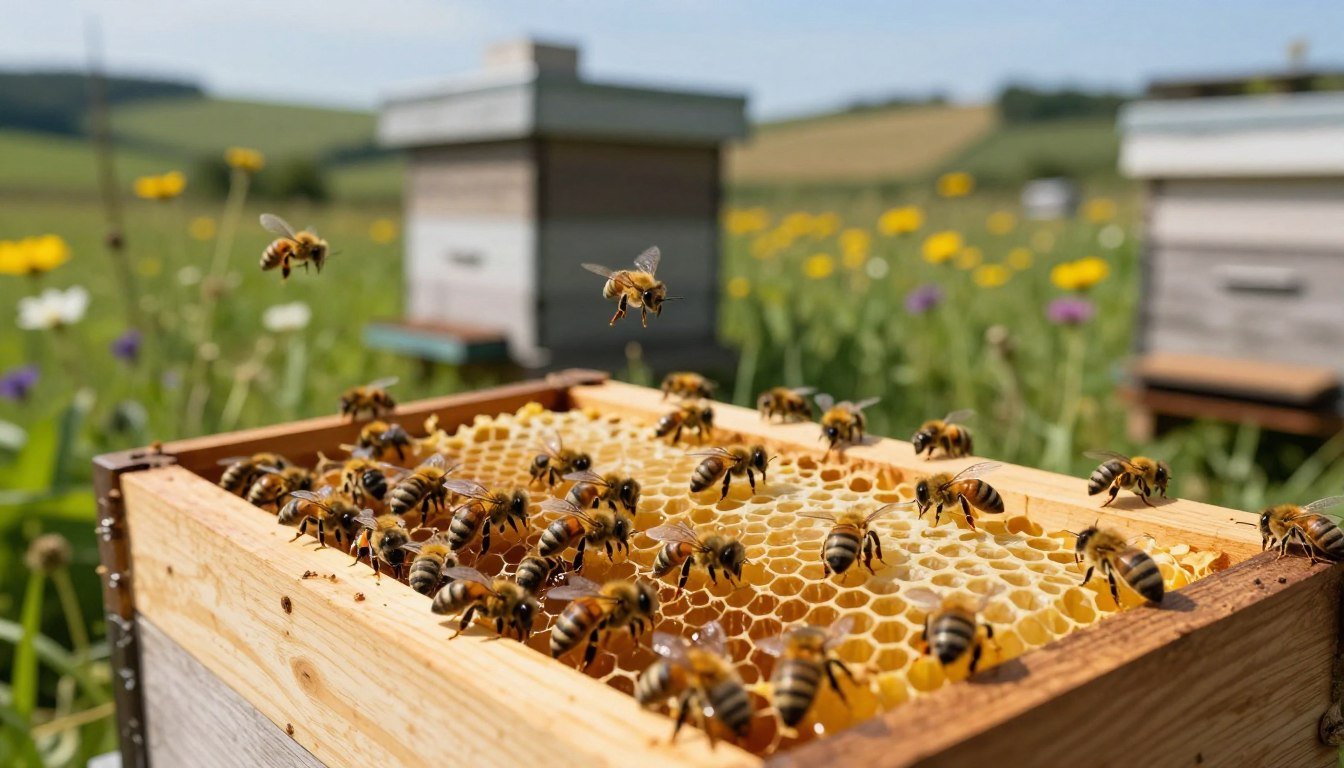
Many apiarists now favor letting colonies form comb free of pre-stamped guides. This approach has grown over the last years as a way to promote natural construction and healthier wax.
Foundationless beekeeping lets insects build cell sizes that suit their needs. That means varying comb geometry, including drone comb, which is a normal part of hive life.
“Natural comb can speed construction and yield cleaner beeswax, as there is no recycled foundation.”
Many beekeepers report faster comb buildup because bees work both sides of a frame at once. Removing pre-formed foundation also reduces chemical residues in harvested honey and wax.
- Practical note: managing bee space remains critical to avoid cross comb.
- Health tip: some think varied cell sizes may help control varroa naturally.
For a practical primer, read this foundationless beekeeping guide. If disease is a concern, see advice on when to discard comb after disease.
Essential Equipment and Preparation
A reliable setup makes it easier for the colony to produce straight, usable comb from day one. Start by gathering sturdy parts and checking each piece for damage before assembly.

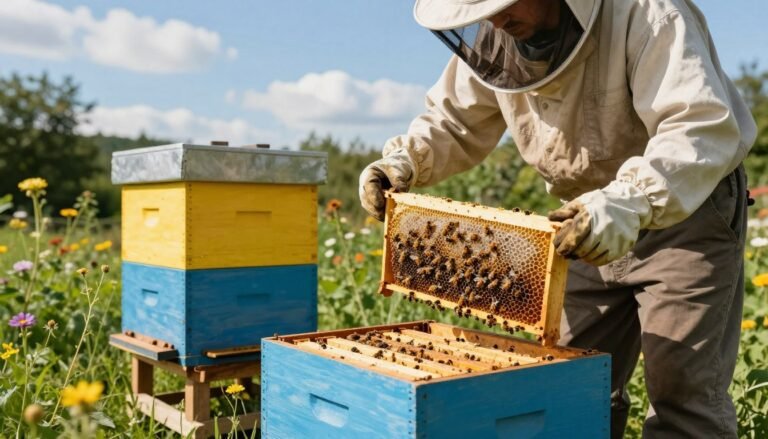
Selecting Quality Frames
Choose solid frames that will support developing comb and honey weight. Use a mix of foundation and foundationless frames if you want guidance while still encouraging natural cell sizes.
Prepare top bars with wooden starter strips or tongue depressors to steer comb growth into the frame area. Applying a trace of lemongrass oil on the top bar can help the colony accept the new environment.
Preparing the Hive Environment
Keep the hive level and ensure the bottom board sits squarely. A level box reduces the risk of cross comb and makes later inspections easier.
- Feed a 1:1 sugar syrup during the first year to speed population build-up and comb construction.
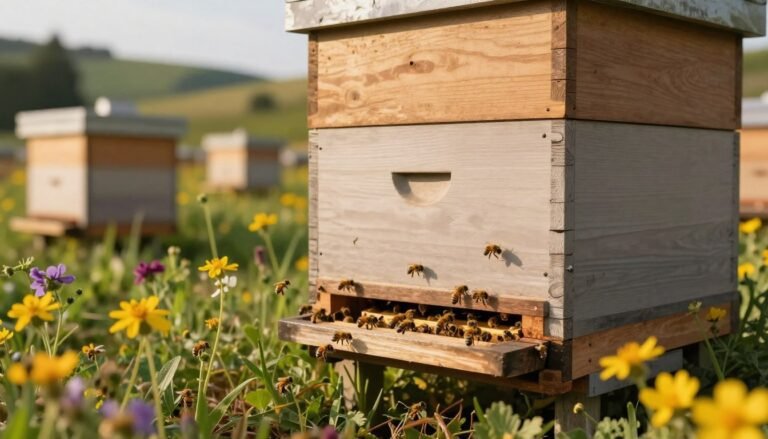
- Place the hive in a sheltered, sunny spot with clear flight paths to reduce stress on the colony.
- Buy second-quality frames on sale to lower equipment costs while maintaining function.
For practical installation advice and an update on foundationless methods, see this foundationless update and a good guide to beehive installation.
Installing Package Bees with Foundationless Frames
A smooth installation begins with careful queen handling and guided frame placement.
Remove the queen cage and place it in shade so the insects do not ball her. Wait a day or two before checking the candy release; this reduces stress and gives the colony time to orient.
Use an entrance reducer to help the smaller group defend the hive. Many beekeepers feed a 1:1 sugar syrup right after set up to speed brood and comb build.
Alternate one foundation frame between two natural frames to guide comb layout. Inspect after seven days to confirm the comb is straight. If creative bits appear on the side of a frame, gently trim them to keep inspection access easy.
| Step | Timing | Purpose |
|---|---|---|
| Queen cage placement | Day 0 | Prevent balling; safe release |
| Entrance reducer | Day 0–30 | Defense for small colony |
| Feed 1:1 syrup | Day 0–14 | Support brood and comb growth |
| Inspect frames | Day 7 | Check comb alignment |
Managing Comb Construction and Bee Space
A small tilt can send comb growth off course; level orientation saves time and prevents cross comb.
The Importance of Level Hives
Keep the brood box level so the comb runs parallel to the sidebars. A level box helps the colony build straight drawn comb and eases inspections.
Check orientation often and re-level after weather or transport. Maintaining a steady bottom and top alignment is the easiest way to keep comb tidy.
Preventing Cross Comb
Set proper bee space — about 1/4 to 3/8 of an inch — to stop burr comb between bars. Use starter strips on the top bar to guide initial building.
If cross comb appears, gently correct the affected frame orientation and restore spacing. Keep frames in the same order and direction to preserve consistent bee space through the box.
- Tip: Checkerboard drawn comb or a bit of foundation between natural frames to steer construction.
- Observe: Watch how the colony builds and adjust your way of handling frames over time.

For detailed techniques on starter strips and correcting cross comb, see this foundationless guide and tips on how to handle cross comb.
The Role of Starter Strips in Hive Development
Using a simple strip of wood helps the colony begin building straight drawn comb. Starter strips guide construction and cut down on messy growth that makes inspections hard.
Choosing Between Wood and Wax
Research shows bees show no strong preference among plain wood, waxed wood, or thin foundation strips. In practice, plain wooden sticks or tongue depressors work well and save money.
Practical tips: place the starter near the top bar so comb grows downward and stays centered. Keep the frame level in the box so cells form straight.
- Starter strips provide a clear beginning point for comb and help uniform brood layout.
- You do not need to coat strips in wax; insects accept bare wood readily.
- Avoid using full commercial foundation as a starter; it adds cost and limits natural cell size.
Result: well-placed strips let the colony build stable comb that the beekeeper can manage easily over time.
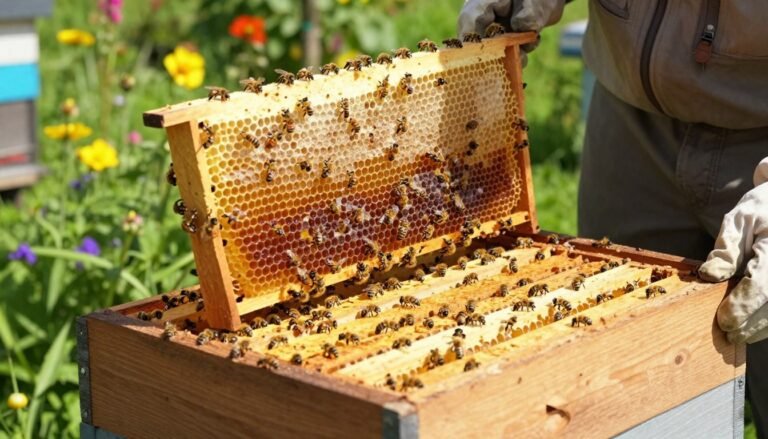
Supporting Natural Comb Stability
Providing discreet reinforcements lets bees build freely while protecting delicate comb.
The right supports keep natural comb straight during inspections and harvest. Natural comb normally contains about 17% drone comb, which is healthy for brood layout and hive function.

Using Nylon Monofilament
Nylon monofilament is a popular lateral support. Use 40–50 lb breaking strain to hold heavy comb without visible bulk.
Drill holes in the top and bottom bars and thread the line so it lies tight across the face of the frame. Bees will incorporate the line into the comb, adding strength during honey flow.
Implementing Bamboo Skewers
Bamboo skewers are low-cost and easy to fit. Push skewers through pre-drilled holes near the top bar and seat them into the bottom, or tie them under the top bar for extra stability.
This method helps new beekeepers keep comb steady without heavy equipment.
Stainless Steel Wiring Techniques
Stainless wiring gives long-term reinforcement for heavier extraction. Use fine-gauge wire, anchor it in drilled holes, and tighten to prevent sag.
| Support Type | Material | Ease | Best Use |
|---|---|---|---|
| Nylon Monofilament | 40–50 lb line | Moderate | Lateral support for delicate comb |
| Bamboo Skewers | Bamboo sticks | Easy | Starter comb and light honey stores |
| Stainless Steel Wire | Fine wire | Challenging | Heavy extraction and repeated use |
Tip: secure attachments at the top bar and bottom to stop comb sag. Proper supports let the colony build naturally while keeping the frame usable over time.
For a discussion on fragility and best practice, see this fragility of foundationless comb.
Monitoring Hive Health and Mite Levels
Early detection of varroa on natural comb prevents rapid colony decline.
Monitor your foundationless frames regularly, focusing on brood areas where mites like to reproduce. Varroa favor drone brood, so pay special attention to larger cells and any drone comb that appears.
Inspect brood frames every two to four weeks during the active season. Check the queen’s laying pattern on natural comb to spot spotty brood or gaps that can signal stress.
Use the top bar to lift and view comb easily. Look for mite debris, distorted larvae, or unusual brood shapes. Also scan adult bees for mites on their thoraxes.
| What to check | When | Why it matters |
|---|---|---|
| Drone comb areas | Every inspection | Varroa reproduce preferentially in drone cells |
| Queen laying pattern | Monthly | Indicates colony health and brood stability |
| Adult bee sampling | Seasonal & pre-winter | Assesses mite load before winter shrink |
Keep mite levels low before winter so the hive starts spring strong. For management details, consult the varroa management guide and guidance on inspecting purchased colonies at this inspection resource.
Consistent checks of both brood and adults, plus targeted controls when thresholds are reached, will help your natural-comb practice stay productive and resilient.
Economic and Environmental Benefits
Switching to natural comb often reduces yearly costs while improving hive resilience.
Mullin et al. (2010) found that 98% of tested commercial foundation samples contained miticide residues. That evidence drives many beekeepers to limit use of recycled plastic foundation and wax. Reducing synthetic materials helps lower chemical exposure in the box.
Using about 40–60% foundationless frames can cut the recurring cost of replacing foundation. Reusable wooden frames last through multiple seasons, so you save money each year.

Practical gains:
- Lower supply costs and fewer annual purchases.
- Cleaner honey and beeswax with reduced residue risk.
- Smaller environmental footprint by avoiding plastic foundation.
| Benefit | Impact | Notes |
|---|---|---|
| Cost savings | Moderate–High | Reuse frames; fewer foundation replacements each year |
| Chemical exposure | Reduced | Study shows most commercial foundation carries residues |
| Environmental impact | Lower | Less plastic waste in the apiary |
Overall, investing time in starter placement and good top bar practice pays off. The colony will bees build more natural comb and maintain healthy brood and honey stores. Over the long term, sustainable choices support stronger hives and better product quality.
Conclusion
A calm, methodical approach pays off when guiding a colony toward healthy, natural comb.
Adopting foundationless methods offers real rewards: cleaner honey, lower chemical exposure, and a more resilient colony. Follow the steps here, keep frames level, and seed a starter frame when needed.
Patience and regular checks matter. Watch brood pattern, verify mite levels, and feed a bit of syrup during slow starts. Your bees will respond to good spacing and steady care.
For troubleshooting on why comb may stall, see this draw comb issues. Use that guidance, and you’ll gain confidence to run a thriving hive and enjoy the honey it produces.
FAQ
What is the basic idea behind installing package bees with foundationless frames?
Installing a colony from a delivered package into foundationless frames lets the colony build natural comb without pre-stamped wax or plastic foundation. You provide clean frames or starter strips in the box, orient the queen and workers into the hive, supply syrup for initial feeding, and ensure the colony has brood space and proper ventilation so they can draw comb across the frame top bars and down into the cell structure.
How do starter strips help when using foundationless frames?
Starter strips of wax or wood give bees a visual and tactile guide to begin building straight comb. They reduce the chance of cross comb by encouraging vertical cell construction. Choose thin wax strips for faster acceptance or wooden strips when you want bees to rework more of the structure; both help colonies find the correct cell spacing in new frames.
Which materials work best to support natural comb on foundationless frames?
Supporting comb can be done with nylon monofilament, bamboo skewers, or stainless steel wiring. Nylon is inexpensive and flexible; bamboo skewers add rigid anchor points; stainless steel wire provides durable long-term support if you plan to remove and reuse comb. All three reduce comb breakage during inspections and honey extraction.
How do I prevent cross comb when bees build on foundationless frames?
Prevent cross comb by keeping consistent bee space, installing frames square and evenly spaced, and using starter strips. Level the hive so comb hangs straight, and inspect frequently in the early weeks. If comb starts to drift or form between frames, carefully cut and reattach to a frame with support before it sets hard.
How important is hive level and placement for comb construction?
Very important. A level hive encourages comb to hang vertically from the top bars, maintaining proper cell alignment. Tilted boxes promote sagging comb and cross comb. Place the hive on a steady base, confirm level front-to-back and side-to-side, and check again after heavy wind or settling.
What should I look for when selecting quality frames for foundationless use?
Choose frames with sturdy top bars and cleanly cut bottom bars that match your hive body. Hardwood frames resist warping; lighter wood is easier for handling. Ensure the frame dimensions maintain correct bee space in your equipment and that they accept starter strips or support methods without bending.
Can I use plastic foundation frames instead of foundationless frames?
Yes, plastic foundation or wired foundation can speed comb drawing and make frames more rigid for mechanical extraction. However, many beekeepers prefer foundationless frames for natural brood pattern and beeswax production. Consider your extraction method and management goals when choosing.
How do I install a new package into foundationless frames step by step?
Temporarily place a feeder in the hive, position frames with starter strips, open the package to find and cage the queen, set the package in the brood box, and allow bees to exit. After 24–48 hours, remove the empty package and replace with a frame. Feed the colony sugar syrup to encourage comb building and monitor progress weekly.
What are common problems during comb drawing and how do I fix them?
Common issues include slow draw, cross comb, and weak attachment. Fix slow draw by ensuring ample syrup and nectar flow, providing warm temperatures, and adding more foundationless frames if space is limited. Address cross comb early by re-spacing frames and adding starter strips. For weak attachment, add additional support like wire or skewers.
How do I protect drawn comb during inspections and honey extraction?
Use frame supports such as stainless steel wire or monofilament when you expect heavy handling. Work gently, prop frames carefully, and keep a spare box for temporary storage. When extracting, freeze or uncap with care and consider using a radial extractor that minimizes stress on soft wax comb.
Does foundationless comb affect brood rearing or honey production?
Natural comb typically supports excellent brood rearing because bees build cell sizes they prefer. Honey production can be comparable to foundationed systems if colony strength, forage availability, and management are good. Expect beeswax yield to be higher and more natural brood patterns when colonies build their own comb.
How do I monitor hive health and mite levels in a foundationless system?
Regularly inspect brood patterns, count varroa using sugar rolls or alcohol washes, and keep records of population and honey stores. Foundationless hives do not change testing methods; they may require extra vigilance because comb replacement and cleaning behaviors affect mite dynamics. Treat according to integrated pest management best practices when thresholds are exceeded.
Are there environmental or economic benefits to foundationless beekeeping?
Yes. Foundationless methods reduce reliance on manufactured wax or plastic foundation, lower upfront equipment cost, and produce pure beeswax for sale. Natural comb supports biodiversity and can reduce chemical residue in wax. Over time, beekeepers often save money and gain value-added products like raw beeswax.
What tools and supplies should I prepare before introducing a package into foundationless frames?
Prepare a clean hive body, quality top bars or frames, starter strips or foundation material, feeders (external or entrance), syrup, and support materials like wire, monofilament, or skewers. Also have a smoker, hive tool, protective gear, and monitoring supplies for mite checks and health assessments.
How long does it usually take bees to draw comb on foundationless frames?
Comb drawing varies with nectar flow, colony strength, and temperature. Under good conditions, bees can draw comb across a frame in one to three weeks. Expect slower progress in cool or dearth periods; provide feed and reduce inspections to let them work.
Can I mix foundationless frames and frames with foundation in the same hive?
Yes. Mixing works well when you want some rigid, reusable frames for extraction and some natural comb for brood. Keep consistent frame spacing to avoid comb drift and monitor for cross comb at the interface of different frame types.