Last Updated September 16, 2026
Installing a nucleus colony offers beginners a steady start to a thriving apiary. This introduction explains the essential step of transferring a small, established colony into a larger Langstroth setup so the colony can grow.
A nucleus colony arrives with a mated queen, brood, and enough workers to sustain early development. Proper installation and the right tools reduce stress on the bees and protect long-term health.
This concise guide covers timing, gentle frame transfers, and simple first-week care. For inspection tips and disease checks before transfer, see this inspection guide.
When you’re ready to expand, follow proven steps for orientation, feeding, and weekly checks. For a full checklist on installation and next steps, consult this practical transfer guide.
Key Takeaways
- Start with a nucleus colony for a higher success rate than packages.
- Keep frame orientation and work calmly to reduce bee stress.
- Bring basic tools: hive tool, smoker, gloves, and records.
- Feed and inspect weekly until the colony establishes itself.
- Plan expansion when bees occupy most frames and brood is developing.
Table of Contents
- Understanding the Value of Nucleus Colonies
- Essential Tools for Beekeeping Success
- Safe Transport and Storage of Your Nuc
- Preparing the Hive Location
- Moving a Nuc into a Full Hive Box
- Post-Installation Care and Monitoring
- Troubleshooting Common Installation Challenges
- Frequently Asked Questions
Understanding the Value of Nucleus Colonies
An established nucleus provides the core elements—brood, queen, and reserves—that accelerate colony strength in early season.
This video from The Norfolk Honey Company shows the full transfer in practice — lifting frames in their original order, settling them into the new hive body, and getting stragglers in from the old nuc box, the same sequence detailed below.
Components of a Nuc
A standard nucleus typically contains five frames. The two outer frames usually hold honey and pollen for immediate food support.
The three inner frames normally form the brood nest. These frames include eggs, larvae, and capped brood in varying stages.
Benefits for Beginners
Ready-made colonies reduce early losses. A mated queen and an active brood nest mean workers maintain the brood cycle while you learn.
Beginners gain confidence because established frames and known frame order make inspections simpler.
- Faster growth: Built-in brood accelerates population increase.
- Immediate stores: Honey and pollen frames support the colony during transition.
- Lower stress: Queens in nucleus colonies are already accepted by workers, easing installation.
For guidance on transporting and protecting these starter colonies, see the best nuc box for transporting bees.
Essential Tools for Beekeeping Success
Prepare your kit before the colony arrival. Good preparation keeps the hive work efficient and reduces stress for the bees. Lay out each tool so you can work calmly and confidently.

Must-have items include a reliable hive tool to pry and lift frames, a quality smoker to calm workers, and a feeder if stores are low. Pack protective gear — veil, jacket, pants, and gloves — and inspect it for tears.
Organize your tools at the apiary. Keep spare frames and a clean box nearby. A tidy layout speeds inspections and limits time the colony is exposed to the open air.
- Check the hive tool and spare frame placement before you start.
- Light the smoker and keep it handy to soothe bees during transfers.
- Have your protective gear on and a feeder ready if needed.
- Invest in durable tools so you can manage frames and bee work with confidence.
Safe Transport and Storage of Your Nuc
Transport and short-term storage matter as much as the installation itself. Handle the colony calmly and plan the drive to protect brood and honey.
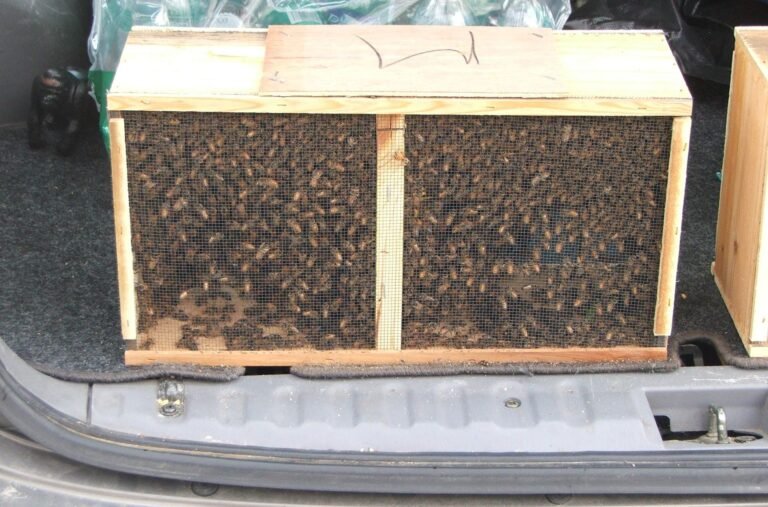
Before you load, secure the nuc box so it cannot shift in transit. Use straps or blocks to hold it steady. Keep the vehicle cool to prevent overheating; large clusters can heat up quickly.
Do not open the hive or nuc when temperatures are below 60°F (15°C). Cold air can chill brood and cause losses.
Maintaining Optimal Conditions
Ventilation is critical. Place the nuc inside a mesh transport bag, such as a Buzz Bag, to ensure airflow while keeping bees contained.
- Fasten the nuc box securely in your vehicle to reduce jostling and stress on the bees.
- On arrival, set the unit at the chosen new hive location and wait at least 15 minutes before opening.
- Keep the entrance closed or blocked until you are ready for the final installation step.
- Protect honey stores by limiting disturbance during transport and handling.
| Checklist | Why it matters | Recommended action |
|---|---|---|
| Secure placement | Prevents shifting and stress | Use straps or foam blocks |
| Cool interior | Stops overheating of bees | Run A/C or crack windows |
| Ventilation | Maintains oxygen and reduces heat | Use Buzz Bag or mesh cover |
Preparing the Hive Location
Pick a sunlit, even area that helps the colony regulate temperature and forage efficiently.
Choosing the right hive location is a core part of good beekeeping. A level plot reduces the chance of frame shifting and helps bees keep the nest stable.
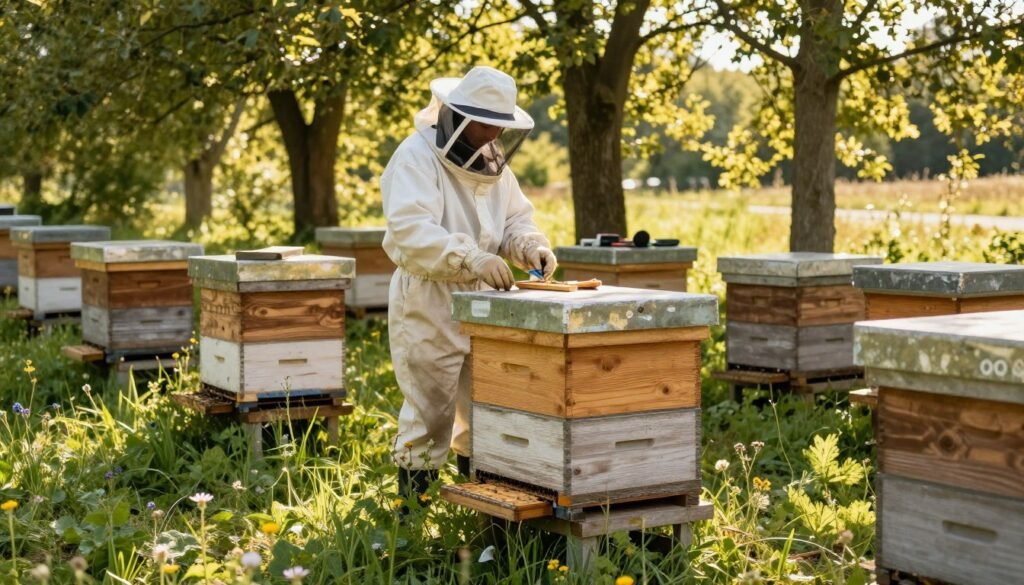
Place the bee hive where wind is blocked by hedges or a fence. Wind protection lets the colony conserve heat and focus on building honey stores.
Before you set the nuc in place, check that the entrance faces morning sun. Sun at the entrance encourages early foraging and helps bees warm the brood nest.
Prepare the site with firm footing and short vegetation so bees can land and orient quickly. A calm, well-sited apiary lets bees spend their energy on growth rather than fending off wind and damp, and good layout eases pest checks while giving the colony room to expand.
For detailed install tips on transferring starter colonies and sourcing, see this transfer guide and the resource on buying packaged bees and nucs.
Moving a Nuc into a Full Hive Box
Start the transfer on a calm morning when foragers are out and the colony is least active. This reduces stress and keeps many workers away from the work area.
Transferring Frames Carefully
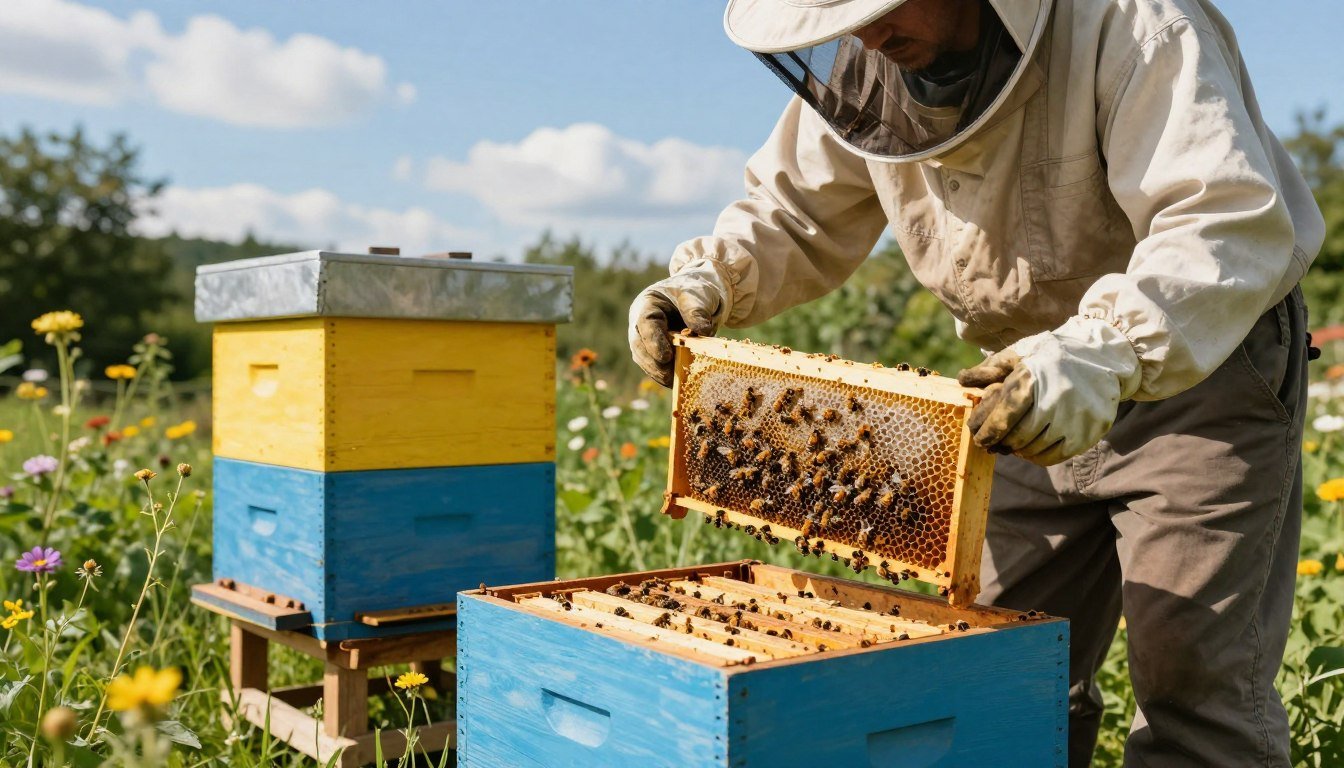
Remove any existing frames from the deep before you begin. Use your hive tool to gently loosen the frames in the nuc box.
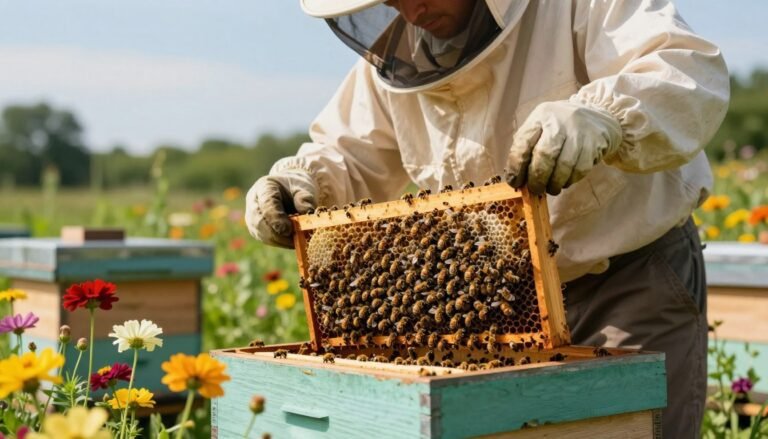
Lift each frame slowly and place it in the center of the new hive body. Handle brood and honey frames with care so the queen stays safe.
Maintaining Frame Order
Keep the original frame order when you move frames. The bees rely on that layout to maintain the brood nest and stores.
After the five nuc frames are set, fill gaps with empty frames to stabilize the cluster and give room to expand.
Integrating Remaining Bees
Once frames are transferred, hold the nuc unit upside down over the new hive and tap it firmly. This helps any remaining bees fall into their new home.
Take time to shake loose stragglers and close the hive. Check the entrance orientation and choose the same location for continuity — gentle, steady work here keeps the colony united and avoids the drifting problems a rushed transfer can cause.
- Use your hive tool and smoker sparingly to keep bees calm.
- Confirm the queen is on a transferred frame before sealing the hive.
- Keep hands steady and moves deliberate; haste causes errors.
| Step | Why it matters | Action |
|---|---|---|
| Clear deep box frames | Creates space and avoids frame clash | Remove all frames from the deep box first |
| Preserve frame order | Maintains brood nest structure | Transfer frames in original sequence to new hive body |
| Shake remaining bees | Ensures colony unity | Invert nuc box and tap; collect fallen bees in new hive |
| Fill gaps | Prevents drifting and stabilizes cluster | Add empty frames around transferred frames |
For a step-by-step checklist and to review best practices, see this practical transfer guide.
Post-Installation Care and Monitoring
Post-installation routines set the tone for colony health and growth.
Feed the colony with a 1:1 sugar syrup in a feeder to encourage them to draw out fresh frames and build comb. Keep the feeder in place until local nectar sources become reliable.
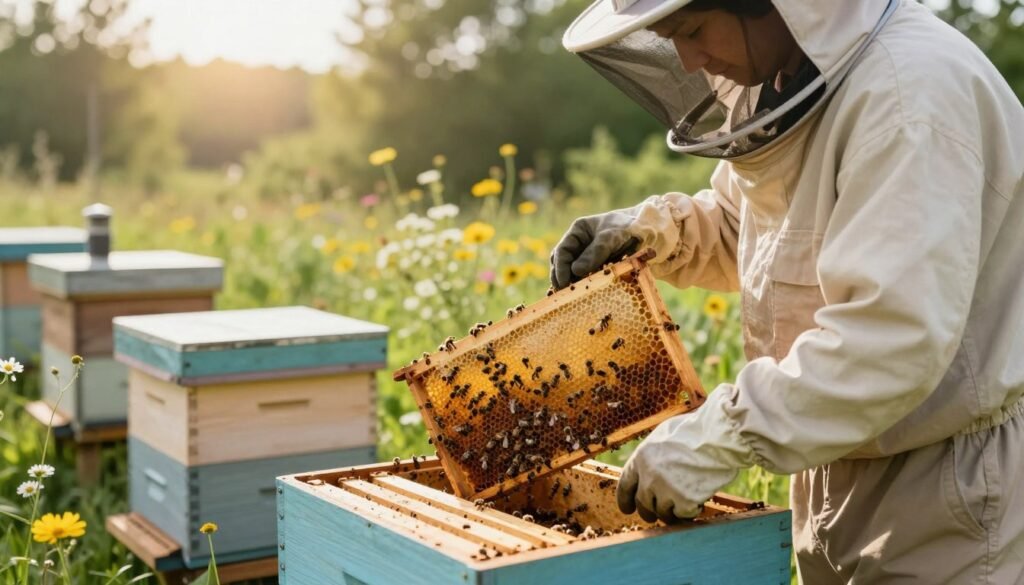
Inspect the new hive every 7 to 10 days. Look at the brood nest to confirm the queen is laying a steady pattern. Check each frame for healthy brood, stores, and any signs of stress.
Use a pollen patty when natural pollen is scarce. This protein boost helps workers rear brood and strengthens colonies during the first month after transfer — regular checks paired with consistent feeding give the queen the best chance to establish a strong brood nest.
- Watch for queen cells on frames to prevent swarming.
- Keep a feeder topped with syrup and replace as needed.
- Use your hive tool and smoker sparingly to limit disturbance.
For quarantine and health steps before addition, review guidance on quarantine new bees.
Troubleshooting Common Installation Challenges
Noting how workers respond during the transfer lets you adjust technique and protect the queen.
Stay calm and observe. If the colony becomes defensive, pause work and give them a few minutes to settle. Use your smoker with gentle puffs rather than continuous smoke.
Wear full protective gear before you open the nuc box. Gloves, veil, and jacket lower sting risk and let you work with steady hands.
Managing Aggressive Behavior
If aggression continues, step back and wait. Avoid sudden movements that can raise activity around the frames. Keep your hive tool ready for a controlled inspection.
Space management matters. Overcrowding in the nuc box often triggers swarming instincts. Slow, steady work and attention to space prevent most common installation problems — monitor how the colony uses frames and add empty frames or a second box when needed.
- Use the smoker to calm bees and reduce agitation.
- Always wear protective gear when handling the nuc box.
- Watch colony space on frames to prevent premature swarming.
- When defensive behavior appears, pause and plan the next step.
| Issue | Cause | Quick fix |
|---|---|---|
| High aggression | Disturbance or queen stress | Apply short smoker puffs; slow your movements |
| Overcrowding | Limited frames and brood space | Add empty frames or another box to give room |
| Stragglers outside | Incomplete transfer | Invert and tap the nuc box so remaining bees fall into the hive |
Conclusion
Completing the transfer leaves you with a strong starting point for seasonal management. Successfully settling a nuc into its new home is a rewarding step in beekeeping. By handling frames gently and checking stores, you give the colony the best chance to thrive. Regular inspections and steady feeding protect brood and honey reserves. For practical steps on finishing the transfer, see this transfer guide, and for gear hygiene review tool hygiene.
Frequently Asked Questions
What is the best time to transfer a nucleus colony to a full hive box?
Aim for late morning on a warm, calm day when foraging is strong. This timing reduces stress and keeps many foragers away. Avoid wet, windy, or cold conditions. Provide a light syrup feeder for the first few days to help the colony build stores and reorient.
How should I arrange the frames when transferring to maintain brood nest structure?
Keep brood frames together in the center of the hive to preserve temperature and care. Place honey and pollen frames to the sides. Maintain original frame order as much as possible to avoid disrupting the queen and nurse bees.
How do I integrate remaining bees from the nuc box after moving frames?
Gently shake or brush remaining bees into the new hive entrance during warm daylight. Leave the old nuc box nearby for a day so stragglers can return before moving it away. Ensure the queen is definitely in the transferred frames to avoid creating a lost-queen situation.
How should I transport and store a nucleus colony safely before installation?
Keep transport short and secure with good ventilation. Use screened nuc boxes or ventilation slots and avoid sudden temperature swings. Store in shade and minimize handling. If overnight storage is needed, feed lightly and check ventilation regularly.
What are common signs the colony needs space after transfer?
Look for bees clustering outside the entrance, rapid comb building, or crowded frames with visible queen cups. Add an empty deep or medium with drawn frames to give the brood nest room. Provide supers when nectar flow begins.
How many frames should I transfer from a frame nuc to a new hive body?
Transfer the frames that contain the queen, brood, and nearby stores—typically three to five frames. Place them centrally in the new hive body and add empty or drawn frames to either side. Avoid transferring too many honey-only frames if space is tight.
When should I add a second hive body or super after installing a nucleus colony?
Add a second brood box when the first is nearly full of brood and stores, usually within 3–6 weeks in good conditions. Add honey supers at the start of a nectar flow. Monitor colony population and honey storage before expanding.