Last Updated September 15, 2026
The core difference between a push-in cage and a standard queen introduction cage comes down to one thing: comb access. A push-in cage presses directly into the comb over open cells, so the new queen can start laying eggs immediately while still protected from the colony. A standard cage (wood, wire, or plastic, with a candy-plug exit) keeps the queen fully isolated, relying on workers slowly acclimating to her pheromones through mesh over several days before she’s released and can lay at all. Neither method is universally “better” — the right choice depends on colony temperament, how valuable the queen is, and how much hands-on time you’re willing to spend. See our roundup of queen cages for introduction for specific gear recommendations alongside this comparison.
Key Takeaways
- A push-in cage is pressed directly into comb, letting the queen lay eggs immediately while a small “escort” workforce of newly emerged bees tends her.
- A standard cage fully isolates the queen; workers only interact with her through mesh, and she can’t lay until released, typically after 2-4 days once workers chew through a candy plug.
- Early egg-laying is the push-in method’s real advantage — it gives workers a productivity signal faster, which can improve acceptance, especially for valuable breeder queens.
- The trade-off is labor: a push-in install takes several minutes of hands-on comb work versus seconds to hang a standard cage between frames.
- Remove the old queen and any queen cells about 24 hours before introducing a new one, regardless of which method you use.
Table of Contents
Understanding the Push-in Cage vs. Standard Introduction Cage
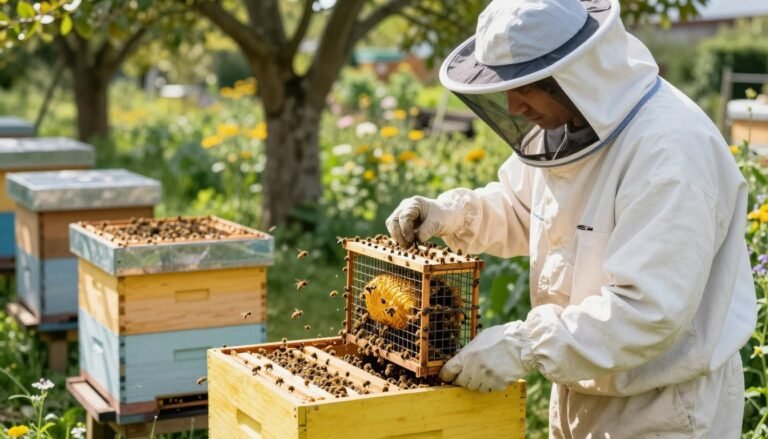
A push-in cage is a small frame, usually built from 8-mesh hardware cloth, pressed directly into the wax comb over a patch of open cells and emerging brood. Because it’s mounted on comb rather than hanging between frames, the new queen has immediate access to cells and can begin laying right away, all while the mesh keeps the colony’s existing workers from reaching and attacking her.
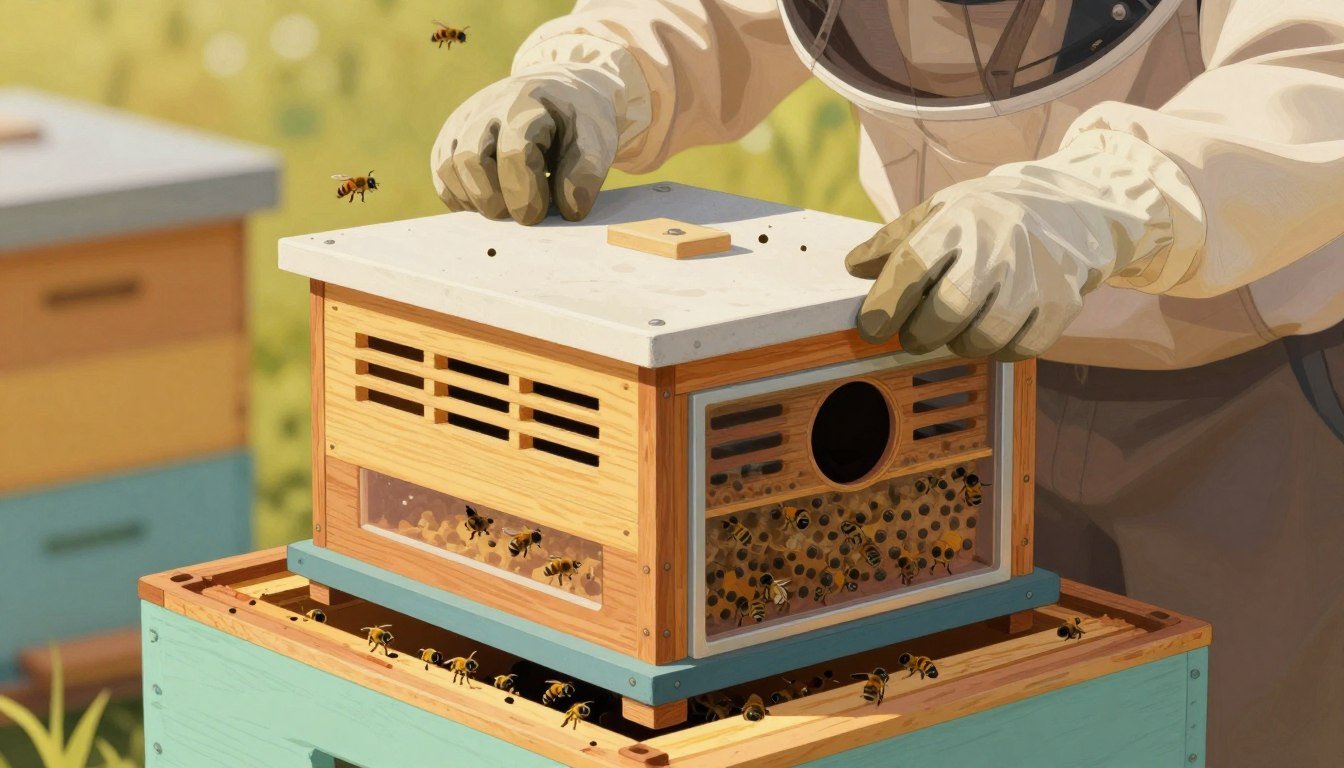
A standard introduction cage works differently: it’s a small enclosure — wood-and-wire “Benton” style, or a modern plastic cage — that hangs or wedges between frames with the queen sealed inside, completely separated from comb. Workers can only interact with her through the mesh, smelling her pheromones and gradually acclimating over several days. She can’t lay a single egg until she’s released. Release is usually gradual and self-timed: one end of the cage holds a small plug of queen candy (roughly a 2-pound batch of powdered sugar kneaded with just under a cup of warmed honey or corn syrup makes enough for many cages), and workers chew through it over about two to four days, by which point pheromone acclimation has typically settled the colony down.
| Method | Comb access | Can lay while confined? | Typical use case |
|---|---|---|---|
| Push-in cage | Directly pressed into comb | Yes — begins laying immediately | Valuable breeder queens, nucs, colonies with a history of rejecting new queens |
| Standard cage (candy-plug) | Sealed, no comb contact | No — relies on pheromone acclimation over 2-4 days | Routine introductions, mailed queens, most everyday requeening |
Beekeeper Bruce, of the brucesbees channel, demonstrates using a push-in cage to requeen an aggressive colony — a practical, real-world look at the comb-mounted technique described above.
Mechanics of the Standard Introduction Cage
Total confinement is the defining feature of a standard cage: the queen is physically separated from comb and brood, so she can’t build a brood-based case for herself the way a laying queen in a push-in cage can. Workers rely entirely on scent through the mesh, which is a slower and, in a stressed or queenless-too-long colony, a somewhat less reliable path to acceptance.
Total Confinement’s Trade-off
- No egg-laying and no comb interaction while confined, so the colony gets no early productivity signal.
- Acceptance depends entirely on scent; a stressed or agitated hive is more likely to reject the queen once released.
- Handle wire or plastic cages carefully during placement to avoid injuring the queen.
Why Pheromone Acclimation Sometimes Fails
Pheromone exposure through mesh is the only signal the colony has while a queen is confined in a standard cage. In a calm, well-fed colony that’s been queenless for the right amount of time, that’s usually enough. In a stressed, crowded, or recently disturbed colony, it can fail — see our guide to why bees reject a new queen for the common causes — which is part of why push-in cages are often reserved for situations (an aggressive colony, a valuable breeder queen, a colony with a track record of rejection) where the extra hands-on effort is worth it.
The Biological Advantage of the Push-in Method
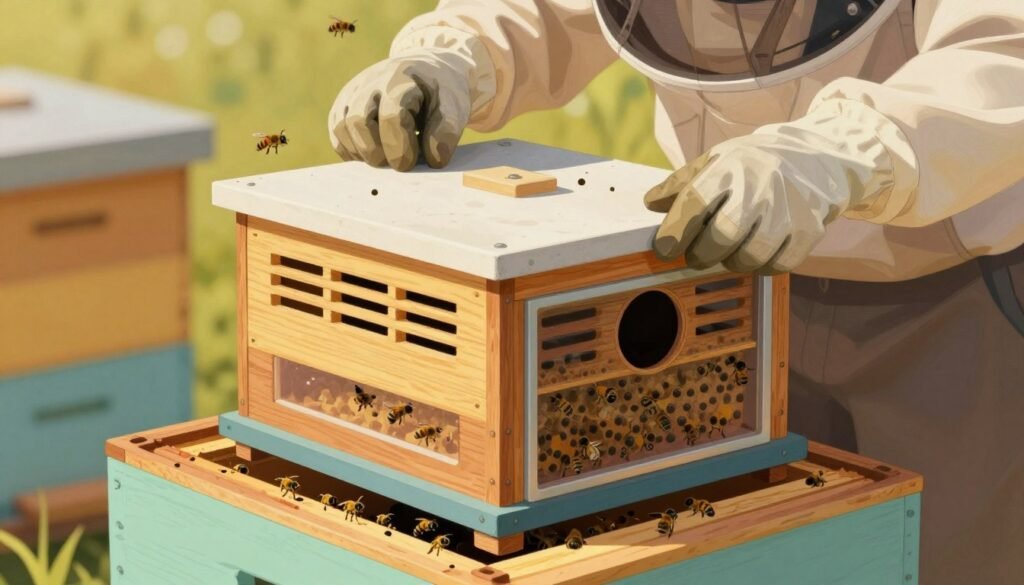
Placing a push-in cage over a patch of emerging brood creates a small, self-contained support system for the new queen. The bees that emerge inside the caged area have no history with a prior queen, so they simply tend to whoever is there — feeding and caring for the new queen from the start rather than needing to be won over.
Creating a Supportive Micro-Colony
- Built-in escort workforce: young bees emerging inside the caged patch tend the queen immediately, with no prior loyalty to displace.
- Early egg-laying: access to open cells lets the queen begin laying right away, building a pheromone and brood-based case for her presence.
- Physical protection: the mesh shields her from aggressive adult workers until she’s established.
Critical Factors for Successful Queen Introduction
Preparing the Colony
Remove the old queen and any queen cells about 24 hours before introducing a new one — that brief queenless window raises worker receptiveness and reduces aggression toward the newcomer. A light 1:1 sugar-syrup spray on the bees and the new queen during placement helps calm activity while you work. If you’re setting up a hive for the first time rather than requeening an established one, our beehive installation guide covers the broader setup.
Getting a Secure Comb Seal
A roughly 3-by-5-inch push-in cage cut from 8-mesh hardware cloth, pressed firmly into the comb’s midrib, is the standard size. Press it in deep enough that workers can’t crawl underneath, and choose a comb patch with open nectar and emerging brood so the queen has both food and an escort waiting.
Checking for Acceptance
Check the cage after 3-5 days. Signs of chewing at the mesh or calm behavior around it are good signs; visible aggression toward the queen means the introduction may be failing. If a queen is rejected, moving her to a small nuc, or trying again with a different method, is usually a better bet than repeating the same failed approach.
Labor and Equipment Trade-offs
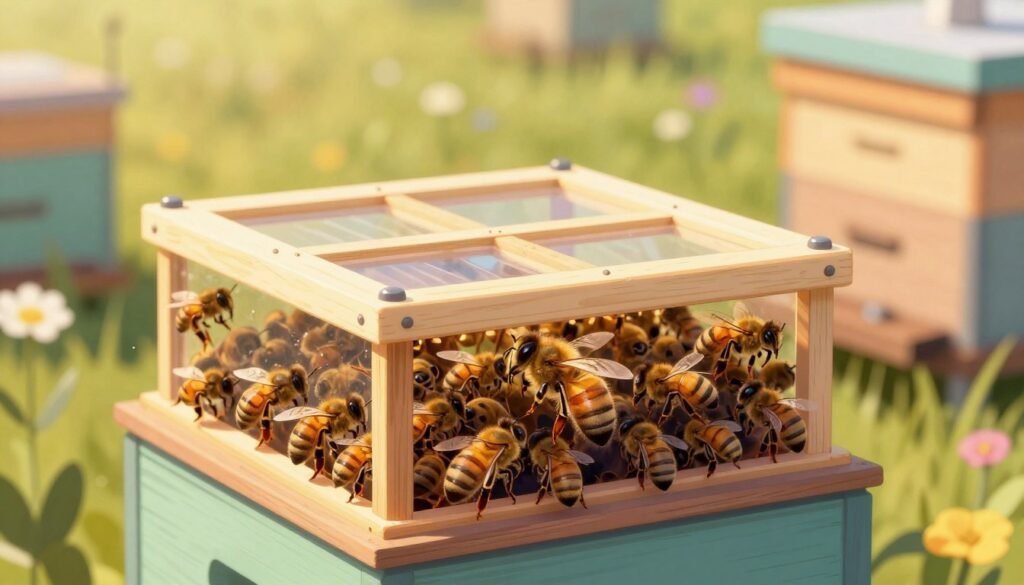
The practical choice between methods usually comes down to time and equipment on hand. A push-in cage takes real hands-on work — shaking bees off a frame and pressing hardware cloth into wax comb — which can take several minutes per hive rather than the seconds it takes to hang a standard cage between frames. For a hobbyist requeening one or two hives, that time difference barely matters. For a commercial operation requeening dozens or hundreds of colonies, or for anyone introducing a genuinely valuable breeder queen, the extra effort and minor comb disturbance is usually judged worth it for the higher confidence in acceptance.
| Factor | Push-in cage | Standard cage |
|---|---|---|
| Hands-on time | 5-10 minutes per hive | Seconds to place |
| Release timing | Queen active immediately, monitored at 3-5 days | 2-4 days via candy plug |
| Best suited for | Valuable queens, difficult/aggressive colonies | Routine requeening, mailed queens |
Conclusion
Simple convenience rarely outweighs the practical benefit of letting a new queen start laying eggs immediately, especially for a colony with a history of rejecting new queens or a queen worth the extra care. A standard cage is faster to place and perfectly adequate for routine, low-stakes requeening. Weigh your own labor, risk tolerance, and how much the specific queen is worth before choosing — and for a deeper look at queen introduction generally, see beekeeper and molecular biologist David Evans’s detailed queen introduction guide at The Apiarist.
Frequently Asked Questions
What’s the main difference between a push-in cage and a standard queen cage?
A push-in cage is pressed into comb, giving the queen access to open cells so she can lay eggs immediately while protected. A standard cage fully isolates the queen from comb; she can’t lay until workers chew through a candy plug and release her, usually after 2-4 days.
Which method has a higher acceptance rate?
It depends on the colony. Push-in cages tend to do better in strong, well-fed colonies or ones with a history of rejecting new queens, since early egg-laying gives workers a faster productivity signal. Standard cages work fine for most routine introductions in calm, receptive colonies.
How long should a standard introduction cage stay in the hive?
Most beekeepers leave it in place until the candy plug is chewed through and the queen is released on her own, typically 2-4 days, occasionally up to a week. Check periodically for signs of aggression toward the caged queen.
How long should I check a push-in cage before deciding if the queen was accepted?
Check after 3-5 days for chewing at the mesh and calm worker behavior. If you see aggression toward the queen instead, the introduction may be failing.
Do I need to remove the old queen before introducing a new one?
Yes, with either method. Remove the old queen and any queen cells about 24 hours beforehand — that brief queenless period improves worker receptiveness to the newcomer.
What size should a push-in cage be?
A common size is roughly 3 by 5 inches, cut from 8-mesh hardware cloth and pressed firmly into the comb’s midrib over a patch with open nectar and emerging brood.
What if the colony rejects the new queen?
Remove her promptly and assess the colony. Options include moving her to a small nuc, trying the other introduction method, or requeening again with a different queen once you’ve addressed whatever made the colony inhospitable (queenless too long, still has queen cells, overly stressed).
You can find more background in our guide to how to sanitize queen cages before reuse.
We go deeper into this topic in our post on queen cage candy plug: what it is and how it functions.