Last Updated September 17, 2026
You can requeen a hive without finding the old queen by making the colony queenless in a way that never depends on seeing her: sieve the bees through a queen excluder so she is trapped, split the hive and let emergency queen cells reveal which half she is in, or establish the new queen in a nuc and unite the two. What does not work is the shortcut most people hope for. Dropping a queen cell or a caged queen into a hive that still has a laying queen succeeds in only 6–15% of colonies in controlled trials.
This guide walks through the three methods that do work, ranks them by how much time and equipment they need, and explains how to confirm the new queen was accepted. It draws on two published requeening trials (Boch and Avitabile, 1979; Holmes et al., 2023), the University of Guelph’s Honey Bee Research Centre protocol, and UF/IFAS extension guidance, so the timings below are sourced rather than folklore.
Key Takeaways
- A caged queen is only accepted by a colony that is already queenless. Every method below works by removing or isolating the old queen without you having to spot her.
- Fastest: shake the bees through a queen excluder into an empty box. Workers pass, the queen and drones stay behind, and you find her in minutes.
- No-search option: split the hive into two boxes and wait 3–4 days. The half that starts emergency queen cells is queenless. Requeen that half, then deal with the smaller half at leisure.
- Highest acceptance: let the new queen start laying in a nuc first, then unite the nuc with the big hive through a sheet of newspaper.
- Do not drop a queen cell into a queenright colony. A 100-colony Alberta trial found the new queen took over in just 6% of hives.
- Leave the cage alone for a week after installation, then look for eggs. Eggs and young larvae are the only proof of acceptance.
Table of Contents
- Why the queen is so hard to find (and why it doesn’t matter)
- The method that fails: adding a queen to a queenright hive
- Method 1: Sieve her out with a queen excluder
- Method 2: Split the hive and let the bees tell you where she is
- Method 3: Requeen with a nuc and a sheet of newspaper
- Which method should you use?
- Installing the new queen’s cage correctly
- When in the season to requeen
- How to confirm the new queen was accepted
- FAQ
- Requeening questions answered elsewhere
Why the queen is so hard to find (and why it doesn’t matter)
A strong summer colony holds 40,000 to 60,000 workers spread across 16 to 20 frames, and the queen is one unmarked insect who moves away from light and disturbance. She is often on the frame you just put back, or on the box wall, or has walked down onto the bottom board. Even experienced beekeepers can burn 45 minutes and lose the calm of the colony without seeing her. If she is marked, the search is trivial. If she is not, you need a plan that does not depend on your eyesight.
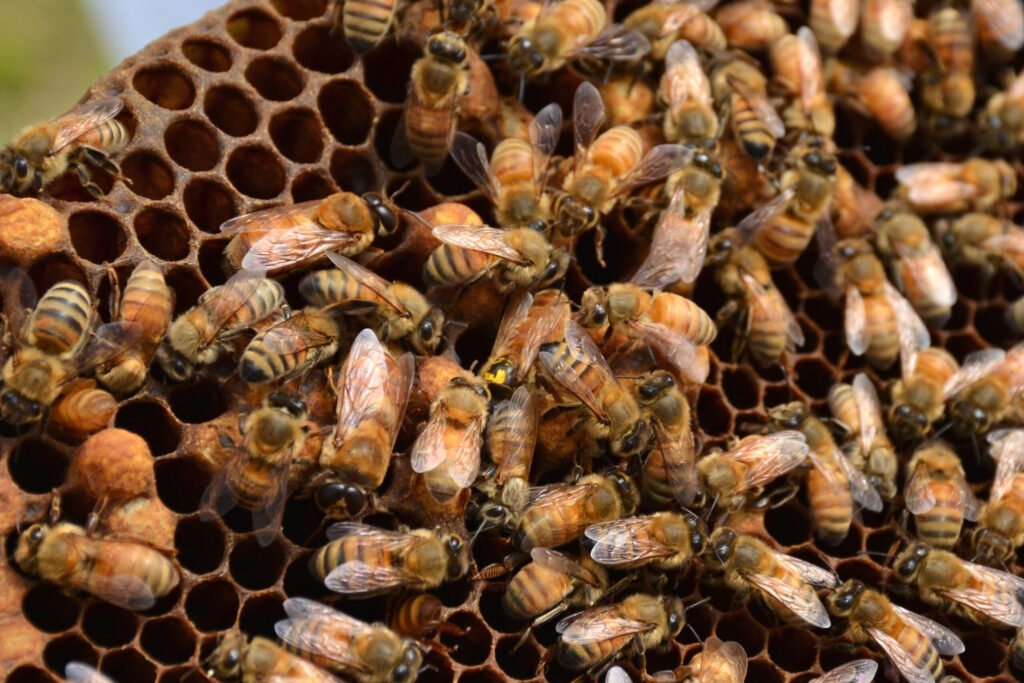
The good news is that the bees do not care whether you saw her. They care whether a queen’s pheromone is present. Every reliable requeening method is really a way of making a colony, or a defined part of it, queenless without the beekeeper having to see the old queen. The Honey Bee Research Centre at the University of Guelph puts the underlying rule bluntly in its requeening protocol:
Requeening is only done after successful de-queening. There is no point introducing a new queen unless the old queen has been removed because they will not accept the new queen.
Before you go further, make sure a new queen is actually the fix. A patchy brood pattern, a shrinking population, or a bad-tempered colony can all point to a failing queen, but so can disease, a nectar dearth, or varroa. Our guide to the signs of a failing queen covers how to tell them apart.
The method that fails: adding a queen to a queenright hive
The tempting shortcut is to slip a ripe queen cell, or even a caged mated queen, into the hive and let the bees sort it out. Two controlled studies, 44 years apart, measured how often that works.
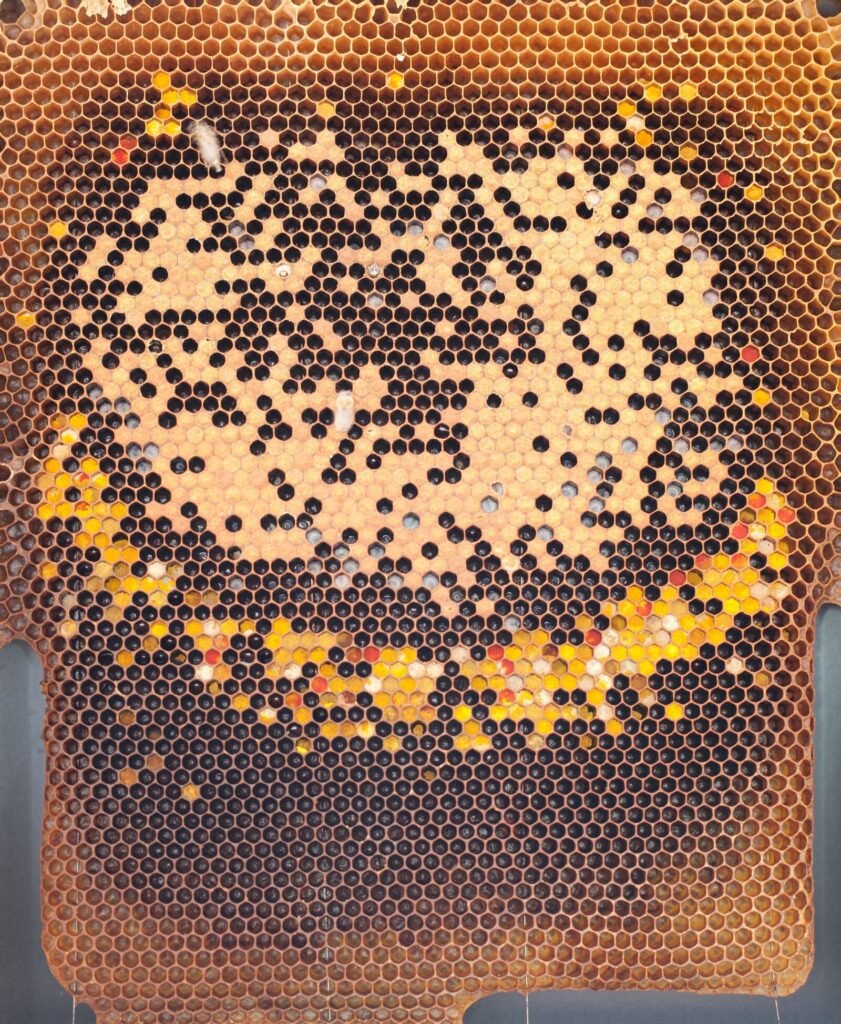
In 1979, R. Boch and A. Avitabile published “Requeening Honeybee Colonies Without Dequeening” in the Journal of Apicultural Research (vol. 18, no. 1, pp. 47–51). When ripe queen cells were placed into queenright colonies, only 15% (range 0–39%) of the resident queens were replaced. When the same colonies were first divided and the queenless half was allowed to raise its own queen before the halves were reunited, 50% of the resident queens were replaced. Queenless control colonies given a cell were successfully requeened 90% of the time.
In 2023, Holmes, Kearns, Ovinge, Wolf Veiga and Hoover tested the commercial version of the shortcut on 100 queenright colonies in Alberta canola fields, placing a queen cell in the honey super of each hive and genotyping the offspring six weeks later (Journal of Insect Science, 23(5):20). The introduced queen ended up laying in 6.1% of colonies. The original queen was still laying in 80.5%, and in 13.4% the colony had superseded her with one of her own daughters instead. The authors’ conclusion:
the practice does not result in the new queen taking over leadership in most colonies
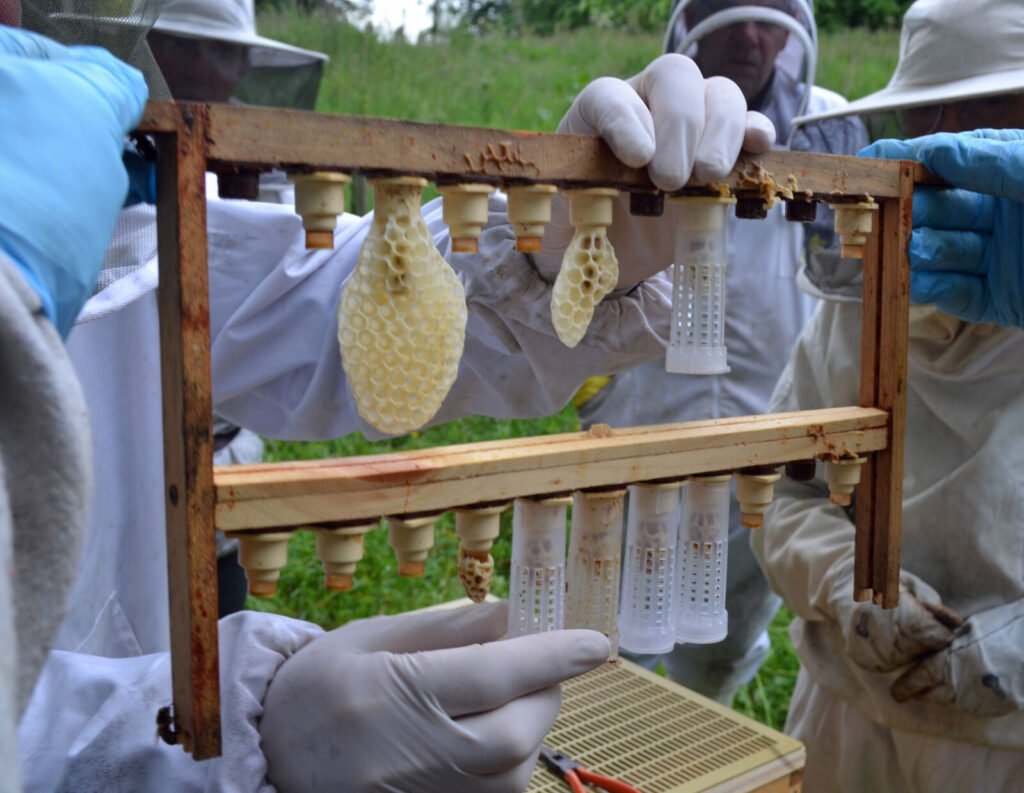
The lesson is not that queen cells are bad. It is that a laying queen’s pheromone tells the workers they already have one, and they treat the newcomer as an intruder. Remove that pheromone source and the same cell or caged queen is accepted around nine times out of ten. Each method below is a different way to remove it without seeing her.
Method 1: Sieve her out with a queen excluder
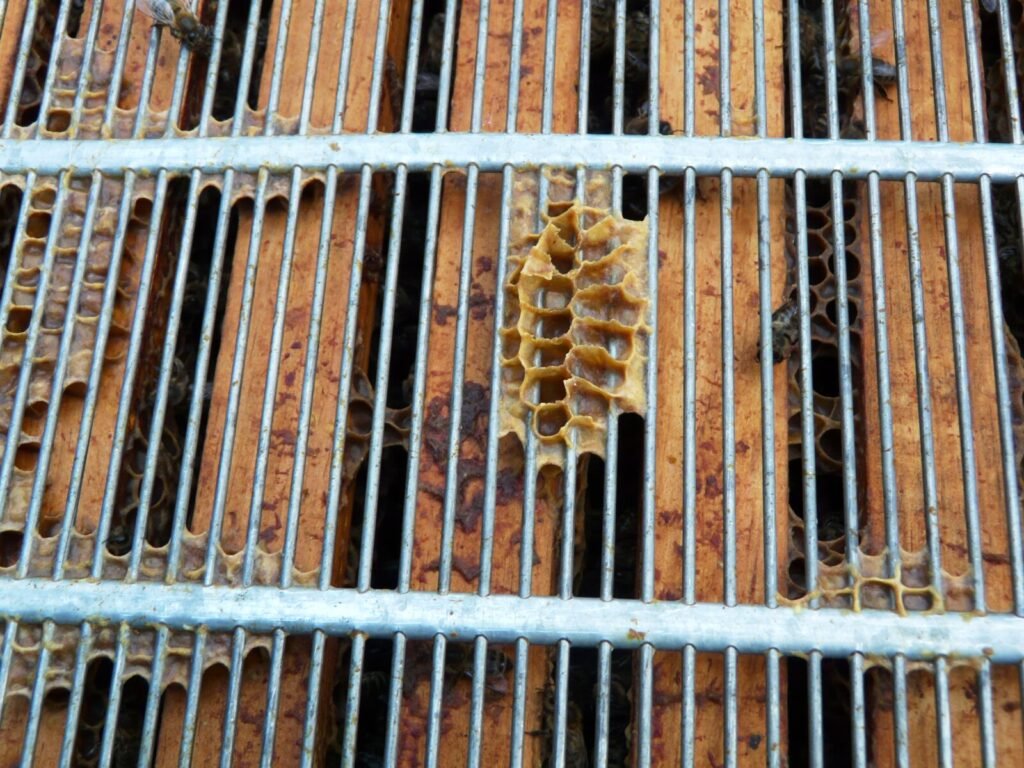
This is the fastest method and the one to try first on a hive that is not enormous. It turns the queen excluder into a filter. A worker bee walks through the slots; the queen’s larger thorax cannot, and neither can drones.
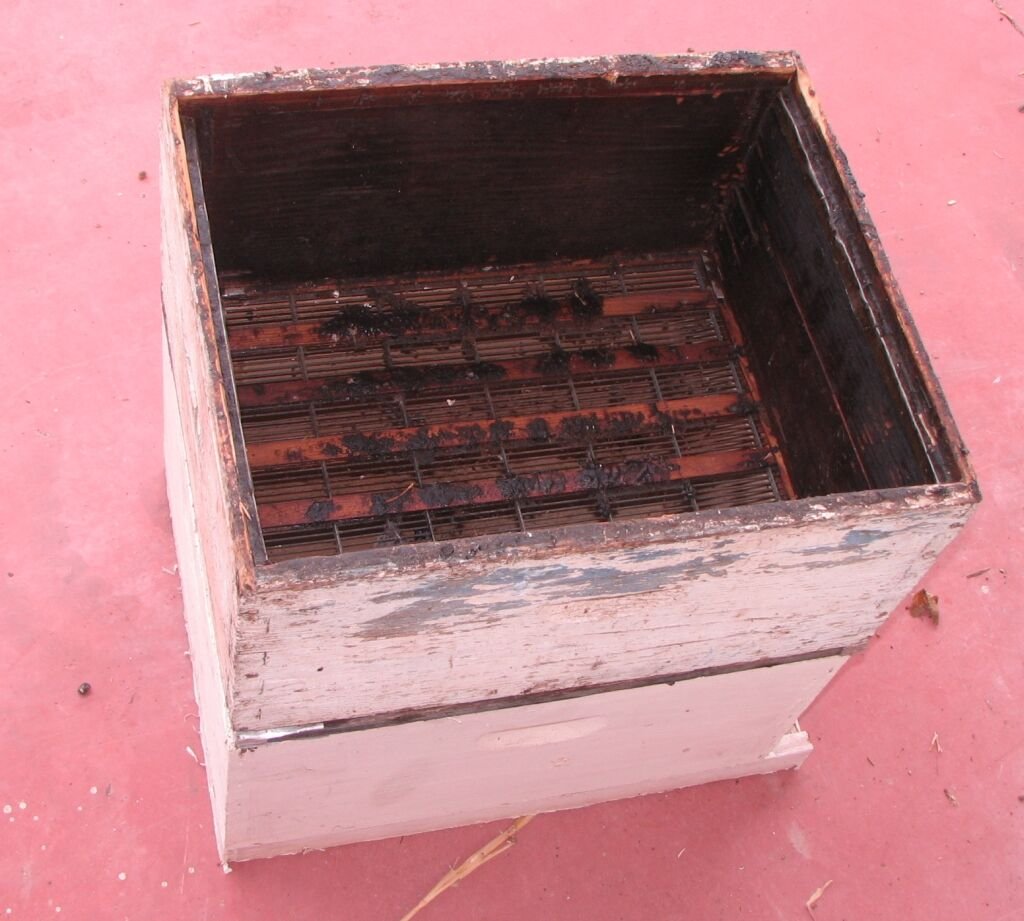
- Set up the sieve. Smoke the colony lightly, lift the brood box (call it Box 1) off the stand and set it on an upturned lid beside the hive. Put an empty hive body (Box 2) on the bottom board.
- Shake or brush every frame. Take each frame out of Box 1, shake its bees off back into Box 1, and set the bare frame into Box 2 in the original order. When Box 2 holds all the frames, Box 1 holds most of the bees and no comb.
- Stack with the excluder between them. Lay the queen excluder on top of Box 2 (the frames), set Box 1 with its loose bees on top of the excluder, and close the lid. For a two-box hive, repeat with the second brood box or use a spare body.
- Wait 20–30 minutes. Workers stream down through the excluder to their brood. The queen and the drones are left walking on top of the grid in the near-empty upper box.
- Find her on the excluder. Lift Box 1 off. With a few hundred bees instead of 40,000, she stands out. Pinch her, or cage her if you want to keep her as a backup in a nuc.
- Reassemble and introduce the new queen. Put the frames back, and place the caged queen in the brood nest the same day. UF/IFAS extension advises introducing the replacement within a few hours of removing the old queen; the Guelph protocol waits about a day. Either works. Just do not leave the colony queenless for more than a day or two, or the bees will start their own emergency cells.
The Bee Supply describes a variant for finding a lost queen: shake the bees onto the ground in front of the hive, slide an excluder between the bottom board and the brood box, and check the underside of the excluder about 30 minutes later, where the queen is trapped trying to get back in. The principle is identical. If you would rather learn to spot her on the frames, our guide on how to find a failing queen on the frames covers the visual cues.
Method 2: Split the hive and let the bees tell you where she is
If you have a spare box and a few days, you never need to see the queen at all. This is the divided-colony approach from the 1979 trial, adapted so that you introduce a purchased mated queen instead of waiting for the bees to raise one.
- Divide the colony into two boxes. Give each box roughly half the brood, making sure both halves contain eggs and very young larvae, plus honey and pollen. Put one half on the original stand and the other on a stand nearby. Which box has the queen is unknown, and that is fine.
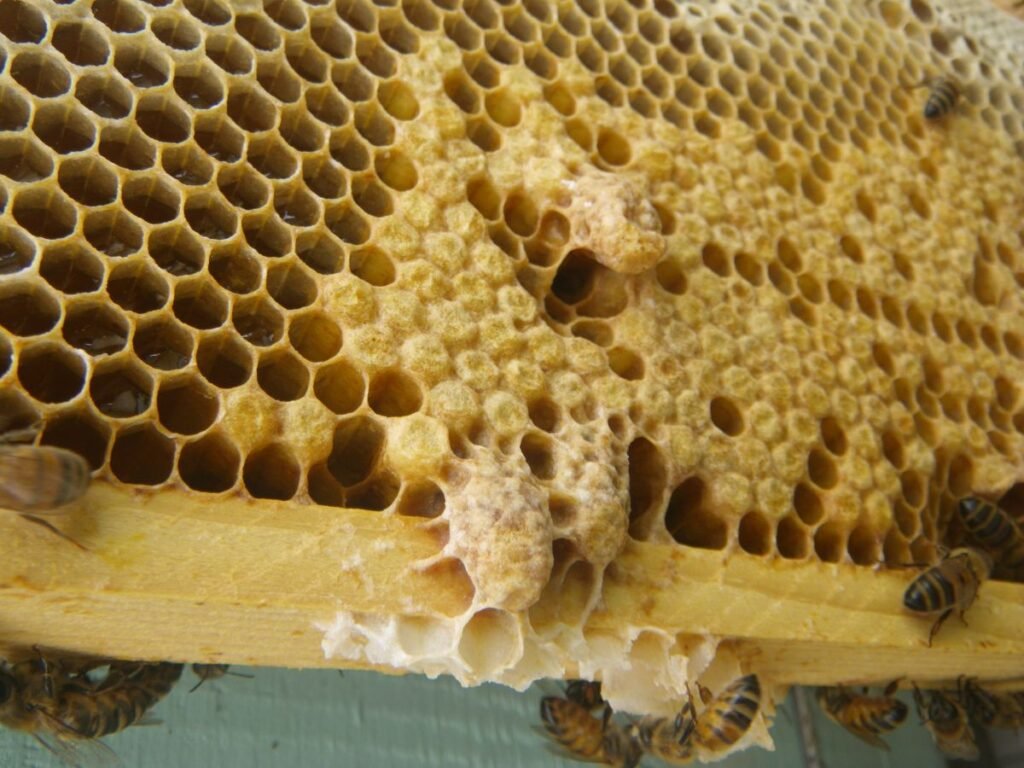
- Wait 3–4 days. A colony that loses its queen usually starts emergency queen cells within a day or two, and by day three or four they are obvious: enlarged, peanut-shaped cells built out from worker cells, often several of them. The half with those cells is queenless. The half with new eggs and no cells has the old queen.
- Requeen the queenless half. Cut out every emergency cell, then install your caged queen between the brood frames. Because that unit is genuinely queenless, acceptance is high.
- Deal with the queenright half at leisure. It is now a much smaller colony, so finding and removing the old queen is far easier. Once she is gone, unite the two halves with a sheet of newspaper (see Method 3) after the new queen has been laying for a week or so. If you still cannot find her, you can run the small half as a second colony until she is spotted, or requeen it later by the sieve method.
A shortcut version uses flight behaviour instead of a spare stand: move the box you believe holds the queen (the one with the freshest eggs) at least 10 yards away. Its foragers fly back to the original stand, which leaves the moved box weaker and easier to search, while the original stand can be requeened once you confirm it has no eggs and is building cells. Knowing how to tell emergency cells from supersedure cells helps you read what each half is doing.
Method 3: Requeen with a nuc and a sheet of newspaper
This is the method with the highest acceptance rate, because the new queen arrives with her own bees and is already laying. It is also the slowest, since the nuc needs a week or two to establish.
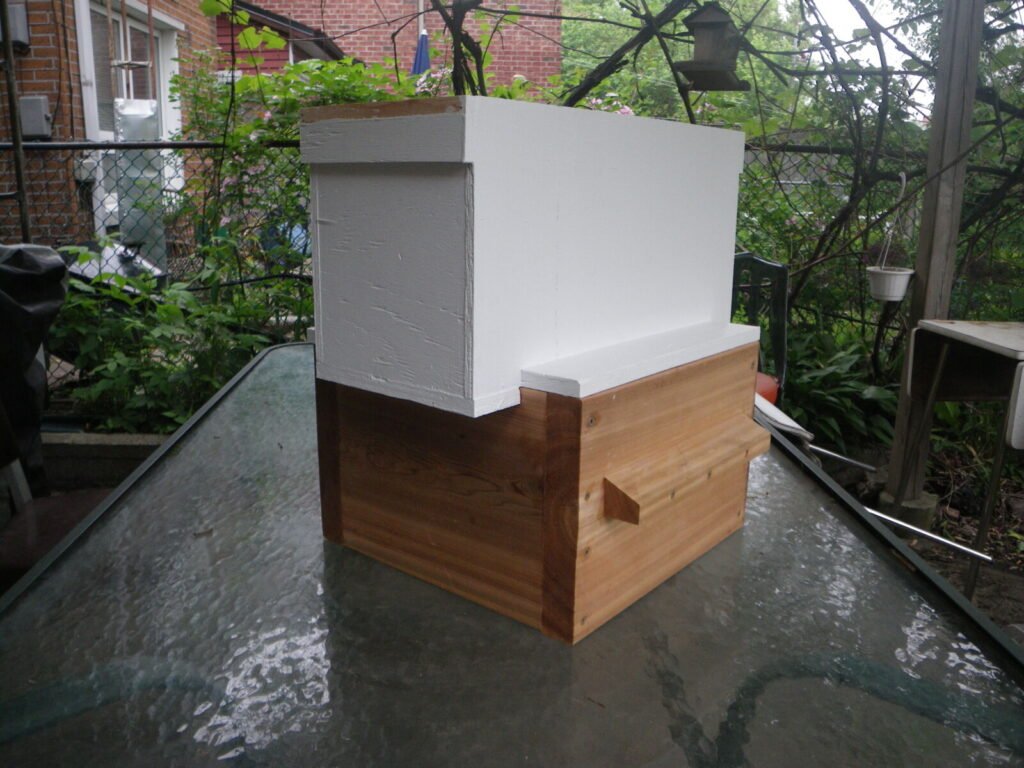
- Establish the new queen in a nuc. Buy a queenright nuc, or make one by shaking two or three frames of nurse bees and capped brood from the big hive into a 5-frame box and introducing the caged queen there. A small unit accepts a queen more readily than a full colony; see introducing queens to nucs vs full colonies. Let her lay for 7–14 days.
- Remove the old queen from the big hive if you possibly can. Use Method 1 the morning of the combine. If it truly is not possible, go ahead anyway, but understand the risk described below.
- Lay a single sheet of newspaper over the top box of the big hive. Cut two or three small slits with your hive tool. Set the nuc’s frames, in a box, on top of the paper, and close up.
- Wait. The bees chew through the paper over a day or two, and by the time they can pass through, the colony odours have blended. Rusty Burlew of Honey Bee Suite describes it this way: “By the time the bees can pass through the paper, the odors have substantially combined and fighting is avoided.”
- Consolidate a week later. Remove the paper scraps, and rearrange the brood frames into the bottom box.
The risk in skipping step 2 is that you are uniting two queenright colonies. The bees will eventually eliminate one queen, and a young laying queen backed by her own nurse bees often wins, but it is not guaranteed and you can lose both. Burlew’s advice on the paper method is direct:
There is no point in letting them ‘fight it out’ because you could end up losing both.
Our step-by-step on uniting a queenless hive with another colony covers the paper method in more detail.
Which method should you use?
| Method | Do you ever have to see the old queen? | Time to a laying new queen | Evidence for acceptance | Best for |
|---|---|---|---|---|
| 1. Excluder sieve | Yes, but on a few hundred bees, not 40,000 | Same day install; eggs in 7–10 days | Colony is queenless at install; Boch & Avitabile recorded 90% success in queenless colonies | Any hive you can lift frame by frame; fastest option |
| 2. Split and wait | No (she is left in the smaller half) | Install on day 3–4; eggs about 2 weeks after the split | Queenless half accepts like any queenless colony; divided-colony variant scored 50% in the 1979 trial when bees raised their own queen | Beekeepers with a spare box and stand who would rather not search at all |
| 3. Nuc plus newspaper | Only if you want certainty on combine day | 2–3 weeks (nuc establishment plus combine) | Highest practical acceptance; queen arrives laying with her own bees | Valuable breeder queens, aggressive colonies, late-season requeening |
| Queen cell into a queenright hive | No | 3–4 weeks if it works | 6% (Holmes et al., 2023); 15% (Boch & Avitabile, 1979); 13% (Szabo, 1982) | Not recommended |
Whatever route you choose, the cage you use matters less than the fact that the colony is queenless when it goes in. Our roundup of the best queen cages for introduction compares the common designs.
Installing the new queen’s cage correctly
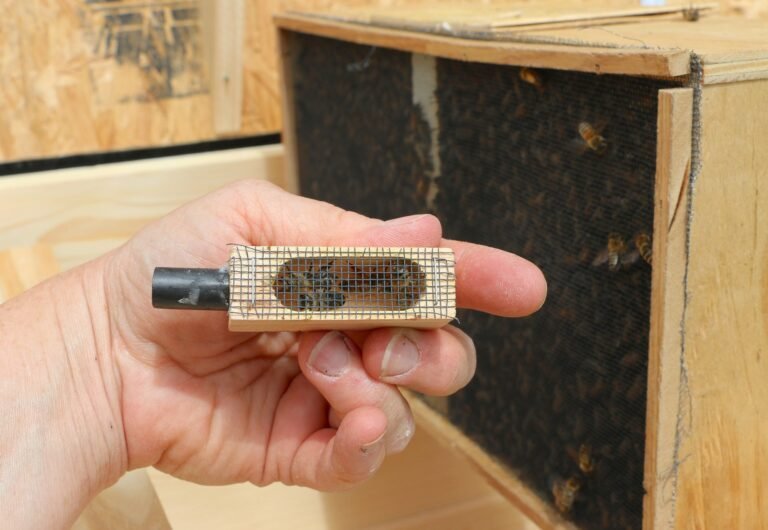
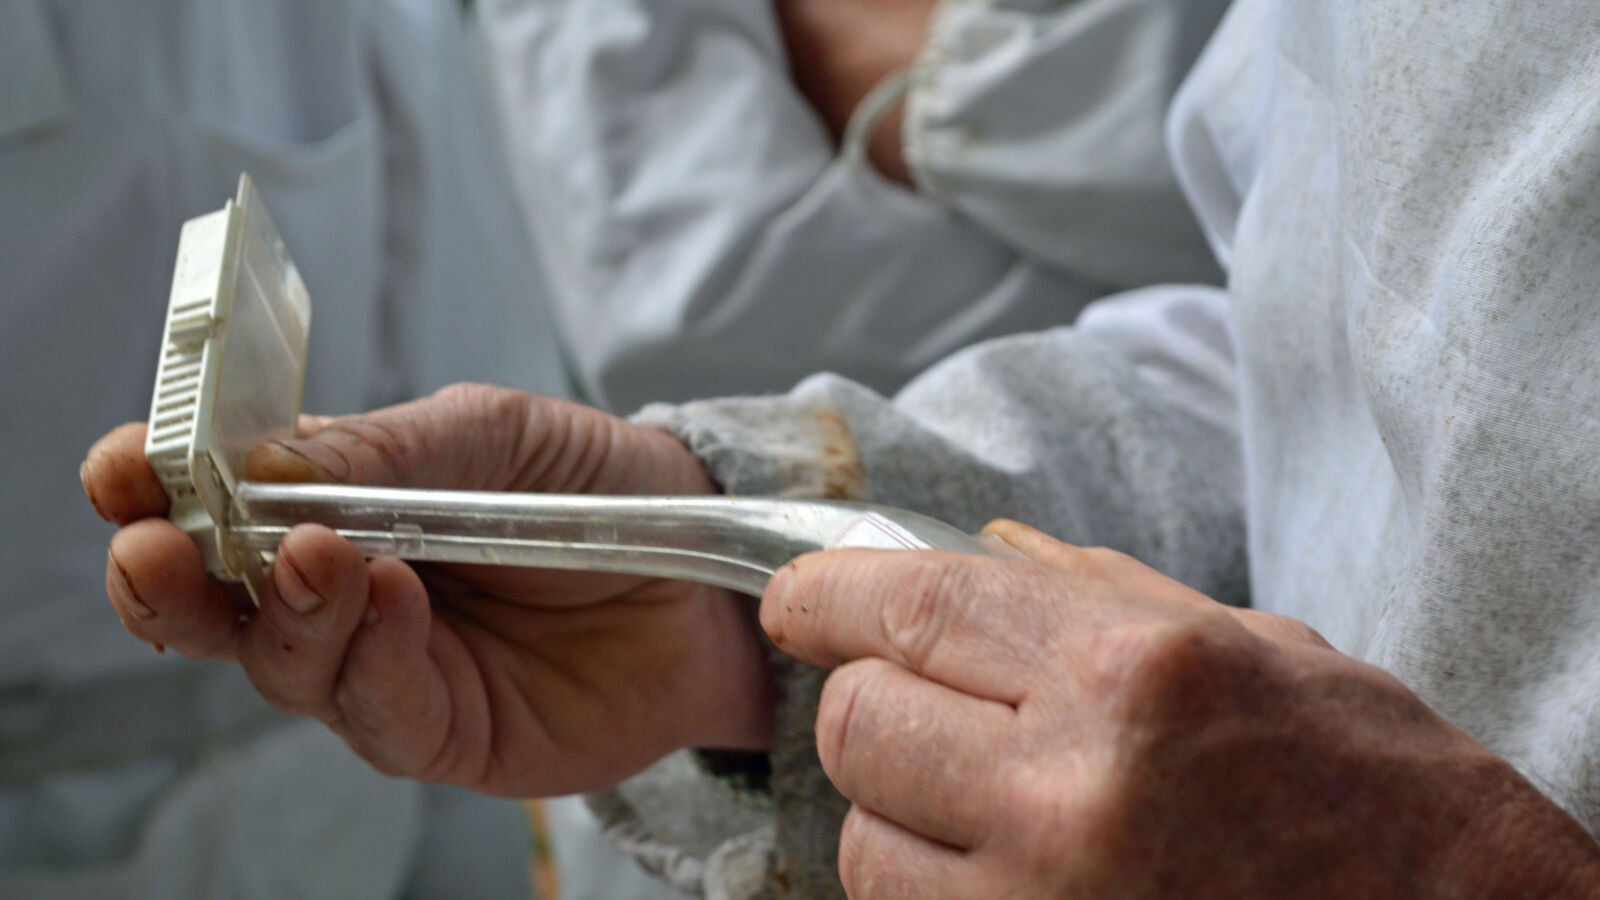
Once the colony (or the queenless half) has no queen, the cage does the rest. A mailing cage holds the queen and a few attendants behind mesh, with a plug of sugar candy at one end. The workers feed her through the mesh, pick up her pheromone over several days, and eat through the candy to release her, usually in about three days.
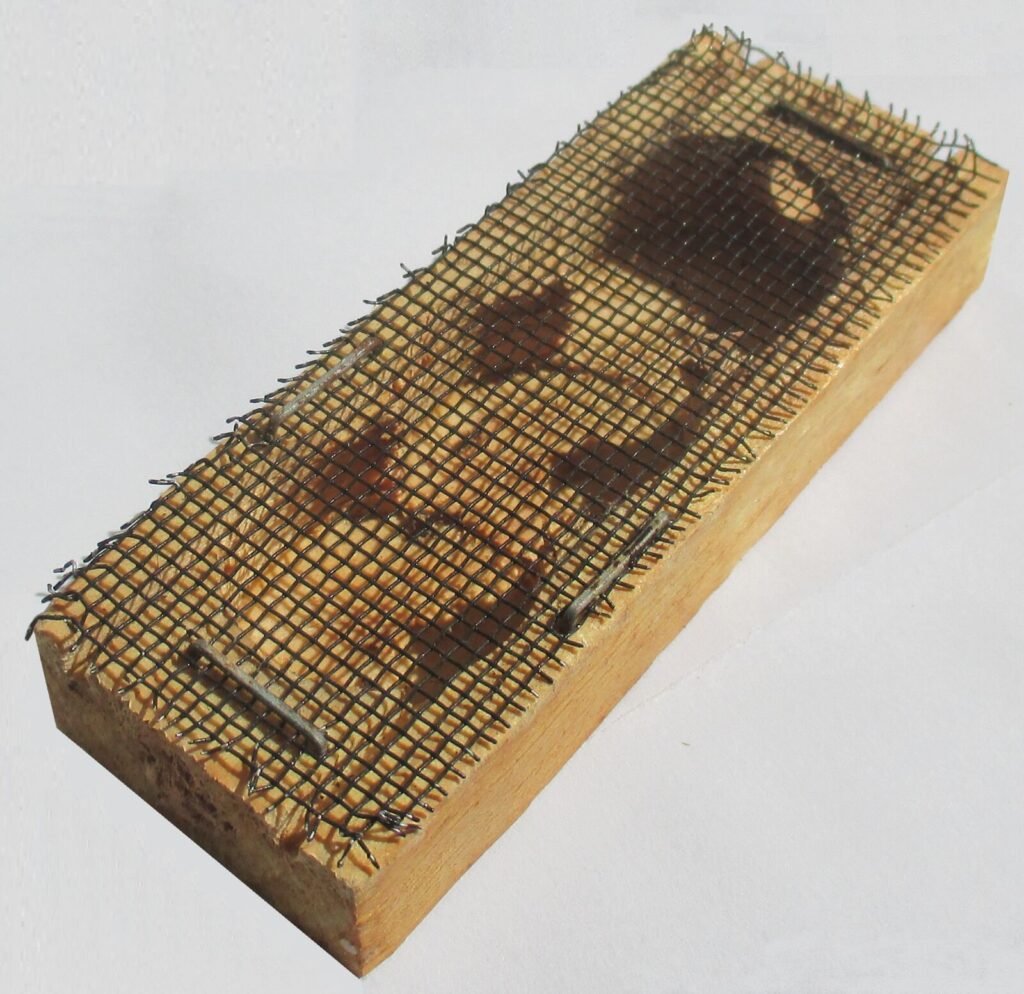
- Remove any cork or plastic cap from the candy end. Leave the candy itself in place; do not poke a hole through it unless the colony has been queenless for a long time and you want a faster release.
- Hang the cage between two brood frames in the centre of the brood nest, mesh side exposed so bees can reach her, candy end tilted slightly upward so a dead attendant cannot block the exit.
- Wedge or rubber-band it so it cannot drop to the bottom board. Push the frames back together gently so it is held, not crushed.
- Feed light syrup if there is no nectar flow. Acceptance is noticeably better when food is coming in.
- Do not open the hive for a week. The Guelph protocol says exactly that: “Do not disturb this colony for a week.” Every inspection during the release period is a chance for the bees to ball her.
How the sugar plug works, and when to do a direct release instead, is covered in our explainer on the queen cage candy plug and in how long to leave a queen cage in a hive.
When in the season to requeen
Acceptance is best when nectar or syrup is coming in and the colony is busy. That gives two natural windows in most of the United States:
- Late spring to early summer, during or just before the main flow, when a young queen has the whole season to build a colony.
- Late summer, roughly August into early September in the northern states, so the new queen lays the long-lived winter bees. Florida’s UF/IFAS extension service recommends requeening either four to six weeks before the principal nectar flow or in late summer, and names September as its preferred month for Florida colonies.
Avoid a dearth if you can. If you must requeen during one, feed syrup from the day the cage goes in. Very late fall introductions carry the most risk because a rejected queen leaves the colony no time to recover. For a fuller month-by-month breakdown see when is the best time to requeen a hive.
How to confirm the new queen was accepted
About seven days after installation, open the hive calmly and check the cage. An empty cage with the candy gone is a good sign; a cage still full, or workers biting at the mesh rather than feeding through it, is not. Then look for eggs. A mated queen usually begins laying two to seven days after release, so on day 7–10 you should find eggs in the centre of the brood nest, one per cell, standing upright at the bottom. Black foundation makes them easier to see.
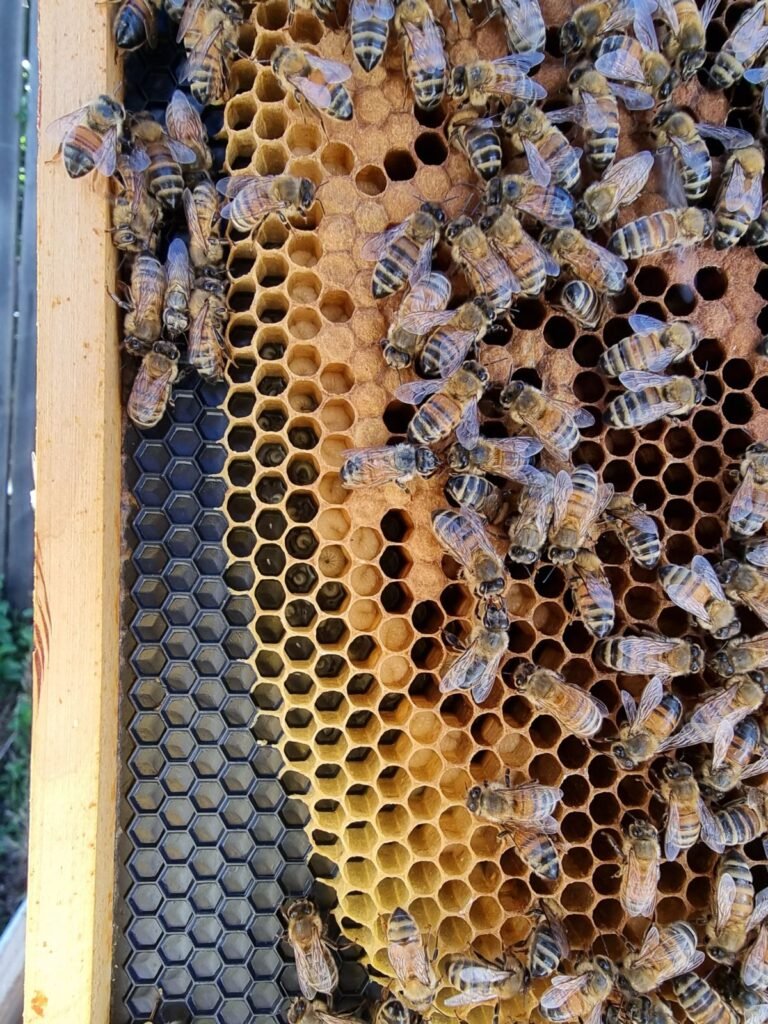
Two to three weeks after release, check again for a solid, compact pattern of capped worker brood. That confirms she is not only laying but laying fertilised eggs in a healthy pattern. If instead you find a patchy pattern, multiple eggs per cell, or new emergency cells, something went wrong. Our guide to checking if a new queen was accepted covers each of those outcomes, and why bees reject a queen explains the usual causes: an old queen that was never removed, a virgin already loose in the hive, or laying workers.
If the queen was killed and the colony has been queenless for more than about three weeks, check for signs of laying workers before buying another queen; a laying-worker colony will reject her too, and uniting it with a queenright hive is usually the better rescue.
FAQ
Can I just put a new queen in without removing the old one?
Not with any reliability. A colony with a laying queen treats a second queen as an intruder. In the 2023 Alberta trial the introduced queen took over in 6% of queenright colonies, and in the 1979 Journal of Apicultural Research trial the figure was 15%. Make the colony queenless first, using one of the three methods above.
How long can a hive stay queenless before I install the new queen?
A few hours to a day is ideal. After about a day the bees start emergency queen cells, which you then have to cut out before the caged queen goes in, and after roughly three weeks laying workers can appear, at which point a new queen is very likely to be rejected.
Will a queen excluder really trap the queen?
Yes. Excluder slots are sized so a worker can pass and a queen or drone cannot. When bees are shaken into an empty box sitting on an excluder, workers move down to the brood within 20–30 minutes and the queen is left on top of the grid.
How do I know which half of a split has the old queen?
Wait three to four days. The queenless half will have started emergency queen cells and will have no eggs younger than the split. The half with fresh eggs and no queen cells has the old queen.
Do I have to remove emergency queen cells before introducing a caged queen?
Yes. Leave even one and the workers may favour their own developing queen and reject the caged one. Go through every frame, including the bottom edges of the comb, and cut them all out.
How soon should the new queen start laying?
Usually two to seven days after she is released from the cage, which means eggs are typically visible 7–10 days after installation. A solid capped brood pattern should follow two to three weeks after release.
A realistic next step
If you are staring at a booming hive and cannot find the queen, do not keep pulling frames. Close up, come back with an excluder and an empty box, and sieve her out in half an hour. If that feels like too much lifting, split the hive today and let the bees show you where she is by the weekend. Either way, mark the new queen when you next see her so you never have to do this search again; our guide on how to mark a queen bee safely shows how.
Requeening questions answered elsewhere
This page covers requeening when you cannot find the old queen. These cover the rest of the decision: