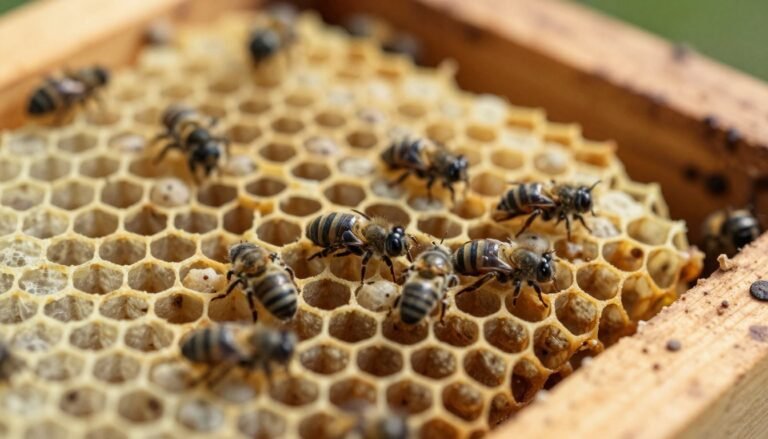
Keeping colonies healthy starts with simple habits. Honeybees pick up diseases and parasites that travel on beekeeping equipment. Regular cleaning of hive tools and frames reduces the risk of spread and helps prevent colony collapse.
Proper prep matters: remove wax and propolis before any disinfection step. Organic buildup shields spores and makes treatment ineffective.
When disease risk is high, some methods act fast and others work deeper. Professional beekeepers balance speed, tool longevity, and safety to protect hives and honey quality. Learn specific cleaning routines and quick surface methods with this practical guide, or read detailed method options on cleaning and sterilizing methods and an overview of heat techniques at flame sterilization steps.
Key Takeaways
- Vigilant cleaning of equipment cuts disease transmission between colonies.
- Always scrape off wax and propolis before disinfection.
- Choose quick surface heat for speed or chemical methods for deep cleanup.
- Damaged or suspect gear may need disposal to stop American foulbrood spread.
- Routine maintenance protects bee health and hive productivity.
- Store cleaned items dry in a ventilated space to prevent rust and contamination.
The Importance of Hive Tool Hygiene
Keeping your steel implements clean prevents the accidental transfer of pathogens between colonies. A clean hive tool limits contact with wax, propolis, and other buildup that can hide spores and bacteria.
Cleaning removes visible contamination like wax and dust. Sterilization goes further by eradicating microbes on the surface of equipment, including spores, bacteria, viruses, and fungi.
“Regular attention to tool condition is one of the simplest, most effective steps in protecting colony health.”
- Propolis and wax can harbor pathogens that threaten your bees.
- Debris on a steel tool makes disease spread between hives more likely.
- Routine cleaning of equipment protects honey quality and colony welfare.
| Action | Purpose | When to Do It |
|---|---|---|
| Wipe and scrape | Remove wax and propolis | Before any disinfection |
| Wash with detergent | Clean surface oils and dirt | After heavy buildup |
| Deep decontamination | Eliminate microbial spores | During disease outbreaks |
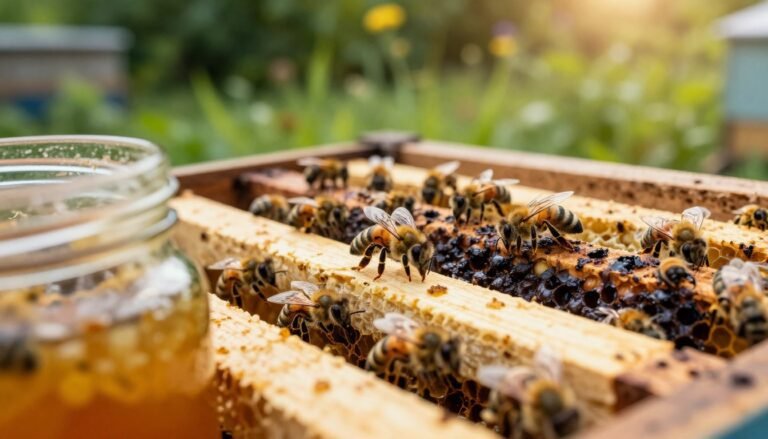
For practical cleaning routines and research-driven guidance, consult this cleaning and sterilizing guide. Keeping gear in top condition supports long-term apiary success.
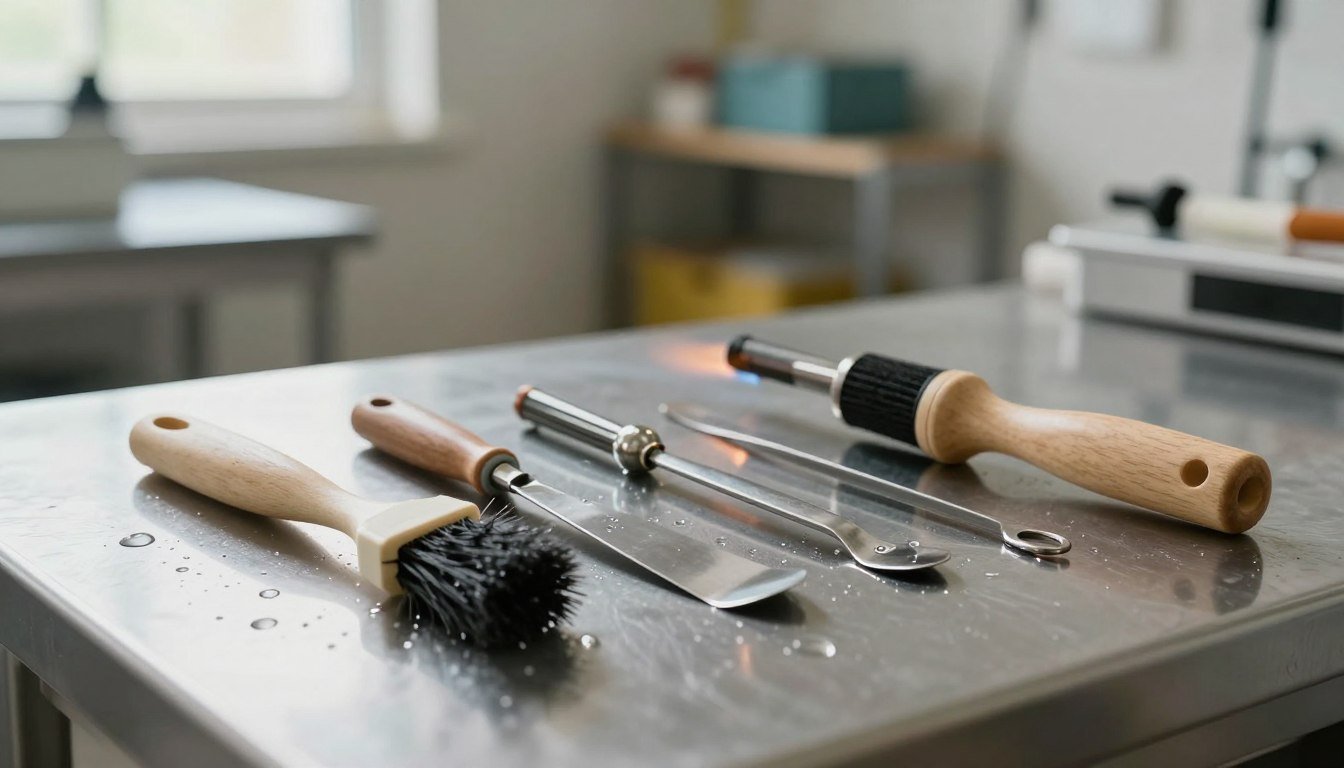
Preparing Equipment for Effective Sterilization
Prep work—clearing debris from frames and implements—makes subsequent treatments actually work. Remove wax, propolis, and honey first so heat or chemicals can contact the real surface. This step protects brood, preserves wood, and improves results.

Removing Organic Matter
Use a hive tool to scrape all visible buildup from frames and steel edges. Thick layers of resin block agents and let spores survive beneath the material.
The Necessity of Pre-Cleaning
Pre-cleaning is mandatory: boiling water will soften stubborn deposits, and a pressure washer can clear heavy residue on woodenware. Always wear protective gloves when handling hot water.
- Scrape wax and propolis off every frame and steel tool before washing.
- Remove debris so the next step in the process reaches every surface.
- Prepare both metal and wooden equipment to build a reliable sanitation routine.
“Proper preparation of steel tools and woodenware is the foundation of a successful sanitation program.”
Understanding Bleach vs Flame Sterilization for Hive Tools
Not every method fits every situation. Disease pressure, material type, and the presence of deep-seated spores guide the choice. When american foulbrood is suspected, the only guaranteed control is to euthanize the infected colony and dispose of everything it contacted.
Household bleach is about 3% sodium hypochlorite in water and can inactivate many microbes when used safely. It requires full contact time and careful handling to protect your health and the condition of frames and other equipment.
Open flame offers a fast surface treatment on steel tools and frames. It heats metal quickly but may not reach spores buried under resin or deep in wood. A thorough process on steel must ensure no spores remain to threaten neighboring colonies.
- Evaluate disease risk before choosing a method.
- Match the method to the material to avoid damage.
- Follow manufacturer guidance and safety steps.
“A clear assessment of risk and material will save gear and protect colonies.”
The Mechanics of Flame Sterilization
A hot torch applied to metal gear can neutralize many pathogens in seconds. Using a propane torch to heat steel parts until they glow destroys bacteria and viruses on exposed metal. This process works best when all wax and debris have been removed first.

The Smoker Method
If you lack a torch, place the hive tool into the smoker fire pot and pump the bellows to raise temperature. The bellows-driven heat will warm metal enough to reduce surface microbes.
Be extremely careful near wooden boxes. Focus the heat to char small areas rather than create heavy smoke or open flames. Charring helps reach nooks that other methods miss.
- Heat steel until visibly hot to kill microbes on metal parts.
- Use the smoker if a torch is not available, but watch ember spread.
- Always clear organic material first—heat cannot reach spores under wax.
“Proper use of fire on metal parts is both fast and effective when done with caution.”
| Step | Purpose | Risk Control |
|---|---|---|
| Pre-scrape | Remove wax and propolis | Improves heat contact |
| Torch or smoker heat | Destroy surface microbes | Wear gloves and eye protection |
| Spot char wood | Sanitize tight crevices | Avoid full ignition of boxes |
For guidance on keeping separate gear between sick and healthy colonies, see separate tools for sick and healthy.
Chemical Sanitization with Bleach Solutions
A diluted sodium hypochlorite soak is a practical chemical option to reduce pathogens on apiary gear.
Mix 1 part household bleach with 5 parts water and fully submerge metal and plastic parts after you have removed all wax and propolis. Let steel pieces sit about 10 minutes, then rinse well to remove residue.
Household sodium hypochlorite is the active ingredient that can inactivate many microbes. At a 0.5% concentration it is effective against American foulbrood spores, but achieving that result often requires a 20-minute contact time on heavily contaminated equipment.
Always wear protective gloves and eye protection when handling the solution. Work outdoors or in a ventilated area to limit fumes, and store mixed solutions in a dark container—sunlight breaks down the chemical and reduces effectiveness.
“Chemical sanitization with a proper sodium hypochlorite mix is a proven step when combined with thorough cleaning and careful handling.”
- Test plastic feeders and delicate materials first; some materials degrade.
- Rinse and dry all items after the soak to protect brood frames and honey-contact surfaces.
- Use this method as part of a wider cleaning process, not as a substitute for scraping and washing.
Evaluating the Risks of Heat and Corrosion
Heat and chemicals both protect colonies but can silently weaken the gear you rely on. Weigh the immediate benefit of killing microbes against the long-term effects on metal and wood.

Heat and Metal Temper
Applying intense fire to a steel piece can change its temper. Overheating may make a tool soft or brittle.
That reduces leverage and shortens life. Check sharp edges and bending strength after any high-heat method. Protect frames and wooden boxes by limiting direct contact with flame.
Chemical Corrosion
Water mixed with strong solutions attacks steel. Corrosion can start quickly if metal stays wet.
Dry every item fully after a wet soak to prevent rust. Treat delicate equipment like feeders and frame parts with care to avoid long-term damage.
“Balance intensity and frequency to keep equipment effective while protecting brood and honey quality.”
| Risk | Cause | Mitigation |
|---|---|---|
| Loss of temper | Excessive heat on steel | Limit exposure; cool gradually |
| Rust and pitting | Chemical + water contact | Rinse, dry, oil lightly |
| Wood damage | High heat or strong solution | Spot treat; avoid full immersion |
Decide which method fits each tool and box. For practical steps on safe cleaning routines, see how to sanitize hive tools between colonies.
When to Prioritize Specific Sterilization Methods
Match the intensity of your cleaning to the actual risk in the apiary. High risk calls for deeper action; low risk allows simpler surface care.
Set a routine. Create a regular cleaning and sterilization schedule and note each task in a site book kept in your vehicle. Clear records help you track what worked during inspections and honey seasons.
Pick methods by material and exposure. Use gentler approaches on wooden frames and more intensive steps on steel parts and second-hand frames before adding them to healthy hives.
- Prioritize specific approaches based on disease pressure and the type of equipment being treated.
- If you suspect pathogen exposure, choose deep cleaning to remove spores from steel and other hard surfaces.
- Inspect gear often; damage or heavy wax buildup signals a need for a stronger method.
- Consult your local apiary inspector when unsure—regulatory advice can affect your response.
“Consistent schedules and careful records keep beekeeping gear sanitary and reliable.”
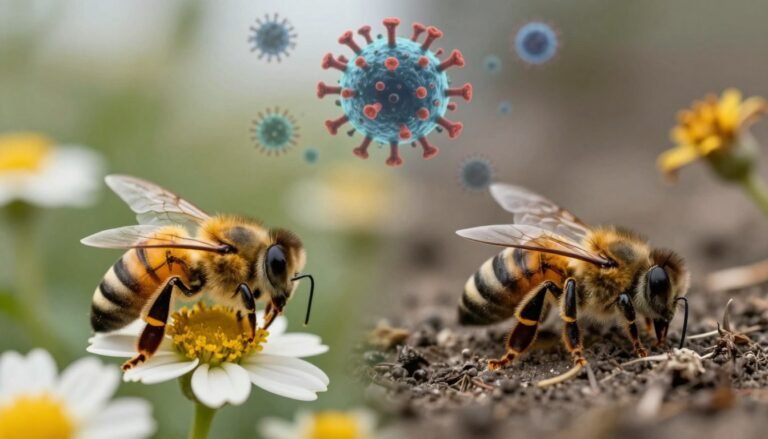
Managing Disease Outbreaks in the Apiary
Early detection and decisive action stop many outbreaks before they spread. Inspect brood and frames regularly. Spotting odd brood patterns, sunken cappings, or a foul smell signals a serious disease risk.

Identifying American Foulbrood
Look for patchy brood, sunken cells, and ropey larval remains. Confirm by testing when in doubt. Keep clear notes of each inspection in your site book.
Marking Infected Hives
If AFB is confirmed, mark the boxes clearly with “AFB” on two adjacent sides. This alerts other beekeepers and prevents accidental reuse of contaminated boxes and parts.
Safe Disposal Practices
Block the entrance with folded newspaper to confine bees before humane destruction. Use the recommended petrol volume to kill bees, then burn the affected boxes in a hole at least 300 mm deep. Bury ashes completely to stop spore spread.
- Scrape propolis from smoker parts with a steel tool and wash gloves in soapy water.
- Paraffin dipping of wooden boxes at 160°C for 10 minutes kills spores in timber.
- Record every case and action taken to meet reporting rules and protect nearby colonies.
“Strict, repeatable protocols protect healthy colonies and preserve the future of your apiary.”
For detailed cleaning guidance, see the hive cleaning and sterilisation fact sheet.
Essential Safety Precautions for Beekeepers
Personal protection and simple planning cut most safety risks when cleaning apiary gear.
Wear proper PPE each time you handle a hive tool or other metal pieces. Use sturdy gloves and goggles to stop splashes and sharp edges from causing harm.
Work outdoors or under good ventilation when you use chemical agents. Breathable air lowers the chance of harmful fumes reaching your lungs and protects honey quality.

- Gather all materials and safety gear before you begin to avoid interruptions.
- Be aware of surroundings when using open flame on a tool; keep flammable wax and wooden boxes well away.
- Always keep a fire extinguisher, shovel, and water nearby to control accidental ignition quickly.
- Inspect each item after treatment; look for warping or damage that could cut bees or spoil honey.
“Protecting your own health is as important as protecting colonies—never skip basic safety steps.”
When in doubt, consult detailed hive cleaning guidance or a practical equipment maintenance resource to refine your routine.
Proper Storage of Cleaned Equipment
Clean gear deserves careful storage to stop pests and moisture from undoing your work.
Once frames, boxes, and a hive tool are dry, place them in an airtight container or a well-ventilated room. This prevents dust, insects, and stray wax moths from recontaminating equipment.
Check stored items often. Inspect frames and boxes monthly. Early detection of wax moths or mold saves time and avoids repeating the entire cleaning method.

- Store woodenware in a dry area to prevent warping and mold growth.
- Cover stacked boxes with plastic or a tarp to keep out dust and insects.
- Keep metal equipment and plastic parts separated to avoid corrosion or damage to sensitive material.
“Proper storage is the final step in cleaning—do it well and your honey season prep will go faster.”
For gentle handling tips on inspection gear, see this inspection brush alternative. Consistent monitoring means gear is ready when your management schedule calls.
Conclusion
A regular maintenance rhythm for metal and wood gear preserves both bees and equipment.
Maintain a rigorous schedule for cleaning each hive tool and piece of beekeeping equipment to reduce disease risk and protect honey yield. Pre-cleaning wax and propolis is mandatory; no method will reach spores under heavy buildup.
Whether you choose a wet soak or targeted fire, complete contact and careful handling matter. Keep records of each process, follow safety steps, and inspect frames and boxes after treatment.
Practical alternatives such as paraffin dipping and safe disposal steps are detailed in this wax dipping guidance, which can help beekeepers manage outbreaks and preserve healthy colonies.