A nucleus colony is the heart of a healthy hive and an excellent entry point for new beekeepers. Nucs bring a mated queen, brood, food stores, and working bees in a compact, manageable unit. This gives beginners faster momentum than starting from a package or from foundation.
Preparing tools, planning transport, and checking frames make the transfer smooth. During the process, transfer frames in order and settle the colony gently. After placement, provide feeding and monitor the queen and brood pattern for steady growth.
Professional beekeepers favor nuc colonies because they are stable and easier to inspect. This short guide walks through the key steps, from arrival checks to post-install care, so your hive can thrive. For supplier tips, see this nuc installation resource and notes on buying package bees and nucs.
Key Takeaways
- Nucs offer a ready colony with queen and brood for quicker hive build-up.
- Prepare gear, transport carefully, and check frames on arrival.
- Transfer frames methodically and keep the colony calm during the move.
- Feed and inspect regularly to confirm queen performance and brood pattern.
- Starting with a nuc is a reliable way for new beekeepers to grow an apiary.
Understanding the Nucleus Colony
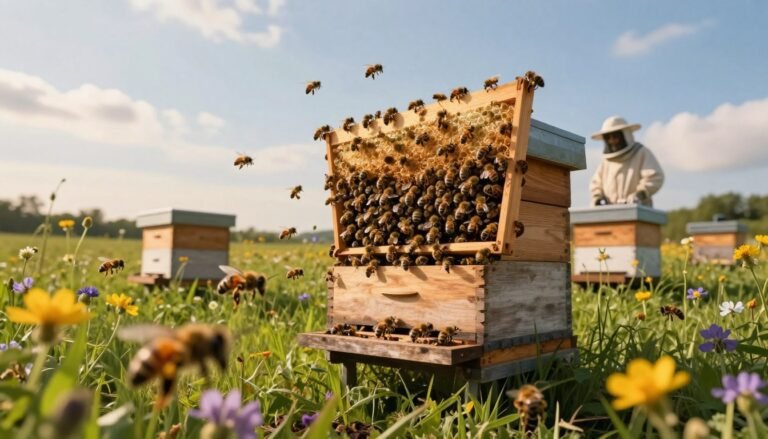
A nucleus colony packs the essential elements of a thriving hive into one compact box. It gives new beekeepers a living, developing unit that can be moved or expanded with minimal stress.
Components of a NUC
Typical makeup: a five-frame box containing a mated queen, worker bees, brood, honey, and pollen stores.
- The three inner frames commonly hold brood in all stages: eggs, larvae, and pupae.
- The two outer frames are stocked with honey and pollen for food reserves.
- Worker roles in the colony help build comb, feed brood, and manage stores.
| Component | Placement | Purpose |
|---|---|---|
| Mated queen | Centered frame | Sustains egg-laying and colony growth |
| Brood | Inner three frames | Ensures population renewal |
| Honey & pollen | Outer frames | Food for larvae and adults |
| Worker bees | Across all frames | Perform tasks that support hive stability |
Benefits for Beginners
Starting with a nucleus colony provides an established population and an active queen. This speeds progress compared with beginning from packaged bees or foundation.
Practical advantages: easier inspections, faster buildup of comb and honey, and simpler integration into a full hive. For supplier notes and tips, consult this nuc installation resource.
Essential Tools for Beekeeping Success
Gathering the right gear before bees arrive keeps the process calm and controlled.

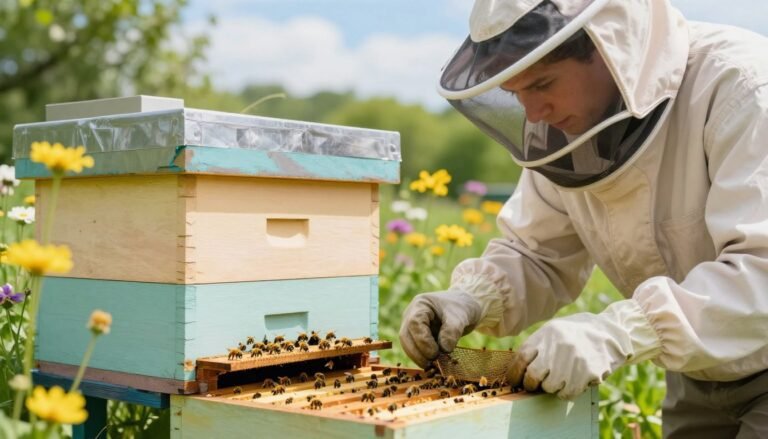
Must-have tools include a sturdy hive tool, a reliable smoker, and full protective attire: jacket, veil, pants, and gloves. These items protect the beekeeper and make inspections manageable.
Prepare your smoker with cool, smoldering material like pine needles or wood shavings. Cool smoke helps calm the colony and masks alarm signals while you handle frames and move the box.
- Assemble hive equipment and place the stand before arrival.
- Check that frames are ready and clean for brood and honey.
- Keep sugar syrup or feed on hand for early days after transfer.
| Tool | Purpose | Notes |
|---|---|---|
| Hive tool | Pries and separates frames | Stainless steel, durable |
| Smoker | Calms bees during handling | Use cool smoke, ready before opening packages |
| Protective gear | Reduces sting risk | Jacket, veil, gloves, pants recommended |
| Feed (syrup/sugar) | Supports colony after move | Have on site for first week |
Preparing the Hive Site
Picking a stable, sunny site with wind protection gives bees the best start.
Selecting the optimal location means thinking about sunlight, shelter, and access. Aim for a level place that drains well and lets you reach the entrance easily.
Selecting the Optimal Location
Set your nuc in the same spot where the new hive will stay. This helps the colony orient and reduces drifting.
- Keep the site level and shielded from strong winds for stability.
- Choose sun for warmth; bees use sunlight to regulate brood and produce honey.
- In very hot climates, add afternoon shade so the box does not overheat.
Do not open the hive when temperatures are under 60°F (15°C). Cold drafts can chill eggs and brood and harm the queen.
“A prepared site saves time and keeps the colony calm on day one.”
Final step: confirm entrance orientation for flight paths and neighbor safety before placing frames or beginning the transfer.
How to Install a NUC Safely
Secure transport and a calm setup are the first steps in moving a live hive safely. Fasten the box so it cannot slide or tip during the drive. Use straps, blocks, or a mesh carrier such as a Buzz Bag for ventilation and containment.

Keep vehicle temps moderate. Overheating stresses bees and harms brood and the queen. Avoid leaving a closed box in direct sun for long periods; a full colony can generate significant heat.
At the apiary, set the unit in place and wait about 15 minutes before moving frames. This pause lets the bees settle and reduces escape or agitation during transfer.
- Secure all entrances and movable parts before travel.
- Handle the box gently to lower sting risk and stress.
- Follow a clear, step-by-step process when moving frames into the new hive.
“Gentle handling and a staged transfer protect brood, queen, and foragers during the critical first day.”
For disease checks and supplier guidance before transfer, see this inspect purchased nucs.
Transferring Frames into the Hive
A steady, methodical transfer of frames keeps the colony calm and preserves brood health.
Start by clearing space in the brood box. Remove empty frames so you have a clear place for each frame from the box. This makes movement safe and fast.
Maintaining Frame Order
Keep frames in the same order as they were in the nuc. Move the inner brood frames first and place them in the center of the new hive. This maintains the brood pattern and reduces queen loss.
Identifying Colony Parts
Inspect each frame for queen, brood, eggs, pollen, honey, worker bees, and drones. If you spot the queen, keep that frame centered. If not, check frames carefully before closing the box.
Moving Remaining Bees
Gently remove one outer frame and rest it over the top of the hive beside an empty frame. Knock bees into the corner of the box and pour them into the new home. Brush or shake remaining bees into the hive.
- Use a hive tool to push frames together so all frames touch.
- Limit the entrance with an entrance reducer for the first day to let worker bees orient safely.
- Close hive gently and let the colony settle into its new home.
“A calm transfer preserves brood, queen, and the colony’s orientation.”
For extra tips on moving frames and practical experiences, see this transfer discussion and guidance on proper placement from beehive installation.
Managing Bee Behavior During Installation
Minimizing noise and motion reduces the chance of aggressive behavior from a colony. Stay calm and work in short, deliberate steps. This steadier approach helps protect the queen and keeps worker bees focused on tasks inside the hive.

Always carry a smoker, protective gear, and a hive tool. If bees become agitated, brief bursts of cool smoke calm them. Wear full protection and move slowly; sudden jostles raise alarm and trigger defensive behavior.
Plan ahead for crowding and swarm signals. A colony often decides to swarm weeks before it leaves. Monitor frame spacing and add room if brood is dense.
- Keep spare equipment on hand for quick replacements.
- If the queen is missing, remember colonies can raise a new queen from young brood.
- Warm, sunny days are best for this work; bad weather increases stress.
- Use a queen excluder at the bottom briefly to help prevent absconding.
| Tactic | When | Effect |
|---|---|---|
| Smoker | During open-box work | Calms bees and masks alarm pheromones |
| Slow movements | Frame transfer and placement | Reduces agitation and stinging |
| Spare gear | Any day of work | Prevents delays and unsafe improvisation |
| Queen excluder | First few days after move | Helps retain queen and lowers abscond risk |
“Gentle, methodical handling protects brood, queen, and foragers during the critical first day.”
For further reading on preventing aggression and on quarantining new bees, see prevent bee aggression and quarantine new bees.
Post-Installation Care and Feeding
After the transfer, steady feeding and short checks help the new colony settle and gain strength.
Provide sugar syrup using a Boardman or entrance feeder. These feeders give an immediate energy source while workers orient and build comb.
Offer pollen in the form of patties or a substitute when brood rearing needs a boost. Pollen helps the queen lay and the brood grow quickly, especially in early spring.
- Feed until roughly ten medium frames hold the equivalent of honey.
- Use an entrance reducer and limit the opening during the first week.
- After frames are moved, close hive and let bees rest for about seven days before the next full inspection.
- Perform light checks every one to two weeks to watch for queen cells, brood pattern, and food stores.
“Regular, calm care in the first days gives the colony the best chance to thrive.”
For detailed care tips and queen introduction tools, see this guide on caring for your nuc and a practical resource on best queen cages for introduction.
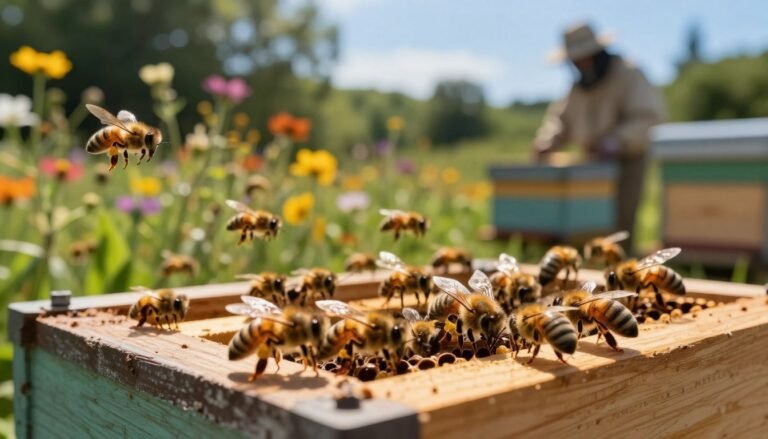
Monitoring Colony Growth and Queen Health
Check brood pattern and worker activity on each visit. These observations reveal queen performance faster than searching for the queen itself.
Inspect the new hive every 7–10 days for eggs, larvae, and capped or uncapped brood. A healthy queen leaves a tight pattern across the frames and most cells will be in use.

Watch worker bees closely. Strong forager numbers at the entrance and calm movement on frames indicate a thriving colony. Low activity or spotty brood may mean the queen is failing or stressed.
- Look for eggs and young larvae as the clearest sign the queen is accepted.
- Monitor food stores and offer sugar syrup when stores run low.
- Detect crowding early; colonies often decide to swarm weeks before leaving the box.
“Regular, short checks protect brood and confirm steady growth.”
For tips on boosting numbers and feed management, read this guide on boost colony population naturally.
Conclusion
Small, regular actions in the days after placement produce big gains for queen and brood.
Monitor food and frames and give light feedings while the colony settles. Short, calm checks every week help confirm eggs and a steady brood pattern without stressing the hive.
Protect the queen, keep boxes secure, and limit disturbance during the first month. With patience and proper care, your bees will expand population and begin filling frames with honey.
For travel-ready options and equipment tips, consider the best nuc box for transporting bees. Good gear saves time and supports long-term colony health.