Introducing a queen into a hive can change colony life in days. Outcomes vary widely, even between hives in the same yard, as David Cushman and Roger Patterson observed.
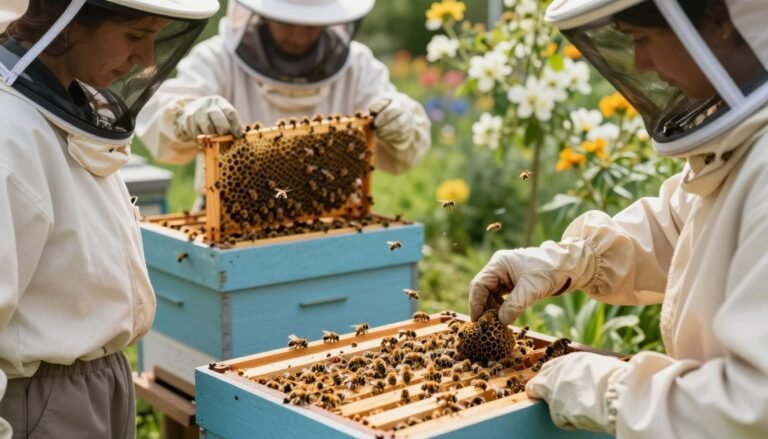
Beekeepers need clear steps for early assessment. Begin with calm, brief inspections after waiting several days for the group to settle. Look for steady egg laying and an improving brood pattern rather than one-off signs.
Scan frames for the queen or consistent fresh eggs across comb. Watch sealed brood coverage and note drone cells. If multiple eggs appear in single cells, act fast—this often signals laying workers and requires requeening.
For a practical checklist and deeper guidance on nuc inspection and brood patterns, see this guide on inspecting purchased nucs, which complements steps for a successful queen introduction.
Key Takeaways
- Wait 5–7 days before the first inspection to let the colony settle.
- Confirm presence by locating the queen or steady fresh eggs across frames.
- Check for at least moderate sealed brood and controlled drone brood levels.
- Multiple eggs per cell usually point to laying workers and need action.
- Keep records of inspections and watch changes over 2–6 weeks.
Understanding the Importance of Queen Acceptance
Acceptance of a replacement queen determines whether a colony stays productive or slips toward collapse. A failed introduction leaves the queen colony vulnerable and slows brood output. That risk matters for both small apiaries and commercial operations.
Beekeepers often follow proven methods, yet results still vary. David Cushman and Roger Patterson noted two colonies in identical condition can respond differently during queen introduction.
Pheromone recognition drives social stability. If worker bees reject new pheromones, unrest follows and the hive may lose cohesion. High acceptance rates protect future brood production and overall population.
- Colony resilience: Accepted leadership maintains steady egg laying and balanced labor.
- Variation between hives: Even sound methods can yield mixed outcomes across colonies.
- Long-term impact: Acceptance affects honey flow, overwintering strength, and disease resistance.
For deeper reasons why bees reject queens and how that affects colonies, see this guide on queen rejection.
Verifying Your Colony is Truly Queenless
A clear diagnosis of queenlessness prevents wasted effort and lost queens. Begin with a calm, brief inspection focused on brood and worker behavior. Keep notes on frames and any unusual egg placement.

Assessing for Laying Workers
Laying workers lay many eggs in single cells and often produce drone brood in worker comb. Look for multiple eggs per cell and scattered brood patterns.
If laying workers are present, the colony will not accept a new queen. Remove or requeen only after addressing laying workers with standard methods.
Using a Frame of Eggs
Add a clean frame of fresh eggs and watch for drawn queen cells. If workers build queen cells, the colony is truly queenless and ready for a proper introduction.
- Frames of eggs drawn into cells indicate the colony will rear a queen.
- A colony with laying workers usually ignores an introduced frame of eggs.
- Using a cage with queen candy can protect the new queen during the initial introduction.
For detailed procedures on confirming a queenless hive and next steps, consult this queenless hive guide.
How to Check if a New Queen Was Accepted
Early interactions matter. Early attendants’ behavior around the introduction cage reveals much about acceptance. A sure colony will attempt feeding and grooming the caged queen rather than attacking her.
Look for calm tending during the first 24 hours. If bees ball the cage or cluster violently, another queen may be present or acceptance may fail. After about 24 hours, inspect the mesh for biting or clear aggression.
Successful signs include workers brushing the cage gently, offering food, and guarding the cage without biting. These actions indicate the colony has integrated the new queen into its social structure.
“If the hive is not truly queenless, incoming queens rarely survive long.”
- Confirm the colony really queenless before any introduction.
- Wait sufficient hours before a full inspection to avoid disturbance.
- If bees are easy to brush off the cage, this is a positive sign.
Monitor the new queen colony over the next weeks for release and steady egg laying. Prompt action prevents losses and supports long-term colony health.
Preparing the Hive for Introduction
Prepare the brood nest carefully before any queen introduction to reduce rejection risk.

First, remove all visible queen cells and search frames for hidden cells. Clearing competing cells prevents the colony from raising its own rival and improves success during the introduction.
Optimal Timing for Requeening
Wait about 24 hours after making the colony queenless before you introduce the new queen. This short gap gives workers time to sense the loss and lowers aggressive reactions.
- Address suspected laying workers before any introduction; they will ruin acceptance attempts.
- Use a small colony or nuc when possible; young workers usually accept replacement queens more readily.
- Inspect brood frames carefully for missed cells and remove them.
- Offer 1:1 sugar syrup during dearth to simulate a flow and calm the colony.
Handle frames gently and mind the time and temperature during queen introduction. A healthy new queen should begin steady egg laying over the coming weeks, restoring brood pattern and colony strength.
Best queen cages can protect her during release and improve outcomes during this critical period.
Common Methods for Introducing a New Queen
Different colonies respond better to specific introduction methods, so match technique to hive behavior.
Candy plug technique: This is a gentle option. Workers eat through the candy plug over about 2–4 days and release the new queen gradually. Ensure the fondant or candy is reachable so worker bees can work from the outside inward.
Push-in cage benefits: Use a push-in cage on a brood frame so the caged queen can begin laying eggs while still protected. This method anchors the cage between frames and gives the colony time to calm around the new leader.
Cage choices: JzBz cages are reusable and offer a central protected area that shields the queen from aggressive workers. Nicot cages work well for difficult introductions; press them firmly into the comb so bees cannot burrow below.
- Remove attendants from the cage before you place it, to avoid clashes with workers.
- Place the cage securely between frames and monitor the fondant so release proceeds.
- Direct release is advanced; only experienced beekeepers attempt this in a calm colony.
Good technique and careful timing raise the odds that the colony accepts the newcomer. For installation tips and setup, consult practical guides such as the Purdue extension on hive care and a step-by-step beehive installation post.
Purdue extension hive care · beehive installation guide
Identifying Signs of Aggression and Balling
Watch worker behavior closely around the cage during the first night—this reveals intent. Aggressive balling looks like a tight cluster on the cage with bees turning their tails inward. That posture aims heat and stings at the mesh.
If workers bite or chew the cage edges, the group is acting hostile. Repeated biting or tearing means the caged queen is at risk and the colony may reject her due to residual pheromones or another presence.

When worker bees cling so firmly you cannot gently pull the cage free, they are likely trying to sting through the mesh. A colony that is colony queenless may still ball during the introduction if unrest or leftover pheromones exist.
- Immediate actions: Monitor the cage at short intervals and record aggression.
- Signs needing re-evaluation: Persistent balling, tail-in posture, or cage biting.
- Further reading: See this note on worker behavior toward a queen cage.
“Any sign of balling should be addressed immediately to protect the cage occupant.”
Managing Attendants and Environmental Factors
Manage attendants and transit stress carefully; they affect acceptance timing and queen health. Wyatt Mangum noted that attendants can increase the time a colony needs before it fully accepts an introduced insect.
Handling Temperature Variations
Keep mated queens and their attendants in an ambient, stable area after post transit. Extreme heat or cold stresses the insect and slows worker response during the first days.
If bees arrive cold or sluggish, warm them gently. Slow bees may simply be torpid and recover with modest heat for a few hours.
- Place the cage so workers can reach the fondant. Proper orientation speeds release.
- Remove attendants from cages that allow it, reducing disease risk and lowering aggression from the colony workers.
- Check that fondant or queen candy is ample for the expected release hours and that attendants are alive before you place the cage into the hive.
- Handle the queen cage with care to avoid injury to the insect or worker bees during introduction.
“Attendants boost short-term survival but may extend integration time; plan releases with that in mind.”
For related transport and feeding issues, see this practical note on why bees won’t take sugar syrup.
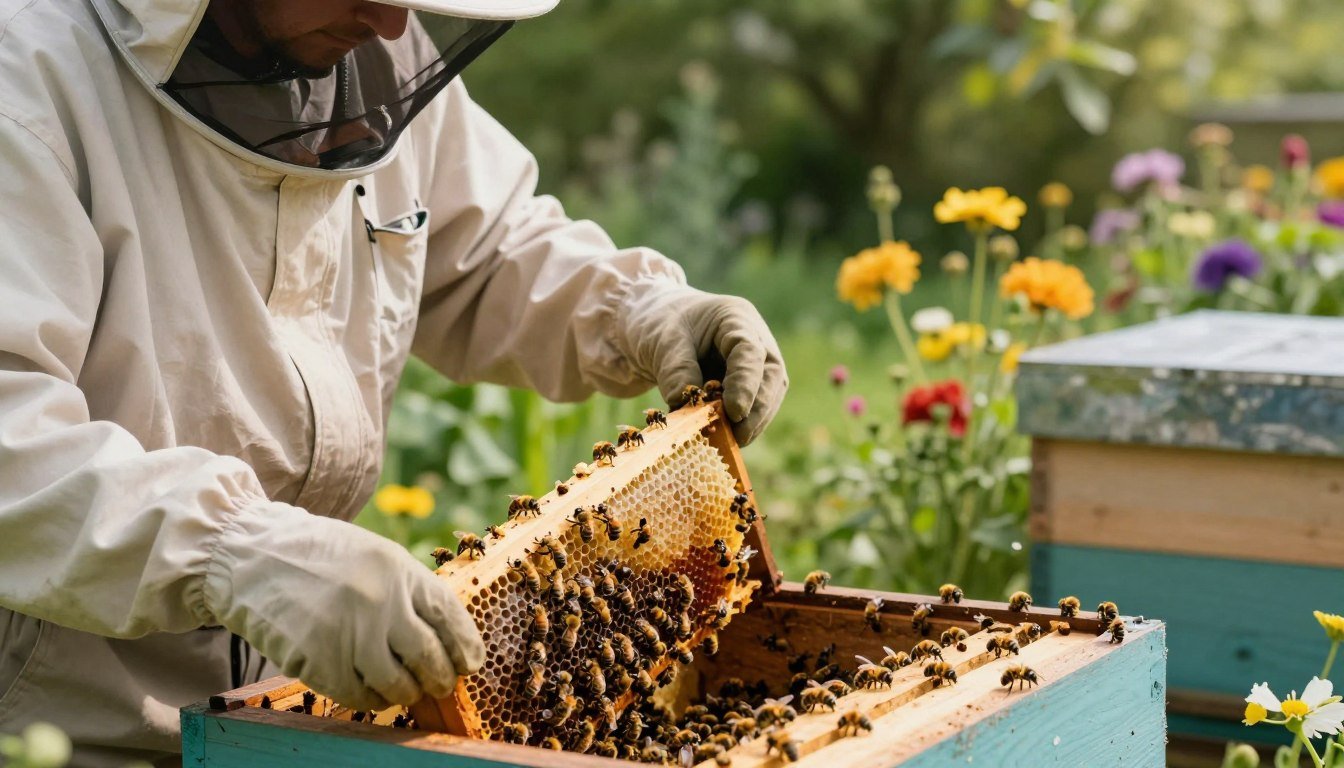
Evaluating Brood Patterns After Release
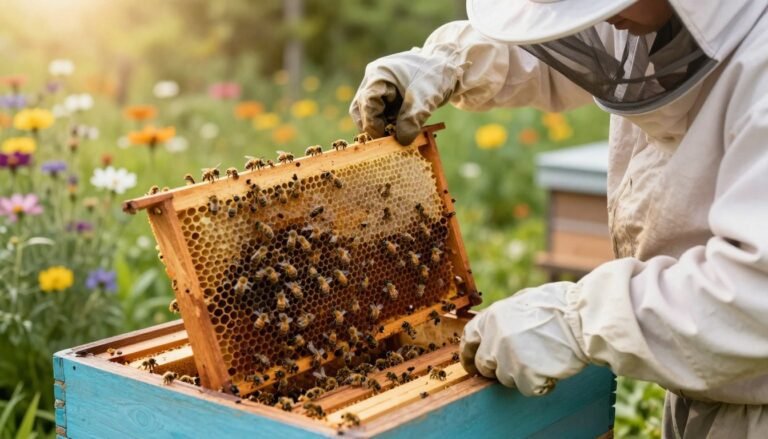
After the queen is released, inspect brood frames about seven days later. This wait reduces disturbance and lets eggs and young larvae appear.
Look for a tight, even pattern of eggs, larvae, and capped brood. That pattern shows the replacement is laying in the correct area and the colony is settling under its new leader.
If eggs are missing, search carefully for the replacement; she may have been released but not yet started laying. Also rule out laying workers by checking for multiple eggs per cell.
Spraying workers lightly with 1:1 sugar syrup during release can distract guards and improve calm around the cage. Use gentle methods and queen candy or a fondant plug while waiting for release.
- Accepted signs: steady eggs across frames, brood in progressive stages, calm worker behavior.
- Problem signs: dead queen in the cage, persistent aggression, scattered or multiple eggs per cell.
- Next steps: If troubles persist, repeat introduction methods or consult a detailed queen rearing basics post and a practical brood pattern guide.
| Observation | Positive Result | Action if Negative |
|---|---|---|
| Eggs present | Evenly spaced single eggs per cell | Search for queen if absent; re-evaluate in 3–7 days |
| Brood stages | Eggs, larvae, capped brood in sequence | Consider reintroduction methods or check for laying workers |
| Worker behavior | Calm tending around brood and cage | Use sugar syrup distraction and monitor; repeat introduction if needed |
“Final confirmation comes from a reliable brood pattern and steady egg laying.”

Conclusion
Practical vigilance in the weeks after release gives the best confirmation of success. Monitor brood, worker behavior, and the queen cage area for steady signs of laying and calm tending. Simple, regular checks prevent surprises and protect colony health.
Use the right cage and method, allow time, and keep records of each inspection. For more depth on proven techniques and timings, consult this queen introduction guide.
Patience and good technique raise odds that queens settle and the new queen colony thrives. Stay vigilant and act promptly if troubles appear.