Choosing the right accessory is a critical step for any apiary manager who wants to optimize colony health and productivity. This short guide helps you weigh options and think about purpose, season, and local conditions. Master Beekeeper Joe Komperda reminds us that successful beekeeping is local and goal-driven.
Every hive needs careful gear choices to support brood, stores, and ventilation. Simple changes to a rim or shim can alter airflow and access to food. These impacts matter whether you run a hobby yard or a larger operation.
Understanding structural differences helps you give your bees the best environment. A well-chosen part keeps the colony strong across seasons and reduces stress on the bee population. Use this comparison to match gear to your management goals and local climate.
Key Takeaways
- Local goals matter: adapt gear to your yard and objectives.
- Equipment affects airflow: structure shapes hive conditions.
- Seasonal planning: choose parts that suit spring through winter needs.
- Health focus: the right choice supports productive colonies.
- Hobby or commercial: both benefit from informed selection.
Understanding Hive Accessories for Better Management
Choosing the right tools can transform how efficiently you manage each hive. Master Beekeeper Joe Komperda highlighted in the ABF Quarterly (Vol. 79, No. 2, June 2021) that equipment selection depends on the goals and experience of each beekeeper.
Good accessories save you time during the busy honey flow. They also make inspections faster and less disruptive, which benefits brood development and stores.
Many beekeepers report that proper gear increases honey output across the calendar year. Choosing tools that match your local climate and colony needs helps keep management sustainable as operations grow.
“Equipment choices are dictated by expectations and experience,”
Practical tip: start with durable, proven parts and scale as you learn. For those seeking specific product guidance for small yards, see this best pollen trap guide to compare common options and save time on selection.
Pollen Patty Spacer Rim vs Inner Cover Shim: Key Differences
A single board added to the top of a box changes how bees use space and air.

Defining the Imirie Shim
The Imirie shim is named for George Imirie, a Northeast beekeeper known in the late 1990s and early 2000s. This wood board comes in two common dimensions: 18 7/8″ x 16 1/4″ x 3/4″ for 10-frame boxes, and 18 7/8″ x 14″ x 3/4″ for 8-frame boxes.
Uses: create an upper entrance, add space above the brood, or place between brood boxes to encourage drone comb for mite management.
The Role of the Inner Cover
An inner cover keeps the outer cover from being glued down with propolis and offers versatile uses. It gives beekeepers a flat board to place supplements, helps control ventilation around the top box, and eases inspections.
| Feature | Imirie Shim | Inner Cover |
|---|---|---|
| Primary use | Add entrance or extra space | Prevent gluing; manage ventilation |
| Dimensions | 8-frame: 18 7/8″ x 14″; 10-frame: 18 7/8″ x 16 1/4″ | Standard to fit top box; varies by box type |
| Colony management | Encourages drone comb; flexible placement | Eases feeding and frame work |
| Pest control | Helps create controlled entrances | Improves airflow to reduce moist areas |
Practical note: match the board dimensions to your boxes to avoid gaps that let pests in or allow heat loss. Both pieces are simple equipment that support a healthy brood chamber and productive honey flow.
Maximizing Ventilation and Airflow in Your Hives
A well-placed screen on the top board can speed honey curing and cut stress on the bees.
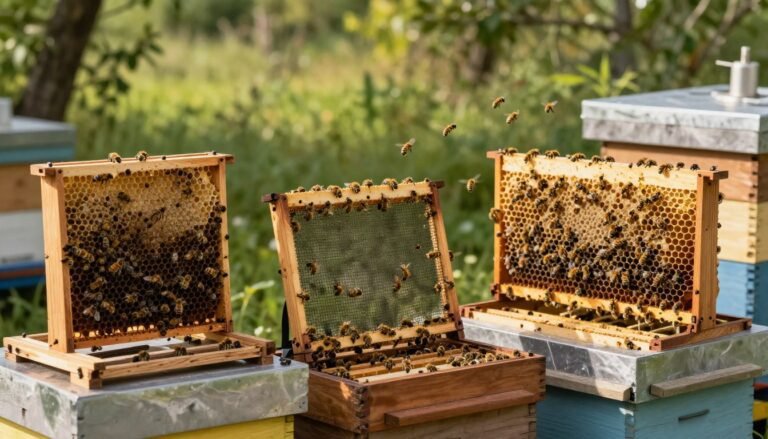
Benefits of Screened Inner Covers
Screened covers use 1/8 inch hardware cloth to let warm, moist air escape while keeping wasps and wax moths out.
Nectar begins at about 80% water; finished honey is roughly 18% water. Letting air flow through the top saves the colony time and energy they would spend fanning to dry nectar.
Replacing a solid board with a screen reduces humidity inside the box. That helps frames and comb cure properly and lowers the risk of mold.
- Improved ventilation: faster moisture removal during honey flows.
- Less bee effort: more worker energy for foraging and brood care.
- Inspection aid: a screened top acts like a window without disturbing the cluster.
For supplemental strategies on keeping hive interiors dry and preventing decay, read our guide to prevent mold inside a beehive.
Strategic Feeding Techniques for Colony Health
Smart placement of feeders and nutrition items helps bees use hive space efficiently. Use the top of the hive to deliver syrup, protein supplements, and thin sugar cakes without heavy disturbance.

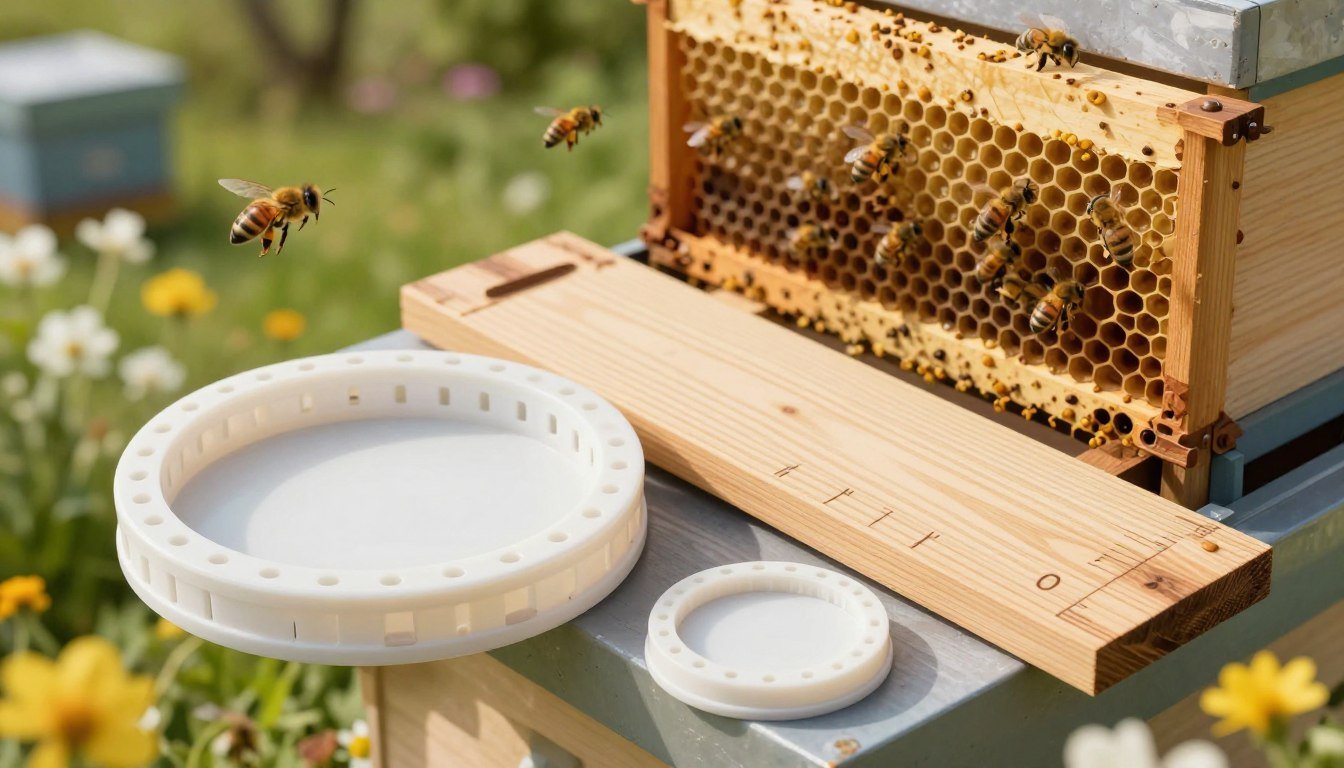
Feeding Syrup with Feeders
Place up to six Boardman feeders on an inner cover to supply about 1.5 gallons using quart jars. For larger winter stores, up to five paint can feeders will hold roughly five gallons on the top box.
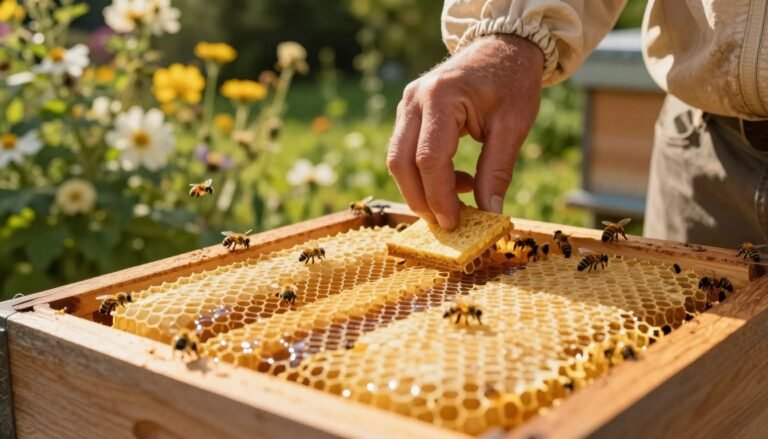
Providing Pollen Patties
Set protein patties on top of frames using a spacer or shim so workers access food quickly in early spring. Avoid placing a spacer between brood boxes to keep the brood cluster warm and compact.
Using Sugar Cakes
The shim also creates space for thin sugar cakes during cold spells. A small piece of cloth or screen on the cover lets beekeepers observe the queen and cluster while reducing disturbance.
- Practical: feeders on the top box save time during inspections.
- Store-building: proper feeding helps bees produce enough honey for the year.
- Tip: learn winter packing and single-deep strategies at overwintering single-deep hives and review insulation tips at hive painting tips for insulation.
Managing Upper Entrances and Mite Treatments
Adding a small top board can change how bees move and use space in a hive. An upper entrance lets foragers fly straight into the super and saves the colony time and energy. It also helps with targeted mite treatments by creating room for pads or strips without disturbing the brood nest.
Ventilation and winter flights improve when you add a hole near the top. Extra openings let air flow and give bees a safe way to take cleansing flights during mild winter days. Beekeepers can add an entrance without drilling permanent holes in the box by placing a thin board between boxes.
Using this approach makes treating comb simpler and protects the queen and brood. Strategically placed boards keep pests out of the main entrance and let workers manage humidity and air movement inside the hive.
| Benefit | How it helps | When to use |
|---|---|---|
| Direct super access | Reduces forager travel time and stress | Honey flow and heavy feeding |
| Mite treatment space | Allows placement of pads without moving frames | Treatment windows in spring or fall |
| Improved ventilation | Better air movement and lower moisture | Humid climates and curing honey |
| Temporary entrances | Avoids drilling; reversible | Winter flights and short-term management |
Seasonal Considerations for Equipment Placement
Wintering Strategies
Placing the right gear at the top of the boxes helps bees manage humidity and take short cleansing flights on warm winter days. A small upper entrance gives the cluster access to fresh air and a route for quick flights without forcing travel through the full hive.
Moisture and temperature control are key. Use an inner cover or a thin board to create a vent that sheds damp air while limiting drafts. Proper placement of a shim can also make space for a candy board to provide reliable feeding during the coldest weeks.

Practical checks and spring uses
Confirm dimensions before you add any spacer so wood parts fit snugly with boxes and covers. Gaps invite pests and heat loss; a tight fit preserves the brood and comb.
In spring, remove or relocate the extra board to add space for early season feeding and for managing brood expansion. Thoughtful equipment placement all year keeps the colony focused on honey production and brood rearing.
| Need | Action | When |
|---|---|---|
| Upper entrance | Use a small notch or thin shim | Winter, mild days for flights |
| Moisture control | Vent with an inner cover or screened panel | Winter and honey curing |
| Emergency feeding | Place candy board on top space | Deep winter |
| Fit check | Measure dimensions of wood parts | Before installation |
For regional tips on protecting hives through cold months, read our guide to wintering beehives. Local climate drives choices about ventilation, covers, and top entrances, so plan equipment placement with your area in mind.
Conclusion
Selecting the right top accessory shapes how a colony breathes, feeds, and endures seasonal change. Match the part to your goals and local climate for best results.
Both pieces offer clear benefits for ventilation, feeding, and extra space during spring and winter. Many experienced beekeepers combine them to balance honey production with colony health.
When you plan, check dimensions and fit so gaps do not invite pests or heat loss. Use proven techniques and local advice; for practical feeding and cover tips see these beekeeping tips.
Takeaway: learn the technical differences, adjust by season, and choose tools that keep colonies strong and efficient under your regional conditions.
FAQ
What is the main difference between an Imirie shim and a standard inner cover?
The Imirie shim creates a shallow space above brood frames to hold supplemental food or small frames of comb. A standard inner cover sits under the outer cover to seal and ventilate the hive while preventing bees from attaching comb to the outer cover. Both affect airflow and access, but the shim adds usable volume for feeding or a small super.
Can an inner cover improve hive ventilation and reduce moisture?
Yes. A well-designed inner cover with proper openings or a crown board gap promotes air exchange and lets moisture escape without creating drafts. Screened inner covers boost airflow and help reduce condensation, which lowers mold and improves winter survival.
When should I use a shim-style spacer during the year?
Use a spacer in spring for moving frames, adding a small feeding area, or accommodating a honey cap in a top box. Avoid exposing it to extreme cold unless you plan to manage ventilation carefully during wintering to prevent heat loss.
How do I feed syrup when using shims or inner covers?
Place feeders on top of frames under the inner cover or in the shim cavity if it fits a feeder. Use liquid feeders that seal well to prevent bees from drowning and to limit robbing. Ensure the feeder location maintains proper airflow and does not block the upper entrance.
Are screened inner covers useful for controlling pests like small hive beetles or wax moths?
Screened inner covers improve ventilation and can deter pests that favor humid, stagnant conditions. However, they are not a standalone control for beetles or moths. Combine screens with good hive sanitation, traps, and timely inspections for best results.
Will adding extra space above brood increase queen egg-laying?
Adding a small, well-managed cavity can give the queen room to expand comb and lay more. But sudden large gaps can disrupt brood temperature and reduce laying. Add space incrementally and monitor brood pattern and cluster behavior.
How does top-box placement affect winter survival?
Placing an additional box above the brood in winter can create dead air space that helps insulate the cluster if properly insulated and ventilated. Avoid open cavities that let warm air escape; use a snug inner cover or insulation boards to retain heat.
Can shims or extra cavities help during mite treatments?
Some treatments need space to deploy strips or vaporizers. A shim can provide a small, accessible zone for placing treatment materials without disturbing brood frames. Always follow label instructions for application and ventilation requirements.
Do these accessories change how I manage upper entrances and robbing prevention?
Yes. Any added cavity or altered inner cover can shift airflows and bee traffic. Keep upper entrances clear if you need ventilation, and use reduced entrances or robbing screens during nectar dearths. Monitor activity and adjust entrances seasonally.
What materials and dimensions work best for inner covers and shims?
Use seasoned plywood or pine for durability and a tight fit to your hive brand (Langstroth, National, etc.). Typical shim height ranges from 3/4″ to 1-1/2″ depending on purpose. Ensure edges align with frames to prevent gaps where pests or drafts can enter.
How do I prevent bees from building comb into the shim area or under the inner cover?
Keep surfaces smooth and remove any nectar spills promptly. Use thin foundation or small starter strips if you want comb there, and limit the cavity size so bees prefer to work in regular frames. Regular inspections discourage unwanted comb attachment.
Are there risks to colony health when using extra cavities for feeding solid supplements like sugar cakes?
Solid feeds can attract robbers and pests if exposed. Place cakes in a protected cavity under the cover or inside a shim, and remove uneaten portions to prevent mold. Maintain hygiene and avoid overfeeding types that ferment or spoil quickly.