Last Updated September 16, 2026
Professional beekeeping starts with a careful, calm approach during the first moments after arrival. A proper package handling method gives the new colony the best chance to thrive.
Protecting the queen matters more than any single step. Gentle movement, steady hands, and clear steps reduce stress for the package and its residents.
Every new beekeeper should make sure the package is opened with care. Slow, deliberate actions cut risk and help the colony accept its new home.
A couple of hours of prep and a proven installation process will prevent common losses. This initial work sets the tone for strong growth and future productivity.
Key Takeaways
- Handle the package with calm, steady motions.
- Prioritize queen safety during every step.
- Follow a tested method for initial installation.
- Prep time of a couple hours reduces risk significantly.
- Good installation builds a healthy, productive colony.
Table of Contents
- Essential Preparation for Your New Bee Colony
- Inspecting Your Package Upon Arrival
- How to Install Bees Without Crushing the Queen
- Setting Up the Hive Environment
- The Importance of Supplemental Feeding
- Managing the Queen Cage Release
- Monitoring Hive Activity and Comb Development
- Troubleshooting Common Installation Challenges
- Frequently Asked Questions
Essential Preparation for Your New Bee Colony
Pick a sunny, sheltered spot that gives your colony warmth and safe flight paths — morning sun with afternoon shade works well in most regions, giving bees enough light to orient without risking overheating in summer.
Selecting the Right Site
Location matters. Place the hive on an elevated stand to avoid a ground swarm and reduce dampness. Morning sun and afternoon shade help maintain steady internal temperatures.
Gathering Necessary Tools
Have all essential equipment ready: a hive box, frames, and a bottom board. Proper frame spacing allows comb building and honey storage.
- Feeder and syrup: Mix a 1:1 sugar and water syrup for supplemental feeding during the first year.
- Frame of honey and brood: Adding one frame from an established colony, when available, can help the new colony settle faster.
- Inner cover at the top: Install it to protect internal temperature and ventilation.
Ready equipment before the package arrives — scrambling to assemble a hive body while bees wait in a hot car adds avoidable stress for everyone involved. For a step-by-step beehive setup, see our beehive installation guide.
Inspecting Your Package Upon Arrival
Start by confirming the package is stable and that the wire screen is full and tight. An intact screen prevents escapes during handling.
Check the outside of the box for dents, loose staples, or wet spots from transit. Look at the bottom for dead bees; many fallen individuals can signal stress or poor health.
Keep the entrance and inner cover handy. You will want the hive box set up and ready so transfer is quick and calm.
- Verify the wire screen and that no bees are wandering in your vehicle.
- If you have a spare frame of brood from an established colony, placing it in the hive can help the new package settle.
- Confirm the outer cover and bottom board are ready for immediate placement.
A healthy package will quickly cover a brood frame once installed, which is a good early sign the colony is settling in.
| Check | What to Look For | Action |
|---|---|---|
| Wire screen | Intact, no gaps | Repair or replace before moving |
| Box condition | No crushing, dry | Note damage; contact supplier if severe |
| Bottom of package | Dead bees count | Record numbers; proceed with caution |
| Frames and brood | Frame ready to add | Place in hive for faster acceptance |
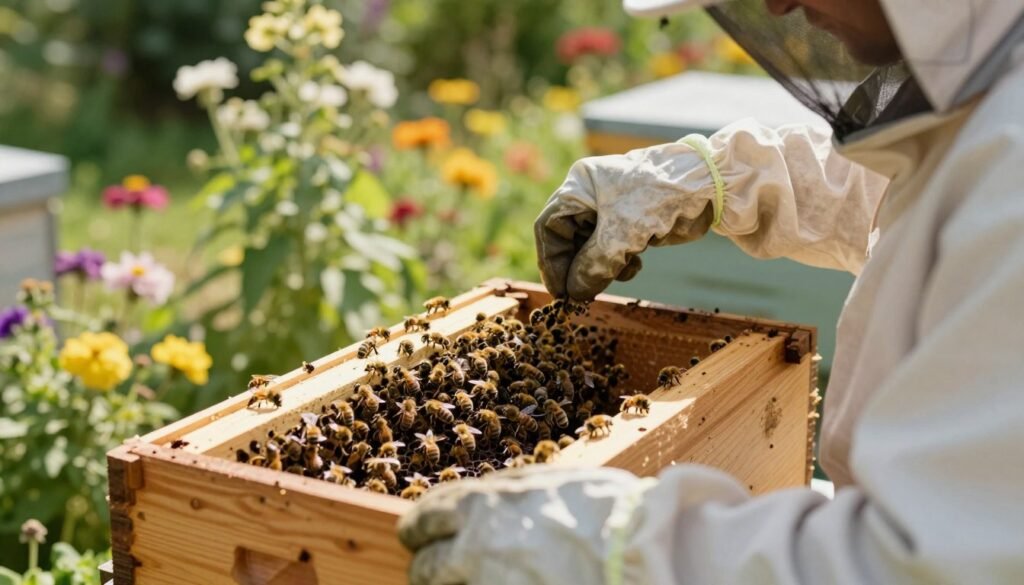
For guidance on release timing and moving colonies between yards, consult differing opinions on release and safe movement practices at release timing and apiary transfer best practices.
How to Install Bees Without Crushing the Queen
Gentle handling during transfer gives the colony the best chance to settle fast.
This video demonstrates the gentle, no-shake installation approach — setting the package directly in the hive so bees walk out on their own instead of being dumped, which minimizes the handling that risks injuring the queen.
The Gentle Shake Method
Rough shaking damages bees and shortens their lives. Use a soft, measured shake just enough to coax workers from the package into the hive. Limit motions and pause often so bees can recover.
Avoiding Direct Pressure
Never press on the box or the cage while arranging frames. Direct pressure is the most common cause of injury to the queen and to workers.
Proper Queen Cage Placement
Secure the queen cage between two frames so attendants can reach the candy plug. Cover any small hole where the feed can sat to prevent escapes during the transfer.
“In foundationless setups, direct release can be a safer option.”
— Michael Bush, author of The Practical Beekeeper
- Check the queen is lively before final placement.
- Close the top quickly after positioning the cage to calm the colony.
- Use a gentle method to reduce damaged bees and build a stronger hive.
| Step | Risk | Best Practice |
|---|---|---|
| Shaking package | Worker injury | Gentle, short shakes; avoid force |
| Placing cage | Crushing queen | Secure between frames; candy accessible |
| Box handling | Escapes | Cover feed hole; steady hands |
For recommended equipment options and a selection of quality queen cage designs, see our best queen cages for introduction.
Setting Up the Hive Environment
Start by leveling the stand and confirming the box sits steady. Place the package on a firm base and check that the hive is square. A stable foundation reduces jostle and helps the colony settle.
Arrange the frames with even spacing so the colony can draw comb in straight lines. Push frames together gently to prevent burr comb and to keep passageways clear.
Keep the interior clean. Remove debris from the box and around the entrance. A tidy environment lets the workers focus on feeding and comb construction, and it aids temperature control at night.
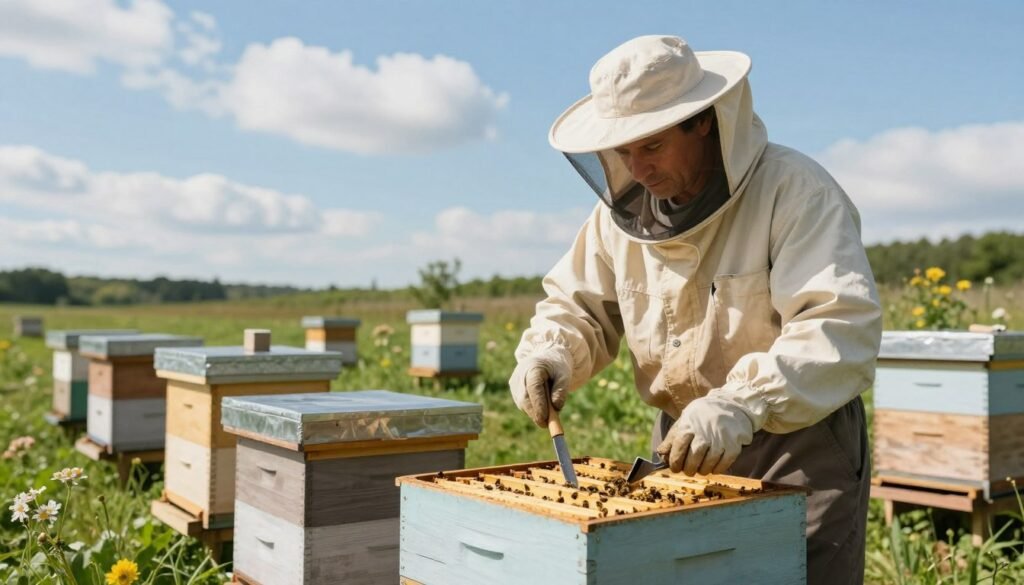
| Item | Best Practice | Benefit |
|---|---|---|
| Box level | Use a spirit level; adjust stand | Stable colony, fewer accidents |
| Frames alignment | Space evenly; push lightly together | Prevents burr comb; efficient comb building |
| Clean interior | Clear debris before placing package | Reduced stress; better brood care |
A well-organized hive gives the colony fewer reasons to hesitate and more reason to settle in and stay. For notes on alternate setups, see a discussion on standard hive setup.
The Importance of Supplemental Feeding
Young colonies burn a lot of energy while producing wax and need steady fuel. Supplemental feeding supplies the calories required for comb construction and brood care when natural nectar is scarce.
Choosing the right feeder type
A frame feeder is a popular choice because it fits like a normal frame and lets workers access syrup without crowding, distributing food evenly among the cluster.
Use a 1:1 sugar syrup to mimic a nectar flow. This ratio promotes drawing comb and supports early honey stores. Place the feeder at the top or within frames so all workers can reach it.
Include candy blocks or fondant as an emergency reserve while comb is forming. Candy gives slower, steady nourishment when syrup runs low or in cool weather.
- Benefits: Sustains energy, speeds comb drawing, and reduces robbing risk.
- Routine: Check feeders often — never let the colony run dry during early growth.
Consistent feeding during the first weeks gives a new hive its best chance to thrive. For notes on pollen substitutes and supplemental nutrition, see observations on pollen substitutes.
Managing the Queen Cage Release
Patient handling matters during the cage release. Allow workers time to accept the new leader before full release.
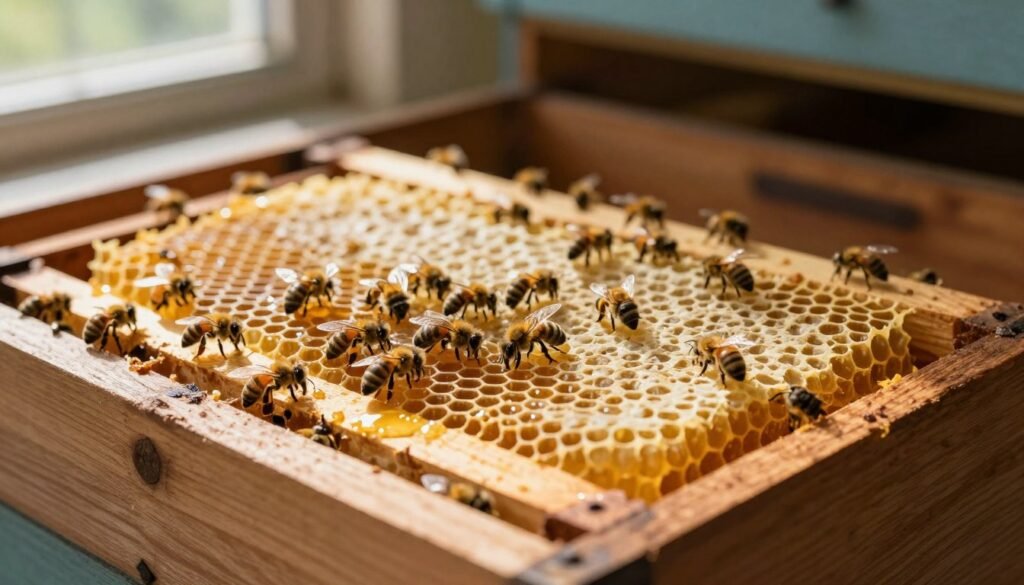
Check the candy plug after a few days. Look for steady consumption and gentle activity around the cage. Attendants should feed and groom the queen while others fan near the entrance.
- Observe fanning or calm clustering; aggressive behavior signals stress.
- If candy is untouched after several days, carefully clear the plug and re-seat the cage.
- Keep syrup available and topped up to keep workers focused on feeding duties.
After release, remove the empty cage so frames have room for comb. Avoid touching the cage directly during inspections; steady hands reduce accidental harm — a calm, unhurried release gives the colony the best chance to accept its new queen. For related guidance on early colony handling, see our note on catching a swarm safely.
Monitoring Hive Activity and Comb Development
Observing fanning and flight patterns gives quick clues about hive health and orientation. Watch the entrance each day for workers fanning and returning with pollen. This shows that the colony is orienting and foraging.
Inspect the queen cage after a few days. If workers feed the queen through the cage and candy is being consumed, acceptance is likely. Once released, the queen should move freely among frames and begin laying in drawn comb.
Place an Apithor Hive Beetle Trap at the bottom board to protect brood and stored food from pests. Keep syrup available so workers have energy for comb building and brood care.
- Look for regular pollen imports and steady frame work each day.
- Healthy laying patterns in drawn comb indicate a productive queen.
- Delayed activity or ignored queen cage after several days requires a careful check.
| Observation | What it indicates | Action | Timeline |
|---|---|---|---|
| Fanning at entrance | Good orientation | Monitor daily | Daily |
| Pollen returns | Foraging active | Maintain syrup | Daily |
| Queen cage feeding | Acceptance | Inspect cage after a few days | 3–7 days |
| Eggs in drawn comb | Queen laying well | Continue routine checks | 7–14 days |
Consistent daily observation in the first week gives the clearest picture of how well the colony is settling in. For resources on queen cells and related introductions, see beehive queen cell guidance.
Troubleshooting Common Installation Challenges
Early checks catch small faults before they grow. Inspect the package for damp spots and blocked vents right away.
If temperatures fall below 35°F, keep the package in a cool, sheltered spot that avoids freezing and sudden drafts.
When the cage candy or cork seems unmoved after several days, carefully remove that plug to help the queen emerge. Check the hole for dead workers that may have sealed it.
Removing the side screen of the box can be faster and less disruptive than shaking the colony into place. Use an empty box as a cover if you need extra room while rearranging frames.
Make sure moisture cannot pool in the hive. Damp wood and wet comb invite disease and weaken brood rearing.
- Have spare equipment ready: a bottom board and an inner cover speed fixes.
- If comb runs odd across frames, review comb alignment and consider professional tips on cross-comb.
- For stepwise notes on releasing packages and expectations during the first days, see our installing package bees guide.
A quick inspection and the right spare parts on hand often save a failing installation before it becomes a lost colony.
| Issue | Likely Cause | Immediate Action |
|---|---|---|
| Unmoved candy plug | Cage blocked or cold bees | Clear plug; warm package slightly; monitor |
| Excess moisture | Poor ventilation, wet site | Raise hive, add inner cover, improve drainage |
| Cross comb | Frame alignment or gap issues | Re-space frames; consult cross-comb methods |
| Blocked cage hole | Dead workers sealing entrance | Gently clear debris; inspect queen condition |
Conclusion
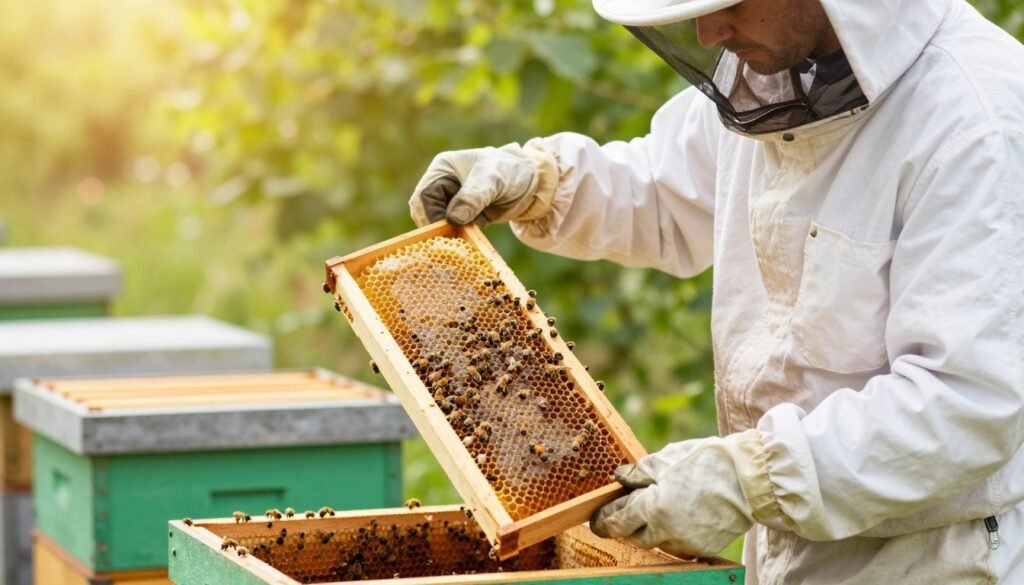
Finishing a package transfer with steady hands gives your colony the best long-term start. Successful beekeeping begins with careful prep, patient action, and steady follow-up. Monitor flight, keep syrup available, and watch comb growth each week. Prioritize safety for the queen and reduce stress for workers — small, calm moves during checks cut accident risk and help the colony focus on building comb and raising brood. For tips on slow, deliberate frame handling and fewer injuries, visit preventing crushed bees.
Frequently Asked Questions
What should I check when a package of bees arrives?
Inspect the box for live activity, a secure queen cage, and adequate ventilation. Look for spilled syrup or dead bees and confirm the queen is clipped or marked if indicated by the supplier. Count frames of support material and verify the shipping label matches your order. Handle the package gently and place it in a shaded, calm spot while preparing your hive.
When positioning a queen cage inside the hive, where is best?
Place the queen cage between two central frames so worker bees can access her through the candy end. Ensure the cage sits upright and is secured to a frame or wedge to prevent falling. Avoid tight packing; leave a small gap so bees can move around and begin tending the queen as the candy plug is gradually consumed.
How does the gentle shake method work for introducing package bees?
Remove frames from the hive to create space, then hold the package over the hive and gently shake bees onto central frames and comb. Work slowly and keep the queen cage separate and secured above or between frames. This encourages bees to settle into the brood nest without crowding the queen or forcing them through small openings.
What steps reduce the risk of crushing the queen during installation?
Keep the queen in her cage until the colony has calmed. Avoid squeezing or pressing on frames and never cram frames back into the box suddenly. Use a queen cage with a cork or plug designed for gradual release and attach it so it cannot fall into gaps where it may be crushed by returning frames or the outer cover.
When should I begin supplemental feeding and what options work best?
Start feeding immediately if local nectar sources are scarce or during the first few days after installation. Use a 1:1 sugar syrup in a top feeder or frame feeder for sugar balance that stimulates brood rearing. For short-term emergency feeding, an entrance feeder works, but remove it once natural forage is available to avoid robbing.
How can I tell if the queen is healthy and accepted by the workers?
Look for eggs and a pattern of brood laid consistently in the center of frames within a week to ten days. Attending workers clustered around the queen cage and calm behavior at the entrance are positive signs. Aggressive biting or persistent neglect of the cage suggests rejection and warrants close inspection.
What is the best way to handle a damaged or leaking package on arrival?
Move the package to a protected, shaded area and gently scoop bees into a clean nuc or hive box, keeping the queen in her cage until secure. Use smoke or sugar water mist sparingly to calm bees. Report shipping damage to the supplier and document with photos for a claim.