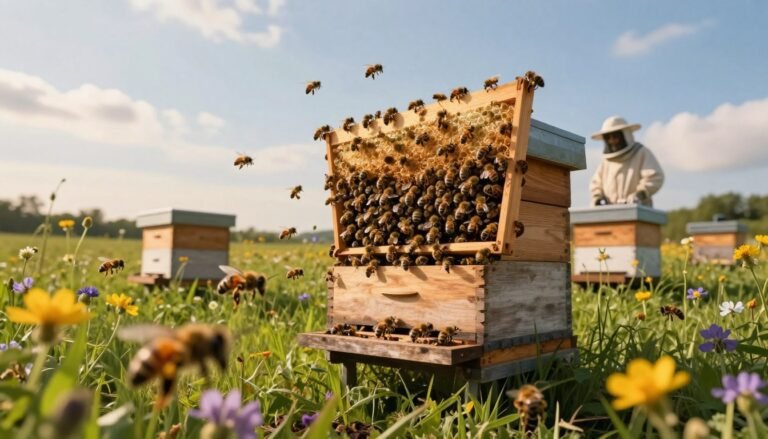
Choosing the right moment for moving a nucleus hive sets the stage for colony health. For new beekeepers, a nuc offers an easier path than boxed packages. It comes with a mated queen, drawn comb, and workers ready to expand into your hive.
Late afternoon or early evening often works well because most foragers return home. This reduces drifting and helps the colony settle with less stress. Bring a hive tool and be ready for a quick, calm transfer.
Plan for warm, calm weather and temperatures above about 60°F. If you want practical setup steps and a checklist, check this guide on how to transfer frames and confirm queen presence with a linked walkthrough and regional pickup notes.
For sourcing and seasonal timing, many beekeepers reference local availability and pickup schedules when they choose nucs over shipped packages. Local sellers often let you inspect frames and queen quality before you take the colony home.
Key Takeaways
- Late afternoon or early evening helps keep bees inside the new hive.
- Nucleus hives give beginners a stable start with an established queen and brood.
- Have your hive tool and equipment ready for a quick, calm setup.
- Choose warm, calm weather and avoid opening colonies below 60°F.
- Inspect frames and queen quality at pickup or consult a regional guide for timing.
- See a practical installation walkthrough for step-by-step help and pickup tips: how to install a nuc of.
- Learn about seasonal availability and planning when sourcing nucs: buying packaged bees and nucs.
Understanding the Value of a Nucleus Colony
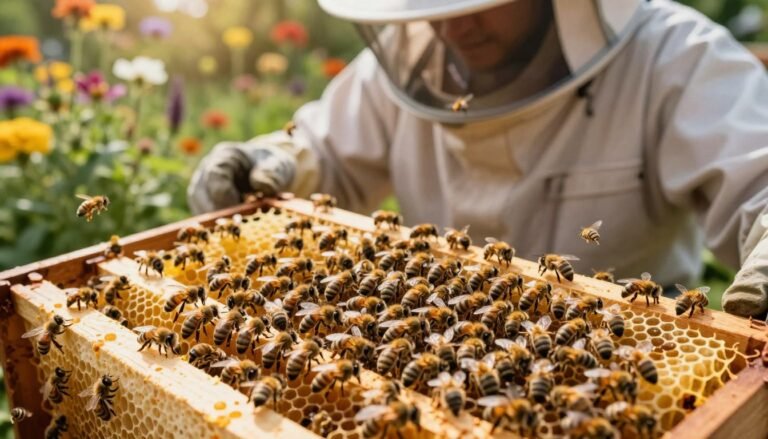
A nucleus colony gives new beekeepers an immediate, functioning group of workers and brood to speed hive establishment. This compact unit reduces early stress for both the bee community and the keeper.
Components of a Nuc
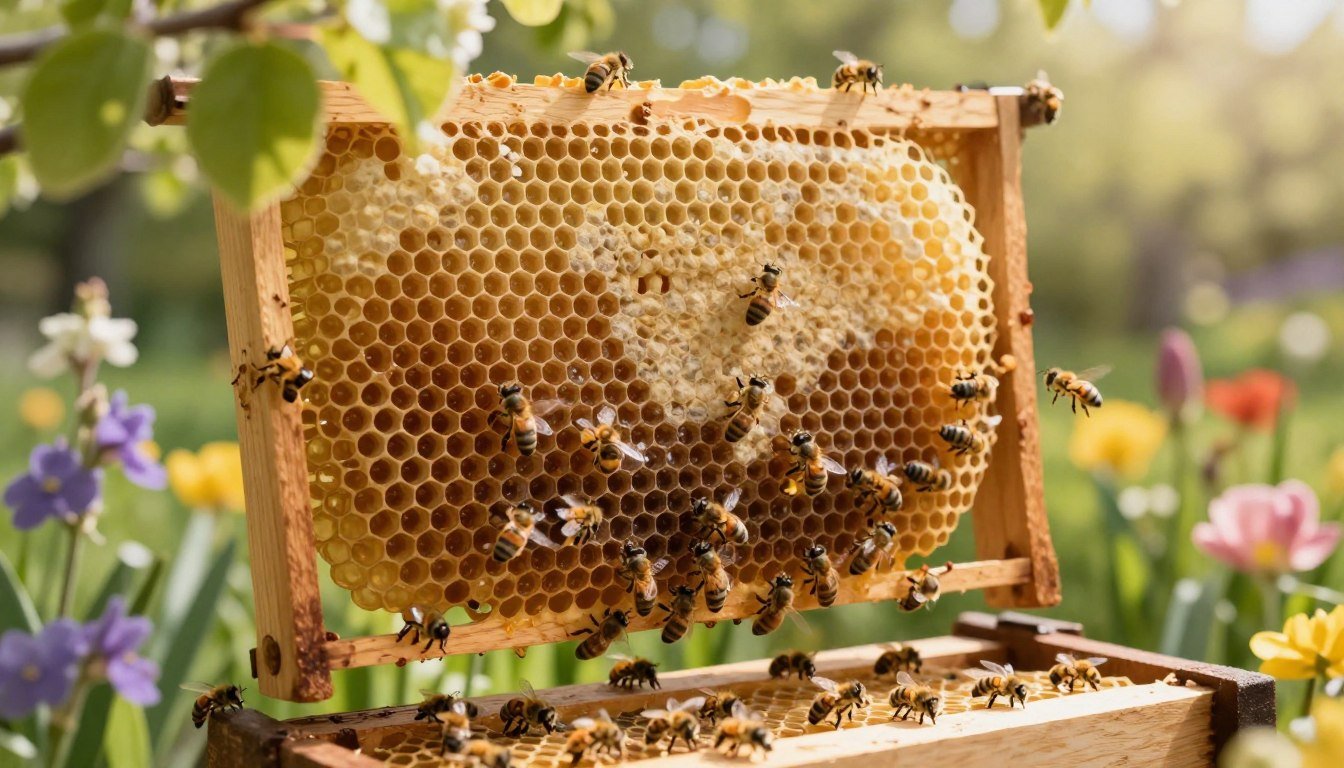
A typical five-frame nuc contains brood, honey, pollen, and a mated queen. These frames are often deep-sized and already drawn, which helps the colony settle into its new hive fast.
Having drawn comb and stored food means the bees can focus on growth rather than building comb from scratch. Use a good hive tool when inspecting frames to avoid damage.
Benefits for Beginners
Starting with a nucleus hive speeds development because the workers know their queen. That continuity supports steady brood production and steady nectar collection.
- Five frames provide brood, honey, and pollen for immediate support.
- The queen ensures ongoing laying and colony cohesion.
- A ready unit lowers early losses and simplifies beekeeping tasks.
For transport and handling gear, consider a recommended nuc transport box to keep your colony secure on moving day.
Determining the Best Time to Install a Nuc
Choose a warm, sunny day when most foragers are out. This makes it easier for the colony to settle and reduces stress on the queen and workers. Avoid opening frames or moving bees if the temperature is under 60°F (15°C).
Calm weather helps bees reorient to the new entrance. Wind and rain raise flight risks and can chill brood. When the hive sits in a protected, sunny location, bees regulate heat more effectively.
Experienced beekeepers know that the chosen day affects early survival. Proper timing lowers forager drift and keeps workers focused on brood and stores. If you need step-by-step guidance, see this walkthrough on how to install a nuc.
Check frames for brood and food before transfer, and pick a spot where hives get morning sun and afternoon shade. For disease checks and inspection tips, review how to inspect purchased nucs.

- Do not move the unit if temperatures are below 60°F.
- Pick a sunny, calm day so bees can fly and orient.
- Site the hive with a clear entrance and some morning sun.
Preparing Your Apiary and Hive Equipment
Choose a level, sheltered spot that gets morning sun and stays protected from strong winds. This gives your new hive a steady start and helps the colony keep brood warm.
Assemble gear before the bees arrive. Set the hive stand, place the hive box, and level the ground. A stable base reduces rocking and stress on frames during inspections.
Have personal protection and tools ready. Keep a hive tool, bee suit, and veil close at hand. Fit a hive entrance reducer to help the colony defend against robbers and pests.
- Place the inner cover and top cover only after checking frame alignment.
- Position the nuc box near the new hive to speed transfer on the day of arrival.
- Set feeders where they are easy to refill and do not block the hive entrance.
- Inspect the site regularly for space, shade, and wind changes.
For detailed setup guidance and staging options, see this primer on nucs and new hive placement and planning notes for seasonal arrival from beekeepers.
Transporting Your Bees Safely
Moving bees requires careful restraint and ventilation to protect brood and reduce stress. Follow clear steps so the colony arrives calm and ready for the new location.
Securing the Hive for Transit
Fasten the nuc box firmly with ratchet straps or heavy tape so it cannot tip in your vehicle. Use padding under the hive box to absorb bumps.
Use a reliable hive tool to tighten any loose parts before you lift the unit. Wear a protective suit and veil while loading to reduce the risk of stings.

Maintaining Optimal Conditions
Keep the vehicle cool and avoid direct sun on the hive. Moderate interior temperature protects brood and prevents overheating.
- Ensure airflow: leave the entrance partially open or use a mesh cover for ventilation.
- Keep the nuc box stable and avoid sudden movements that upset the bees.
- Handle the nucleus hive gently; calm handling reduces defensive behavior.
For detailed steps and carrier notes, consult these nuc transport guidelines to help your hive reach its new home safely.
Executing the Frame Transfer
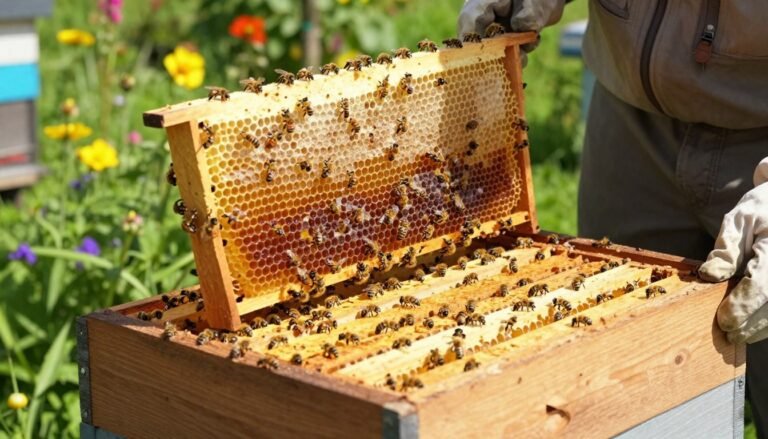
Move each frame with firm, steady hands and keep the original order from the nuc so brood patterns stay intact.
Begin with smoke. Use light smoke at the nuc entrance and lid before opening it. This calms the bees and lowers defensive behavior.
Remove at least five frames from the deep hive box first. This clears space so you can place the nuc frames without crowding.
Work one frame at a time. Lift straight up, take care not to roll bees or the queen, and set each frame into the deep box in the same order you removed them.
After all five frames are transferred, use your hive tool to push frames together in the center. A snug fit helps the colony keep brood warm and reduces drafts.
Shake any remaining bees from the nuc box into the new hive entrance so foragers and nurses reunite with the colony.
| Step | Action | Key Tool | Outcome |
|---|---|---|---|
| Prep | Smoke nuc and open lid | Smoker | Calmer bees |
| Clear space | Remove five frames from deep box | Gloves / suit | Room for frames |
| Transfer | Move frames in original order | Hive tool | Queen and brood protected |
| Finish | Push frames tight and shake remaining bees into entrance | Hive tool | Unified colony, ready to draw comb |
For a step-by-step walkthrough on handling a frame transfer and installing the colony into a new hive, see this guide on how to install a nuc.
Maintaining order and moving slowly protects the queen and brood. A careful transfer sets the colony up to draw comb and store honey quickly. For tips on encouraging population growth after transfer, review techniques to boost colony population naturally.
Managing Post-Installation Care
Once the frames are in place, routine feeding and checks will shape how the hive grows. Post-transfer care helps the new hive establish brood and stores without undue stress.

Feeding Your Colony
Start with simple sugar syrup and pollen supplements. Place a feeder on top or inside the box so bees find food fast. Check syrup levels every few days and refill before it runs out.
- Use 1:1 sugar water for rapid energy.
- Add a pollen patty if natural pollen is scarce.
- Keep the inner cover on to hold warmth and protect stores.
Monitoring Queen Laying Patterns
Inspect frames every 7–10 days to confirm queen acceptance and a solid brood pattern. Look for consistent eggs and capped brood in order on multiple frames.
If laying seems spotty, use gentle checks with your hive tool and consider resources or rehive options. For related steps on bringing new bees into your yard, see quarantine new bees.
Troubleshooting Common Colony Issues
Quick checks after placement can stop minor issues from becoming major colony losses.
If your bees turn aggressive, use a smoker to calm them and keep protective gear on. A few puffs at the hive entrance and around the nuc box often reduces defensive behavior and makes inspections safer.
Inspect frames for pests and signs of varroa or small hive beetles. Look for damaged comb, spotty brood, or unusual debris on frames.
Watch for overcrowding inside the box. When space runs low, the colony may prepare to swarm. Add another box or rearrange frames to give the queen room to lay.
Check the hive entrance regularly for blockages. A clear entrance helps foragers return, keeps ventilation steady, and lowers stress on the colony.
- If stores run low, increase sugar syrup in the feeder and keep up with feeding until natural forage improves.
- Monitor whether bees draw comb and store honey; poor comb building signals a problem during inspection.
- Use your hive tool gently when handling frames nuc units to avoid crushing brood or injuring the queen.
| Issue | Signs | Immediate Action |
|---|---|---|
| Pests (varroa, beetles) | Damaged brood, beetle larvae, mites on adults | Treat per local guidance; isolate affected frames |
| Food shortage | Reduced honey, few foragers | Add syrup to feeder; increase feeding frequency |
| Overcrowding | Clustering, queen limited laying area | Add box or redistribute frames to give space |
| Blocked entrance | Dead bees, debris at entrance | Clear passage; check for predators |
Staying proactive keeps your hive strong. For more on common installation issues and fixes, see this common issues guide and use this seasonal checklist to plan inspections and feeding.
Conclusion
Small, consistent actions after placement shape how well the colony grows over the season.
Choose one calm day for your final checks and help the nuc settle into the new hive. Keep inspections brief and steady so the bees stay calm and focused on brood care.
Provide regular feeding with simple sugar syrup and keep a feeder close until natural forage fills stores. Consistent syrup and sugar access helps the colony rebuild energy and draw comb fast.
Monitor queen laying and worker activity every week. Early, steady attention prevents common problems and supports a resilient hive and healthy bees.
Follow these professional steps, commit to ongoing care, and your colony can reward you with strong spring growth and steady yields.
FAQ
When should I put a nucleus colony into a full hive?
Install a nucleus colony in spring after local nectar sources start blooming and daytime temperatures regularly exceed 55°F. Aim for a calm, warm morning with little wind so foragers return. Avoid late fall or cold snaps; colonies need several weeks of foraging and brood rearing to build strength before winter.
What makes a nucleus colony different from a packaged swarm?
A nucleus contains frames with brood, honey, pollen, workers and usually a mated queen. That established comb and social structure lets the colony ramp up faster than a package, which starts without drawn comb or brood. That leads to more immediate foraging and quicker buildup of honey stores.
What does a typical nuc box include?
Standard nucleus boxes hold four to five frames that include brood at various stages, capped honey, and pollen. The box provides a temporary home sized to the small population. Modern nucs may use 5-frame or 8-frame configurations depending on regional practice.
Why are nucleus colonies recommended for new beekeepers?
Nucs reduce early management stress because workers know their queen and comb is already established. Beginners spend less time stimulating brood rearing and can learn inspections on a smaller, manageable colony. It also lowers the risk of queenlessness compared with buying an untested queen.
How do I choose the right spot for my hive before transfer?
Pick a sunny location with morning sun, afternoon shade, good drainage, and wind protection. Provide a clear flight path and situate the entrance toward a landmark. Ensure legal setbacks from property lines and easy human access for inspections and feeding.
How should I secure the box when moving nucs from seller to apiary?
Use ratchet straps and ventilated covers to prevent jostling while allowing airflow. Keep the hive level and drive slowly. A light curtain over the entrance reduces bee agitation. Avoid long trips during extreme heat or cold; limit transit to a few hours when possible.
What conditions must I maintain during transport to protect the colony?
Maintain moderate ventilation and avoid direct sun on the box to prevent overheating. Keep vibration low and minimize stops. If temperatures are cool, add insulation; if hot, ensure shade and airflow. Check bees briefly on arrival, then let them calm before opening fully.
What is the safest method for transferring frames into a permanent hive?
Transfer frames one by one, keeping brood frames centered and honey/pollen frames at the sides. Handle frames gently to preserve brood pattern and queen. Place frames in the same orientation and maintain the original sequence to reduce stress on the colony.
How should I position the queen and brood when moving frames?
Keep the queen on a central brood frame within the heart of the cluster. Ensure brood frames remain contiguous so workers can care for larvae efficiently. If the queen is on a frame, move that frame intact into the new hive without disturbing her.
Do newly installed colonies need feeding, and what is recommended?
Feed a new colony if local nectar is scarce or during initial establishment. Offer 1:1 sugar syrup in a feeder or jars, and provide pollen substitute if natural pollen is limited. Avoid overfeeding once bees start foraging to encourage natural nectar collection and comb building.
How often should I inspect a newly established nucleus colony?
Inspect every 7–10 days for the first month to monitor queen presence, brood development, and food stores. Keep inspections short and calm to avoid chilling brood. After the colony strengthens, shift to biweekly checks unless problems appear.
What signs indicate the queen is laying normally after transfer?
Look for consistent brood patterns with eggs and multiple larval stages on several frames. A healthy queen produces continuous, evenly spaced brood. Spotting emergency queen cells, spotty brood, or absence of eggs after two weeks signals a problem.
How do I handle slow brood production or a failing queen?
Confirm the queen’s presence first. If brood is sparse, check for disease, parasites, or poor nutrition. Consider introducing a mated replacement queen or buying another nucleus if the current queen fails to improve within two to three weeks.
What common issues arise after moving a nucleus and how do I troubleshoot them?
Common problems include robbing, queenlessness, slow buildup, and Varroa pressure. Prevent robbing with small entrances, ensure queen-right status quickly, feed appropriately, and monitor mite loads. Treat Varroa based on local thresholds and use integrated pest management practices.
How soon can I expect honey production from a new colony?
Expect little surplus honey the first season as the colony focuses on brood rearing and building comb. In favorable nectar flows and with strong genetics, some surplus may appear by late summer. Prioritize colony strength over early honey harvests.