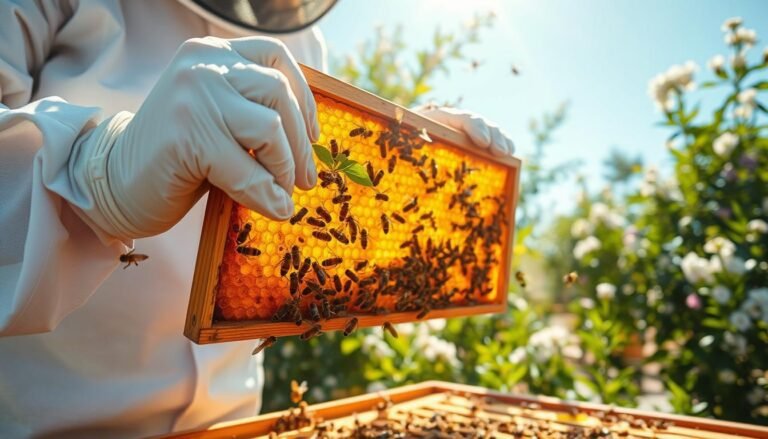
Start with a clear plan. The most reliable route is buying a local nucleus or full colony from a trusted beekeeper. That gives healthy stock, early support, and lower varroa risk.
Swarms form in late spring when colonies crowd the brood nest. Scouts search and “vote” for nest sites, so a well‑prepared nest box becomes attractive. Follow Seeley’s specs: the right cavity size, a small entrance near the floor, dry construction and beeswax scent.
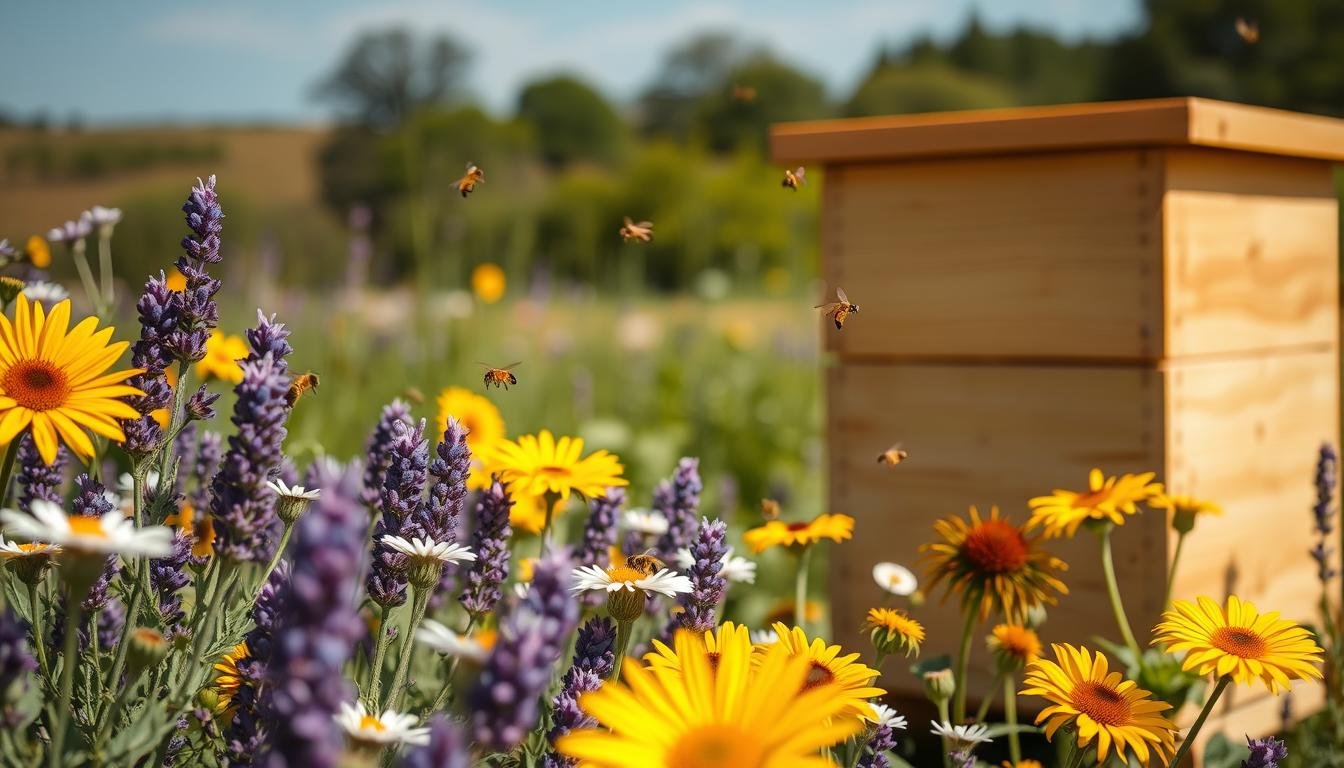
For free colonies, set bait boxes weeks before local bloom and place them in dappled shade facing south or southwest. Use lemongrass essential oil or a commercial lure rather than old comb or honey to reduce disease risk. For more on bait hives and sourcing stock, see this guide for practical steps and safety: bait hive advice.
Key Takeaways
- Buy local colonies for predictability and support.
- Swarm season peaks in spring; timing matters.
- Correct cavity size, small entrance, and beeswax scent attract scouts.
- Place bait boxes in dappled shade, facing south/southwest.
- Use lemongrass lure; avoid old comb and honey baits.
Understanding swarms and scout behavior to attract a colony
Swarming is a colony’s reproductive move. It usually occurs from late spring through midsummer when colonies expand fast and nectar is abundant. Crowding, broodnest congestion, and reduced queen pheromone coverage prompt preparations for departure.
Colonies create multiple queen cells. A typical swarm often leaves around the first capping, roughly eight days after cell construction, though emergency queens can shorten that window.
Scout bees search the landscape and inspect cavities. They report locations with dances on comb and measure entrance size, volume, and dryness when evaluating a site.
Decision-making depends on recruitment strength. The swarm follows the most vigorous dances, even though fewer than five percent of workers may have seen the final site.
- Why bait hives work: they mimic natural cavity cues—volume, small entrance, dry interior, and beeswax scent.
- Timing matters: have bait boxes ready before scouts reach their decision point so visits and recruitment can occur.
Site selection and hive setup that bees actually choose
Pick a visible yet sheltered location. Scouts judge openings, volume, and microclimate quickly. A well‑placed bait hive that balances sun and shade will get more visits.

Match proven cavity and entrance specs. Build a box with 30–80 liters of internal volume and an entrance of about 1.5–2.5 in² near the floor. That low, small entrance helps thermoregulation and defense during colony assessment.
“Dry, airtight interiors with a light beeswax scent score higher with scouts.”
Placement details matter. Face the entrance south or southwest in the Northern Hemisphere, set the box in dappled shade, and use natural windbreaks. Elevate near six feet when practical, though ground setups still work and are easier for later moves.
- Space bait hive about 300 feet from other hives to reduce competition.
- Use frames with foundation and starter strips; avoid filled comb so transfers stay simple.
- Keep the interior dry and sealed; bees will add propolis but start with a sound box.
Proven lures and scents to attract swarms
A subtle aroma can be the difference between a visited and an ignored bait hive.
Lemongrass essential oil mimics scout pheromones when used sparingly. Place a few drops at the entrance and a tiny dab inside. This creates a light scent plume that scouts notice without overwhelming natural cues.
Lemongrass essential oil: mimicking scout pheromones at the entrance
Use with restraint. Reapply only during peak scouting windows. Too much oil repels rather than invites.
Beeswax and lightly used brood comb: boosting “lived-in” odor
Lightly coat interior surfaces with clean wax to give a familiar scent profile. A small, healthy piece of brood comb can signal recent occupancy.
Avoid dirty comb. Black or soiled comb may carry disease and should not be used.
What to avoid: dirty old comb, honey baits, and contamination risks
Honey baits draw pests and robbers and raise contamination risks. Keep interior cues modest and practice strict biosecurity.
- Apply lemongrass in tiny amounts at the entrance and inside.
- Use beeswax sparingly to add a natural signature without residue buildup.
- Add only clean, lightly used brood comb; avoid old dark comb.
- Do not use honey as a bait; it attracts non-targets and increases disease risk.
- Track placement and scent amounts to refine seasonal strategy.
Further reading: practical bait hive setup and sourcing tips are available in this beekeeper’s guide and a compact resources list at Beekeepers Realm.
5. how to attract bees to a new hive with smart timing and cues
Install bait boxes several weeks ahead of local bloom so scout visits rise as nectar sources expand. Early placement lets scouts find and evaluate the site while colonies are preparing to swarm in spring.

Watch scout patterns and entrance signals
Track visits over several days. Persistent scouts that return and map the entrance usually mean active recruitment.
Rising traffic, steady fanning at the entrance, and purposeful orientation flights are clear acceptance signs.
Green lights for commitment
Look for workers arriving with pollen soon after occupancy. Pollen inflow strongly suggests the queen has resumed laying and the colony is settling.
- Stage early: align bait placement with increasing nectar in your area.
- Read timing: scouts may appear days before a swarm arrives; repeated visits matter more than brief checks.
- Minimize disturbance: avoid opening or probing during critical settlement days and choose cool evenings for checks.
When entrance activity stabilizes, pollen is flowing, and internal wax building begins, you can proceed with relocation or integration plans. For seasonal placement and maintenance tips, see seasonal beekeeping tasks.
Equipment, hive types, and safe moving practices
Standardize boxes and frames so transfers are fast and predictable. Choose a primary hive format—Langstroth or a compatible box—so frames move between units without jarring the colony.
Bait boxes, nucs, and Langstroth setups
Practical setups include brood boxes with hinged lids, polystyrene nucleus boxes, and standard Langstroth gear. Use a mix of foundation sheets and starter strips so frames draw clean comb you can lift into production frames.
Night moves, closures, and the 3‑mile/3‑week rule
Move occupied bait hives at night or in cool weather when most bees are inside. Close the entrance with foam and tape, secure boxes, and avoid honey inside bait equipment to reduce robbing.
| Item | Purpose | Best practice |
|---|---|---|
| Langstroth box | Production transfer | Standardize frame spacing for easy lift-outs |
| Polystyrene nuc | Portable bait option | Insulated, lightweight for early colony care |
| Moving kit | Safe relocation | Foam, tape, straps, smoker, veil, stable stand |
- Respect orientation: use the 3‑mile/3‑week guideline when relocating locally.
- Manage weight: place full hives on the ground for easier access.
- Document gear and procedures so any beekeeper can repeat the move safely.
For detailed setup notes see this beekeeper’s guide and a concise beginner beehive guide.
Conclusion
Wrap up your setup by checking volume, entrance profile, and scent so visiting scouts endorse the site.
Match Seeley-backed specs (30–80 L cavity, ~1.5–2.5 in² entrance near the floor) and place the box in dappled shade with natural wind protection. Ground or about six feet up both work when conditions allow.
Use light beeswax and tiny lemongrass applications, and avoid dirty comb or honey baits. Watch for entrance fanning, calm traffic, pollen inflow, and fresh comb as commitment signs.
Standardize frames and gear, move occupied boxes at night using the 3‑mile/3‑week rule, and manage disease risks. For removal and lure context, see this practical guide on luring hives from structures.
FAQ
What triggers swarming and when does it usually occur?
Swarming happens when a colony overcrowds or prepares to reproduce. It typically runs from spring into midsummer, peaking when nectar flows and brood rearing are strong. Good food, rising temperatures, and a healthy queen all increase the chance of a split and a swarm leaving to find a new home.
How do scout bees evaluate potential nest sites?
Scout bees search cavities, then return and perform waggle dances to indicate location and quality. Other scouts inspect suggested sites and gradually converge on the best option through repeated dances. The process looks like a vote, with the most favored site drawing increasing support until the swarm departs for it.
Why do bait hives attract swarms?
Bait hives mimic natural cavities in size, darkness, and scent. They provide a ready-made shelter that reduces the work a swarm must do. Adding familiar odors, like beeswax or lemongrass oil, signals safety and habitability to scouts, increasing the chances they recommend the box.
What cavity volume and entrance size work best?
Research and field experience favor cavities around 30–80 liters and an entrance of roughly 1.5–2.5 square inches near the floor. That volume feels like a natural tree cavity, and a moderate entrance helps scouts assess interior conditions while offering defensibility.
How should I orient and site a bait hive?
Face the entrance south or southwest if possible, provide dappled shade, and use natural windbreaks. A slightly protected location with morning sun and afternoon shade tends to please scouts. Keep the box dry and stable to simulate a safe cavity.
Is hive height important for attracting a colony?
Height matters but isn’t absolute. Placing a bait hive about 6 feet off the ground often matches natural tree cavities and can perform well. Ground placements also succeed, especially in shrubland or urban sites. Choose a height that suits local landscape and safety.
How far should a bait hive be from other colonies?
Keep bait hives roughly 300 feet away from established apiaries and other colonies. Distance reduces competition and helps scouts evaluate your site independently, raising the chance of acceptance by an incoming swarm.
Which scents and lures reliably draw scout bees?
Lemongrass essential oil at the entrance mimics citrus-like scout pheromones and is widely effective. Beeswax or lightly used brood comb adds a lived-in odor that signals habitability. Use small, controlled amounts and refresh scents every few weeks during swarm season.
What should I avoid placing inside bait hives?
Avoid dirty, old comb that may carry disease, and stay away from honey baits that attract pests or robbing. Contaminated material reduces swarm appeal and risks colony health. Use new wood, clean frames, or lightly used comb from trusted sources.
When should I set out bait hives for best results?
Put boxes out before local blooms begin and during early scout activity in spring. Early placement gives scouts time to discover and evaluate sites ahead of peak swarming. Check boxes weekly for increasing scout traffic or signs of inspection.
What scout or hive behaviors indicate a bait hive is being selected?
Watch for increased entrance activity, fanning, and returning bees carrying pollen or scent. Scouts may inspect interior corners and perform brief dances nearby. If wax building or propolis appears, scouts are signaling strong interest.
Which hive types work as bait boxes and for easy transfer?
Small bait boxes, nucs, and single deep Langstroth boxes with frames or foundation work well. Frames allow simple transfer into standard equipment and reduce stress when moving a found colony into a working apiary.
How should I move or accept a discovered swarm safely?
Move colonies at night or in cool weather when bees are clustered. Close the entrance for transport, avoid abrupt jolts, and follow the three-mile/three-week rule for relocating established colonies if local regulations or behavior warrant it. Wear protective gear and plan the transfer calmly.
Are there disease risks with using used brood comb or frames?
Lightly used brood comb from healthy colonies can help lure swarms while lowering disease risk compared with very old comb. Always source comb from reputable stock, inspect for signs of pests or disease, and replace suspect material to protect incoming colonies.
How long should I leave bait hives in place before giving up?
Leave boxes in place through the local swarm season and check regularly. Some sites attract a colony within days; others take weeks. If there’s no activity by season’s end, refresh scents, move the box short distances, or try a new location the following year.