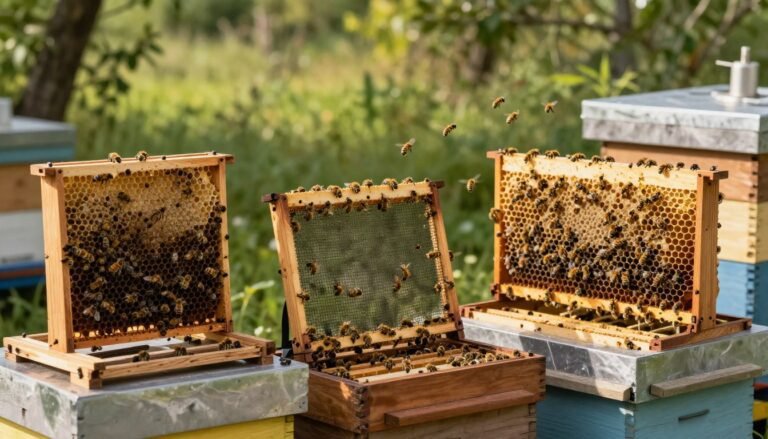
Preparing your hive for fall and winter means more than stacking boxes. With seven seasons in Maine, many beekeepers finalize winter prep by Thanksgiving. A well‑planned entrance solution keeps the colony safe while allowing flight paths to remain open.
Metal mesh designs act as a durable barrier that rodents cannot chew through. Install these protective pieces in September when rodents seek shelter and the weather cools. Proper timing reduces the risk of severe damage to frames and stores.
Good designs balance ventilation and defense. For measurement tips and mesh layouts, see a practical DIY guide on mesh cutting and placement at DIY mouse guard instructions. If you prefer ready-made options, check recommended choices at best mouse guards for Langstroth hives.
Key Takeaways
- Install protective entrance hardware in the fall, ideally in September.
- Metal mesh prevents rodents from chewing into the hive interior.
- Timing and design protect frames and stored honey through winter.
- Balance airflow and security when choosing a mesh layout.
- Inspect the hive before fitting the entrance piece to avoid trapping animals.
Understanding the Importance of Hive Protection
A secure entrance helps prevent costly damage to comb and equipment during cold months. Early attention to the front of the hive keeps the colony active and reduces repairs later in the season.
The Threat of Rodents
Rodents like the deer mouse will chew through the hive box, entrance reducers, and internal comb to build a warm nest. This can happen overnight and leave debris and rot in the brood chamber.
Skunks and other critters can also harass colonies. A broad wire mesh barrier deters clawing and prying at the front and lowers stress on the colony.
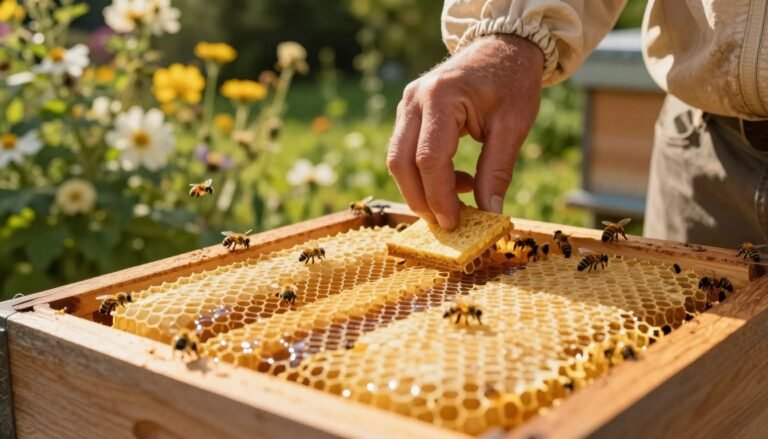
Protecting Valuable Comb
Beeswax comb represents weeks of work and years of value if maintained. One small pest can ruin frames that took the colony many months to create.
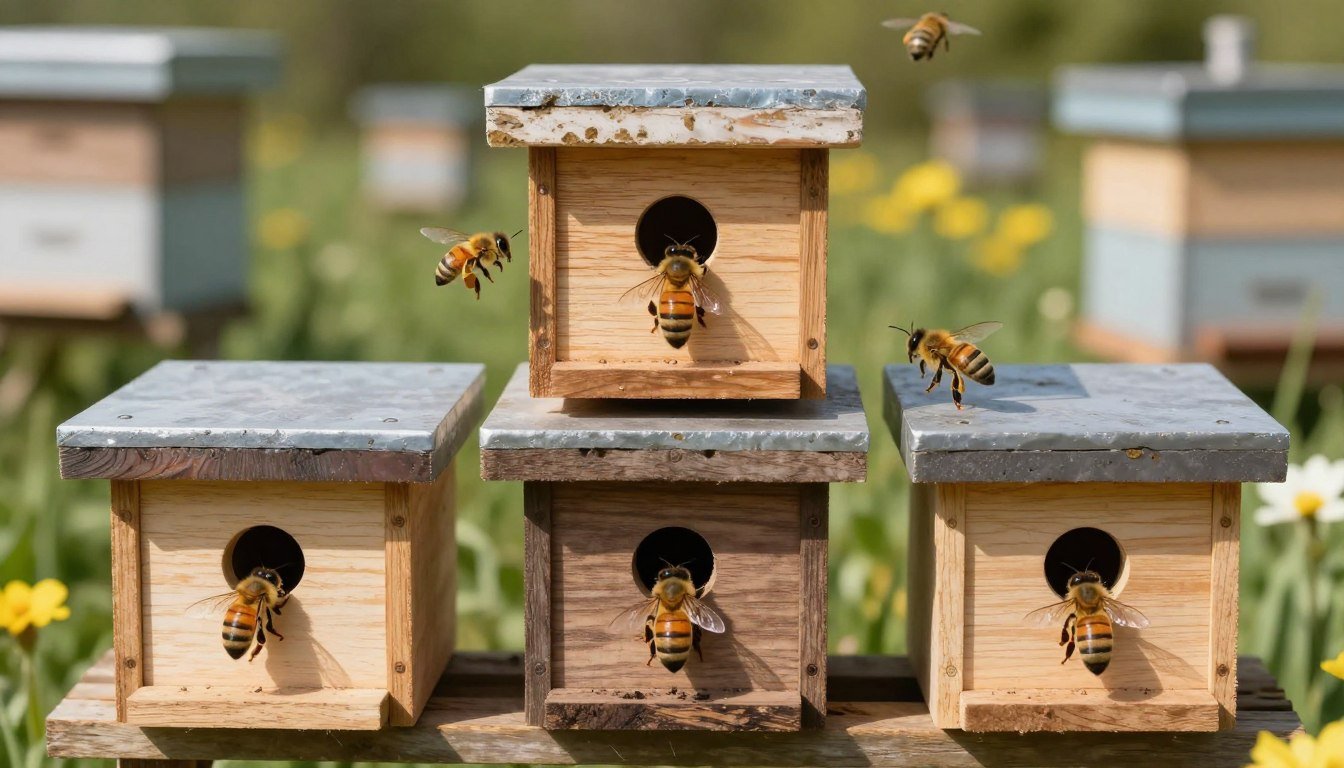
Investing in quality metal hardware is a preventative step. A mouse guard is a combination of three metal plates that forms a secure barrier at the entrance. Properly installed, it keeps the bottom board clear and allows flight while excluding pests.
“Preventing a rodent from taking residence ensures your colony stays healthy and your equipment lasts longer.”
- Keep the entrance accessible to flying insects but restricted to unwanted animals.
- Inspect the bottom board regularly to remove debris and check fit.
- Consider metal mesh or wire options that resist chewing and weathering.
For practical installation tips and a DIY approach, see DIY mesh instructions. If you prefer ready-made parts, compare modern entrance reducer options at entrance reducer options.
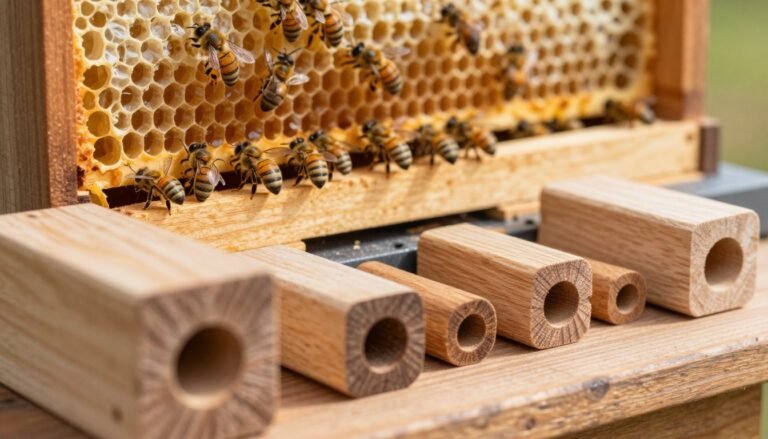
Determining the Optimal Mouse Guard Hole Size for Honey Bees
Choosing the correct entrance aperture keeps unwanted critters out while letting workers move freely.
Use 1/2-inch metal mesh as the standard. This mesh blocks small rodents while letting worker bees pass and keeps ventilation adequate. Cut wire mesh to match your hive type so the fit sits snug on the bottom board.
For a 10-frame Langstroth hive, cut the mesh to 28 squares by 10 squares. An 8-frame hive should use 24 squares by 10 squares.
If the hardware cloth runs down the center of an “O” shape, leave the remaining opening between 1/4 and 1/2 inch. That gap allows movement without inviting damage to frames or stores.

- Confirm the mesh is metal or wire and resists chewing.
- Secure the panel to the board with screws or staples; prevent gaps.
- Check ventilation after installation and adjust if airflow is restricted.
| Hive Type | Mesh Cut (squares) | Remaining Opening | Notes |
|---|---|---|---|
| 10-frame Langstroth | 28 x 10 | 1/4″–1/2″ | Standard fit; good ventilation |
| 8-frame | 24 x 10 | 1/4″–1/2″ | Trim edges for snug mount |
| DIY oval layout | Custom per opening | >1/4″ | Place cloth at center to preserve gap |
For community-tested tips on mesh options and entrance layouts, see the mice entrance mesh thread.
Essential Tools and Materials for Installation
Gathering the right tools makes installation faster and reduces stress on the colony.
Select durable hardware that resists corrosion and winter wear. Use metal plates designed to sit at the hive joints. These provide a long-lasting combination of protection and easy removal.
Selecting Durable Hardware
Use the six larger nails that come with your kit when assembling the box before bees arrive. The nail plates must sit in a “z” pattern so the plate can slide in and out smoothly.
If the colony is already present later in the year, substitute screws and a drill. Screws reduce hammer vibration and keep the bees calmer during work.
- 6 larger nails for initial assembly
- Screws and drill when bees occupy the hive
- Stainless metal plates and durable mesh — see what size hardware cloth
- Hive tool to remove the entrance reducer
| Item | When to Use | Key Note |
|---|---|---|
| Nail plates (Z pattern) | Before colony arrival | Install flush so the plate slides under the board |
| Screws & drill | After bees are in the hive | Minimizes vibration and disturbance |
| Metal plates (combination) | All seasons | Mount near side joints to protect the entrance |
“Proper parts and careful fastening keep the entrance protected through fall and winter.”
Step-by-Step Installation and Safety Procedures
Start every installation by confirming the hive interior is clear and safe to work on.
Pre-Installation Hive Inspection
Use a flashlight to inspect under the frames and the bottom board. Recruit a second person before tipping a heavy box; hives can weigh 175–260 pounds in the fall.
If you find a rodent, gently evict it with a wire clothes hanger or a long stick. Wear protective gear and use a smoker to keep the colony calm.
Securing the Guard
Place the entrance panel so it sits flush on the bottom board. Fasten with screws when the colony is present to reduce vibration.
Flip the panel to the side with small openings when you need to contain the colony but maintain air flow during moves or pesticide work.

Avoiding Common Mistakes
- Avoid placing nail plates above the entrance plate; nails can penetrate frames and block inspections.
- Check ventilation after fastening; restricted airflow stresses the colony.
- Confirm screws do not protrude into the box or rub against frames.
| Task | Action | Key Safety Note |
|---|---|---|
| Inspect | Flashlight check under frames | Have a helper for tipping |
| Evict | Use hanger or stick | Move gently, avoid harming occupants |
| Secure | Screws into bottom board | Ensure ventilation remains |
Resources: Compare product choices at best mouse guard options, review winter prep at winterizing hives, and learn optimal placement at beehive placement.
Conclusion
Simple hardware updates at the front of the hive make a big difference to colony survival over winter.
Installing a mouse guard is a key step in preparing your hive and protecting valuable comb. Take time to inspect the entrance before fitting a panel to avoid trapping any small animals.
Follow the steps in this post so equipment is ready before fall scouting begins. Whether you buy a ready part or build one with metal hardware, the protection is worth the effort.
Share this post with other beekeepers and review entrance management tips at beehive entrance management. Thanks for reading — may your colony thrive through the year.
FAQ
What is the recommended mouse guard hole size for honey bees?
Beekeepers commonly use an opening about 3/8 inch (9–10 mm) wide. That gap keeps out most small rodents while allowing worker bees to pass freely. Many commercial boards and DIY screens follow this dimension to balance protection and bee traffic.
When should I install a guard on my hive?
Install a protective entrance screen in late fall before temperatures drop and rodent activity increases. Leave it in place through winter and remove it in spring when bees ramp up foraging. Some beekeepers keep it during any season with high rodent pressure.
Will adding a guard restrict ventilation or airflow?
Properly sized entrances don’t noticeably reduce ventilation. Good practice is to use screening or slotted guards combined with top ventilation like an inner cover with an adjustable hole. That maintains airflow while preventing pest entry.
What materials work best for durable installation?
Stainless steel mesh, galvanized hardware cloth, and aluminum plates resist rust and chewing. Use rust-resistant screws and a hardwood or exterior-grade ply board for the mounting surface. These materials last through seasons and reduce maintenance.
How do I install a guard without disturbing the colony?
Perform installation on a calm, warm afternoon. Gently remove the outer cover, slide the guard into the bottom board entrance or attach it to the front, and minimize hive openings. A quick, efficient job reduces stress on the bees.
Can guards prevent all rodent damage to frames and comb?
Guards greatly reduce the risk but don’t eliminate all threats. Persistent rodents may try other access points. Combine entrance protection with sealed equipment, raised stands, and regular inspections to protect brood and stored honey effectively.
Are there common installation mistakes to avoid?
Avoid making entrances too small for bee traffic or installing poorly secured screens that rattle. Don’t block the entire bottom entrance during hot weather. Ensure the guard is flush with the board to prevent gaps rodents can exploit.
How do I check the fit and effectiveness of my entrance fitting?
Observe bee traffic at dawn and dusk for a few days after fitting. Look for congestion, guarding behavior, or unusual mortality. Inspect the guard for chew marks and loose fasteners monthly, especially through fall and winter.
Can I retrofit existing hives with a protective entrance piece?
Yes. Many aftermarket products fit standard 10-frame and 8-frame hives, or you can cut and mount metal mesh into the existing bottom board. Measure the entrance width and choose compatible hardware to ensure a snug fit.
Do vacuum-formed plastic or wooden boards perform differently?
Plastic boards resist rot and are easy to clean, while hardwood options can be more durable against impact. Metal mesh is key for chew resistance regardless of board material. Select based on climate, budget, and long-term maintenance needs.