Published August 27, 2026
Table of Contents
- What the Alley Method Is
- Why Cutting and Thinning Works
- Henry Alley: A Pioneer Queen Producer
- Equipment Needed
- Step 1: Preparing the Breeder Comb
- Step 2: Cutting the Comb into Strips
- Step 3: Thinning the Larvae
- Step 4: Mounting and Placing in the Cell-Builder
- Alley vs. Miller Method
- Why Alley Offers More Larval-Age Control
- Who This Suits Best
- Troubleshooting Low Acceptance
- How Many Queens Per Cycle
- Getting Comfortable with the Cutting Technique
- Modern Use Alongside Other Methods
- Common Mistakes
- FAQ
What the Alley Method Is
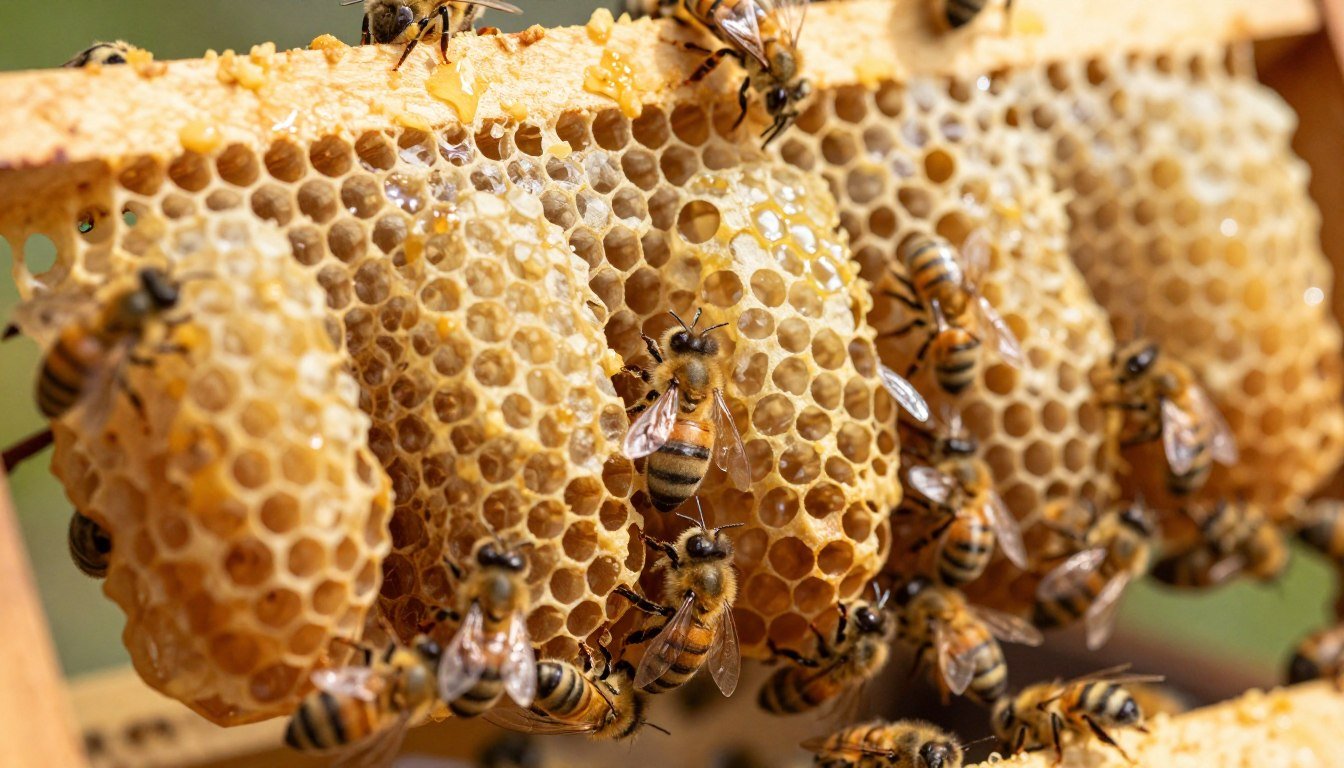
The Alley method is a graft-free queen-rearing technique, developed by 19th-century American beekeeper Henry Alley, that involves letting a queen lay eggs in a fresh comb, cutting that comb into horizontal strips once the eggs hatch into very young larvae, thinning out most of the cells in each strip, and mounting the remaining strips onto a bar for a cell-building colony to develop into full queen cells. Like the Miller method, it avoids grafting entirely — but the mechanics are genuinely different, cutting comb into strips rather than shaping a saw-tooth edge.
Why Cutting and Thinning Works
Once a frame of comb is filled with freshly hatched larvae, cutting it into single-row horizontal strips exposes far more individual cells to open air and bee access than an intact sheet of comb would. Destroying roughly two out of every three cells in each strip then gives the nurse bees physical room to reshape and extend the remaining cells outward into the elongated, peanut-shaped form a proper queen cell needs — something that isn’t possible when neighboring cells are still packed tightly together on all sides. This combination (fresh exposed edges from cutting, plus real physical space from thinning) is what reliably triggers a queenless colony to build cells specifically at the remaining spots rather than scattered unpredictably across a full frame.
Henry Alley: A Pioneer Queen Producer
Henry Alley was among the earliest commercial queen breeders in the United States, working in the late 1800s at a time when queen rearing was still a developing craft rather than a well-documented science. His method was born out of practical necessity for producing queens reliably at meaningful volume without the specialized tools that hadn’t yet been invented — decades before Jenter or Nicot-style hardware existed, and even before Miller’s saw-tooth foundation approach was widely known. It remains referenced today specifically because the core mechanics (fresh young larvae, physical space around each cell, a strong queenless finishing colony) are the same fundamentals every graft-free method still relies on, regardless of how the initial cell-spacing is achieved. That durability across nearly a century and a half of beekeeping practice is itself a form of validation few modern techniques can claim.
Equipment Needed
- A frame of fresh drawn comb (or comb built specifically for this purpose) for the queen to lay in
- A sharp, thin knife for cutting the comb into strips
- A cell-bar frame (a frame fitted with horizontal bars for attaching strips) — purpose-built or improvised
- Melted wax or another means of attaching the cut strips to the bars securely
- A strong, queenless cell-building colony
Step 1: Preparing the Breeder Comb
Place a frame of comb — new or freshly drawn — in the center of your chosen breeder queen’s colony. Queens generally take to laying in fresh comb quickly, especially when it’s positioned centrally within the existing brood nest rather than off to the side.
Step 2: Cutting the Comb into Strips
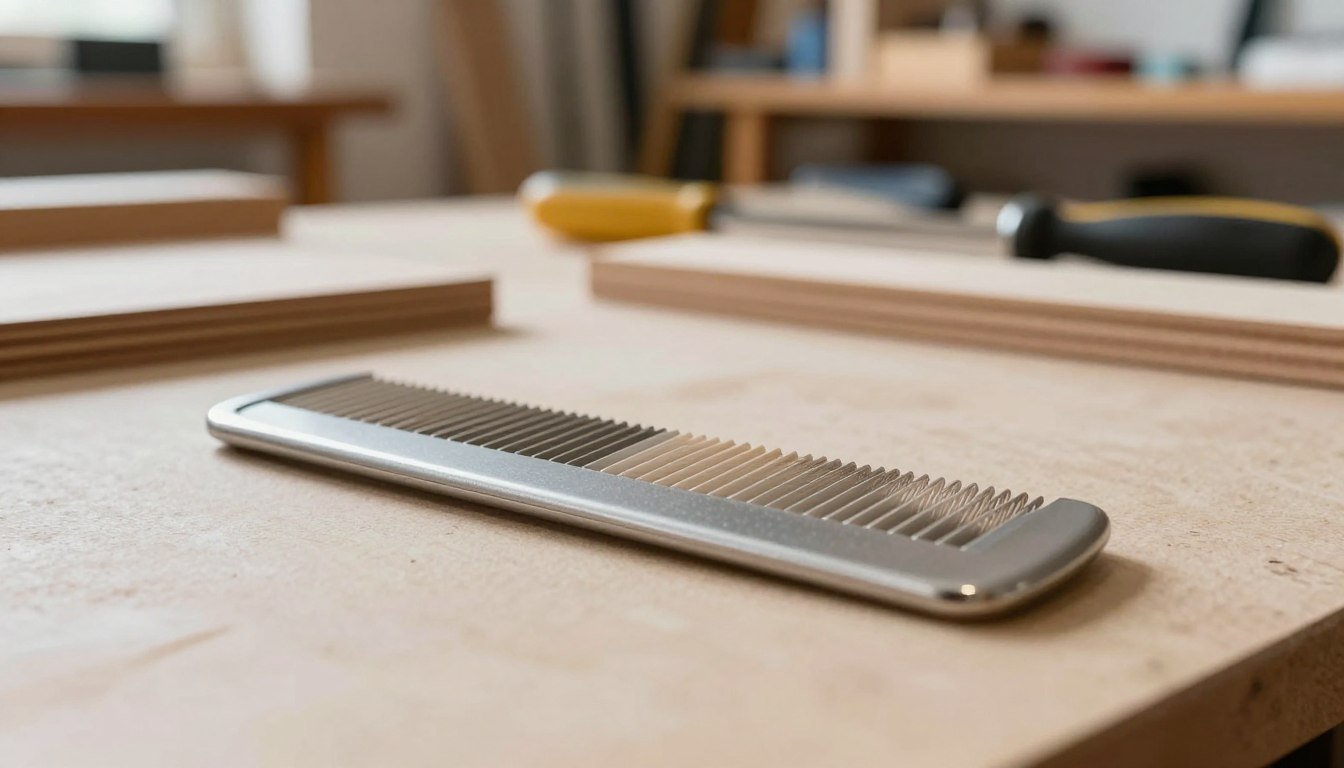
Once the eggs have hatched into very young larvae — ideally in the 12-24 hour range, since queen quality depends heavily on starting from the youngest larvae possible — remove the frame and, using a sharp knife, cut the comb into horizontal strips, each containing a single row of cells.
Step 3: Thinning the Larvae
Working along each strip, destroy roughly two out of every three cells, leaving isolated larvae with open space on either side. This thinning step is what gives the remaining cells room to be reshaped into proper queen cells rather than staying constrained by intact neighboring worker cells.
Step 4: Mounting and Placing in the Cell-Builder
Attach the thinned strips, cells facing downward, onto a cell-bar frame — commonly secured with a small amount of melted wax to hold each strip firmly in place. Insert this frame into a strong, queenless cell-building colony. Sensing their queenlessness and presented with ideally aged larvae in a favorable physical layout, the nurse bees are strongly motivated to begin building queen cells around them.
Alley vs. Miller Method
| Alley Method | Miller Method | |
|---|---|---|
| Comb preparation | Cut into horizontal strips after laying | Saw-tooth foundation cut before laying, trimmed to a V after |
| Cell spacing control | Direct — thin to every 3rd cell | Indirect — depends on where bees choose to draw comb along the saw-tooth edge |
| Mounting | Strips attached to a cell-bar frame | Trimmed comb inserted directly as a frame section |
| Precision | More direct control over larval age and spacing | Somewhat less precise, but simpler prep |
See the Miller method for the full comparison piece — both remain viable, no-grafting options, and the choice between them often comes down to which cutting-and-mounting workflow a given beekeeper finds more natural.
Why Alley Offers More Larval-Age Control
Because the Alley method involves directly inspecting and cutting comb after the queen has laid, a careful beekeeper can select strips specifically from areas with the youngest, most uniformly aged larvae, discarding sections that look too developed. The Miller method, by contrast, depends on wherever the queen happened to lay along the saw-tooth edge and which parts get trimmed into the final V-shape — still effective, but with less direct opportunity to hand-pick the best-aged material strip by strip. This makes Alley a reasonable step up in precision for a beekeeper who’s found Miller’s approach a bit too hands-off, without requiring the investment in Jenter or Nicot hardware.
Who This Suits Best
The Alley method suits beekeepers who want more control over larval selection than Miller’s method offers but who’d still rather avoid grafting or purchasing hardware-based systems. See Jenter and Nicot systems compared if you’d rather skip cutting comb entirely and use plastic hardware instead. It requires comfort with a knife and comb-handling that some beekeepers find more intuitive than others — if precise cutting and strip-mounting doesn’t appeal, Miller’s simpler saw-tooth approach or a Jenter/Nicot system may be a better personal fit even though the underlying result (a set of viable queen cells) is similar across all of them. Trying both on a small scale before committing fully to either is a reasonable way to find out which one actually fits your hands and your patience.
Troubleshooting Low Acceptance
If the cell-building colony isn’t accepting many of the presented larvae — visible as strips with few or no cells developing after several days — a few common causes are worth checking. The larvae may have been too old at the time of cutting, since even a day or two past the ideal 12-24 hour window meaningfully reduces acceptance and final queen quality. The cell-building colony may not be genuinely queenless or may lack the nurse bee density needed to feed multiple developing cells adequately — a colony that’s only marginally queenless, still holding onto residual queen pheromone, responds far less enthusiastically than one that’s been queenless long enough to fully register the loss. Weather and nectar flow conditions matter too: a colony under nutritional stress from a poor flow has less surplus to dedicate to raising cells it doesn’t strictly need for its own survival.
How Many Queens Per Cycle
A single frame of comb, cut and thinned properly, can yield a meaningful number of queen cells in one cycle — generally more than the handful the Miller method typically produces from its saw-tooth edges, since the Alley method’s strip-and-thin approach creates a more evenly distributed set of prepared cells across the whole frame rather than concentrating mainly at points where V-cuts meet. Actual yield still depends heavily on the strength and nurse-bee capacity of the cell-building colony receiving the strips — a strong, well-fed colony can develop meaningfully more cells to full maturity than a marginal one, regardless of how many larvae were originally presented to it. As a rough guide, a well-fed, genuinely strong cell-building colony working a good flow can be expected to bring a noticeably higher percentage of presented cells to full maturity than a colony that’s merely adequate — the finishing colony’s condition matters more to final yield than which no-graft technique produced the starting material.
Common Mistakes
| Mistake | Why it matters |
|---|---|
| Cutting comb before larvae hatch, or after they’re too old | Timing precision matters as much here as with any other queen-rearing method — very young larvae are essential for quality queens |
| Not thinning enough cells | Without adequate spacing, nurse bees can’t properly reshape cells into full queen cells |
| Poor attachment of strips to the cell bar | Loose or falling strips can damage developing cells or be rejected by the cell-building colony |
| Using a weak or not-genuinely-queenless cell-building colony | The same finishing-colony strength requirement applies here as with every other graft-free or grafted method |
Getting Comfortable with the Cutting Technique
Beekeepers new to the Alley method sometimes find the cutting step intimidating at first, worried about damaging larvae in the process — a reasonable concern, since the whole method depends on those larvae surviving the cut undamaged. In practice, cutting along the boundaries between rows of cells rather than through the middle of them is the key technique, using a sharp, thin-bladed knife warmed slightly (a knife dipped briefly in hot water works well) to make cleaner cuts through wax without dragging or tearing. A dry run on an old, unused piece of drawn comb before attempting the technique on an actual breeder frame is a low-stakes way to build the hand-eye coordination the method requires before committing real breeding material to it. Even experienced beekeepers occasionally lose a strip or two to a bad cut early in a season after time away from the technique, so treat the first attempt of each year as practice rather than assuming last year’s skill carries over perfectly without any warm-up. Like most manual beekeeping skills, comfort and precision improve quickly with a few practice attempts.
Modern Use Alongside Other Methods
The Alley method hasn’t been rendered obsolete by grafting or hardware-based systems — it remains in active use among beekeepers who prefer a middle ground between Miller’s very low-effort approach and the higher precision (and cost) of grafting or plastic cup systems. Some queen breeders use different methods for different purposes across a season: Alley or Miller for routine requeening needs where speed and low equipment cost matter most, reserving grafting or hardware systems for more selective breeding work where maximizing the exact number and precise age-matching of cells justifies the extra effort. There’s no requirement to commit to one method permanently — trying more than one across different seasons is a reasonable way to find which workflow actually suits your hands and your apiary’s needs best.
Sources
Method details and Henry Alley’s historical background reflect published beekeeping technique archives and historical accounts of early American queen-rearing pioneers, consistent with how the method continues to be taught in modern queen-rearing references.
FAQ
What is the Alley method of queen rearing?
A graft-free technique developed by Henry Alley that cuts a comb of young larvae into horizontal strips, thins the cells, and mounts them for a queenless colony to develop into queen cells.
How is the Alley method different from the Miller method?
Alley cuts and thins comb strips after the queen lays, giving more direct control over which larvae are used. Miller shapes foundation into a saw-tooth pattern before laying, then trims the result — simpler prep, but less precise larval selection.
Do I need special equipment for the Alley method?
A sharp knife, a cell-bar frame, and melted wax for attaching strips — modest equipment compared to hardware systems like Jenter or Nicot, though slightly more involved than Miller’s approach.
Who developed the Alley method?
Henry Alley, an early American commercial queen breeder working in the late 1800s, developed the technique to produce queens reliably before modern grafting tools and hardware systems existed. For the broader fundamentals of cell-building colony management this and every other method depends on, see queen rearing basics for small beekeepers.