Table of Contents
- What the Miller Method Is
- Why This Approach Works Without Any Special Equipment
- Where the Method Comes From
- Equipment Needed (Almost None)
- Step 1: Preparing the Saw-Tooth Foundation
- Step 2: Letting the Queen Lay Along the Edges
- Step 3: Trimming and Transferring to the Cell-Builder
- Step 4: Cell Development and Removal
- Miller Method vs. Jenter/Nicot Systems
- Queen Quality: What Miller Emphasized
- Who This Suits Best
- Repeating the Method Through the Season
- Troubleshooting Slow Comb Drawing
- Modern Variations on the Technique
- Common Mistakes
- FAQ
What the Miller Method Is
The Miller method is a graft-free queen-rearing technique developed by American beekeeper C.C. Miller in the early 20th century that uses ordinary wax foundation, cut into a saw-tooth or comb-shaped pattern along one edge, to get a queen to lay eggs in a spot where the resulting young comb can later be trimmed and handed directly to a cell-building colony. No grafting tool, no plastic cages, no purpose-built rearing frames — just foundation, a knife or scissors, and the bees themselves doing the placement work. It remains one of the oldest continuously taught queen-rearing techniques specifically because it requires nothing beyond equipment most beekeepers already own.
Why This Approach Works Without Any Special Equipment
Bees strongly prefer to build new comb and raise brood along an exposed comb edge rather than in the middle of a solid sheet, which is the physical principle the whole method relies on. By cutting a saw-tooth pattern into foundation before the colony draws it out, you create far more exposed edge per frame than a plain rectangular sheet would have, and once the queen lays along those edges and the resulting comb is trimmed into a V-shape for the cell-building colony, every remaining larva sits right at a cut edge — exactly the spot bees are naturally inclined to build queen cells from when a colony finds itself queenless and needs replacement cells fast.
Where the Method Comes From
C.C. Miller documented the technique in his own writing on decades of beekeeping experience, and it has been passed down largely unchanged since, cited by name in queen-rearing references as one of the standard non-grafting options alongside newer hardware-based systems. Miller’s original approach started with careful queen-mother selection based on actual honey production records — kept in a small nucleus colony through the season specifically to extend her productive lifespan — a reminder that the technique was always about more than just the mechanical cutting-and-trimming steps; breeding stock selection was treated as equally important from the start.
Equipment Needed (Almost None)
- A standard deep frame with plain wax foundation
- A sharp knife or scissors for cutting the foundation and later trimming drawn comb
- A queenless nucleus or cell-building colony to receive the prepared comb
- A way to mark dates on the frame’s top bar for timing (a pencil works fine)
This minimal list is the method’s biggest practical selling point relative to Jenter or Nicot systems, which require purchasing specific plastic hardware — see Jenter and Nicot systems compared for that alternative graft-free approach if equipment cost isn’t a concern and you’d rather have more standardized, reusable cups.
Step 1: Preparing the Saw-Tooth Foundation
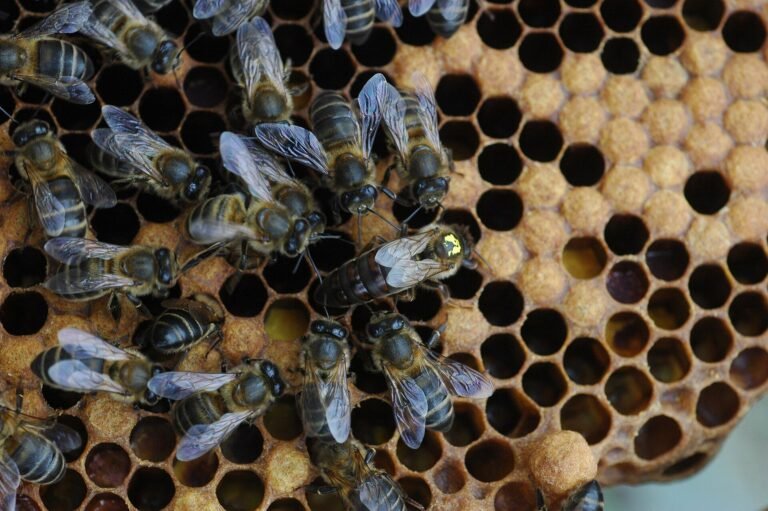
Take a frame of plain foundation and cut small starter strips along the bottom edge — historically described as roughly 4-5 inches long and an inch or two wide, positioned a few inches in from each end of the frame, creating a saw-tooth or “comb tooth” profile rather than a single straight edge. Place this prepared frame in the center of your strongest, most productive, gentlest colony — your chosen breeder queen’s colony — so the bees draw it out into fresh worker comb.
Step 2: Letting the Queen Lay Along the Edges
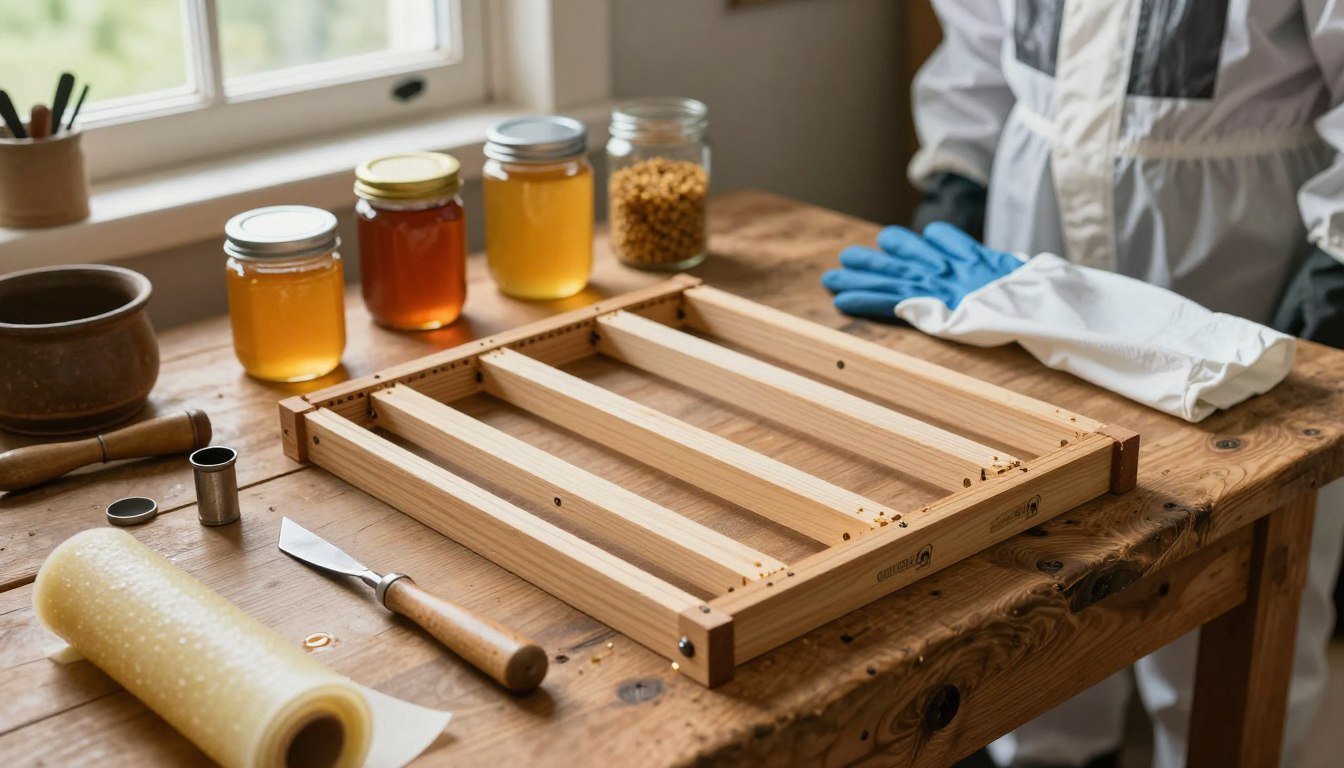
Within about a week, the bees typically draw the saw-tooth starters out into usable worker comb, and the queen begins laying eggs along the newly built edges. Feeding the colony a light syrup during this period can help encourage faster, more consistent wax production if a strong natural nectar flow isn’t already underway. Once the comb is drawn and the queen has laid along the edges, the frame is ready for the next stage.
Step 3: Trimming and Transferring to the Cell-Builder
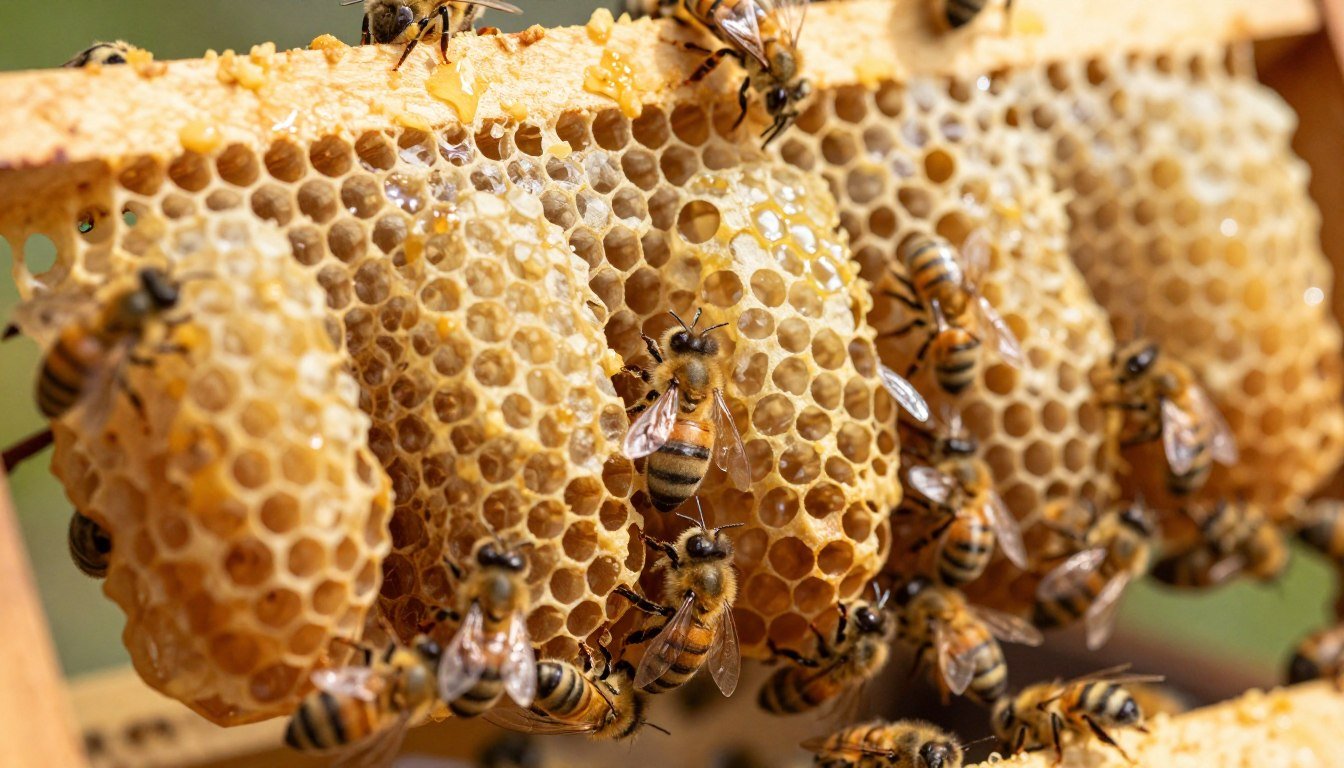
Remove the frame and trim the newly drawn comb into a V-shape (or similar wedge profile) along the edges where eggs and the youngest larvae sit, cutting away the older, already-established brood and leaving only the youngest material at the freshly exposed edge — this matters because queen-quality development depends on starting from very young larvae, the same principle that makes timing critical in hand-grafting. Prepare a strong colony to serve as the cell-builder: destroy any existing queen cells, remove the queen (or otherwise render the colony queenless), and take out one frame to create a central gap. Insert the trimmed comb into that gap.
Step 4: Cell Development and Removal
Mark the date on the frame’s top bar, since the timing for removal is critical — historically noted as roughly 10 days from the time the prepared comb goes into the cell-building colony. During this window, the now-queenless colony raises queen cells directly from the larvae along the cut edges, often building multiple cells clustered at the points where the V-shaped cuts meet, since those spots offer the most exposed edge in the smallest area. Once cells are capped and ready, they’re cut apart individually and distributed into mating nucs, the same way cells produced by any other method are handled from that point forward.
Miller Method vs. Jenter/Nicot Systems
| Miller Method | Jenter/Nicot Systems | |
|---|---|---|
| Equipment cost | Minimal — foundation and a knife | Moderate to higher — dedicated plastic hardware |
| Precision of egg placement | Natural, less controlled — queen lays where she chooses along the edge | Structured — individual cups, easier to count and track |
| Reusability | New foundation needed each cycle | Cups and frames reusable across many seasons |
| Learning curve | Simple cutting and timing, no special technique | Simple once purchased, minimal technique either way |
Neither approach requires grafting skill, so the real choice between them comes down to whether you’d rather spend money on reusable hardware or spend a bit more foundation and cutting effort each cycle — a genuinely personal tradeoff rather than one method being objectively better across the board.
Queen Quality: What Miller Emphasized
Miller’s original writing placed real emphasis on breeder-queen selection based on actual production records, not just on the mechanical cutting-and-trimming steps that get most of the attention in modern summaries of the method. Choosing your absolute best-performing colony’s queen as the source for the eggs you’ll rear from matters just as much with this method as it does with grafting or a hardware-based system — the technique only controls the mechanics of getting eggs into a cell-building setup; it does nothing to improve genetics on its own. For more on evaluating colonies for this kind of breeding decision, see queen rearing basics for U.S. beekeepers.
Who This Suits Best
The Miller method appeals most to beekeepers who want to try queen rearing without any upfront equipment investment, or who simply prefer working with plain foundation and a knife over plastic hardware. It’s a reasonable entry point for a beekeeper curious about queen rearing before committing to purchasing a Jenter or Nicot system, and it remains a perfectly viable ongoing method for beekeepers who’ve simply never found a reason to switch to hardware-based alternatives. It also pairs naturally with the general breeder-selection and cell-builder colony management principles covered in Queen Rearing Basics for U.S. Beekeepers Explained, regardless of which egg-placement technique you ultimately choose.
Repeating the Method Through the Season
A single round of the Miller method typically only yields a handful of queen cells — clustered mainly at the points where the V-shaped cuts meet — which is enough for a small home apiary’s requeening needs but modest compared to what a hardware-based system or professional-scale grafting operation can produce in one cycle. Beekeepers wanting more queens across a season generally just repeat the whole process: prepare a fresh frame of saw-tooth foundation, let the breeder queen lay along new edges, and run another cell-building cycle, staggering multiple rounds a couple of weeks apart during the peak spring buildup window when colonies are strongest and most willing to draw comb quickly. There’s no upper limit built into the method itself — it scales by repetition rather than by producing dramatically more cells per cycle the way a large Jenter or Nicot grid can.
Troubleshooting: When Bees Don’t Draw the Foundation Quickly
If the breeder colony seems slow to draw out the saw-tooth starters, a few things are worth checking before assuming the method itself failed. A weak or dearth-period nectar flow is the most common cause — wax production is energy-intensive, and a colony without much incoming nectar has little incentive or resources to draw new comb quickly, which is exactly why feeding light syrup during this stage is commonly recommended rather than optional. A colony that’s already congested with brood and stores may also have less enthusiasm for drawing fresh comb simply because it doesn’t have much spare nurse-bee capacity to dedicate to new construction. If drawing still seems unusually slow after checking both of these, confirming the colony is genuinely strong and queenright (rather than already showing signs of a failing queen) is worth doing before troubleshooting the technique further.
Common Mistakes
| Mistake | Why it matters |
|---|---|
| Trimming too much of the drawn comb, removing the youngest larvae | Queen quality depends on starting from very young larvae — cutting past that point defeats the purpose of the trim |
| Skipping the top-bar date mark | The roughly-10-day removal window is time-sensitive; losing track of timing risks removing cells too early or too late |
| Choosing a mediocre colony as the breeder source | The method controls mechanics, not genetics — a weak or poorly tempered breeder queen still passes those traits on |
| Using a weak cell-building colony | A strong, genuinely queenless colony with plenty of nurse bees is what actually produces well-fed, high-quality cells |
Modern Variations on the Original Technique
Contemporary beekeepers have adapted Miller’s original approach in small practical ways without changing its core mechanism — some use a single straight cut rather than a full saw-tooth pattern for simplicity, accepting a somewhat lower total edge length in exchange for less prep work, while others combine the trimmed comb with a Cloake board setup in the cell-building colony to further boost cell acceptance and quality, similar to how a Cloake board pairs with Jenter or Nicot-produced cups. None of these variations change the fundamental principle Miller described over a century ago — expose fresh comb edge, let the queen lay there, then hand that edge to a motivated queenless colony — which is part of why the method has remained relevant across a full century of otherwise significant changes in beekeeping equipment and practice. Few beekeeping techniques from the same era have survived this intact, which says something about how sound the underlying biological logic was to begin with.
Sources
Method details reflect C.C. Miller’s original documented queen-rearing writing, as preserved and referenced by established beekeeping technique archives and modern beekeeping guides that continue to teach the method largely unchanged. For further verification, see University of Florida IFAS Extension’s Swarm Control for Managed Beehives guide.
FAQ
What is the Miller method of queen rearing?
A graft-free technique developed by C.C. Miller that uses foundation cut into a saw-tooth pattern to get a queen to lay along exposed comb edges, which are later trimmed and given to a cell-building colony to raise into queen cells.
Do I need any special equipment for the Miller method?
No — just a frame of plain foundation, a knife or scissors, and a queenless colony to serve as the cell-builder. This is its main advantage over hardware-based systems like Jenter or Nicot.
How long does the Miller method take?
About a week for the bees to draw out the prepared foundation and the queen to lay along the edges, then roughly 10 more days in the cell-building colony before cells are ready to remove.
Is the Miller method as good as grafting or hardware systems?
It can produce comparably good queens, since it starts from very young larvae the same way careful grafting or hardware systems do — the real determining factor for queen quality across all methods is breeder selection and cell-builder colony strength, not which placement technique is used.