Starting a new hive begins with a clear, calm process. This short guide outlines a professional, step-by-step approach to bring your new colony into a healthy home. It focuses on safe handling, queen protection, and early aftercare.
Packages of bees are sold by weight, often 3,000–5,000 per pound, and commonly include a queen. When installing a shipment, prepare the hive, create space in the brood box, and keep tools ready. Gentle handling preserves worker health and the queen’s integrity.
Follow a clear process to reduce stress and help bees settle. Use those first days to monitor feeding and the queen’s release. For detailed steps and pro tips, consult this step-by-step guide or contact Dadant & Sons at 888.922.1293 for support.
Key Takeaways
- Prepare the hive and tools before the arrival of new stock.
- Handle the queen and workers with care to protect the colony.
- Create space in the brood box for a smooth transfer.
- Follow a tested process to reduce environmental stress.
- Monitor feeding and queen release in the first few days.
- Use expert resources like Dadant for detailed guidance.
Understanding Package Bee Basics
Knowing what arrives in the box helps you plan a smooth transfer to your hive.
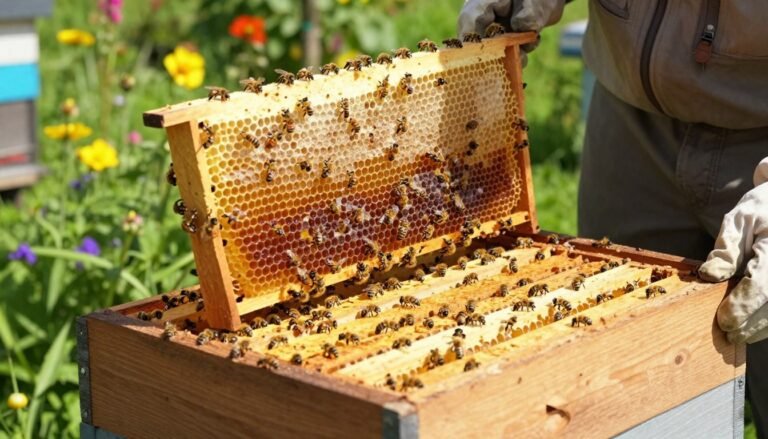
Most shipments are wooden containers with screened sides, built to move live colonies safely to your apiary. A typical package contains several pounds of workers and usually a queen unless the order states otherwise.
Beekeeping methods vary. If you ask five experienced keepers, you may hear five different approaches. That diversity is normal and useful.
Start by inspecting the box, locating the queen, and noting how many workers are present. This quick review saves time and reduces stress for the colony during the first hours.
“Handle the colony calmly and prepare the hive before opening the transport.”
Good early care affects long-term outcomes. Proper transfer during peak season improves honey and colony health over the season. These basics set the stage for successful installing package bees and a strong hive.
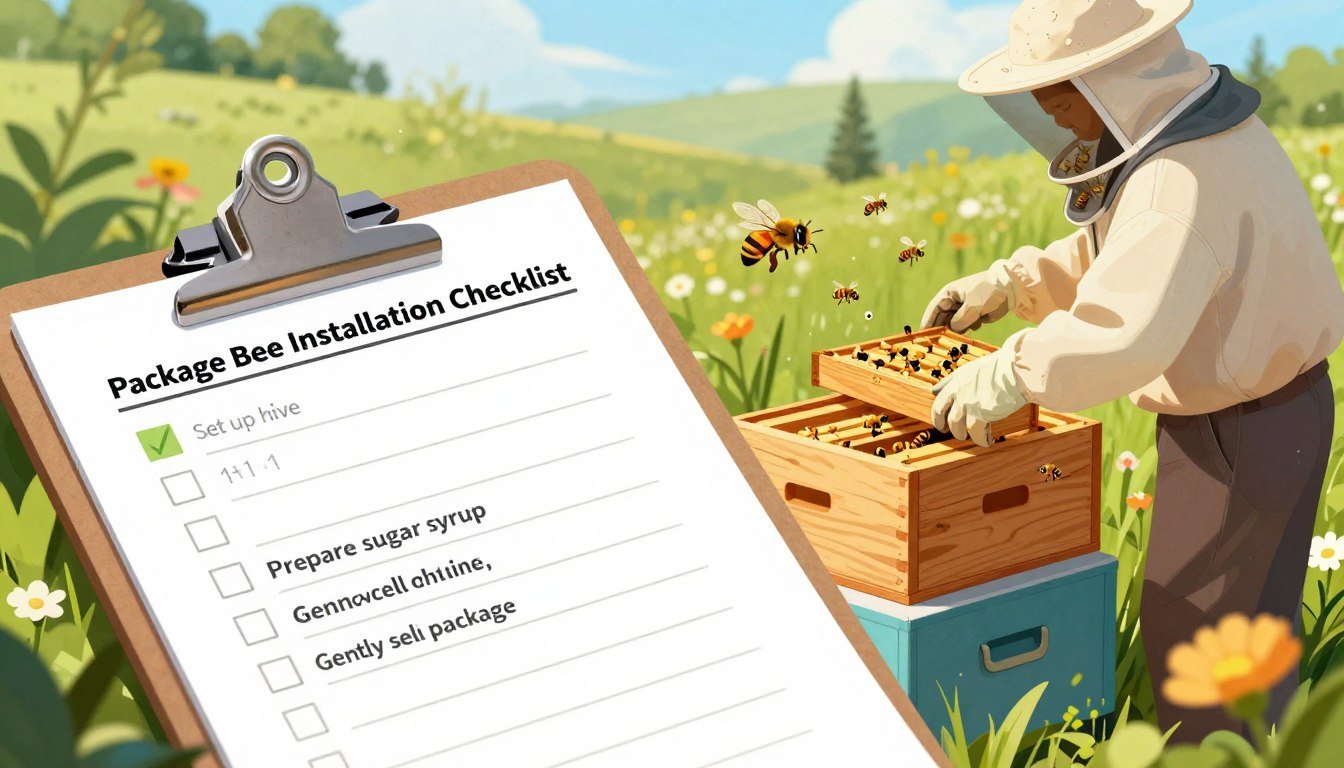
Essential Equipment for Your Package Bee Installation Checklist
A tidy staging area and correct equipment cut stress for both the colony and the keeper. Lay out tools and set the hive on its stand before the box arrives.
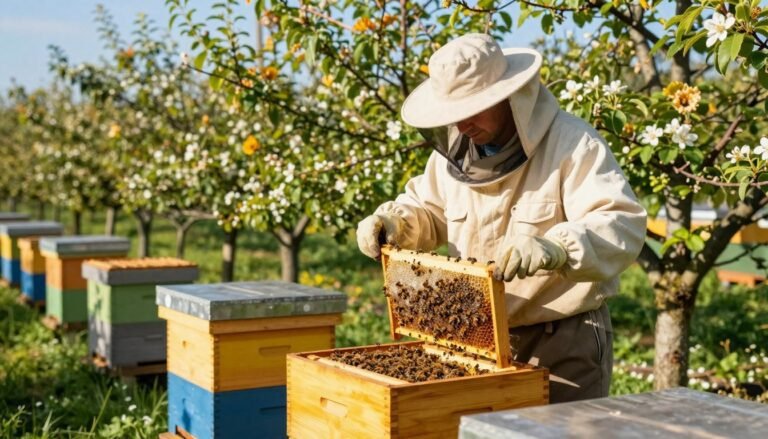
Protective gear
- Wear a veil and gloves, and keep a smoker nearby to calm the bees.
- Keep a spray bottle filled with 1:1 sugar water at hand to gently mist and settle workers.
- Always carry a reliable hive tool for frame work and a cork to manage small openings.
Hive components
Set a screened bottom on the stand, add a single deep hive body with 10 wooden frames, and place a cover ready.
- Include a bottom board and an entrance reducer to help the colony defend its new home.
- Have a feeder such as a Boardman entrance feeder loaded with sugar syrup for immediate feeding.
- Keep the queen cage secure until workers accept her; the candy plug or cork will control release timing.
Organize everything on the ground near the hive so you can reach the hive tool, sugar water, and feeder quickly.

For setup guidance, see the beehive installation guide at beehive installation.
Preparing the Hive and Environment
Choose a shaded, level spot and set up the hive body so the colony will start life in a stable place.
Always install when temps are above 65°F. Overheating above 100°F will kill the workers and chilling below 55°F can harm the queen’s stored sperm. Monitor the day’s forecast before you begin.
Place an entrance reducer to help the colony conserve heat and defend the opening. Remove three or four frames from the center of the hive body to create the space needed for the incoming box.
Spray the workers lightly with sugar syrup to calm activity, but avoid over-wetting them, especially on cooler mornings. Have your feeder loaded with sugar water or syrup before you open the container.
Tip: keep every component in the shade during this step to prevent overheating. A ready feeder and a well-prepared body make the final transfer faster and safer for the colony.
For expanded setup guidance, see this preparing and installing your hive and a seasonal plan at spring beekeeping essentials.
Methods for Installing Package Bees
A calm plan and a prepared hive make every transfer safer for the colony. Below are three common methods for moving workers and the queen into a new home.
Direct Introduction Method
Remove the tin can feeder and the queen cage from the carrier before you begin.
Then knock the box firmly on the ground to jar the workers free and gently shake them into the space created by removing center frames from the hive body.
Shaking the Bees
When you shake the bees, hold the cage so the queen cannot fall into the mass at the bottom. Take your time and avoid crushing workers.
Place the carrier on its side near the entrance so any remaining bees can crawl in at their own pace.
Using Drawn Comb
Drawn comb speeds buildup. Set frames of drawn comb in the hive body so the incoming workers start storing food and raising brood immediately.
“Move slowly and keep the queen secure; a careful start protects long-term colony health.”
| Method | Speed | Best Use |
|---|---|---|
| Direct introduction | Moderate | New hives with empty frames |
| Shaking | Fast | When you can locate queen cage and protect it |
| Drawn comb | Slow to start, fast growth | Seasoned keepers with available comb |

For step-by-step guidance on how to install package bees, follow the linked resource before you begin.
Introducing the Queen to the Colony
A patient, stepwise introduction helps the colony adjust to a new queen without alarm.
Managing the Candy Plug
The candy plug gives workers a safe way to reach the queen over several days. As they eat the candy, they learn her scent and calm down.
Practical steps for the cage
- Carefully remove the cork from the candy end of the queen cage, taking care not to expose the queen too quickly to the workers.
- Place the queen cage between two center frames in the hive body so the screened side faces the workers for interaction.
- Check the hive after a few days to confirm the queen has been released and is moving freely among the frames.
- If the queen remains inside after several days, you can manually release her by gently pulling back the screen.
- If there is no candy plug, use a mini marshmallow to plug the opening after you remove the cork.
The time-release method is the safest step to reduce rejection and ensure the colony accepts the new queen.
For recommended cages and reliable options, see this guide to the best queen cages for introduction.
Feeding and Hive Maintenance Strategies
Consistent syrup feeding and weekly checks give new colonies the best chance to build comb and brood.
Feed your bees heavily with a 1:1 sugar syrup until they have enough honey stores. Use a Boardman entrance feeder so the colony has steady access to sugar syrup while they build wax.
Check the hive every week. Look for a healthy pattern of eggs and larvae and confirm the queen cage has been emptied and the queen is active.
Do not add a second hive body or supers until the workers have drawn at least seven of the ten frames. Adding boxes too soon scatters brood and slows comb drawing.

Watch for signs of a failing queen. If you see mostly drone brood, plan to replace the queen quickly.
“Keep the entrance reduced to lower the risk of robbing and help the colony defend its resources.”
- Ensure ample food and water so bees can secrete wax and rear the first brood.
- Keep an entrance reducer in place until the population grows.
- Inspect frames for stores and brood pattern during each visit.
For step-by-step placement and siting advice, see setting up and placing a hive. For seasonal tending reminders, review seasonal beekeeping tasks.
Troubleshooting Common Installation Challenges
When things go wrong during transfer, a calm, measured response keeps the colony safe.
If the queen is missing, do not panic. The colony may start raising a replacement on its own.
If you need to unite a queenless group, use the newspaper method to merge them with an established hive. This slows contact and reduces fighting.
When workers stop drawing comb, feed them more sugar syrup. Extra syrup stimulates wax glands and brood rearing.
- Check gear ahead of time to make sure the smoker, hive tool, and feeder work.
- Use a gentle puff of smoke to settle restless workers during the process.
- If you find many dead insects at the bottom of the box, contact your vendor—overheating in transit may be the cause.
Troubleshooting is normal. With patience and steady care the hive usually recovers and begins to thrive within days.
Conclusion
A tidy, patient close to the process helps workers focus on building comb and caring for brood.
Successfully installing your package bees depends on careful preparation, steady feeding, and regular checks of the queen cage and brood frames. Keep your hive tool and essential supplies at hand for weekly inspections to spot brood pattern, stores, and queen activity.
By following this guide you give your hive the best start. Beekeeping rewards patience with healthier colonies and fresh honey. For more on obtaining and handling stock see obtaining and installing a package of and explore practical beekeeping guides for ongoing support.
FAQ
What should I have ready before installing a colony?
Prepare a clean hive body with frames, a screened bottom board, inner cover, and outer cover. Have a queen cage, sugar syrup in a feeder, a hive tool, and a smoker. Choose a flat, well-drained site with morning sun and firm footing. Keep water and fresh sugar available nearby to help the new workers orient and begin feeding.
How do I introduce the queen safely?
Place the queen in her cage between two frames or tacked to a frame near the center of the cluster. Leave the candy plug intact for three to five days so workers can gradually release her. Monitor that workers attend the cage and remove the cork only after most workers have calmed and begun drawing comb.
When should I feed sugar syrup and how concentrated should it be?
Start feeding immediately after placement with a 1:1 sugar-to-water syrup to encourage comb building and brood rearing. Reduce to no feeding once local nectar flows begin. For autumn or winter starts, use a thicker 2:1 syrup to help with winter stores.
What’s the best method to transfer the colony into the hive?
Use gentle techniques: either shake the bees into the hive box outdoors so the bulk enters quickly, or invert the transport box over frames and let them walk out. If using drawn comb, position frames so foragers find familiar cells. Minimize time away from the cluster and avoid crushing bees.
How long before I can inspect frames after placing the bees?
Wait four to seven days for the colony to settle and for the queen to start laying. Initial inspections should be brief: check that the queen is present, that workers are drawing comb, and that syrup feeders are working. Avoid full frame inspections until the queen has established brood.
What should I do if many workers remain in the transport box?
Place the box open near the hive entrance so returning foragers can find the new home. Gently tap or invert the box next to the frames at dusk and brush remaining bees into the hive. Ensure the entrance is unobstructed and provide syrup to encourage movement inside.
How do I manage the candy plug and timing for release?
The candy plug should dissolve over three to five days, depending on temperature and worker activity. If predators attack or workers show aggression toward the queen, remove the plug sooner and release the queen after calming the colony. Keep an eye on candy that is too soft in high heat—replace if needed.
What protective gear and tools are essential during first installs?
Wear a veil, gloves, and a light jacket or suit. Bring a smoker, hive tool, feeder, and a small brush. Use calm smoke and slow movements to reduce defensive behavior. A second pair of hands helps but keep the team small to limit disturbance.
How do I prevent robbing and pests during the early days?
Reduce entrance size to a single bee’s width, avoid spilling syrup, and place entrance reducers or mouseguards at night. Keep hives spaced to reduce drift and monitor for wasps or ants. Regularly check for Varroa and other pests and apply controls per integrated pest management guidelines.
When should I add another hive body or expand frames?
Add a second brood box when frames are about 70–80% drawn and brood patterns are strong, typically four to six weeks after installation in good nectar flow. Add honey supers when stores begin to build and frames have abundant capped brood and food.
What water and location needs help new colonies the most?
Provide a nearby water source with shallow landing areas or floating corks to prevent drowning. Site the hive with morning sun, afternoon shade if summers are hot, sheltered from prevailing winds, and away from high-traffic areas to reduce stress on foragers and neighbors.
How do I know if the queen has been accepted or if the colony rejected her?
Acceptance signs include calm workers around the cage, feeding of the queen, and eventual emergence from the candy plug. Rejection shows aggressive behavior, chewing at the cage, or dead queen in the cage. If rejected, remove the queen and try a replacement after calming the colony and ensuring sufficient stores.
Should I use drawn comb when starting a new colony?
Drawn comb helps the colony build quickly and accelerates brood rearing. If you have clean, disease-free frames of drawn foundation, place them in the center of the brood nest. New colonies will use drawn comb more readily than foundation and often establish stronger brood patterns faster.
How often should I check a new hive and what should I look for?
Inspect every seven to ten days in the first month. Look for the queen or signs of laying, brood pattern, food stores, comb building, and pest issues. Keep inspections brief and avoid removing too many frames at once to maintain temperature and cluster integrity.