Processing honey at home is an art that turns raw nectar into a golden table treat. Scott Derrick’s step-by-step extraction guide, published March 17, 2025, explains why each step matters.
High quality depends on careful harvesting, proper extraction, and clean handling. Small mistakes in moisture control or straining can affect flavor and shelf life. Follow a tested workflow to maintain purity and aroma.
For practical bottling and labeling tips, refer to a full workflow that covers moisture testing, double sieving, and gravity-fed filling in a dedicated guide at packaging and labeling for sale. That resource also covers jar choice and sanitation for safe, attractive results.
Key Takeaways
- Proper extraction preserves flavor and avoids fermentation.
- Moisture testing and clean straining boost shelf stability.
- Choose jars and closures that protect aroma and appearance.
- Sanitation and batch records support food-safety practices.
- Use trusted guides to bring this craft into your home safely.
Understanding the Honey Extraction Process
Before any spinning begins, a quick inspection of the comb and supers sets the stage for clean extraction. Check that frames are full and capped; that seal means the moisture is right and the crop is ready. A 9-frame radial unit is a common choice for small operations.
The Role of the Honeycomb
Honeycomb is vital storage for winter stores and brood. Beekeepers must harvest with care so colonies keep enough food. Handle each frame gently to avoid tearing comb or wasting wax.
Harvesting Timing
Harvest when capping covers most cells. Remove wax caps with a sharp uncapping knife so liquid can flow during extraction. Spin frames in a centrifugal drum to separate liquid and comb. Leave a small amount for colonies in cold or wet periods.
- Tools: uncapping knife, frames, bucket for settling, extractor.
- Method: steady workflow for many supers keeps processing efficient.
- Care: avoid damaging comb to protect hive architecture.
For step-by-step guidance on full extraction routines, see a detailed extraction guide at a step-by-step guide and practical harvesting notes at harvest honey tips.
Can You Bottle Honey Straight from the Extractor

Yes, immediate filling is possible, but most professional beekeepers recommend a short settling period to protect quality. After spinning frames, air bubbles and tiny wax bits often remain suspended. Those rise slowly and collect as foam at the surface.
Clearing supers with a board before harvest helps keep bees off the frames and reduces debris during extraction. Proper clearing makes the harvest less stressful for colonies and staff.
“A short rest after extraction yields clearer jars and fewer returns for skimming.”
Typical workflow choices:
- Let extracted liquid settle for a few days to reduce bubbles.
- Skim foam and stray wax before filling jars for sale or storage.
- Plan harvests across supers and colonies so operations run smoothly over time.
| Approach | Pros | Cons |
|---|---|---|
| Immediate filling | Fast; fewer handling steps | More foam and debris; extra skimming later |
| Settling days | Clearer product; better storage quality | Requires holding space and time |
| Partial settling + filtering | Balanced speed and clarity | Needs filters and light processing |
For detailed steps on how to extract and store raw honey, consult a practical guide at extract and store raw honey. Proper timing and simple filtering preserve flavor and extend shelf life.
Essential Tools for Professional Honey Processing
A well-stocked kit keeps processing efficient and protects fragile honeycomb during extraction.
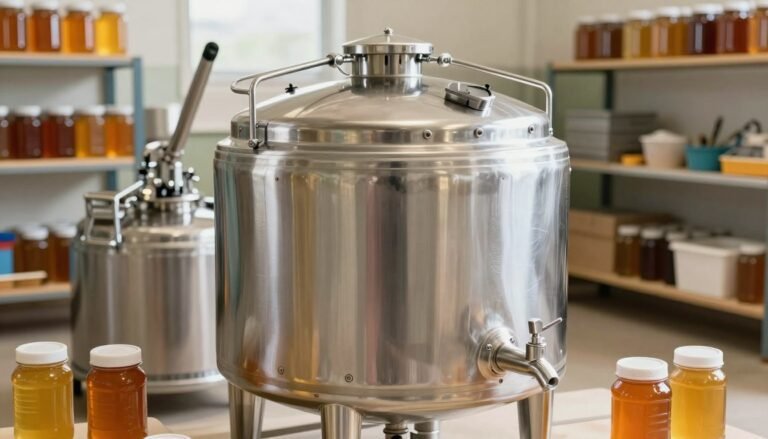
Selecting the Right Extractor
Manual models suit a small-scale beekeeper. They work for a few frames at a time and cost less.
Electric units speed up work for those with a lot of colonies. They reduce fatigue and boost throughput during harvest honey season.
- Food-grade plastic bucket to collect flow; keep it clean to protect quality.
- Sieves and spatulas for skimming and light filtering.
- Spare frames and gentle handling tools to preserve honeycomb.
Clean equipment matters more than size. A polished drum and sanitized bucket prevent off-flavors and spoilage.
“Investing in reliable gear simplifies extraction and improves final product clarity.”
For a detailed checklist of tools, consult this basic equipment guide.
Preparing Your Workspace for Clean Extraction
Start by arranging a clear workspace where tools, frames, and flow buckets sit within reach. Cover floors with newspaper or cardboard to make cleanup simple after processing. This small step saves time and keeps surfaces tidy.
Seal the room so bees cannot find scent trails near open containers. A closed door and screened vents reduce interruptions and help protect clean honey and honeycomb during work.
Organize frames on a rack or table to avoid tipping or damage. Keep uncapping tools, sieves, and buckets in order so each stage of the extraction process moves smoothly and safely.
- Designate space large enough for the extractor and collection buckets.
- Lay out tools to reduce reach and prevent spills.
- Sanitize surfaces before and after handling frames for best results.

| Preparation Step | Benefit | Tip |
|---|---|---|
| Floor coverings | Easier cleanup | Use corrugated cardboard or kraft paper |
| Sealing room | Fewer bees, less mess | Close doors and use screens on vents |
| Tool layout | Smoother workflow | Keep uncapping knife, sieve, buckets in order |
Good prep yields a clean honey product and reduces accidents. For sanitation between batches, consult a practical note on capping scratter sanitation.
Techniques for Uncapping Honeycomb Frames
A careful uncapping routine protects comb and reduces issues during centrifugal extraction. Proper technique limits wax debris and keeps frames reusable for the hive.
Using an Uncapping Fork
An uncapping fork is handy for cells that a knife misses. Glide the tines across the top of each frame to lift loose caps without tearing the comb.
Work with steady, small strokes. Inspect each frame after fork work to remove stray bits that might clog sieves or the extraction flow.
Maintaining Knife Temperature
Heat an uncapping knife to about 150°F so it cuts cleanly through wax caps. A properly warmed knife glides and leaves neat openings for fast extraction.
A steady hand matters. Apply light pressure to avoid crushing comb. After uncapping, check every frame and clear all debris before spinning.
“Maintain knife heat and gentle handling to preserve comb and reduce post-extraction skimming.”
For a step-by-step uncapping reference, see this uncapping beehive frames guide.
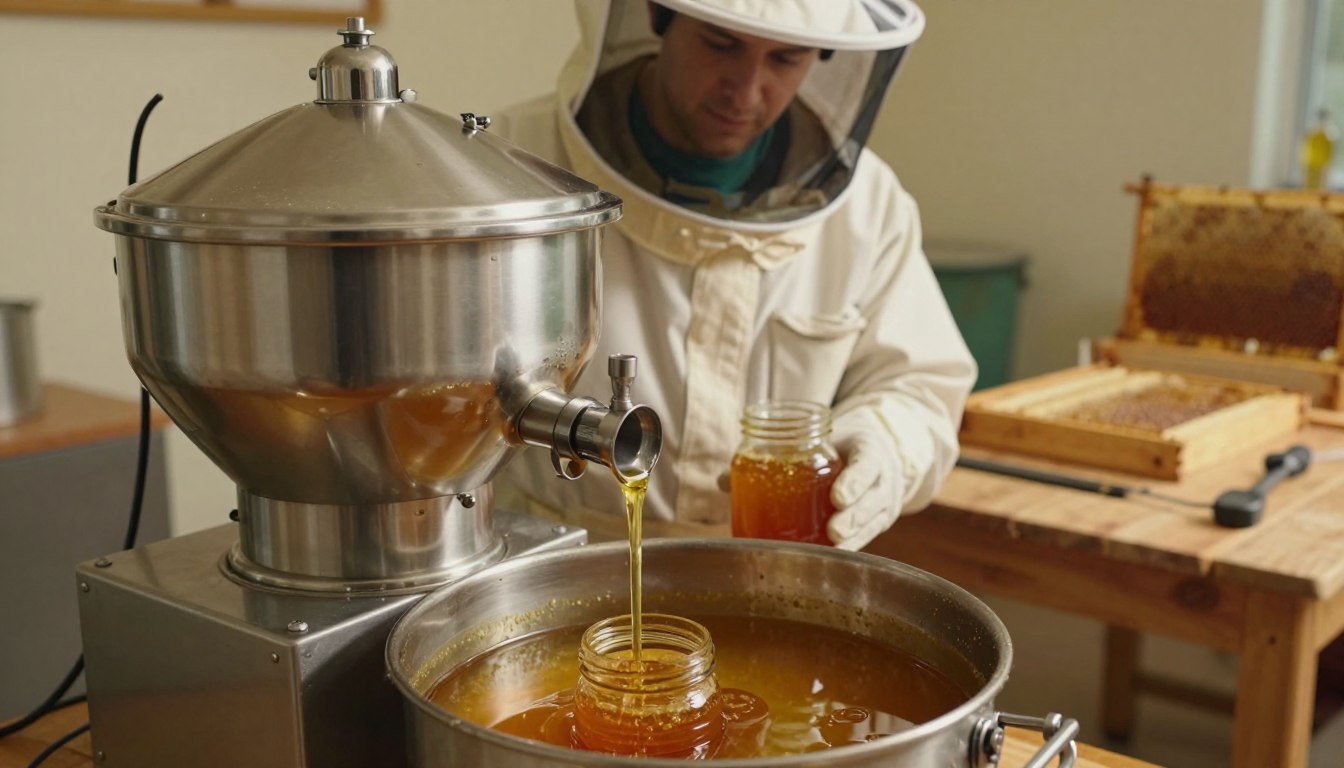
Managing Honey Flow and Centrifugal Extraction
Controlling the flow as liquid leaves the drum prevents sediment and keeps jars clear. Position a clean bucket directly under the gate so every bit funnels into the collection vessel without crossing floor paths.

Start by preparing frames with an uncapping knife, then load a 9 frame radial extractor to handle a large amount across multiple colonies in a single day.
Spin at a consistent speed and flip each frame so both sides of the honeycomb empty fully. Monitor the honey flow and stop to skim if foam or a noticeable amount of debris appears.
- Route liquid through a coarse sieve before it reaches the main bucket to catch bits and wax.
- Use a honey bucket with a gate to control draining into the settling tank and avoid sudden surges.
- Employ a honey bucket tipper to empty the last amount without stirring surface scum into the batch.
Small debris is normal; planning for it keeps final containers clean and reduces returns. For a complete step-by-step extraction guide see step-by-step extraction guide, and for tips on avoiding heat issues review avoiding overheating during extraction.
“A steady drain, clean gate, and mindful skimming deliver clearer jars and better shelf life.”
Straining and Filtering for Optimal Clarity
Fine straining and a short rest in a settling tank turn cloudy extract into clear, sale-ready jars.
Choosing the right mesh is the first step. Start with a coarse sieve to catch large wax pieces, then move to a double-mesh setup to trap smaller debris.
Choosing Mesh Sizes
Use a 4–6 mm mesh for initial strain, followed by a 0.5–1 mm mesh for polish. This two-stage approach speeds flow while improving clarity.
| Mesh | Captures | When to use |
|---|---|---|
| 4–6 mm | Large wax chunks, comb bits | At extractor gate |
| 0.5–1 mm | Fine debris, small wax flakes | Before settling tank |
| Double-mesh | Both sizes | Best for retail jars |
Removing Surface Scum
After filtration, let the batch sit in a clean bucket or settling tank. A top layer of foam and wax will form within two to three days.
Skim the top carefully before moving liquid to jars. This step prevents bits from falling back into the bulk during filling and keeps every jar clear.
Settling Tank Benefits
Heating to no more than 120°F can lower viscosity and help flow through sieves, but do not exceed that limit to protect natural enzymes and flavor.
- Filter into a clean bucket or honey bucket with a gate so any remaining particles rise.
- Allow two to three days for wax to float; skim the top before transfer.
- Use a plastic honey bucket with a gate to fill jars smoothly and control honey flow.
“A short settling period yields clearer jars and reduces post-fill skimming.”
For routine maintenance tips that support clean filtration and smooth flow at the extractor gate, see a practical guide on cleaning and maintaining honey extractors.
Best Practices for Long Term Honey Storage
Proper shelving and temperature control keep jars clear and flavor intact.

Store jars in a cool, dry place between 50°F and 70°F to slow crystallization. Keep containers away from direct sunlight and wide temperature swings.
Use quality lids and make sure seals are tight to prevent moisture and fermentation. Label each jar with harvest date and batch so freshness is easy to track.
- Standard retail sizes like 8 oz and 12 oz work well for sale and gifts.
- A food-grade plastic bucket is useful for bulk storage; smaller jars are better for home use.
- Stack jars or buckets carefully to save space while keeping top containers accessible.
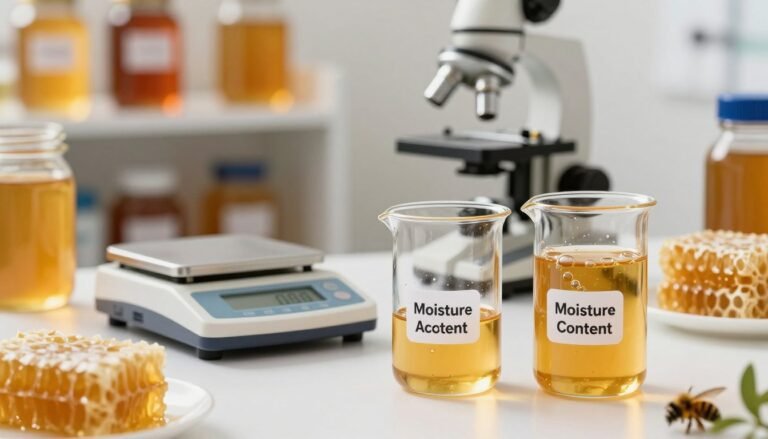
Control moisture and debris by skimming before transfer and keeping storage areas clean. For a quick field test on moisture before final storage, see test honey moisture.
| Item | Benefit | Tip |
|---|---|---|
| 8 oz jar | Good for retail | Label with date |
| 12 oz jar | Popular for gifts | Use tamper-evident lids |
| Plastic bucket | Bulk storage | Keep covered and off-floor |
“Proper storage is the final step in extraction; treat every jar with care to preserve quality.”
Conclusion
Processing a harvest at home rewards patience with clear, flavorful jars ready for the shelf. Treat each step as part of a steady routine. Short rests, careful skimming, and gentle filtering improve final clarity.
Use a sharp knife and clean tools to limit debris and protect quality. Label each jar with harvest date so stock rotation stays simple.
Store harvest in cool, dark rooms and watch for early crystallization. Good lids and quality honey jars extend shelf life and presentation.
For extra tips on efficient finishing, consult a practical guide on extraction tips. The process deepens appreciation for this natural sweetener and the work behind every jar.