Reviewed by Michael R. · How we review
Turning healthy colonies into reliable revenue starts with smart management during winter and spring. Small, portable nucleus colonies help beekeepers protect hive strength and recover from queen events that harm colony survival.
The Bee Informed Partnership flags queen problems as a top cause of short-term colony loss in the United States. Using a nuc to replace or support a weak queen gives you control over outcomes and improves colony health.
Creating and preparing nucs for cold months ensures you have strong colonies ready by spring. This practice reduces risk, saves time, and supports honey production and pollination needs across farms and backyard apiaries.
For beekeepers aiming to diversify income, producing quality nucs can offset costs and strengthen apiary resilience. Learn practical steps and market options in our guide to beekeeping as a side income.
Key Takeaways
- Queen events significantly raise short-term colony mortality.
- Nucs offer a portable way to correct queen issues and boost weak colonies.
- Preparing nucs for winter leads to stronger spring colonies.
- Producing nucs can offset beekeeping costs and support honey goals.
- Managing nucs reduces risk across multiple hives and apiaries.
Table of Contents
- Understanding the Value of Nucleus Colonies
- Essential Equipment for Your Apiary
- Selecting Strong Donor Colonies
- Strategies for Selling Overwintered Nucs as a Side Business
- Formulas for Establishing Successful Nucs
- Introducing Mated Queens for Optimal Growth
- Managing Varroa Mites and Colony Health
- Preparing Your Nucs for Winter Survival
- Conclusion
- FAQ
Understanding the Value of Nucleus Colonies
Portable nucleus units let beekeepers respond quickly when a queen problem threatens colony strength. These compact colonies restore brood and foragers without draining main hives during busy spring months.
Benefits for Colony Management
Practical and portable: A nucleus colony usually holds three to five deep frames. That frame count makes it easy to move and place into a queenless hive.
Fast queen replacement: Introducing a nucleus can bypass a drawn-out caged queen process and prevent a broodless period. It also helps correct laying worker situations and replace underperforming queens quickly.
Economic Resilience
Small units let beekeepers repopulate dead-outs and keep total colonies steady year to year. Boosting weak hives before peak honey production protects pollination contracts and yields.
- Monitor queen cells in tight boxes to reduce swarm risk.
- Maintain healthy comb and frames to support growth.
- Learn more about proven methods for overwintered nucleus colonies.
Essential Equipment for Your Apiary
Practical, durable tools and boxes make daily work faster and protect hive investments. Start by prepping a proper nucleus box with an extra feeder top. Add a 1-inch ventilation hole on each short side and cover both with #8 hardware cloth for airflow and pest control.
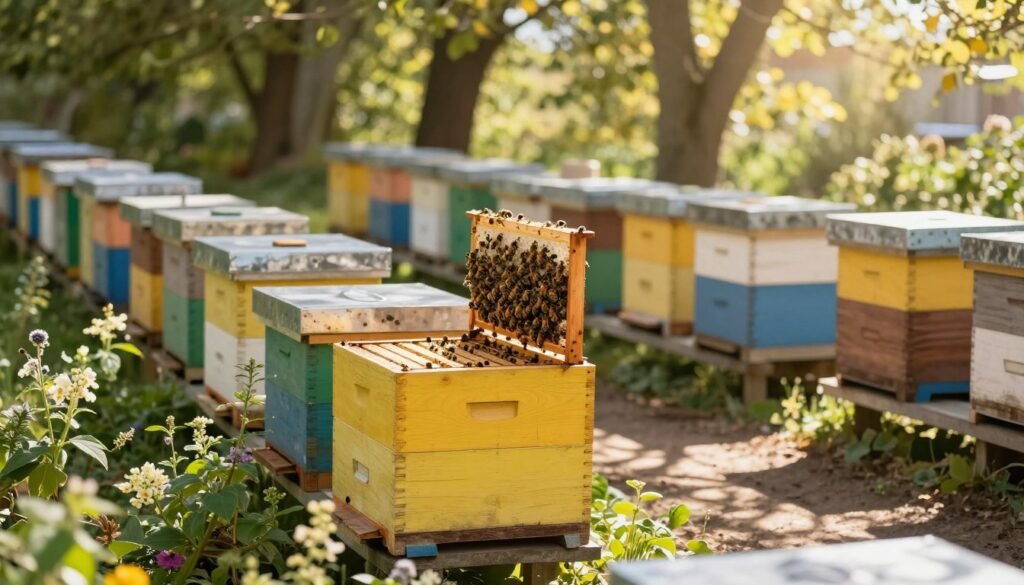
Reduce the entrance to 1¼ inches wide by five-sixteenth inches high to shield the colony from intruders and weather. Fit the box with enough frames so bees can build comb and store honey without crowding.
Standardizing equipment eases management when you run multiple nuc units. Invest in a sturdy hive box, good feeders for syrup, and inspection-friendly designs so frames slide easily during checks.
- Use a reliable hive tool and smoker for safe, efficient work.
- Keep feeders ready; timely feeding supports growth and winter reserves.
- Consistent gear helps maintain healthy colonies and predictable yields.
Selecting Strong Donor Colonies
Prioritize donor colonies with consistent brood patterns and low mite counts to give new units the best start.
Good donors mean healthy new colonies come spring. Inspect each hive for clear, even frames brood and abundant honey. Avoid any hive with signs of disease or brood pattern gaps.
Assessing Health and Mite Thresholds
Check varroa levels before you remove frames. Keep infestation below the 3%–5% treatment threshold. When needed, use approved treatment methods such as oxalic acid and follow label directions precisely.
Find the frame with the queen and set it aside in a separate box while assembling the new box. This prevents accidental transfer and protects the donor hive’s structure.
- Use plentiful brood and honey: a donor should supply enough resources for rapid spring growth.
- Never use unhealthy colonies: they spread problems to new units.
- Combine sources when needed: multiple colonies can supply one robust nuc if one hive lacks population.
For timing and flow-focused strategies, review practical guidance on making nucleus colonies during the main honey flow at summer nucleus colony methods.
Strategies for Selling Overwintered Nucs as a Side Business
Turn surplus frames into dependable income by planning splits in early spring when colonies show strong brood and forage is available.
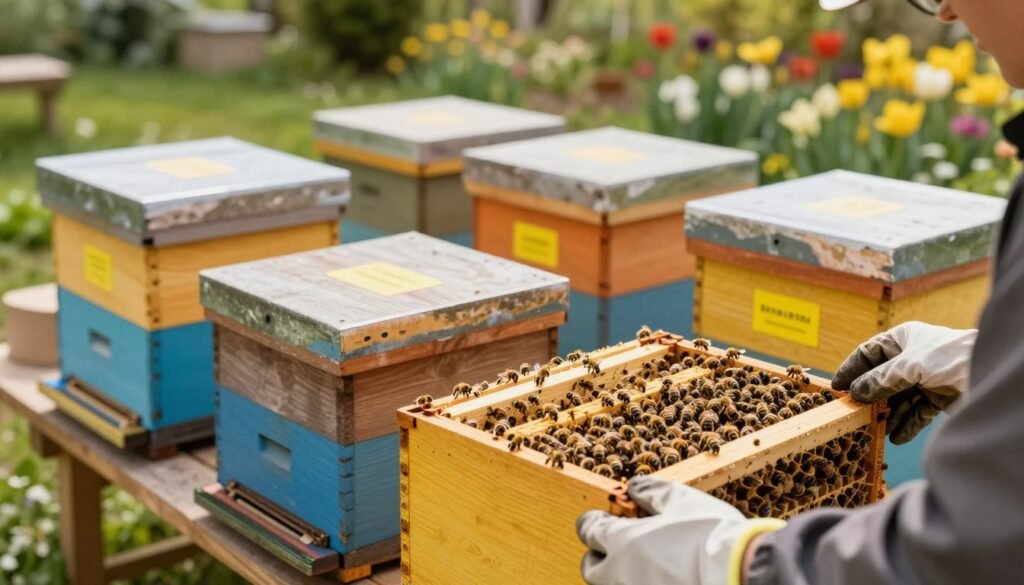
Timing matters. A two-frame nuc made in May has enough time to build to six frames and prepare for winter survival. Plan splits when weather is mild and the main colony is expanding.
Keep clear records of each split: date, donor hive, mite treatment, and notes on queen status. Good records show buyers you manage healthy units and help you track success through the year.
Choose nuc locations with steady forage and shelter from wind. Invest a little time in feeding and monitoring to produce quality colonies that local beekeepers will value.
| Stage | Timing | Expected development |
|---|---|---|
| Initial split | May | 2-frame start; strong brood and workers |
| Mid season | June–July | Build to 4–6 frames; stores increasing |
| Pre-winter check | September–October | 6+ frames; adequate food and queen mated |
Stay patient. Making nucs takes time and commitment, but demand for healthy units remains high. Prioritize bee health to protect your reputation and long-term returns.
Formulas for Establishing Successful Nucs
Simple frame layouts tailored to the season cut risk and speed growth for new units. Use specific recipes for early, peak, and post-flow splits to balance brood and stores.
Early Season Splits
For a May 20 split, place one frame of foundation in positions 1 and 5. Add one frame of honey in position 2, one frame of mixed brood in position 3, and one frame of drawn comb in position 4.
Tip: Keep brood light so the small box does not become overcrowded.
Peak Nectar Flow Timing
For a June 20 nuc, use two frames of drawn comb in positions 1 and 5, two frames of mixed brood in positions 2 and 3, and one frame of honey in position 4.
Why this works: More comb and brood give the unit strength to grow before fall.
Post-Flow Management
For a July 20 nuc, set two frames of honey in positions 1 and 4, two frames of mixed brood in positions 2 and 3, and one frame of drawn comb in position 5.
Always avoid transferring the donor queen by mistake when shaking bees into the new box. Introducing a mated queen later can save time and raise survival rates.
“Balanced frame recipes and careful timing are the heart of reliable colony production.”
| Split Date | Frame Layout (1–5) | Key Goal |
|---|---|---|
| May 20 | Foundation, honey, mixed brood, drawn comb, foundation | Fast spring buildup without crowding |
| June 20 | Drawn comb, mixed brood, mixed brood, honey, drawn comb | Strong growth for fall preparation |
| July 20 | Honey, mixed brood, mixed brood, honey, drawn comb | Food reserves for winter survival |
Practical steps: Replace removed frames in the donor hive with empty frames so the original hive recovers. Track frames and brood counts for each unit.
For detailed care after splitting, see first-year nuc care and guidance on buying packaged bees when planning stock sources.
Introducing Mated Queens for Optimal Growth
Introducing a mated queen gives new units a reliable start and shortens the time to consistent brood.
Why use a mated queen: A mated queen ensures steady egg-laying right away. That avoids the six to seven weeks delay if the nuc must raise a new queen from open brood.
Practical steps for success:
- Place the queen cage between frames of open brood so workers can access her and begin acceptance.
- Remove any emergency queen cells before introduction to prevent rejection.
- Cover the candy plug with paper-based masking tape if recommended; many beekeepers report higher acceptance this way.
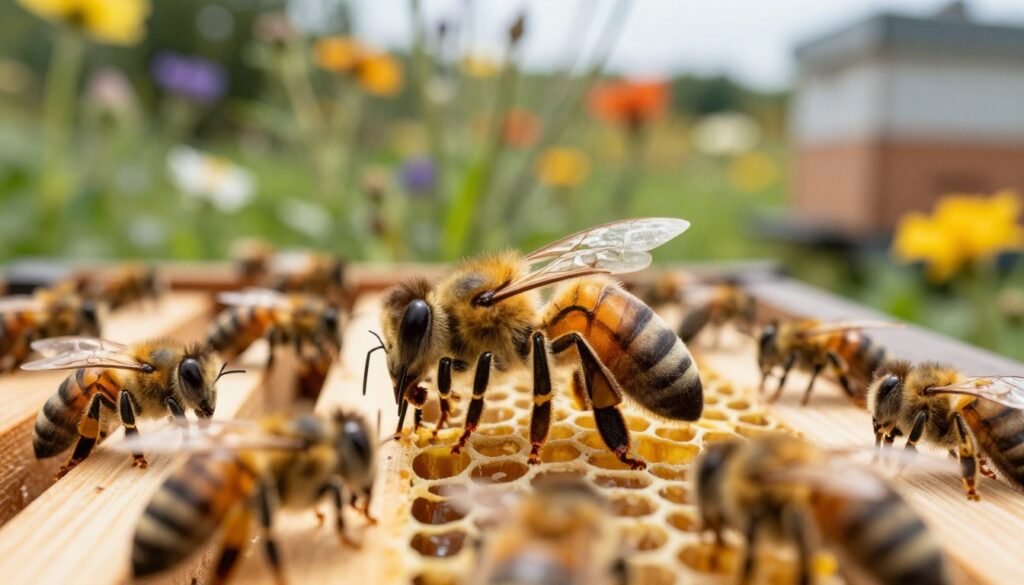
Handle the cage carefully. Remove loose material from the candy plug but do not let the queen escape. If attendants remain inside, set the cage candy side up to avoid blockage.
Set the screened side of the queen cage facing the empty space between comb so workers can feed her. After seven days, check if she is released and laying eggs.
Result: A successful introduction produces steady brood and stronger frames of bees and comb in time for fall and winter. For tips on inspecting purchased units for disease risk, see how to inspect purchased nucs for disease.
| Action | When | Reason |
|---|---|---|
| Introduce mated queen | Immediately after cage placement | Speeds brood production and stabilizes colony |
| Remove queen cells | Before introduction | Prevents rejection and supersedure |
| Check after 7 days | One week | Confirm release and initial laying |
| Monitor brood pattern | 2–3 weeks | Verify consistent egg-laying and colony growth |
Managing Varroa Mites and Colony Health
Targeted treatments for small colonies differ from full hives and need careful dosing.
Managing varroa is critical for healthy nucs. High mite loads damage brood and can doom colonies before winter.
Most medications are not dosed for nucleus-sized hives. For a five-frame colony, one strip of HopGuard II or Apivar is generally effective through the season.
Apiguard works at about 25 grams when used with proper delivery pads so the medicated gel contacts bees across the frames.
If you use oxalic acid, apply 5 milliliters of solution between each frame while the colony is broodless. Check state rules first—oxalic acid is restricted in some states.
Always follow label directions. Incorrect dosing can harm bees or the queen. Monitor mite counts regularly to time treatments and avoid winter losses.
| Product | Dose for 5-frame unit | Notes |
|---|---|---|
| HopGuard II | 1 strip | Season-long control; follow label |
| Apivar | 1 strip | Effective in many regions; remove per instructions |
| Apiguard | 25 grams | Use delivery pads for even distribution |
| Oxalic acid | 5 mL between frames | Only when broodless; verify legal in your state |
Work with local beekeepers and your state extension. For month-by-month thresholds and monitoring tips, review this varroa threshold guide.
Preparing Your Nucs for Winter Survival
Weighing colonies and topping off stores is one of the most effective winter survival tactics for small units. Late-season work means feeding, insulating, and arranging frames to keep the brood nest compact and warm.
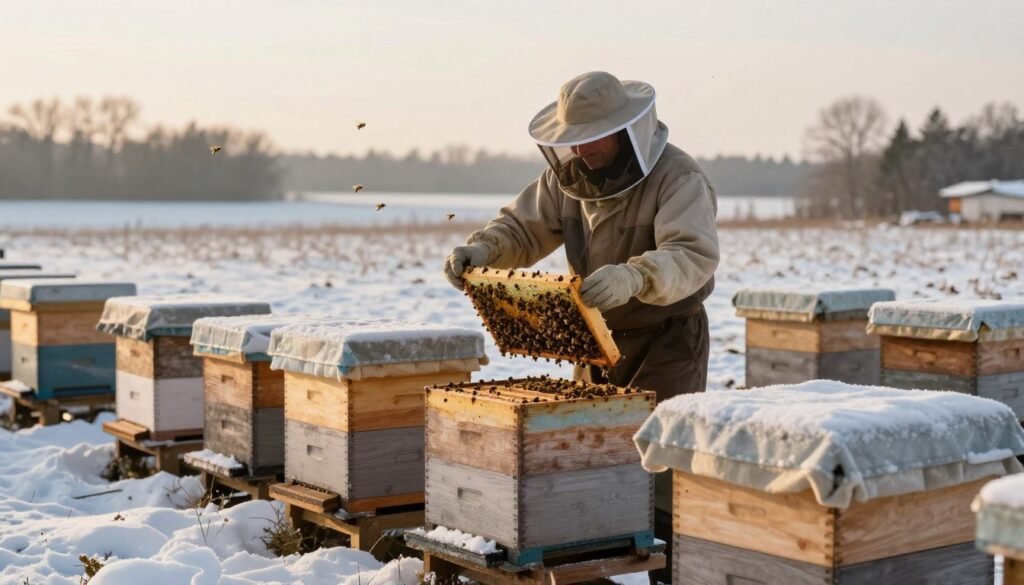
Insulation and Feeding Techniques
Feed early and feed heavy. As soon as the nectar flow ends, offer a heavy syrup of two parts sugar to one part water. Continue until the colony reaches about 45 pounds—this signals adequate winter stores.
Place the brood low in the box and keep a ceiling of honey or fondant above. That layout helps bees cluster upward and conserve heat.
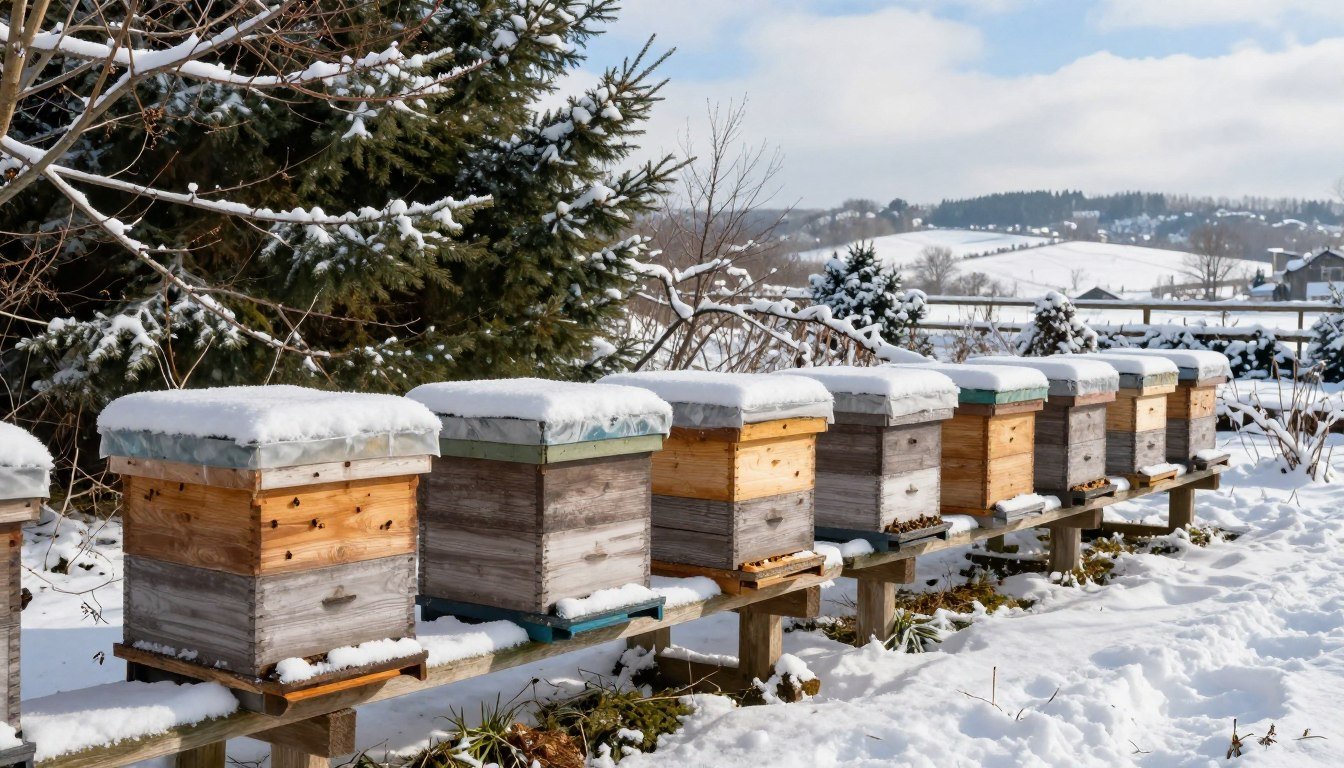
Weatherproofing matters. Fit rigid foam insulation board around the box and add roofing felt over the top to shed rain. Ensure ventilation so moisture does not build inside the hive.
- Relieve congestion by removing extra brood frames or by supering during the peak flow.
- Practice swarm control; a unit that swarms will often lack the workforce to survive cold months.
- Monitor colony weight through winter and into spring—mild winters increase consumption and may require supplemental feeding.
Follow these steps to keep queens laying steadily and to protect brood and comb for honey production next spring. For broader planning and site selection, review our sustainable apiary plan.
Conclusion
A clear plan for donor selection, mite control, and winter prep ties every step together and leads to reliable outcomes.
Focus on strong donor colonies and timed splits to produce healthy nucleus colonies that thrive under new care. Introducing a mated queen speeds growth and stabilizes egg-laying.
Careful varroa checks and targeted treatments protect brood and workers. Thoughtful winter prep—feeding, insulation, and site choice—finishes the job.
With steady management you can support your local beekeeper community and create extra income. For practical notes on monetizing your work, see this guide to making money from beekeeping, and learn timing and technique in this splitting hives resource.
FAQ
What is a nucleus colony and why is it valuable?
A nucleus colony, or nuc, is a small productive colony built on a few frames of brood, stores, and a mated queen. Nucs offer ready-to-go stock for new hives, quick replacements for lost colonies, and a way to expand an apiary without buying full colonies. They reduce the time to build comb and worker population, improving spring honey production and colony strength.
How do I choose strong donor colonies for making nucs?
Select donor colonies with solid brood patterns, low varroa counts, and active foragers. Check frames for healthy larvae, capped brood, and abundant pollen and nectar stores. Avoid colonies showing disease signs or high mite loads. Use oxalic acid or approved treatments in the off‑season to keep mite numbers under control before making splits.
When is the best time to make early season splits?
Make early season splits once local temperatures consistently stay above 55°F and natural nectar flow begins. This ensures foragers can find resources and that brood rearing accelerates. Timing the split a few weeks before major nectar flow lets the nuc build population and comb so it contributes to honey production during peak season.
Should I introduce a new mated queen or keep the existing queen in a nuc?
Introducing a mated queen is often faster for establishing predictable genetics and temperament. Use fresh, marked queens from reputable breeders to ensure mating quality. If the donor queen is strong and disease‑free, transferring her can work, but introducing queens helps manage genetics, swarming tendencies, and honey production goals.
What equipment do I need to run nuc production efficiently?
Essential items include nucleus boxes, extra deep and medium frames with foundation or drawn comb, entrance reducers, feeders, and a reliable queen cage. Invest in quality smokers, hive tools, and protective gear. Having spare brood boxes and frame spacers speeds up making nucs during busy spring weeks.
How many frames of brood should I aim for when building a marketable nuc?
Most buyers expect nucs built on three to five frames containing brood, nurses, and stores. One to two frames of emerging brood plus a frame of honey and pollen provides a balanced start. The exact number depends on local demand and transport rules, but three-frame nucs remain a common and saleable standard.
How do I manage varroa mites while producing colonies for sale?
Monitor mite levels with sugar rolls or alcohol washes, and treat based on thresholds appropriate for your region. Combine integrated pest management: timing treatments like oxalic acid vapor in broodless windows, using resistant stock, and maintaining strong nutrition. Keeping mite counts low protects new queens and improves colony survival.
What feeding and insulation practices help nucs survive winter?
Provide ample stores or supplemental feed such as sugar syrup in late fall, and ensure frames contain some capped honey. Use insulation wraps, inner covers, and reduce entrances to limit drafts while allowing ventilation. Placing nucs on wind‑protected stands and monitoring weight through winter helps prevent starvation and cold stress.