Reviewed by Michael R. · How we review
Planning your pickup day makes the transition easier and protects the health of your new queen and workers. Pickups happen at 6672 S 6000 W, Lake Shore, UT or 300 N 600 E, Spring City, UT. Scheduled times usually begin at 6:00 PM to allow a quick colony inspection before evening transport.
This page is a concise guide to help new beekeepers prepare for the journey home with a strong nuc. You will learn what to verify at pickup, how to secure frames, and why prompt installation the same day reduces stress.
Successful beekeeping relies on simple steps: confirm hive readiness, check brood and food stores, and protect the queen during transit. For tips on selecting a healthy colony and expected nuc content, see this selection guide.
Know common red flags and review health checks before you leave. If you want guidance on inspecting arrival health risks, review this inspection resource: inspection advice.
Key Takeaways
- Arrive at the listed addresses and plan for a 6:00 PM inspection window.
- Prepare your hive and gear before pickup to allow same-day installation.
- Check brood pattern, food stores, and queen presence at collection.
- Watch for red flags like low stores or unclear genetics.
- Use the linked guides to select and inspect a healthy nuc.
Table of Contents
- Essential Preparation Before Your Nuc Pickup
- Logistics for a Successful Customer Checklist for Picking Up Nucs
- Inspecting Your Colony at the Apiary
- Safe Transportation Strategies for Your Bees
- Installing Your New Colony into the Hive
- Best Practices for Post-Installation Care
- Conclusion
- FAQ
Essential Preparation Before Your Nuc Pickup
Before you load the nuc, confirm your hive and gear are staged and ready at the installation site. Staging the deep box, frames, lid, and bottom board in the final location speeds installation and minimizes time the colony spends in transit.
Required Equipment
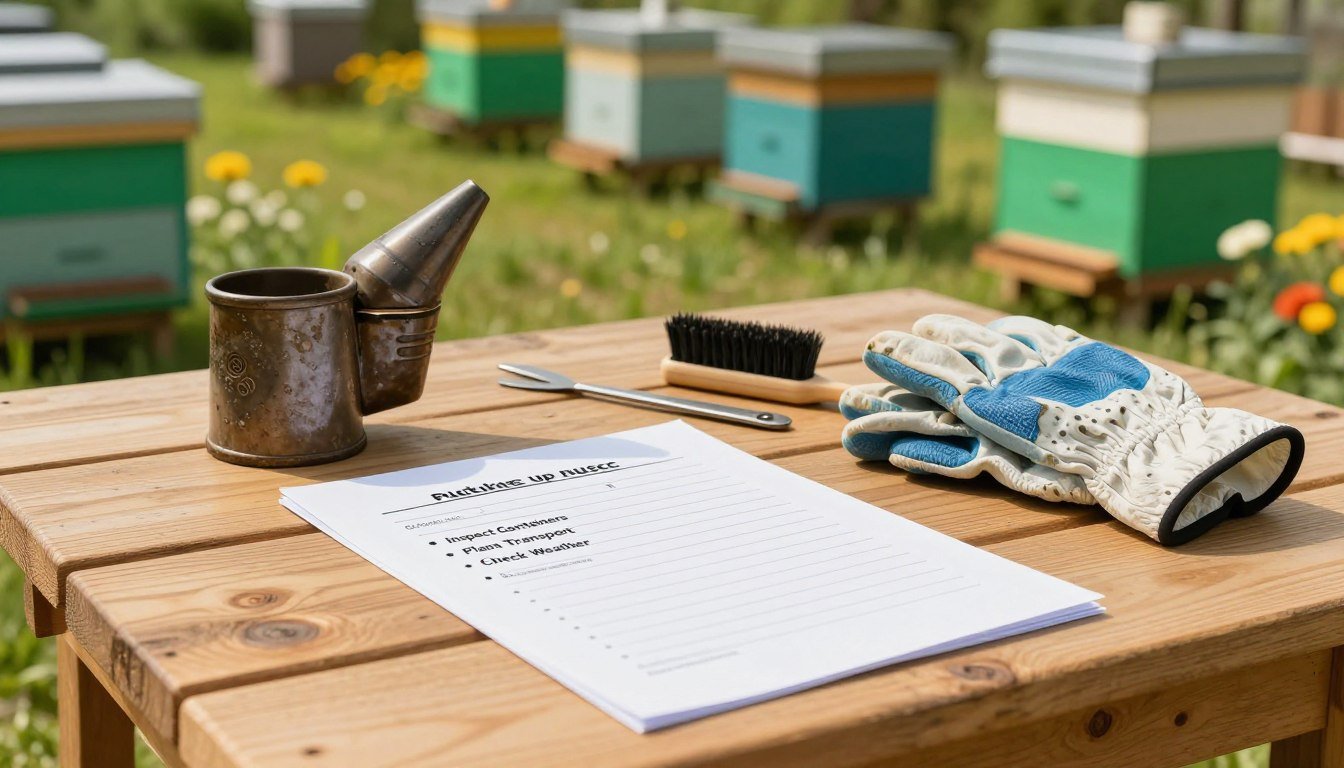
Bring a deep box with five frames ready to accept the new colony. Our nucs include four deep frames, one frame of young brood, one of older brood, and a honey frame. Pack a hive tool, smoker, and protective clothing to keep bees calm during transfer.
Transport matters: secure the box in a truck bed with tie-downs and a non-slip surface. This reduces shifting and keeps the queen safe en route.
Educational Readiness
Before you keep bees, learn how weather affects colonies and the queen’s needs. Have equipment set where the nuc will be installed so you can move frames into hives quickly.
For step-by-step installation advice, see the guide on installing honey bee nucs. If you want background on sourcing, review this resource about buying packaged bees and nucs.
Logistics for a Successful Customer Checklist for Picking Up Nucs
Timing matters: arrive at the designated location near 6:00 PM so you can begin the transfer when most foragers are home. This evening schedule reduces stress on the hive and makes the move smoother.
The nuc box is a temporary home. Plan to transport the colony after dusk to keep bees contained. Secure the entrance before lifting the box, and double-check that frames are stable inside.
Prepare your vehicle to transport the nuc directly to your apiary. A short, direct route minimizes transit time and keeps the queen safe in the box.
At the pickup, manage the entrance so airflow is steady but bees cannot escape. Place the nuc in the truck bed on a non-slip surface and tie it down if needed.
Quick checklist:
- Arrive on time at the location (around 6:00 PM).
- Confirm the nuc box entrance is secure.
- Load the box and drive straight home to the hive site.
- Use evening hours to reduce agitation during transport.
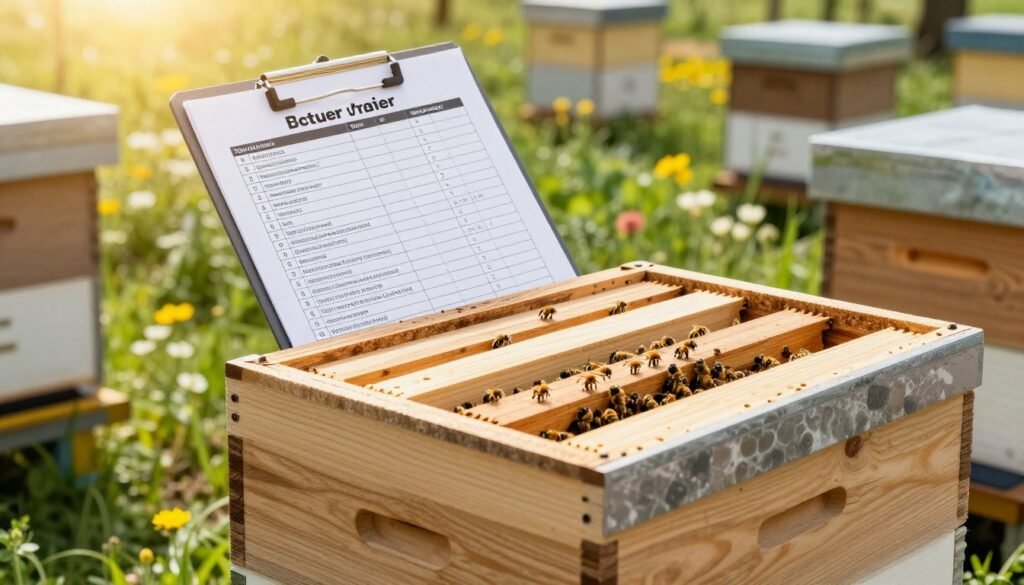
Want ideas to make beekeeping pay? Learn ways to earn with beekeeping while you plan your transport and setup.
Inspecting Your Colony at the Apiary
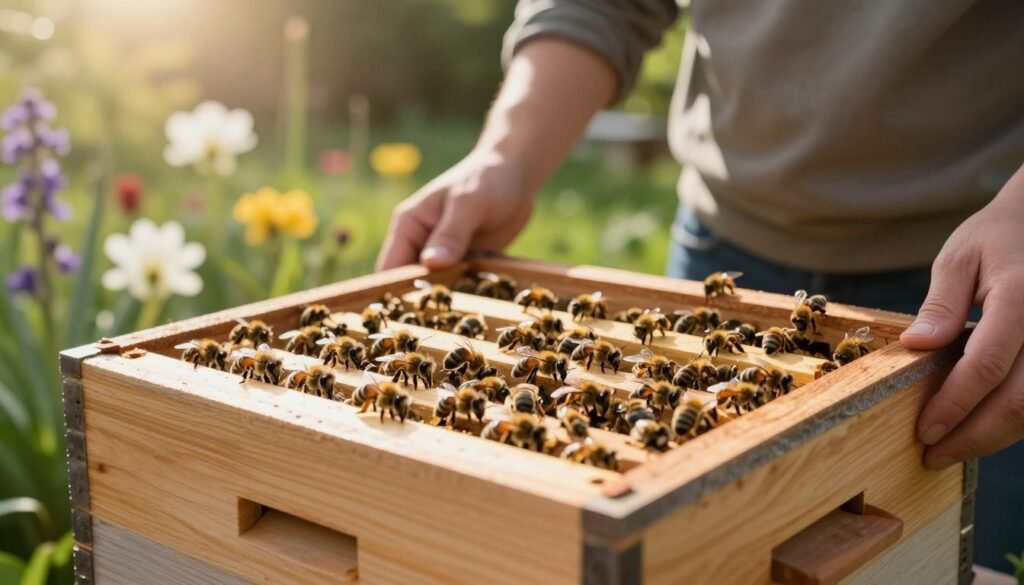
Start your apiary inspection with a calm, steady plan to review frames and verify the queen’s activity. Open the nuc box with a hive tool and give a gentle puff of smoke to move bees from the top bars.
Work methodically: lift each frame and check comb for eggs, brood, pollen, and honey. Keep frames in the same order during transfer to avoid damaging comb or squashing the queen.
A healthy colony shows clean brood pattern, visible eggs, and pollen stores on multiple frames. Every beekeeper should be able to spot tiny eggs along the frame edge.
| What to Inspect | Healthy Sign | Action if Absent |
|---|---|---|
| Brood | Even pattern, capped cells | Delay full transfer; consult inspection guide: inspection checklist |
| Pollen & Honey | Stores on frames near brood | Add supplemental feed if low |
| Queen / Eggs | Fresh eggs on multiple frames | Search frames carefully; keep order to avoid harm |
After moving frames into your hive, tap the empty nuc box in front of the hive entrance to encourage any stragglers to return. Use dedicated tools and hygiene practices; see guidance on keeping separate equipment when needed: tool separation tips.
Safe Transportation Strategies for Your Bees
Proper airflow and a direct route make transport safer for the colony. Plan your route ahead and avoid long detours. Bees are very sensitive to heat, so short trips reduce stress and risk.
Managing vehicle temperature
If you use a car, run the AC and aim vents toward the nuc box. Keep temperatures steady and monitor the interior during the trip. In a truck bed, create steady circulation with screened vents and place the box on a non-slip surface in the shaded area of the bed.
Avoiding delays
Never stop in direct sun; the box can heat quickly. Drive straight to your apiary and unload immediately. If you must pause, park in shade and check ventilation and air flow around the entrance.
- Keep the trip short: less time confined lowers stress on the colony.
- Use a hive tool to secure the nuc entrance and verify frame stability before moving.
- Maintain air circulation whether in a car or truck bed to prevent overheating.
For tips on transporting bees by car or truck, see this practical guide: transporting bees by car or truck.
Installing Your New Colony into the Hive
Move frames into the hive gently, keeping the order intact to protect brood and the queen. Work with steady hands and keep frames in the same sequence as they came in the nuc box.
Place the four deep frames from the nuc in the middle of the brood chamber. This gives the colony room to expand and keeps brood near honey stores.
Right after transfer, feed a 2:1 sugar to water solution. Offer syrup at the entrance or in a top feeder to help bees recover energy after transport.
Check frame spacing and make sure the entrance is clear so the queen can move and continue laying brood. Use a hive tool if needed to realign frames.
As the sun sets, the bees will orient to the new hive location in your apiary. Close the hive for the evening and let the colony settle undisturbed.
Want seasonal timing tips? See the best time to start beekeeping to plan your next install.
Best Practices for Post-Installation Care
Give the hive quiet time after installation so the colony can settle without interruption. This calm period helps the queen resume laying and lets worker bees orient to their new home.
Patience During the Settlement Period
Resist opening the hive for 3-5 days. Avoid inspections unless you see clear distress. Disturbing frames too soon can delay brood development and stress the colony.
From a distance, watch flight activity. Healthy bees bring in pollen and nectar and fly in regular patterns. New beekeepers should note steady traffic and normal guard behavior.
| Focus | What to Watch | Action if Concerned |
|---|---|---|
| Queen | Consistent laying after 5–7 days | Inspect gently on day 7; replace only if no eggs |
| Honey stores | Frames near brood with nectar or capped honey | Feed 2:1 syrup or pollen substitute if low |
| Weather impact | Cold, rain, or heat reduces foraging | Provide wind break, shade, or ventilation as needed |
Check local weather each day during the first weeks. Extreme conditions affect honey flow and colony health. Adjust feeding and ventilation based on forecasted heat or cold.
Patience is a key ingredient for success. Give the hive time, monitor from afar, and plan your next hands-on check after the initial settlement period. This page gives the core steps to help keep bees healthy and productive through their first season.
Conclusion
A careful handoff and calm installation set the tone for a productive season with your new bees.
Move the colony with steady ventilation and short transit times to avoid overheating. Inspect frames on arrival, confirm brood and queen activity, and keep frame order during transfer to protect comb and eggs.
Patience and daily observation are your best tools after placement. Give the hive quiet days, offer syrup and pollen as needed, and watch flight patterns before opening the box again.
Continue learning and refine techniques through courses and local groups. For step-by-step transfer advice, consult this nuc installation guide.
FAQ
What should I bring when I pick up a nucleus colony?
Bring a secure transport box or nuc box, a strap or bungee cords, a hive tool, a smoker, a veil or suit, gloves, and a tarp. Pack water for the bees and breathable ventilation material to prevent overheating. Use a pickup or van with a flat, stable space and a blanket to protect frames from jostling.
How do I prepare my vehicle for transporting a colony?
Clear a level area in the truck bed or cargo space and line it with a non-slip mat. Anchor the nuc box with straps to prevent tipping. Provide ventilation by leaving a small window crack or using screened covers. Avoid direct sunlight on the box and monitor temperature during the drive.
When is the best time of day to collect bees?
Late morning to early afternoon works well. Foragers are out collecting, so the colony is less active at the entrance. Avoid very hot midday hours and late evening when bees return in force. Check local weather and aim for a calm, dry day.
How do I verify the queen and brood before taking the nuc?
Ask the beekeeper to show the queen or look for her marked clip, and check frames for consistent brood pattern, eggs, larvae, and capped brood. Healthy brood looks uniform and free of foul odor. Confirm there is adequate food stores—pollen and honey—on at least a couple of frames.
What should I know about legal and location considerations?
Confirm local ordinances, yard setbacks, and registration rules for hives. Choose a location at home with morning sun, wind protection, and a water source nearby. Ensure neighbors are informed and place hives away from high-traffic areas.
How do I handle the physical transfer from nuc to hive at home?
Work calmly and keep disturbance to a minimum. Open the nuc at the hive entrance and transfer frames one at a time into the prepared brood box, keeping the same orientation. Inspect for the queen, brood, and food. Close the hive and give the colony a light sugar syrup if nectar is scarce.
What ventilation and temperature steps should I take during transport?
Maintain airflow while preventing direct drafts. Use screened vents or leave a small gap covered with mesh. Avoid temperatures above 90°F; if hot, stop in shaded areas and mist outside the box briefly. In cold weather, wrap the box with breathable insulation but avoid sealing it completely.
How long can bees safely stay in a nuc box during transport?
Short trips of a few hours are ideal. For longer journeys, provide ventilation and limit time out of a full hive to 6–8 hours. Ensure food is available; if longer delays are likely, plan rest breaks and monitor colony condition.