Spring brings hope, yet finding a lifeless hive can feel like a setback for any beekeeper. Dr. Roger Hoopingarner of Michigan State University notes that most losses stem from Varroa or starvation, which means gear often remains usable when disease is not present.
Assess first. Stop bee access, look for clues about cause, and separate suspect frames from boxes that look sound. If brood disease seems likely, avoid swapping frames or tools and seek guidance before handling further.
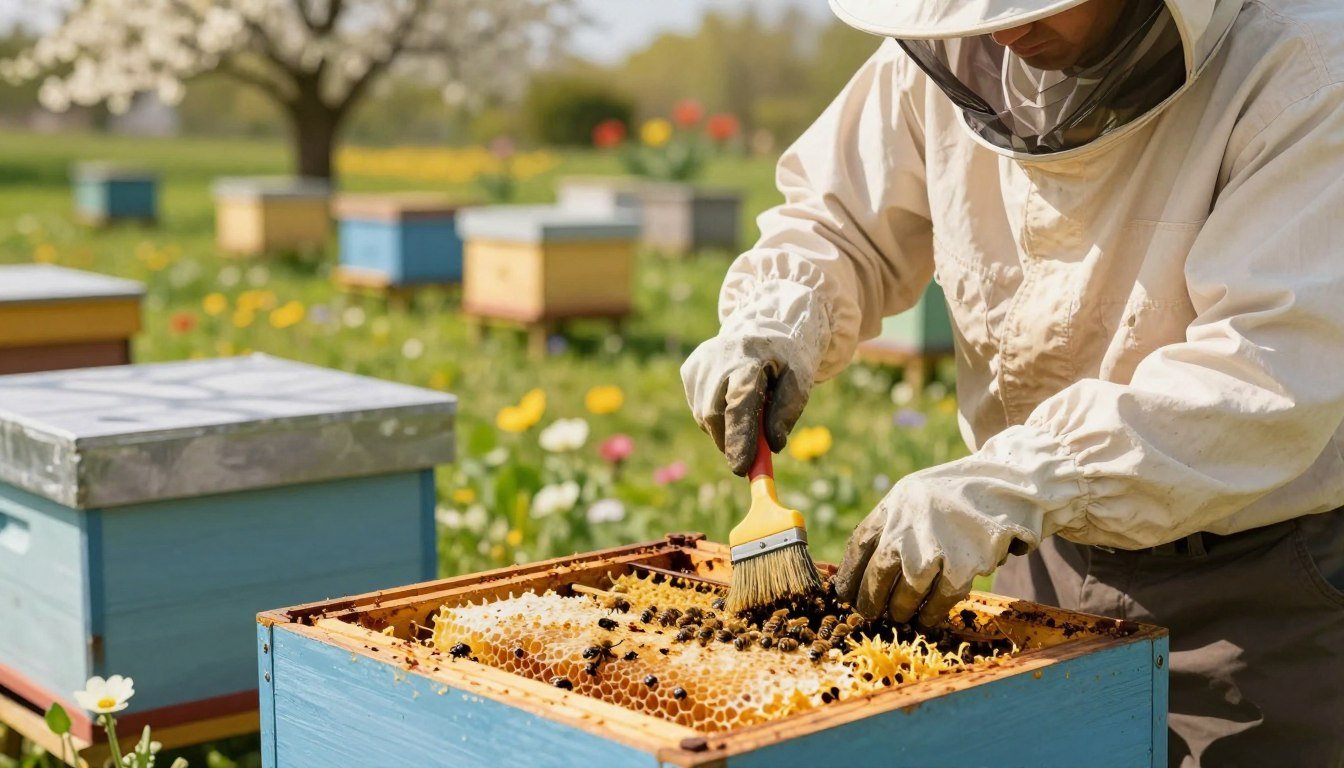
Careful removal of wax, honey, and debris helps protect new colonies. Use a mild solution and good storage practices for any saved woodenware. When in doubt about origin or signs of contagion, melting old wax can be the safer path.
For stepwise advice after finding a lost colony, see this resource on post-death actions and another on repairing boxes for salvage: post-death steps and repairing hive boxes.
Key Takeaways
- Check cause of death before deciding what gear is safe.
- Scrape and wash woodenware; use a mild solution for mold and debris.
- Isolate suspicious equipment to protect nearby apiaries.
- Melt wax if disease risk is unclear.
- Store salvaged parts bee-tight and labeled for the next season.
Assessing the Cause of Colony Loss
Determining why a colony failed is the first safeguard for healthy hives in the apiary. Start with a calm, methodical check of frames, comb, and stored honey. Note whether dead bees cluster in cells or scatter across the bottom.
Identifying Contagious Diseases
Look for classic signs of American Foulbrood: sunken cappings, foul odor, and ropey larval remains. AFB produces hardy spores that can survive in wax and wood. If AFB is suspected, burning affected equipment is the safest option.
For a step-by-step field guide, consult a linked beehive autopsy that helps distinguish disease from other causes.
Evaluating Comb Condition
Varroa and starvation often leave comb intact, making drawn wax usable. Still, inspect frames for mold, moth damage, or slime. Rap frames gently to dislodge dead bees from cells and check the honey for off odors or discoloration.
If comb shows heavy damage or persistent contamination, melting or discarding may be necessary. For options on returning drawn comb to service, see advice on encouraging bees to clean old comb.
- Quick checks: look for AFB signs, mold, moth holes, and empty stores.
- When safe: drawn wax from Varroa or starvation deaths often remains usable.
How to Clean a Deadout Before Reuse
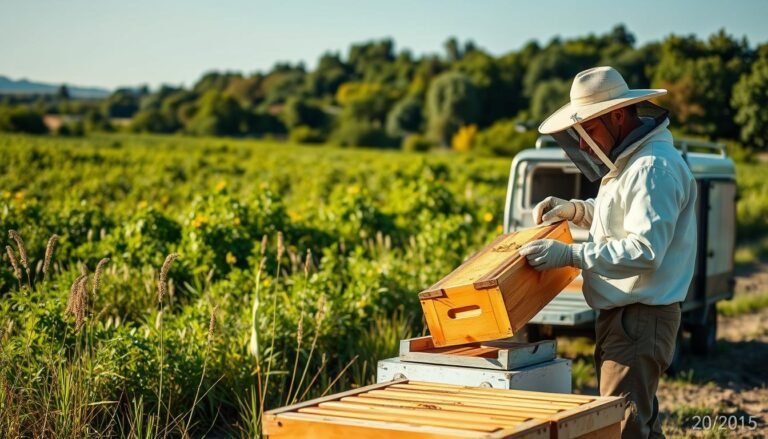
Swift action matters. Swift removal of the dead hive reduces robbing by wild critters and cuts mold risk. Move affected hives out of the yard at once to protect nearby colonies.

Freezing helps. If you plan to keep drawn frames or wax, freeze frames for 48 hours. This kills hidden pests and makes storage safer for comb and honey.
During spring, a 3:1 water and bleach solution is a valid option when scraping alone seems insufficient. Rinse and dry bodies and frames well; excess moisture invites mold and further damage.
“Remove dead bees from cells and scrape excess moisture; new bees will tidy some remaining debris once installed.”
| Step | Purpose | Option | Time |
|---|---|---|---|
| Remove hive | Stop robbing and critters | Move to dry area | Immediate |
| Freeze frames | Kill pests in comb | 48 hours | 2 days |
| Bleach rinse | Sanitize bodies and frames | 3:1 water:bleach | Spring option |
| Final check | Assess mold or structural damage | Discard if severe | Before use |
For community tips on a dead hive clean-up, see this forum discussion: dead hive clean-up. For safe storage methods that prevent pests, read guidance on how to store frames.
Managing Pests and Contamination
Managing infestations and residues quickly preserves usable gear and reduces risk.
Wax moths can ruin comb if left overnight. Letting chickens peck out larvae is an effective, natural option where poultry are available. Remove webbing and dead bees so moths do not spread further.
Small hive beetle slime soaks into honey and comb. Cut away or discard heavily tainted frames and remove affected honey. Bees rarely salvage heavily slimed areas, so prompt removal limits contamination.
For mold and mildew, scrub woodenware with a salt-enhanced solution, then wipe with a 3:1 water and bleach mix and air in sun. Rinse frames thoroughly after any treatment to protect new colonies.
“Prompt removal of slime and webbing keeps salvage options open.”
- Let chickens clear wax moth larvae when practical.
- Remove slimed honey and compromised frames at once.
- Use salt with your scrub, follow with bleach rinse, and air-dry in sunlight.
- If damage is extensive, discard foundation or use approved chemical options.
| Pest/Issue | Signs | Immediate Action | Notes |
|---|---|---|---|
| Wax moth | Webbing, holes in comb, larvae | Remove webs; let poultry eat larvae or discard frames | Works well where chickens are present |
| Small hive beetle slime | Sticky, fermented honey; darkened comb | Cut out slimed frames and remove honey | Bees rarely clean heavy slime |
| Mold / Mildew | Discoloration, musty odor | Scrub with salt mix, wipe with 3:1 water:bleach, rinse | Air-dry in sun; discard if structural damage |
For related equipment advice, see cleaning honey extractors.
Sanitizing Woodenware and Frames
Treating frames and boxes with targeted heat or an approved solution reduces lingering contamination.
Start with an inspection. Remove badly damaged comb and any slimed honey. Keep useful wax and frame parts separate from suspect items.

Using Heat and Chemical Solutions
Using a blow torch to singe hive bodies destroys spores that can survive in wood. Move slowly and flame surfaces enough to char lightly; this lets you treat components that are hard to scrub.
For frames, wash with a bit of dish soap and water to remove residue. Rinse thoroughly and air-dry in sun to prevent mold and mildew from returning.
“Singeing and sun-drying, combined with a good rinse, cut the risk of lingering spores and odors.”
- Heat: Use a torch on boxes and major bodies; avoid overburning structural joints.
- Wash: Scrub frames with soapy water, rinse well, then sun-dry.
- Chemicals: If using products, air out wood long in sunlight to remove residues.
- Final check: Ensure frames and bodies are fully dry before storage to stop mold growth.
| Method | Targets | Benefit | Notes |
|---|---|---|---|
| Blow torch | Hive bodies, boxes, nails | Destroys spores on surface | Work outdoors; avoid deep charring |
| Soapy water wash | Frames, foundation, light wax | Removes debris and grease | Rinse well; sun-dry fully |
| Chemical products | Wooden components, non-porous gear | Broad sanitizing effect | Ventilate and sun materials before reuse |
| Sun & airflow | All components | Reduces odor, dries, aids bees clean | Best follow-up after any treatment |
For official sanitation guidance and protocols, consult this official sanitation guidance.
Best Practices for Storing Equipment
Freezing frames before storage is a simple step that saves time and protects comb. Freeze drawn frames for 48 hours, then place them in a sealable container to keep out wax moths and larvae. This stops pests and cuts the chance of mold from excess moisture.
Stacking matters. Eva, a local beekeeper, layers parchment between hive bodies and covers the stack with burlap. That extra barrier deters critters while still allowing slight airflow.
Lightly scorch frames or boxes with a blow torch when wax residue remains. A brief pass chars surfaces and helps deter moths and other pests during storage. Avoid deep burn marks that weaken wood.
“Keep foundation clean and dry before you stack; dry wood resists mold and saves time in spring.”
Store equipment in a dry, insect‑proof area. A good spot prevents moisture buildup and keeps bees and future colonies safer. When you are ready, unpack with confidence and far less prep work.
| Action | Why | When | Notes |
|---|---|---|---|
| Freeze frames 48 hrs | Kills larvae and moth eggs | Today after harvest | Use sealable container after freezing |
| Stack with parchment | Limits pest access | During storage | Cover stack with burlap for airflow |
| Light scorch with torch | Deters moths on wax residue | If wax remains on frames | Quick pass; avoid deep charring |
| Store dry, insect‑proof | Prevents mold and critter damage | All season | Check foundation is clean and dry first |
For guidance on mold issues in stored comb, see this mold in my hive resource. If you plan harvest work alongside storage, review tips on honey harvesting to coordinate timing and reduce moisture risk.
Conclusion: Moving Forward with Confidence
When a colony ends, practical steps with frames and boxes let you recover and prepare for spring.
Learning from the loss makes your apiary stronger. Inspect gear, sort what is safe, and keep nearby colonies protected.
Follow sensible tips and store items properly. A careful check today helps keep bees healthy and gives the hive equipment a chance for safe reuse.
Experience is a teacher; every beekeeper faces setbacks. With cleaned, inspected gear and good storage, you are ready to welcome new life.
For guidance on installing new stock or placing healthy colonies, review our beehive installation advice.
FAQ
What should I do first when facing a dead colony?
Start by assessing the hive and surroundings. Remove frames and inspect brood, honey, and wax for signs of disease, pests, or starvation. Note any foul odors, chalkbrood, or spotty brood patterns that suggest infectious problems. Keep samples for lab testing if you suspect American foulbrood (Paenibacillus larvae) or European foulbrood.
Which signs indicate a contagious disease that prevents reuse?
Look for sunken, perforated brood cappings, a ropy or foul smell, or discolored larvae; these point to American foulbrood. European foulbrood shows twisted, discolored larvae and abnormal brood pattern. Chalkbrood appears as mummified white or gray larvae. If any of these appear, destroy heavily infected comb or follow state regulations for disposal and reporting.
How can I evaluate comb and foundation condition quickly?
Inspect for wax moth damage, heavy cocooning, brittle or collapsed comb, and darkened honey frames indicating long use. Light, clean-colored comb with minimal cocoons and intact cell walls can be salvaged after thorough sanitation. Replace plastic or foundation with visible structural damage or pervasive contamination.
What are safe methods for dealing with wax moths in stored frames?
Freeze frames at 0°F (-18°C) for 48–72 hours to kill eggs and larvae. Alternatively, use a well-ventilated walk-in freezer or place frames in sealed plastic and freeze. Heat treatment with a bee-safe honey heater or use of a solar wax melter can also help, but avoid high heat that melts comb. Maintain dry, ventilated storage to prevent reinfestation.
How should I address small hive beetle slime on comb and boxes?
Remove slimed frames and scrape off residue with a hive tool. Rinse with hot water, then disinfect woodenware. For heavy slime, discard affected comb and replace with new foundation. Clean boxes thoroughly and dry completely; small hive beetle larvae and residues harbor yeast and bacteria that attract pests and spoil honey.
What’s the best approach for mold and mildew on equipment?
Scrape away surface growth, wash with hot water and a mild detergent, then treat with a light bleach solution (1:10 bleach-to-water) or 70% isopropyl alcohol on non-oily surfaces. Rinse and dry in sunlight. Replace comb with deep mold penetration; mold spores can persist in wax and porous wood and cause issues for new colonies.
Can I sanitize frames and woodenware with heat safely?
Yes—use a propane or butane blow torch briefly to scorch and sterilize internal surfaces, but move quickly to avoid warping or charring. For frames, careful steaming or using a pressure washer with heat can help remove debris before drying. Maintain low exposure time and test on scrap pieces first.
Are chemical disinfectants effective on beekeeping equipment?
Certain chemicals like household bleach, hydrogen peroxide, and Virkon S work for surface disinfection. Apply per label directions, rinse thoroughly, and dry. Avoid leaving residues on comb destined for bees; discard contaminated honey or comb rather than risk chemical exposure to new colonies.
When should comb be discarded rather than saved?
Discard comb that is heavily darkened, brittle, full of cocoons, slimed by beetles, infected with brood diseases, or contaminated with pesticides. As a rule, replace comb used for brood every 3–5 years and honey super comb as needed to maintain colony health and reduce disease reservoirs.
How do I handle dead bee bodies and debris in the hive?
Wear gloves and remove dead bees, then scrape the bottom board and corners. Dispose of carcasses away from apiary or compost after confirming no contagious disease. Rinse and disinfect the bottom board and brood chamber before reassembly. Ensure thorough drying to limit mold growth.
What storage practices prevent pests and moisture problems?
Store boxes and frames in a dry, ventilated area elevated off the floor. Use screened or sealed cabinets and add para-moth strips or desiccants as needed. Keep temperature stable and inspect stored equipment monthly for signs of wax moths or rodents.
Is it safe to introduce new bees into refurbished equipment that held a deadout?
Only if you’ve removed diseased comb, disinfected woodenware, and ensured no active pests remain. Replace questionable foundation, allow treated gear to air out, and consider a small test colony or nuc first. Monitor closely for unusual brood patterns or pest return in the first weeks.
What products or tools make refurbishment easier and safer?
Useful items include a hive tool, bee brush, shop vacuum, propane torch, freezer access, food-grade hydrogen peroxide, Virkon S for heavy contamination, plastic tubs for soaking, and replacement foundation from Mann Lake or Dadant. Choose reputable brands and follow safety instructions for chemicals and heat tools.
How long should equipment dry after washing or chemical treatment?
Aim for complete drying over 48–72 hours in warm, sunny, well-ventilated conditions. Moist wood traps mold and wax moths. If drying indoors, use a dehumidifier and ensure no chemical odors remain before reintroducing bees.
Can starved colonies that died be a source of pesticide contamination in comb?
Yes. Comb from colonies that starved or foraged in treated crops may hold pesticide residues. If you suspect contamination, test honey/comb or err on the side of caution and discard suspect comb. Use fresh foundation when rebuilding colonies exposed to pesticides.
Should I involve my state apiarist or a lab after losing colonies?
Contact your state apiary inspector when you see signs of American foulbrood or sudden unexplained losses. They can advise on mandatory steps, sample submission, and legal disposal. Local university extension services often provide diagnostic testing and guidance for disease management.