Last Updated September 16, 2026
A Cloake board is a queen-rearing device that lets one strong colony do the job of two hives: an acutely queenless “starter” for about a day, to trigger strong cell acceptance, then a full-strength “finisher” that raises those cells to maturity once the colony is reunited. It works by sliding a removable divider in and out of a modified queen excluder rather than requiring a beekeeper to maintain a separate dedicated cell-building colony. Invented by New Zealand beekeeper Harry Cloake and later popularized in the United States by queen breeder Sue Cobey, it remains one of the most widely taught starter-finisher sequences for beekeepers ready to move past a single basic cell-builder colony.
Key Takeaways
- A Cloake board combines a queen excluder with a removable slide, letting one colony act as both starter and finisher without moving bees between hives.
- The method was invented by New Zealand beekeeper Harry Cloake and popularized in the U.S. by queen breeder Sue Cobey.
- The slide creates brief, acute queenlessness (about 24 hours) to drive strong grafted-larvae acceptance, then comes out so the reunited, full-strength colony finishes the cells.
- The full cycle runs from day 0 setup to roughly day 11, when queens begin emerging and capped cells must be moved to mating nucs.
- It needs a genuinely strong colony to work well — roughly swarm-control or split-ready strength — and it does not require grafting, since graft-free larval sources like the Miller or Alley method also work.
Table of Contents
- What a Cloake Board Is
- Why the Starter-Then-Finisher Sequence Works So Well
- Where the Method Comes From
- Equipment Needed
- Day 0-1: Initial Setup
- Day 1: Inserting the Slide
- Day 2: Introducing Grafted Larvae
- Day 3: Removing the Slide to Reunite as Finisher
- Day 11+: Harvesting Capped Cells
- Cloake Board vs. Ben Harden Method
- Pairing With Graft-Free Larval Sources
- Signs the Cycle Is Working
- Running Multiple Cycles From the Same Colony
- Colony Strength Requirements
- Scaling to Multiple Boards
- Common Mistakes
- FAQ
What a Cloake Board Is
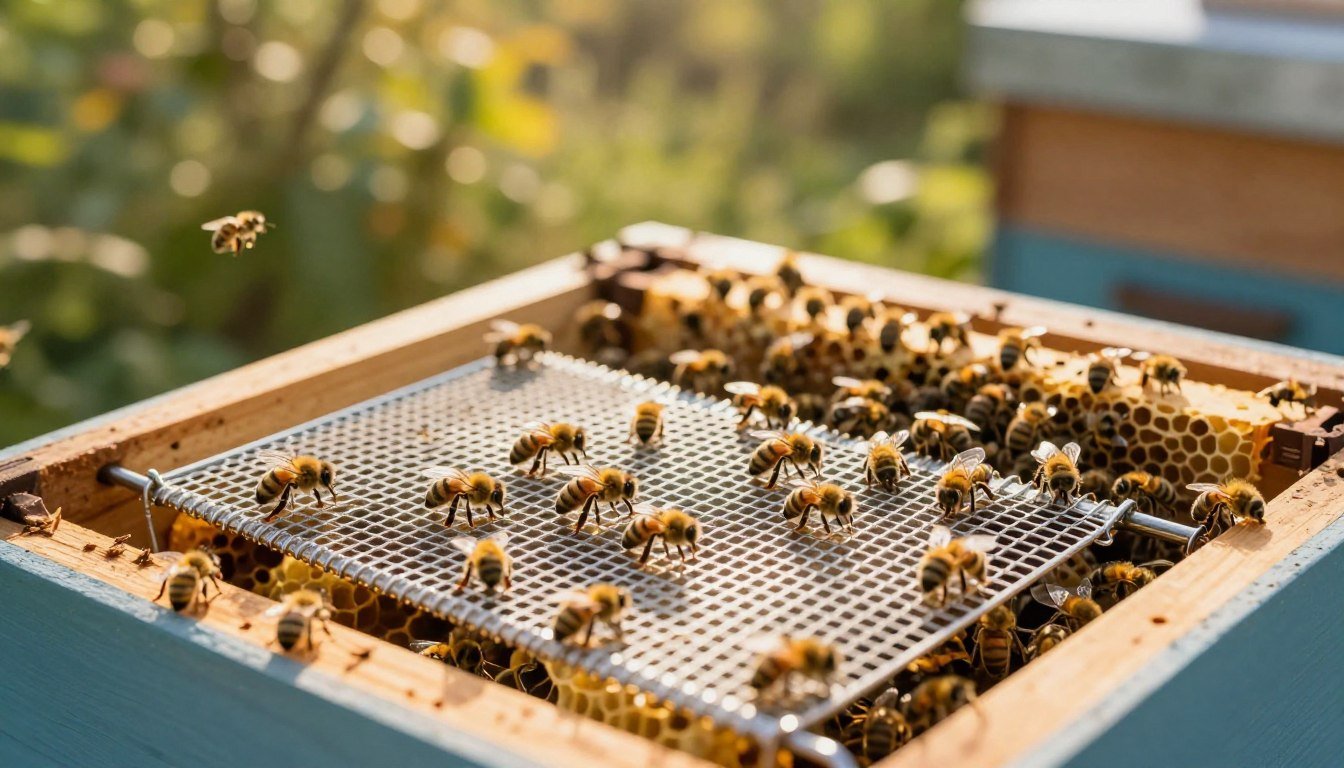
A Cloake board is a queen-rearing device — a queen excluder built into a wooden frame, with a removable metal (or plastic) slide that can be inserted to completely block bee movement between the two hive bodies it sits between. It lets a single strong colony function as both the “starter” colony (which triggers strong queen-cell acceptance under acute queenlessness) and the “finisher” colony (which raises those accepted cells to maturity at full strength), switching between the two roles simply by sliding the divider in and out rather than requiring two separate colonies.
Why the Starter-Then-Finisher Sequence Works So Well
Queen-rearing experience has shown that colonies respond most enthusiastically to newly presented larvae when they’re acutely, freshly queenless — that initial urgency is what a Cloake board’s slide creates by fully blocking pheromone and bee movement between the queen’s box and the upper box for a short window. But a genuinely queenless colony isn’t necessarily the best environment to finish developing cells over the following week or more, since it lacks the queen’s ongoing influence on colony behavior and organization. The Cloake board’s trick is using acute queenlessness only briefly, for acceptance, then removing the slide so the reunited colony — still separated by the plain excluder, so the queen can’t reach the cells, but now benefiting from full population and normal colony function again — finishes the job as a much larger, better-resourced “finisher” than the temporarily isolated starter box ever was alone.
Where the Method Comes From
The technique and the device are both named after their originator, New Zealand beekeeper Harry Cloake, whose family beekeeping operation grew into one of New Zealand’s larger commercial apiaries. Cloake’s approach was later publicized in the United States by queen breeder and honey bee geneticist Sue Cobey, which is a large part of why the method is now taught as a standard reference point in queen-rearing education there as well as in New Zealand and Australia. It’s frequently introduced as a step up from simpler starter-finisher approaches once a beekeeper is comfortable with basic grafting and ready to manage a more precisely timed, multi-step process in exchange for more reliable, higher-quality cell acceptance from a single hive setup rather than juggling separate starter and finisher colonies.
Equipment Needed
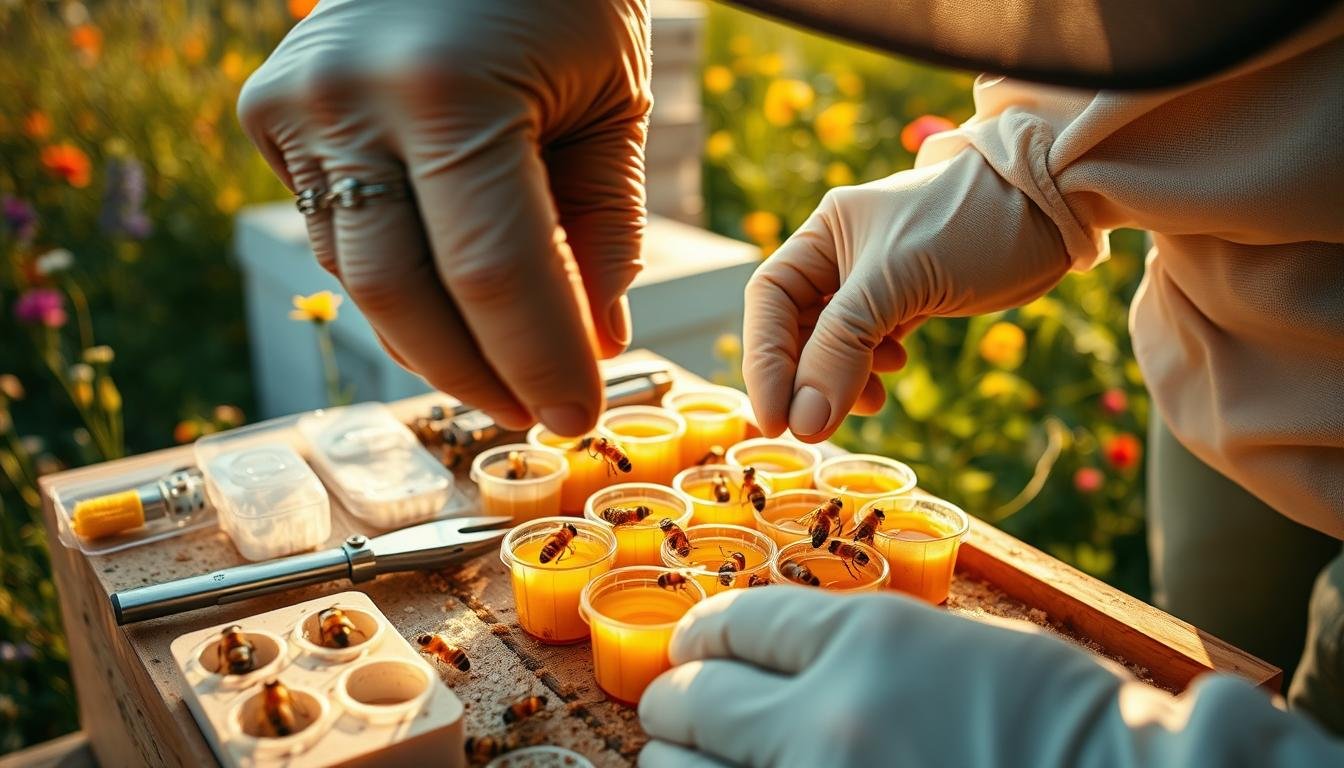
- A Cloake board (purpose-built, combining a queen excluder frame with a removable slide) — purchased or built to the standard design
- A second brood box to sit above the Cloake board
- Grafted larvae on a cell bar frame (or a graft-free alternative, covered below)
- Standard hive tools for the multi-visit sequence
Day 0-1: Initial Setup
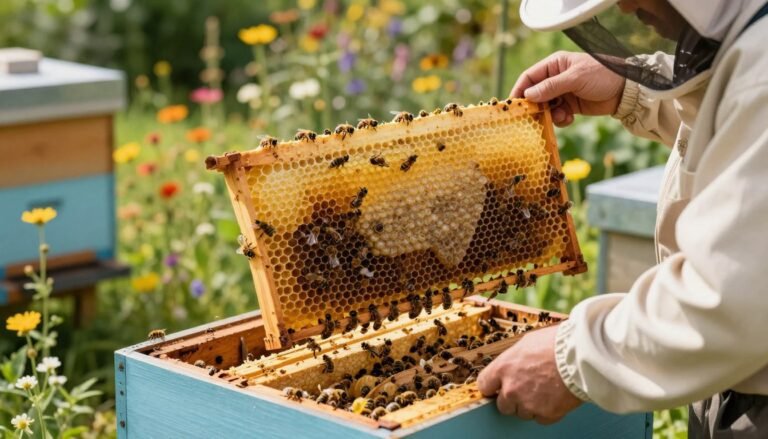
With the queen confirmed in the lower box, install the Cloake board above it — excluder function active, but without the metal slide inserted yet — with a frame of unsealed brood placed in the upper box. Leave this initial setup for roughly 12 hours before the next step, letting the colony settle into the two-box arrangement while bees can still move freely between levels through the excluder.
Day 1: Inserting the Slide
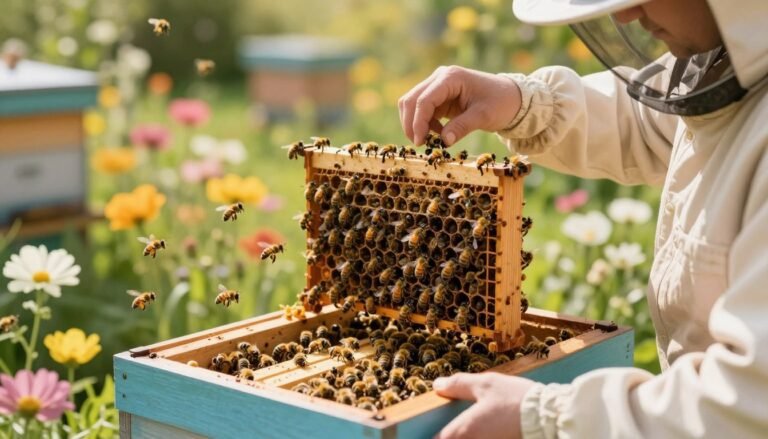
Insert the metal slide into the Cloake board, fully blocking movement (and pheromone transfer) between the lower, queenright box and the upper box. The lower entrance stays open so bees from the queenright section can still fly and forage normally, but returning foragers that were working from the upper box’s population now find themselves unable to get back down — they instead accumulate in the upper box, boosting its population while it operates as an acutely queenless unit. Leave this configuration for a full day to let the upper box register its queenlessness.
Day 2: Introducing Grafted Larvae
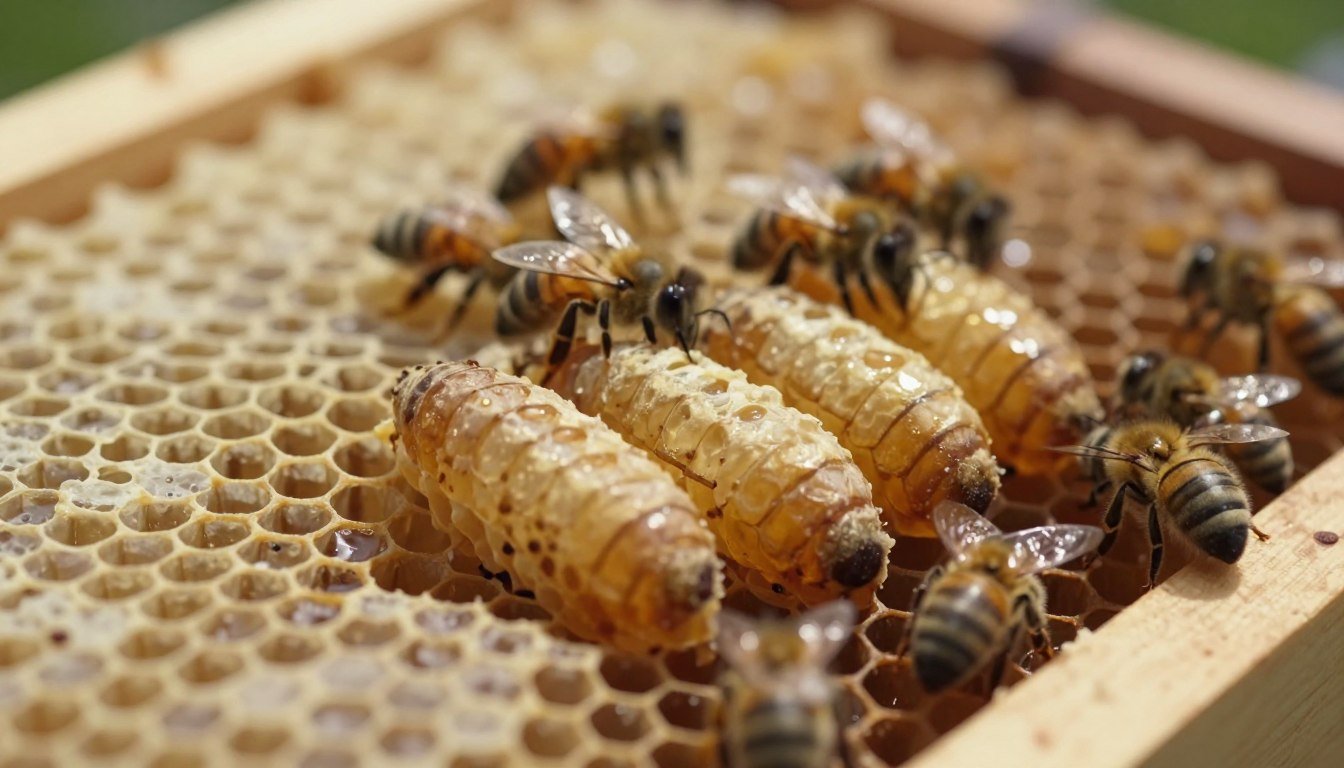
Check the upper box and remove any supersedure cells the bees have already started on their own, then install your prepared frame of grafted larvae (or graft-free equivalent) into the center of the upper box. Close the hive and leave it for 24 hours — this is the critical acceptance window, when the acutely queenless upper colony is most motivated to begin building cells around the freshly presented larvae.
Day 3: Removing the Slide to Reunite as Finisher
Remove the metal slide, reuniting the colony’s population while keeping the plain queen excluder in place (so the queen still can’t reach the developing cells or the upper box generally). From this point, the full, combined colony — now with normal access to the queen’s influence again but with the cells still safely isolated above the excluder — works together as a well-resourced finisher for the remainder of development.
Day 11+: Harvesting Capped Cells
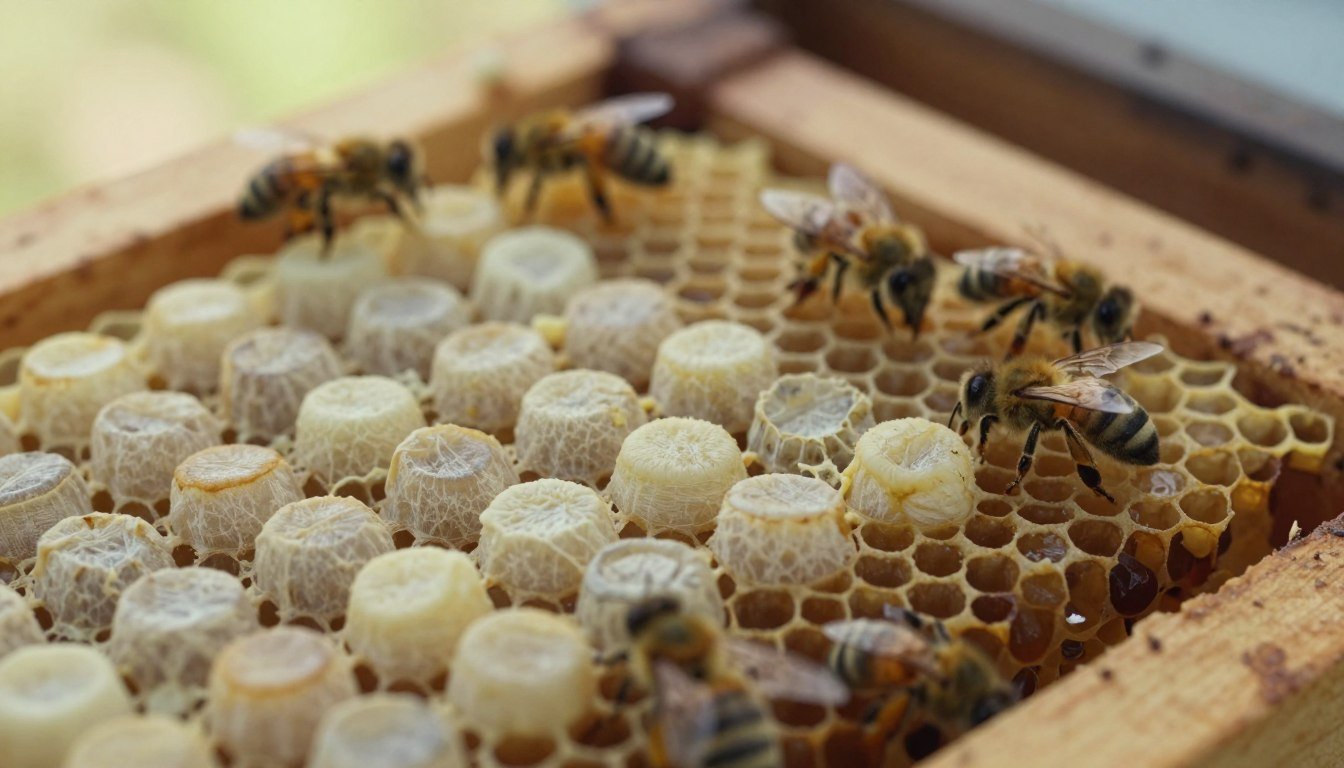
Queens typically emerge roughly 11 days after grafting, so capped cells need to be removed and distributed to individual mating nucs or queenless colonies before that point — waiting too long risks the first virgin queen to emerge destroying the other developing cells before you can separate them. Marking your calendar the moment grafts go in, rather than trying to estimate emergence timing later from memory, is the simplest way to avoid this entirely. Time your harvest with a clear margin before the expected emergence date rather than cutting it close.
Cloake Board vs. Ben Harden Method
| Cloake Board | Ben Harden Method | |
|---|---|---|
| Queenlessness | Briefly acute (slide fully blocks pheromone for ~24 hours), then reunited | Never — colony stays queenright throughout |
| Equipment | Specialized Cloake board with removable slide | Standard excluder + oversized dummy boards |
| Cell acceptance strategy | Relies on acute queenlessness for strong initial acceptance | Relies on isolated, concentrated nurse-bee space without ever removing queen influence entirely |
| Complexity | More steps, precise multi-day timing | Simpler ongoing management, repeatable without resetting |
Both avoid the overhead of maintaining a fully separate, permanently queenless cell-building colony, but they get there through genuinely different mechanisms — Cloake board leans on a real (if brief) queenless trigger, Ben Harden avoids that trigger entirely and relies on physical isolation and concentration instead.
Pairing With Graft-Free Larval Sources
While traditionally paired with grafted larvae, a Cloake board setup doesn’t strictly require grafting — the frame introduced on day 2 can just as easily carry material prepared using a graft-free approach like the Miller method or the Alley method, or cups produced via a Jenter or Nicot system. This flexibility means the Cloake board is really solving the acceptance/finishing side of queen rearing, independent of which technique you use to get larvae onto the cell bar in the first place. Beekeepers uncomfortable with grafting specifically but who want the acceptance and finishing advantages the Cloake board offers can get the best of both by pairing it with whichever graft-free source suits them.
Signs the Cycle Is Working
By day 2’s acceptance check, a well-run cycle should show most or all presented larvae with nurse bees actively clustered around them, and by the time the slide comes out on day 3, you should see visible early cell development on a solid majority of the grafts. If acceptance looks poor at the day-2 check — few or no cells started — the most common causes are grafting larvae that were too old, an upper box population too small to properly cover and feed the presented larvae, or insufficient time given for the queenlessness to fully register before larvae went in. A weak initial forager “bleed” into the upper box during the day-1 window is worth checking specifically, since the whole acceptance mechanism depends on that box having a genuinely substantial bee population by the time grafts are introduced. A quick peek into the upper box before introducing grafts, just to visually confirm a strong bee presence, takes only a minute and can save an entire cycle from a poor result.
Running Multiple Cycles From the Same Colony
Because the Cloake board setup doesn’t permanently repurpose the colony the way a fully dedicated queenless cell-builder does, the same hive can run additional cycles across a season — once one batch of cells has been harvested and distributed, the board and upper box can be reset for another round starting again from the day-0 setup. This repeatability, combined with needing only one strong colony rather than a dedicated separate cell-building operation, is a meaningful part of the method’s appeal for beekeepers who want a reliable, repeatable queen supply without maintaining extra colonies solely for that purpose.
Common Mistakes
| Mistake | Why it matters |
|---|---|
| Skipping the day-2 supersedure cell check | Bees may have already started their own cells during the acute queenless window — leaving these in creates competing, unplanned cells |
| Removing the slide too early or too late | The acceptance window and the transition to finisher mode both depend on the roughly-24-hour timing described above |
| Harvesting cells too close to the expected emergence date | Risks the first virgin queen emerging and destroying the remaining developing cells before separation |
| Using a weak colony for the whole setup | The finisher phase specifically depends on having a genuinely strong, well-resourced combined population once the slide comes out |
Colony Strength Requirements
Because the Cloake board method asks a single colony to fill three roles across the cycle — donor colony, starter, and finisher — it depends on starting with a genuinely strong, healthy colony more than almost any other queen-rearing approach covered on this site. A marginal colony asked to support an isolated, acutely queenless upper population for a day, then transition to full finisher duty a day later, is being asked for a lot relative to its actual resources. As a practical benchmark, a colony you’d already consider strong enough for a split or swarm-control intervention is generally the right starting point — waiting for that level of strength before attempting a Cloake board cycle produces meaningfully better results than forcing the setup onto a colony that isn’t quite there yet. If you’re unsure whether a colony qualifies, it’s better to wait another week or two for further buildup than to run the cycle prematurely and get disappointing acceptance rates.
Scaling to Multiple Boards
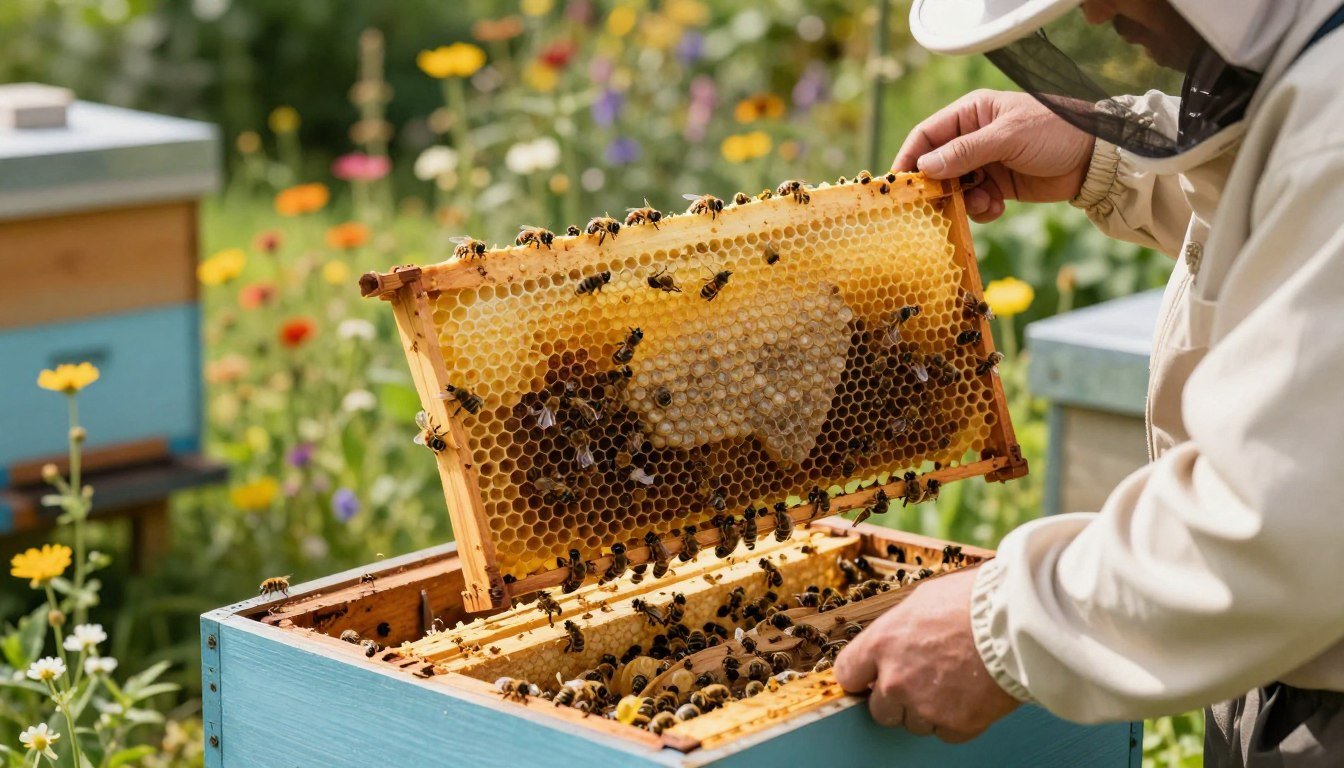
A beekeeper wanting a larger total queen supply than one colony’s Cloake board cycle can produce doesn’t need to abandon the method — running the same setup across multiple strong colonies simultaneously, staggered by a day or two each, is a reasonable way to scale total production while keeping each individual cycle’s timing and colony-strength requirements intact. This differs from trying to force one colony to produce an unrealistically large batch by overloading the cell-bar frame with more grafts than the upper box’s population can realistically feed and finish well — spreading the work across more colonies generally produces better-quality cells overall than cramming more into fewer colonies. Keeping a simple log of which colony ran which cycle and when also makes it much easier to track results and refine your approach across a season, rather than relying on memory alone.
Sources
Day-by-day timeline and setup details reflect how the Cloake board method is documented and taught by beekeeping associations that specialize in queen rearing. For a step-by-step reference on the technique itself, see the Waikato Beekeepers Club’s Cloake board queen-rearing guide (New Zealand, where the method originated); background on Harry Cloake and the device’s history is summarized on Wikipedia’s Cloake board entry.
Frequently Asked Questions
What is a Cloake board used for?
Queen rearing — it lets a single strong colony act as both a starter (triggering strong cell acceptance via brief acute queenlessness) and a finisher (raising accepted cells to maturity at full colony strength).
How long does the Cloake board method take?
About 3 days of setup and manipulation (initial setup, slide insertion, larvae introduction, slide removal), then roughly 8 more days of finishing before cells are ready to harvest — queens typically emerge around day 11 after grafting.
Does the Cloake board require grafting?
Traditionally yes, but it can be paired with graft-free larval sources like the Miller or Alley method, or cups from a Jenter/Nicot system — the Cloake board addresses acceptance and finishing, not how larvae get onto the cell bar.
How is the Cloake board different from the Ben Harden method?
Cloake board briefly creates genuine acute queenlessness (via the slide) to trigger strong cell acceptance, then reunites the colony. Ben Harden never makes any part of the colony queenless — it relies on physical isolation and nurse-bee concentration instead.
How strong does a colony need to be before running a Cloake board cycle?
Strong enough that you would already consider it ready for a split or a swarm-control intervention. The method asks one colony to act as donor, starter and finisher in turn, so a marginal colony usually gives poor acceptance. Waiting another week or two for buildup produces better results than starting early.
Can the same colony run more than one batch of queen cells in a season?
Yes. The setup does not permanently repurpose the colony the way a dedicated queenless cell-builder does, so once a batch of cells has been harvested and distributed to mating nucs, the board and upper box can be reset and the sequence started again from the day-0 setup.