Last Updated September 16, 2026
Key Takeaways
- The Bailey comb change replaces every frame of comb in a colony gradually, over roughly five to six weeks, instead of the shook swarm’s single-session shake.
- It is named after Lesley Bailey, a bee disease expert at Rothamsted Research in the UK who proposed the gradual approach.
- Success depends on starting with a colony that is already building up strongly in spring, since the process needs the colony to actively draw substantial new comb throughout.
- A week-3 check for queen cells in the separated lower box is essential — skipping it is one of the most common mistakes.
- It suits routine comb renewal or milder, earlier-stage disease concerns; an actively worsening disease situation is usually better served by the faster shook swarm.
Table of Contents
- What the Bailey Comb Change Is
- Why Gradual Beats Abrupt for Some Colonies
- Where the Method Comes From
- Equipment Needed
- Week 1: Adding the New Box Above
- Week 1-2: Introducing the Excluder
- Week 3: Checking for Queen Cells
- Week 5: Removing the Old Box
- Bailey Comb Change vs. Shook Swarm
- Who Should Use This Method
- Colony Strength and Timing Requirements
- What to Do With the Removed Old Comb
- Signs the Process Is On Track
- Using This for Routine Renewal, Not Just Disease Response
- Using It Specifically for Disease Management
- Common Mistakes
- FAQ
What the Bailey Comb Change Is
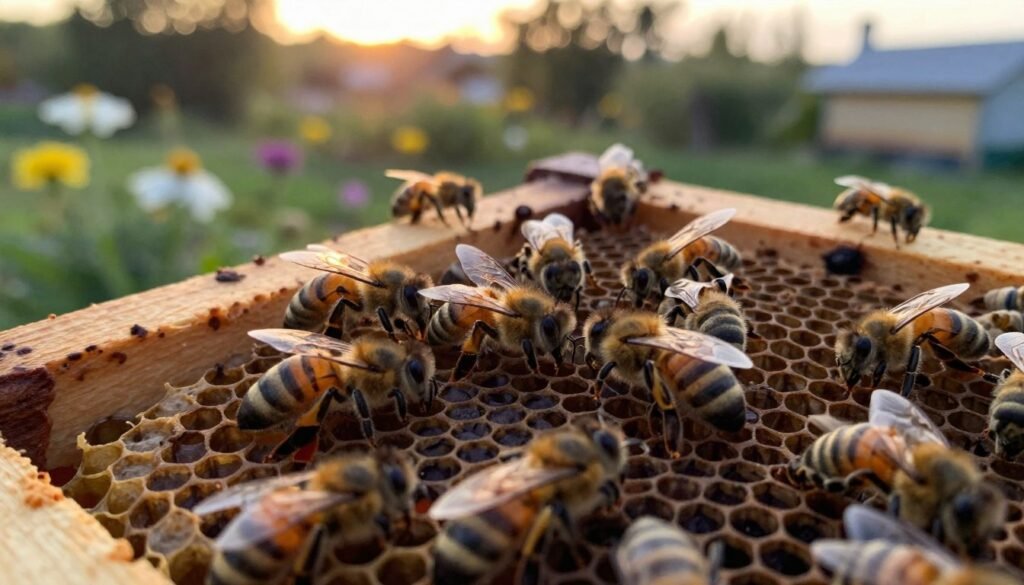
The Bailey comb change is a technique for replacing every frame of comb in a colony with fresh comb drawn from foundation, spread out gradually over roughly five to six weeks rather than forced in a single disruptive session. It relies on adding a new box above the existing one, letting the queen naturally move up into the fresh comb over time, then removing the old box once its brood has fully emerged — a slower, lower-stress alternative to the shook swarm method, which achieves a similar end result (a colony on entirely clean comb) through an abrupt, single-session shake instead.
Why Gradual Beats Abrupt for Some Colonies
A shook swarm strips a colony of all its stores and drawn comb in one afternoon, which is effective but genuinely stressful and risky for a colony that isn’t robustly strong going in. The Bailey comb change spreads that same fundamental goal — get the colony onto entirely fresh, pathogen-free comb — across several weeks, letting the colony continue functioning close to normally throughout most of the process rather than facing a sudden total loss of its existing infrastructure. This makes it a genuinely gentler option for colonies where a shook swarm’s abruptness feels like more risk than the situation calls for, without giving up the core benefit of a full comb renewal.
Where the Method Comes From
The technique is named after Lesley Bailey, a bee disease expert at Rothamsted Research in the UK, who proposed and publicized this gradual approach to full comb renewal. It remains a standard reference technique in beekeeping education specifically for situations calling for comprehensive comb replacement — whether for general old-comb renewal or in response to disease concerns — where a full shook swarm feels like more disruption than necessary.
Equipment Needed
- A second complete brood box, fitted with fresh foundation
- A queen excluder, to be introduced partway through the process
- A clean crown board and, temporarily, an upper entrance
- Feeder and heavy sugar syrup, unless a strong natural nectar flow is already underway
Week 1: Adding the New Box Above
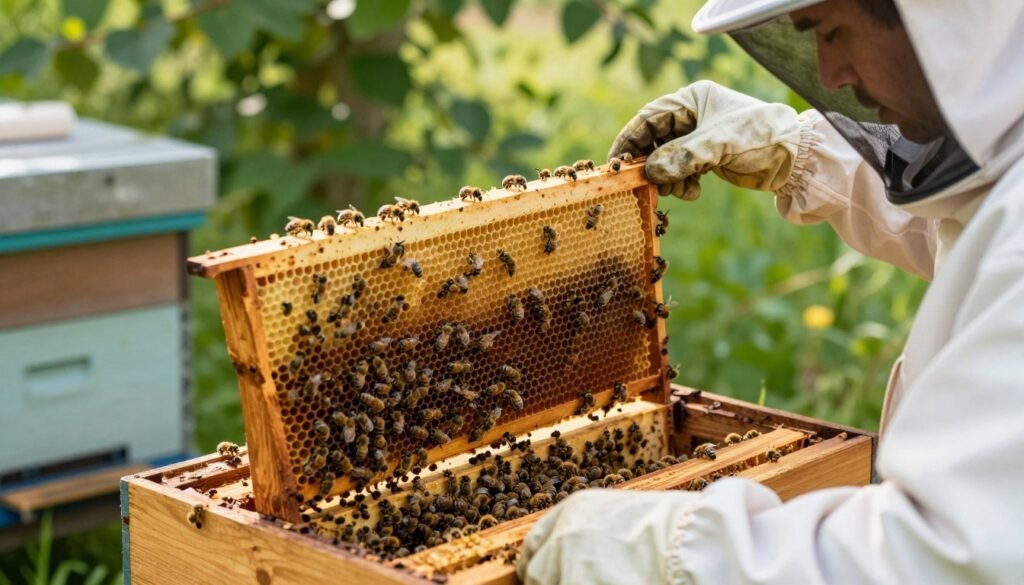
Place the new brood box, fitted with fresh foundation, directly above the existing (old-comb) box. Add a clean crown board on top. Unless a strong nectar flow is already active, begin feeding heavy sugar syrup to encourage the colony to draw out the new foundation quickly — wax production is energy-intensive, and a good syrup supply meaningfully speeds up how fast the fresh comb becomes usable.
Week 1-2: Introducing the Excluder
Once you can confirm the bees are actively drawing comb in the upper box, insert a queen excluder between the two boxes, positioned so the queen ends up in the upper, fresh-comb box rather than the lower old one. If the bees have progressed well and are working across all the frames in the upper box, this is also a reasonable point to add one or two more frames of starter strips to the outer edges of the upper box’s nest, extending the fresh comb area a bit further.
Week 3: Checking for Queen Cells
Inspect the lower (old-comb) box specifically for queen cells and remove any found — since the lower box is now separated from the queen by the excluder, the bees there may attempt to raise a replacement queen from any remaining young brood, which isn’t the outcome you want mid-process. Top up the sugar syrup feed at this visit as well, since comb-drawing and general colony activity continue drawing down stores throughout this stretch.
Week 5: Removing the Old Box
By around week five, the brood that was present in the old lower box at the start of the process should have fully emerged, leaving that box largely empty of anything except old comb and residual stores. At this point, remove the temporary upper entrance, take the old lower box off entirely, and place the upper (now fully established, fresh-comb) box directly onto a clean floor. Reinstate the queen excluder in its normal position and restore the hive’s original entrance configuration. The colony is now fully transitioned onto entirely fresh comb.
Bailey Comb Change vs. Shook Swarm
| Bailey Comb Change | Shook Swarm | |
|---|---|---|
| Timeline | Gradual, about 5-6 weeks | Single session, one afternoon |
| Stress on colony | Lower — colony functions close to normally throughout | Higher — colony loses all stores and drawn comb at once |
| Mechanism | Natural queen movement upward, aided by an excluder | Physically shaking every bee off old comb onto fresh foundation |
| Suitable for weaker colonies? | More forgiving of a moderately (not critically) strong colony | Requires a genuinely strong colony to recover well |
| Speed of full comb renewal | Slower to complete | Immediate |
Who Should Use This Method
The Bailey comb change suits beekeepers who want the full benefits of comb renewal — removing accumulated pathogens, pesticide residue, and general old-comb degradation — but either don’t have a colony robustly strong enough to comfortably handle a shook swarm’s abruptness, or simply prefer a gentler, lower-stress approach when there’s no acute emergency requiring the faster shook swarm timeline. It’s a reasonable default choice for routine, non-emergency comb renewal, reserving the shook swarm specifically for situations (like a confirmed disease outbreak) where the speed of an immediate, complete separation genuinely matters more than gentleness.
Colony Strength and Timing Requirements
Because the process spans over a month and depends on the colony actively drawing substantial new comb throughout, starting it on a colony that’s already building up well in spring, with a queen laying strongly, produces much better results than attempting it on a colony that’s still weak or slow to build up. Early spring, timed so the roughly five-to-six-week process wraps up while there’s still a meaningful part of the growing season left, is the standard window — starting too late in the year risks the colony not having enough remaining season to fully establish on the new comb and build adequate stores before the following winter. Working backward from your local first-frost date and counting the roughly six-week process plus a reasonable buildup buffer afterward is a practical way to set a firm start-by date each spring.
What to Do With the Removed Old Comb
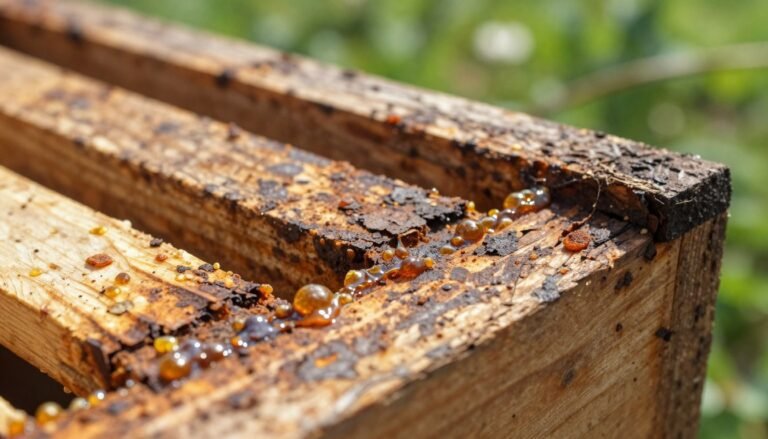
The old comb and box removed in week five shouldn’t simply be reused elsewhere without consideration, especially if disease concerns were part of the motivation for the comb change in the first place — the same logic covered in the shook swarm method regarding old-comb disposal applies here too. If the change was done purely for routine renewal without any specific disease concern, the old comb may have some salvage value (rendering for wax), but if disease was a factor, treat disposal with the same caution you would after any disease-driven comb removal.
Signs the Process Is On Track
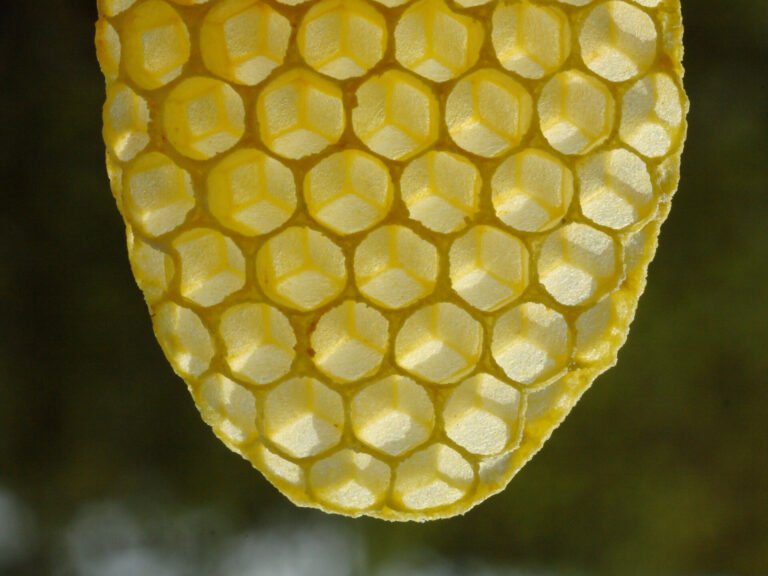
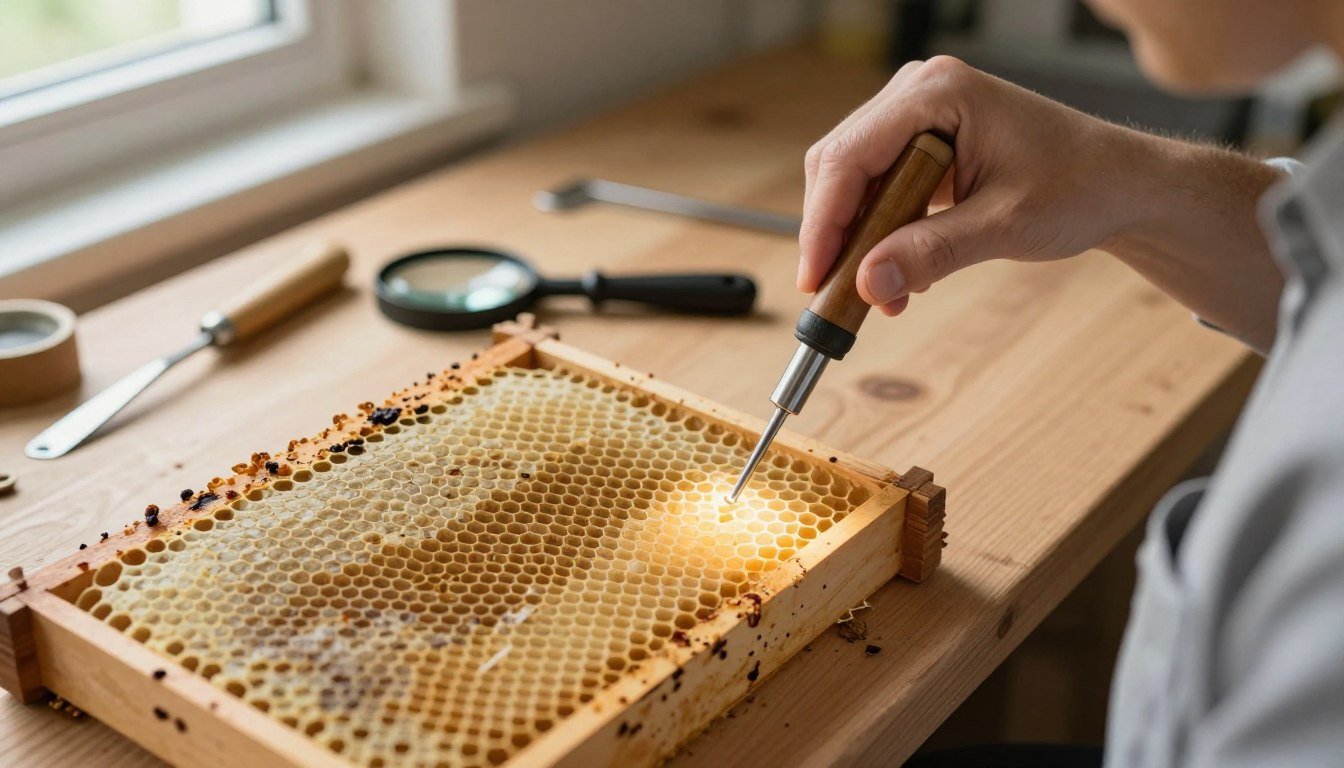
At each weekly check, a few signs indicate the colony is progressing well: steady comb drawing in the upper box, visible as expanding white or pale new wax across more of the frame faces each visit; the queen actively laying in the newly drawn upper comb once she’s moved up; and the lower box’s brood steadily emerging and thinning out as the weeks pass, rather than staying static. If comb-drawing in the upper box seems to have stalled by week two or three, check both feeding adequacy and overall colony strength before assuming something has gone wrong with the technique itself — a slow natural flow combined with light feeding is a common, fixable cause. Increasing syrup concentration or feeding frequency for a week and rechecking is a reasonable first response before assuming a bigger problem.
Using This for Routine Renewal, Not Just Disease Response
While often discussed in the context of disease management, the Bailey comb change works just as well as a routine practice for beekeepers who simply want to renew old, dark comb on a regular cycle without waiting for a specific problem to justify it. Old comb accumulates residues and gradually shrinks cell size over years of repeated use, and periodic full renewal — whether every few years as routine maintenance or in direct response to disease concerns — is a reasonable part of ongoing apiary management independent of any acute issue. Beekeepers who find shook swarming too abrupt for comfortable routine use often adopt the Bailey method specifically as their standard renewal technique for exactly this reason. Building it into a multi-year rotation — renewing a portion of your colonies each spring rather than all of them at once — spreads the workload and keeps at least some colonies always on relatively fresh comb.
Common Mistakes
| Mistake | Why it matters |
|---|---|
| Starting too late in the season | The 5-6 week process needs enough remaining season afterward for the colony to fully establish and build stores before winter |
| Skipping the week-3 queen cell check | The separated lower box may raise its own queen cells, complicating the process if left unaddressed |
| Inadequate feeding during the process | Comb-drawing is resource-intensive — insufficient syrup slows the whole timeline and can stall progress |
| Attempting it on a weak or slow-building colony | The colony needs to actively and vigorously draw comb throughout — a weak colony may not keep pace with the timeline |
Using It Specifically for Disease Management
When disease is the motivating factor — European foulbrood or general pathogen buildup in old comb, for instance — the Bailey comb change offers a genuinely useful middle ground between doing nothing and the more drastic shook swarm: the colony still ends up entirely on fresh, clean comb, just reached more gradually. The tradeoff worth understanding clearly is timing risk — because the process takes 5-6 weeks rather than a single session, a colony dealing with an active, worsening disease situation may not have that much time to spare before intervention needs to be more immediate. For a confirmed, actively progressing disease concern, the shook swarm’s speed is often the more appropriate choice specifically because of that urgency; the Bailey comb change fits better for milder, earlier-stage concerns or for renewal done proactively before disease becomes a pressing issue at all. If you’re genuinely unsure which situation you’re in, err toward the faster method — the cost of unnecessary speed is mild extra stress on an otherwise strong colony, while the cost of too much delay on a real disease problem can be losing the colony entirely.
Sources
Method timeline and step-by-step process reflect published UK beekeeping guidance on the Bailey comb change, originally proposed by Lesley Bailey of Rothamsted Research and documented through established beekeeping association resources. For further verification, see USDA APHIS’s National Honey Bee Surveys program.
FAQ
How long does a Bailey comb change take?
About five to six weeks from initial setup to removing the old box, spread gradually rather than done in a single session.
Is the Bailey comb change better than a shook swarm?
Neither is universally “better” — Bailey is gentler and more gradual, suiting routine renewal or moderately strong colonies, while shook swarm is faster and better suited to situations needing immediate, complete separation from contaminated comb.
Do I need to feed the colony during a Bailey comb change?
Yes, generally with heavy sugar syrup, unless a strong natural nectar flow is already underway — comb-drawing is energy-intensive and the colony needs adequate resources to keep pace with the timeline.
What happens to the queen during a Bailey comb change?
She moves naturally up into the new box as it’s drawn out, and once a queen excluder is added, stays confined there — no active queen-finding or transferring is required the way some other techniques need.
Can I do a Bailey comb change on a weaker colony?
It is not recommended. The process depends on the colony actively and vigorously drawing new comb for five to six weeks straight — a weak or slow-building colony often cannot keep pace, which is why early spring buildup on a strong, well-laying queen is the standard starting condition.
What is the best time of year to start a Bailey comb change?
Early spring, timed so the roughly five-to-six-week process finishes while a meaningful part of the growing season still remains. Starting too late risks the colony not having enough time afterward to fully establish on the new comb and build adequate winter stores.
Do I need any special equipment beyond a second brood box?
Just a queen excluder, a clean crown board, a temporary upper entrance, and a feeder with heavy sugar syrup unless a strong nectar flow is already underway — no specialized tools beyond standard beekeeping equipment.