Table of Contents
- What Honey Vinegar Is
- Why It’s a Two-Stage Fermentation, Not One
- Dilution Ratios and Honey Selection
- Equipment Needed
- Stage 1: Alcoholic Fermentation
- Understanding the “Mother”
- Stage 2: Acetic Acid Fermentation
- Total Timeline
- Finishing and Bottling
- Troubleshooting
- Honey Vinegar vs. Mead: What Went Different
- Culinary and Selling Uses
- Scaling Up Batch Size
- Long-Term Storage of the Mother
- Selling Honey Vinegar Legally
- Common Mistakes
- FAQ
What Honey Vinegar Is
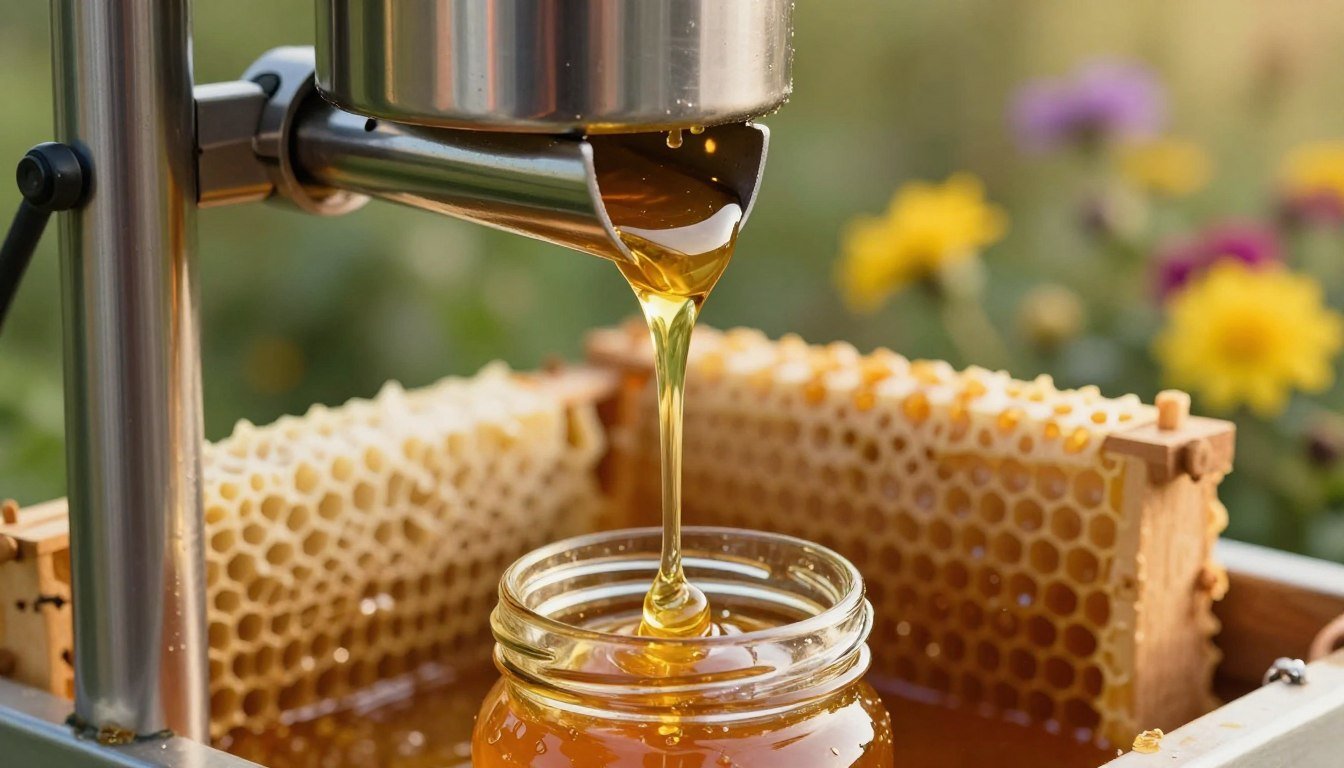
Honey vinegar is a fermented vinegar made from diluted honey instead of apples, grapes, or grain, produced through the same fundamental two-stage fermentation process that makes any vinegar, just starting from a honey-and-water base rather than fruit juice or malted grain. The result is a distinctly flavored vinegar that carries some of honey’s character through fermentation, genuinely different in flavor profile from apple cider or wine vinegar, and a product beekeepers with surplus or off-grade honey can produce as a value-added item beyond straight honey sales.
Why It’s a Two-Stage Fermentation, Not One
Making vinegar from honey isn’t a single fermentation — it’s two distinct biological conversions happening in sequence. First, yeast ferments the sugars in diluted honey into alcohol, essentially producing a light, honey-based wine (similar in principle to the early stages of making mead). Only once that alcohol is present does the second stage begin: acetic acid bacteria (Acetobacter) convert the alcohol into acetic acid — the compound that actually makes vinegar taste and function like vinegar. Skipping straight to acetic acid bacteria without first producing alcohol doesn’t work; the bacteria need alcohol as their conversion substrate, which is exactly why this process takes two sequential stages rather than one.
Dilution Ratios and Honey Selection
A common starting ratio is roughly 1 part honey to 8 parts water by volume, though ratios are sometimes expressed by target sugar concentration instead — diluting honey with water until the sugar content sits around 15-19% is a commonly cited target range for reliable fermentation. Any honey works for this, which makes it a genuinely practical use for honey that isn’t premium table-quality — slightly crystallized, off-flavor, or otherwise less marketable honey is perfectly suitable raw material for vinegar, where fermentation and the vinegar’s own flavor profile will substantially transform the final character anyway.
Equipment Needed
- A wide-mouth fermentation vessel (glass or food-grade plastic, not metal, since acidic vinegar can react with many metals over time)
- Breathable cloth cover and a rubber band or string, to allow airflow while keeping out insects and debris
- A hydrometer (optional but useful) for tracking sugar and alcohol levels through the process
- A vinegar “mother,” either purchased from a homebrew supplier or sourced from an existing unpasteurized, unfiltered vinegar
- Bottles for the finished product
Stage 1: Alcoholic Fermentation
Dilute honey with water to your target ratio or sugar concentration, and if you’re not relying purely on wild yeast present in the honey and environment, pitch a wine or mead yeast to ensure reliable fermentation. Cover with breathable cloth (not an airtight lid — this stage still benefits from some airflow, unlike a sealed mead fermentation) and ferment at a moderate room temperature, generally in the 26-28°C (roughly 78-82°F) range for efficient yeast activity. This stage is complete once the mixture has fermented into a light alcoholic liquid, commonly once alcohol content reaches somewhere around 6-7% — a hydrometer reading is the most reliable way to confirm this rather than guessing by taste or time alone.
Understanding the “Mother”
The “mother” is a gelatinous, rubbery biofilm — essentially a cellulose structure housing the live acetic acid bacteria culture — that does the actual work of converting alcohol into vinegar during the second stage. You can introduce one by adding a portion of an existing unpasteurized, unfiltered vinegar (which carries the bacteria even without a visible mother present) or by purchasing a mother directly from a homebrewing supplier. Once established in a batch, a mother can typically be reused or shared to start future batches, similar to how a sourdough starter gets maintained and passed along.
Stage 2: Acetic Acid Fermentation
Once the alcoholic stage is complete, introduce the mother (or unpasteurized vinegar) and raise the temperature somewhat, into roughly the 35-40°C (95-104°F) range, which favors acetic acid bacteria activity. Keep the vessel covered with breathable cloth throughout, since this stage specifically requires oxygen exposure — acetic acid bacteria are aerobic, unlike the yeast in stage one, which can tolerate lower-oxygen conditions more readily. This stage continues until the acidity reaches a stable, vinegar-appropriate level, commonly cited as roughly 5 grams of acetic acid per 100ml or more, at which point fermentation is considered complete.
Total Timeline
Combined, the two stages commonly take several weeks to a few months total, depending on temperature consistency, honey concentration, and how active your yeast and bacteria cultures are — this isn’t a fast process, and rushing either stage by skipping temperature or time requirements generally produces a weaker or less stable final vinegar rather than actually saving meaningful time. Patience through both stages, rather than trying to compress the timeline, produces a more reliable, better-tasting result.
Finishing and Bottling
Once acidity has stabilized, strain out the mother (setting it aside if you plan to reuse it for a future batch) and bottle the finished vinegar. Unlike many fermented products, finished vinegar is shelf-stable at room temperature for a long period without refrigeration, given its low pH and the fact that the fermentation process itself has already run to a stable endpoint rather than needing ongoing management after bottling.
Troubleshooting
If the alcoholic first stage seems stalled, check that temperature is in the right range and that enough sugar was actually present to support yeast activity — an overly diluted batch may simply run out of usable sugar before reaching a meaningful alcohol level. If the second stage seems slow to develop real acidity, confirm the vessel genuinely has airflow (a sealed or poorly ventilated cover starves the aerobic acetic acid bacteria) and that temperature is warm enough to support their activity. A batch that develops mold rather than a proper mother usually indicates contamination from an unclean vessel or insufficient initial acidity/alcohol to suppress unwanted organisms — starting with clean equipment and a reliable mother source is the best prevention.
Honey Vinegar vs. Mead: What Went Different
Since both start from essentially the same diluted-honey-and-yeast beginning, the difference between ending up with mead and ending up with vinegar comes down entirely to whether the process stops after alcoholic fermentation (mead) or continues into a deliberate second acetic acid stage (vinegar) — and, practically, whether the vessel stays sealed to protect the alcohol (mead) or stays open to oxygen to let acetic acid bacteria take over (vinegar). An improperly sealed mead batch exposed to open air and stray acetic bacteria can actually turn into vinegar accidentally, which is one of the more common mead-making mistakes — understanding vinegar’s process actually helps explain why careful sealing matters so much for mead specifically.
Culinary and Selling Uses
Finished honey vinegar works anywhere a recipe calls for a mild, slightly sweet vinegar — salad dressings, marinades, pickling brines, and deglazing pan sauces are all common uses, with honey vinegar’s distinct flavor profile setting it apart from the more familiar sharpness of plain white or apple cider vinegar. A light drizzle over fresh fruit or a simple vinaigrette is often the best way to actually taste what makes it distinct, rather than burying it in a heavily seasoned dish. For beekeepers selling honey and hive products, a small-batch honey vinegar is a genuinely differentiated value-added item that most competing honey sellers don’t offer, giving it a real shelf-appeal advantage at farmers markets or through direct sales compared to yet another jar of plain honey sitting next to a dozen others.
Scaling Up Batch Size
The same ratios and process scale up reasonably well from a small experimental batch to a larger production volume, though larger batches benefit from more attention to consistent temperature throughout the vessel (a large container can develop meaningful temperature variation between its center and edges) and from a proportionally larger, well-established mother culture to keep the acetic acid conversion proceeding at a consistent pace across the full volume. Beekeepers considering this as a real product line should start with a smaller batch to confirm their process and flavor result before committing significant honey stock to a large-scale attempt. Flavor also varies meaningfully by the floral source of the honey used, so testing a small batch from each honey type you’re considering is worth the extra time before settling on a signature product.
Common Mistakes
| Mistake | Why it matters |
|---|---|
| Sealing the vessel airtight throughout | The acetic acid stage specifically needs oxygen exposure — an airtight seal prevents that stage from working at all |
| Rushing either stage before it’s genuinely complete | Moving to stage two before adequate alcohol exists, or bottling before acidity stabilizes, produces a weaker or unstable result |
| Using metal fermentation vessels | Acidic vinegar can react with many metals over time, affecting both flavor and safety |
| Assuming any honey needs to be premium quality | Off-grade or crystallized honey works fine — fermentation transforms the flavor substantially regardless |
Long-Term Storage of the Mother
A vinegar mother can be kept alive and reused across many future batches if stored properly between uses — submerged in a small amount of finished vinegar (which keeps it acidic enough to resist contamination) in a covered but not airtight container, kept at room temperature away from direct sunlight. A healthy, actively used mother tends to grow slightly with each batch, and portions can be separated off to start entirely new batches or shared with other home fermenters, similar to how sourdough starters or kombucha SCOBYs get passed along between people. Treat a healthy mother as a genuinely reusable asset rather than a one-time consumable, and it can support batch after batch for years. A mother that’s gone unused for a very long period may need a fresh batch or two to fully reactivate before performing at its best again, but is rarely permanently lost as long as it’s been kept reasonably acidic and covered the whole time.
Selling Honey Vinegar Legally
If you’re considering selling honey vinegar rather than just making it for personal use, treat it as a genuinely separate regulated food product from raw honey — fermented products often fall under different food-safety and labeling rules than straight honey sales in many jurisdictions, and what applies to selling honey directly doesn’t automatically cover a fermented value-added product made from it. Checking with your local health department or small-food-business licensing authority before selling any quantity of homemade vinegar is a reasonable step most beekeepers considering this as a real product line shouldn’t skip, since requirements vary significantly by location and by how the product will be sold (direct farm sales versus retail, for instance). Getting this right before your first sale avoids a much more disruptive problem later if a batch needs to be pulled from sale over a compliance issue. See how to start selling honey legally for the broader legal groundwork worth having in place before selling any hive-derived product commercially.
Sources
Fermentation ratios, temperature ranges, and the two-stage biological process reflect published home-fermentation and vinegar-production guidance, consistent with established two-stage (alcoholic then acetic) vinegar-making principles applied specifically to a honey base. See a peer-reviewed study on mead fermentation science for additional authoritative detail.
FAQ
Can I make vinegar from any honey?
Yes — off-grade, crystallized, or less marketable honey works fine for vinegar-making, since fermentation substantially transforms the flavor regardless of the honey’s original quality.
How long does honey vinegar take to make?
Typically several weeks to a few months total across both fermentation stages, depending on temperature consistency and culture activity — rushing either stage generally produces a weaker result.
What is the “mother” in vinegar making?
A gelatinous cellulose biofilm housing the live acetic acid bacteria that convert alcohol into vinegar. It can be purchased or sourced from an existing unpasteurized vinegar, and can be reused for future batches.
Why did my mead accidentally turn into vinegar?
Likely oxygen exposure and stray acetic acid bacteria getting into an improperly sealed batch — the same process used deliberately to make vinegar can happen by accident to an under-sealed mead.