Table of Contents
- What a Snelgrove Board Is
- The Key Principle: Separating Foragers from Nurse Bees
- Where the Method Comes From
- Why the Door Sequence Actually Works
- Equipment Needed
- Day 1: Initial Setup
- Days 4-5: First Door Change
- Days 9-10: Second Door Change and Cell Check
- Finishing: Recombine or Make an Increase
- Snelgrove vs. Demaree vs. Checkerboarding
- Is This the Right Method for You?
- Troubleshooting Common Problems
- Practicality for Different Apiary Sizes
- Sourcing or Building a Snelgrove Board
- Common Mistakes
- FAQ
What a Snelgrove Board Is
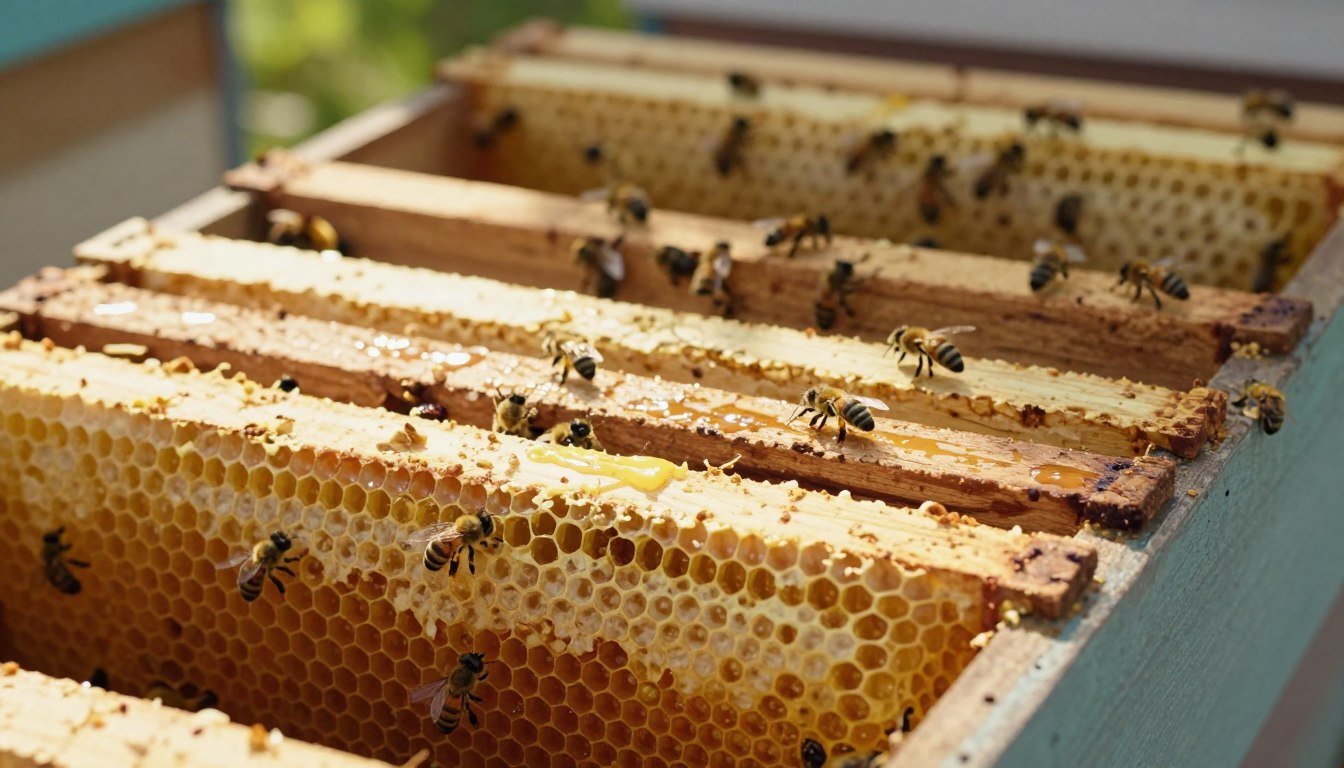
A Snelgrove board (also called a double-screen board) is a specialized hive component with a double layer of mesh screen in the center and pairs of small, individually closable doors on three of its four edges. The screen lets warmth and colony scent pass between the boxes above and below it, but physically blocks bees from moving through — while the doors, opened and closed in a specific sequence over about 10 days, control which direction flying bees end up returning to. It’s named after L.E. Snelgrove, the English beekeeper who developed the method and popularized it in his writing on swarm control.
The Key Principle: Separating Foragers from Nurse Bees
Swarming requires the colony to have enough young nurse bees willing to stay behind with the old queen — a colony that’s just lost most of its flying foragers to a redirected entrance, while its nurse bees stay put with the brood they won’t abandon, is a colony under enough internal reorganization stress that swarming becomes far less likely. The Snelgrove board’s door sequence works by temporarily and repeatedly redirecting returning foragers to enter through a different point than the one nurse bees are working from, gradually shifting the colony’s population balance between the two boxes without a single abrupt split. This is different from techniques like the Demaree method, which separates the queen from the brood directly with an excluder — the Snelgrove method separates the flying workforce from the brood-tending workforce instead, using entrance manipulation rather than excluder placement as the main mechanism.
Where the Method Comes From
L.E. Snelgrove was a British beekeeper and writer whose work on swarm control, published in the mid-20th century, remains a reference point in UK and Commonwealth beekeeping education specifically because it offers something most other swarm-control techniques don’t: a built-in decision point where the beekeeper can choose, partway through an already-underway process, whether to end up with one colony or two. That flexibility — rather than needing to commit to “prevent the swarm” or “make a split” from the outset — is part of why the method has remained in active use for decades despite its complexity, and why it’s still commonly taught by beekeeping associations that emphasize traditional, hands-on swarm management technique.
Why the Door Sequence Actually Works
The mechanism is worth understanding rather than just memorizing, since it makes the day-by-day steps much easier to follow correctly. Foraging bees navigate primarily by remembering the specific location of their hive entrance relative to landmarks, not by scent alone — so when a specific entrance point on the Snelgrove board closes and a different one opens, bees that were flying out of the old entrance and returning to it get redirected to whichever entrance is currently active, effectively without them “deciding” anything. Nurse bees, by contrast, rarely leave the hive at all during this period, since they’re occupied tending brood in whichever box they’re currently in — so the door changes mainly reshuffle where the FLYING population ends up, while the brood-tending population stays largely undisturbed by the entrance changes themselves. Over the roughly 10-day sequence, this steadily concentrates flying foragers away from the box with the brood and queen cells, which is the specific imbalance (lots of young nurse bees, brood, and queen cells, but comparatively few field bees actively bringing in resources) that tends to defuse a colony’s swarming momentum.
Equipment Needed
- A Snelgrove board (double-screen board with the paired closable entrance doors) — purpose-built and sold by beekeeping suppliers, or built to the standard design if you’re handy with woodworking
- A second brood box with foundation or drawn comb
- A queen excluder
- Standard hive tools for the setup and follow-up inspections
Day 1: Initial Setup
- Prepare a second brood box with foundation or drawn comb.
- Locate the queen and place her, along with a frame of unsealed brood, into the new box — confirm no queen cells are present on this frame before placing it.
- Remove all existing queen cells from the original box before proceeding.
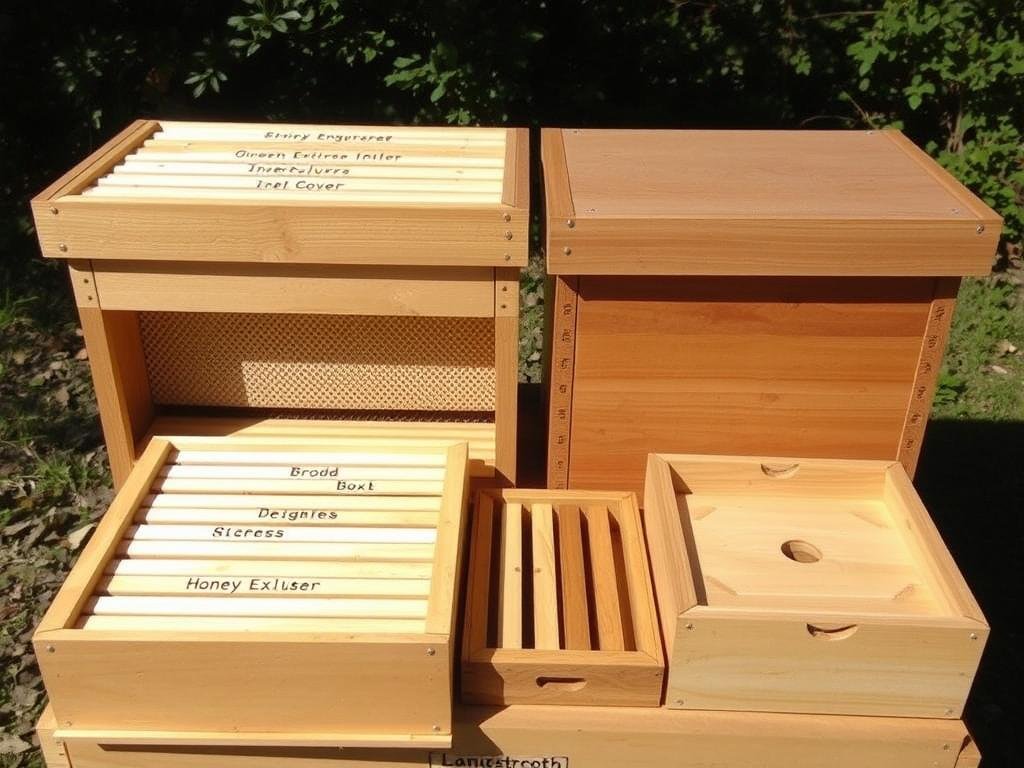
- Stack the hive in this order, bottom to top: floor, the new box with the queen, a queen excluder, any honey supers, the Snelgrove board, the original brood box (containing the remaining brood frames), crown board, and roof.
- Open the top-left entrance on the Snelgrove board and close all the others.
At this point, foragers from the original box will return and enter through the main hive entrance at the bottom, since that’s the entrance they’re conditioned to. Bees in the upper box that try to fly will find their way back in through the top-left Snelgrove board entrance instead.
Days 4-5: First Door Change
Close the top-left entrance and open the bottom-left and top-right entrances instead. This shift begins redirecting returning foragers from the upper box down toward the lower box’s population, gradually thinning the upper box’s flying workforce while its nurse bees remain with the brood there.
Days 9-10: Second Door Change and Cell Check
Close the bottom-left and top-right entrances, and open the bottom-right and rear-top entrances. At this same visit, inspect the original (now upper) box for queen cells and remove all of them except any you specifically want to keep if you’re planning to make an increase (a new colony) from this process rather than simply preventing a swarm.
Finishing: Recombine or Make an Increase
By around 10 days from setup, the acute swarm-control phase is essentially complete, and what happens next depends on your goal:
- If you don’t want to increase your colony count, either move the top box below the queen excluder to run the hive as a strong double-brood-box colony, or remove the top box once its brood has emerged, consolidating back to a single colony.
- If you do want to increase, leave the board’s doors as they are rather than reuniting the boxes. A new queen in the upper box, raised from one of the retained queen cells, typically emerges and begins laying within roughly 14-16 days of setup; once she’s mated and laying well, the upper box functions as a genuinely new, separate colony.
Snelgrove vs. Demaree vs. Checkerboarding
| Method | Main mechanism | Complexity | Can produce a new colony? |
|---|---|---|---|
| Snelgrove board | Redirecting foragers via multi-entrance door sequence | High — precise multi-day door timing required | Yes, if you choose not to recombine |
| Demaree method | Separating queen from brood via excluder | Moderate — repeated full inspections needed | No, stays one colony by design |
| Checkerboarding | Disrupting honey storage pattern above the brood nest | Low — single setup, minimal follow-up | No, stays one colony by design |
Is This the Right Method for You?
The Snelgrove method is generally considered one of the more involved swarm-control techniques specifically because of its precise entrance-timing requirements — even some experienced beekeeping writers describe it as “a bit complex” relative to simpler alternatives. It’s worth it for beekeepers who want the specific flexibility of deciding, partway through the process, whether to end up with one strong colony or two — a decision the simpler methods above don’t offer in the same way. If you mainly want straightforward swarm prevention without that flexibility, checkerboarding or the Demaree method may be a more approachable starting point, with the Snelgrove board as a technique to grow into once you’re comfortable with the fundamentals.
Troubleshooting Common Problems
A few things can go differently than expected during the process, worth knowing in advance:
- The upper box seems to be losing too many bees too fast. This can happen if the initial forager population in that box was already smaller than expected. If the box looks seriously depleted by the day 4-5 check, some beekeepers choose to shorten the process rather than continuing the full 10-day sequence exactly as planned.
- You can’t find all the queen cells at the day 9-10 check. Missing even one unwanted queen cell can lead to results you didn’t plan for — an extra unplanned queen, or continued swarming pressure the process was meant to resolve. A careful, unhurried inspection at this step matters more than speed.
- The colony seems confused or unusually agitated after a door change. Some disruption and reorientation behavior around the entrances is normal for a day or so after each change as returning foragers work out where to go — it typically settles once bees adjust to the current entrance configuration.
Practicality for Different Apiary Sizes
Because of the precise multi-day timing this method requires, it’s much more commonly used by beekeepers managing a small number of colonies who can commit to visiting on the specific days the sequence calls for, rather than by large commercial operations managing many hives across multiple sites, where that level of individual-colony scheduling attention becomes impractical at scale. For a hobbyist with one or a handful of hives who wants the specific flexibility this method offers — the option to end up with either one strong colony or two, decided partway through rather than committed to upfront — the time investment is generally very manageable. For a larger operation, simpler methods with less follow-up precision, like checkerboarding or straightforward splitting, tend to be more practical at scale.
Common Mistakes
| Mistake | Why it matters |
|---|---|
| Getting the initial box order wrong | The whole entrance-redirection logic depends on the queen’s box being below the excluder and the brood box being above the Snelgrove board — reversing this breaks the mechanism |
| Losing track of which doors should be open on which day | The sequence is precise and time-sensitive; write down the schedule before starting rather than trying to remember it |
| Missing queen cells during the day 9-10 check | Leftover unwanted queen cells can lead to an unplanned second queen or swarming from the upper box despite the process |
| Assuming it works the same as a Demaree or checkerboard setup | The mechanism (forager redirection vs. brood/queen separation vs. storage disruption) is genuinely different — don’t mix up the door sequence with a different method’s steps |
Sourcing or Building a Snelgrove Board
Snelgrove boards are sold by most established beekeeping equipment suppliers, typically sized to match standard Langstroth or National hive dimensions depending on your region and existing equipment. For beekeepers comfortable with basic woodworking, the design is also well documented enough to build one from scratch — a wooden frame holding two layers of mesh screen with a set of small hinged or sliding doors cut into three sides. Whichever route you take, the critical details are the double-screen center (a single screen layer isn’t enough to reliably block bee movement while still passing scent and warmth) and doors sized and positioned correctly on three edges to support the full entrance sequence described above — a mismatched or incomplete board will make the technique difficult to execute correctly regardless of how carefully the timing is followed.
Sources
Setup order and day-by-day door sequence reflect published UK beekeeping association guidance on the Snelgrove method, consistent with L.E. Snelgrove’s original swarm-control writing as documented and taught by regional beekeeping associations. For further verification, see University of Florida IFAS Extension’s Swarm Control for Managed Beehives guide.
FAQ
What is a Snelgrove board used for?
Swarm control, by separating a colony’s flying foragers from its nurse bees using a double-screen board with multiple closable entrances, opened and closed in a specific sequence over about 10 days.
How long does the Snelgrove method take?
The acute swarm-control phase runs about 10 days with two entrance-door changes. If making an increase (a new colony), a newly raised queen typically emerges and begins laying within roughly 14-16 days of the initial setup.
Does a Snelgrove board always create a new colony?
No — you choose. You can recombine the two boxes back into one strong colony once brood has emerged, or leave them separated to let the upper box develop into a genuinely new, independent colony.
Is the Snelgrove method harder than the Demaree method?
Generally considered more involved, since it requires precisely timed entrance-door changes over multiple visits rather than the more straightforward excluder placement and weekly cell checks the Demaree method uses.