Beekeeping at home is rewarding but can be stressful when pests invade. Summer weather often makes a hive vulnerable to an infestation of larvae that eat pollen and brood.
One small lapse can let moths lay eggs that destroy frames and foundation fast. Your bees may lose honey stores and the colony can suffer if boxes are left unchecked.
Cleaning equipment and restoring wood or plastic parts is a key way to protect colonies and prevent diseases. Freezers can kill eggs and larvae in a few hours, saving usable frames and other gear.
With steady care through the year, beekeepers can salvage many items and keep hives healthy. The steps that follow explain safe, practical methods to inspect, clean, and restore equipment after an infestation.
Key Takeaways
- Summer heat raises the risk of larvae and pests in unattended hives.
- Inspect frames and boxes regularly to spot eggs and brood loss early.
- Freezing affected equipment for several hours can stop infestations.
- Cleaning and repairing wood or plastic parts helps prevent diseases.
- Timely action preserves honey stores and supports healthy bee colonies.
Identifying Wax Moth Damage in Your Hives
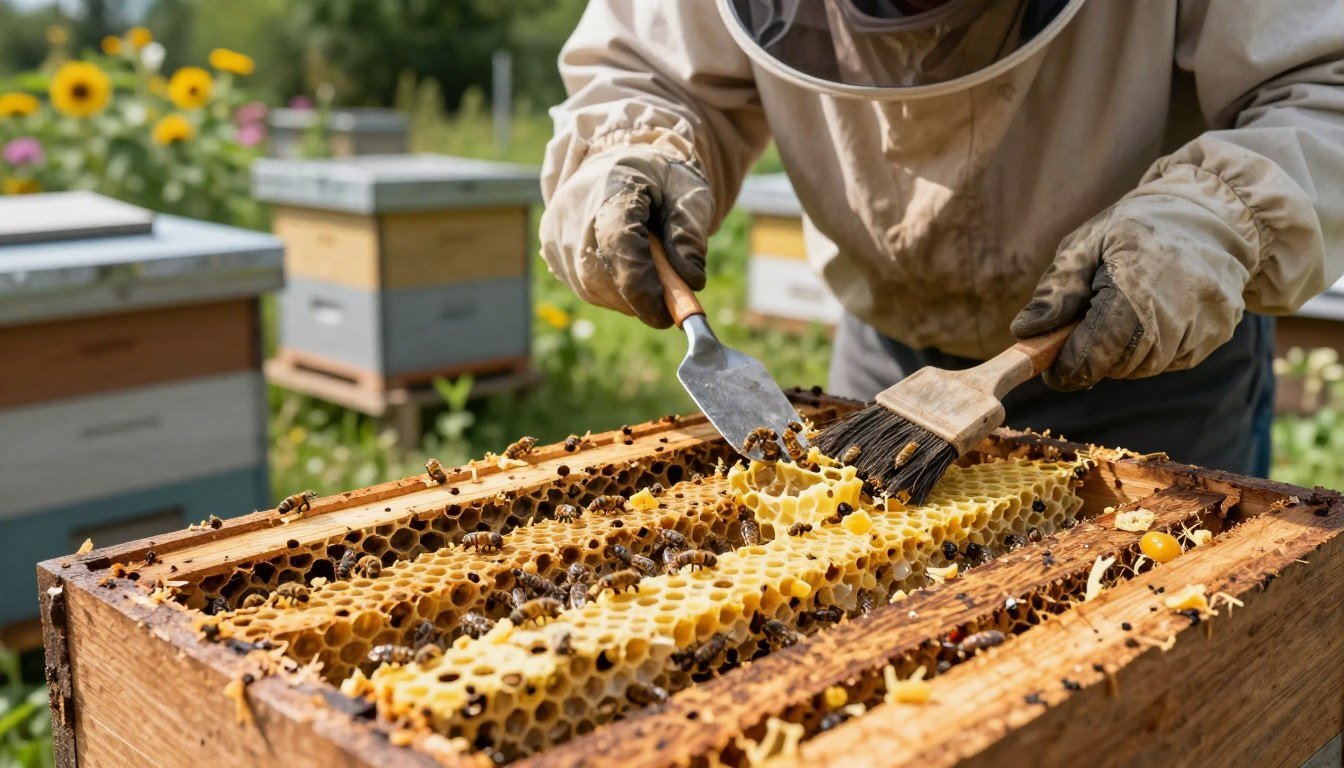
Early signs matter. A careful inspection can reveal whether pests have started to eat through comb and stores. Look for sticky honey, torn comb, or a sour, off-putting smell near your frames.
Signs of Infestation
Web-like silken tunnels on frames are a clear signal. You may also find scattered brood, hollow cells, and loose flakes of wax. Adult females lay eggs in crevices of the supers or on the foundation, so check box corners and frame edges.
- Sticky honey and broken combs.
- Silken webbing across cells.
- Off odors and scattered pollen or brood.
Understanding the Lifecycle
Wax millers—also called wax millers or web worms—grow fast in warm weather. Larvae chew through comb, pollen, and brood in a short time, and a weak colony with few bees is less able to defend its equipment.
“Act quickly: the lifecycle is rapid, and what looks small can become a large infestation in one season.”
For practical storage tips to protect your frames and equipment, see how to store frames to prevent.
Essential Steps for Reusing Hive Bodies After Wax Moth Damage
Tackle infested equipment one step at a time to limit spread and speed recovery.
Start by pulling the affected frames and sorting salvageable comb from ruined pieces. Place suspect frame material in a large freezer; expert Josh Vaisman recommends freezing infested comb for 24 hours to kill larvae and eggs.

Thorough cleaning follows. Scrape every inch of the boxes, supers, and bottom boards. Use a Clorox solution to disinfect surfaces and reduce the risk of future diseases.
Restore metal parts by cleaning copper caps with salt and lemon juice—it often outperforms store-bought cleaners. Ensure boxes fit tightly so adult moths cannot enter crevices and lay eggs.
“Treat frames promptly: freezing, scrubbing, and tight storage save equipment and give bees a quick path to repair comb.”
If you need help, call 970-392-4419 for pest prevention and hive health advice. For step-by-step cleaning and storage tips, read this guide on how to clean beehives and learn more ways to stop infestations at how to stop wax moth infestations.
Assessing the Salvageability of Infested Comb
Not every infected frame is a total loss—some combs can be restored with the right steps. Start by laying frames flat and checking for holes, webbing, and softened cells.
Evaluating Plastic Versus Wax Foundation
Plastic foundation often looks intact when the coating is gone, but bees will typically not rebuild comb directly on bare plastic foundation, says Josh Vaisman. If the wax has been eaten down to plastic, the frame is likely not salvageable.
With true wax foundation, bees can repair comb if holes are small. Large gaping areas or heavy silk and frass suggest replacement saves time and prevents reinfestation.
“Freezing frames for 24 hours kills larvae and eggs but will also kill brood.”
- Freeze questionable frames for 24 hours to eliminate eggs and larvae.
- Expect that freezing will kill any brood; adult bees will clean dead brood once returned.
- Decide whether repair takes less time than full foundation replacement.
| Material | Signs to Repair | When to Replace |
|---|---|---|
| Wax foundation | Small holes, light webbing, repairable cells | Wide gaping comb, heavy silken tunnels |
| Plastic foundation | Coated plastic with intact wax | Wax eaten to bare plastic; frame unsalvageable |
| General frames | Minor frass, localized infestation | Extensive frass, many destroyed cells |
Careful evaluation prevents returning pests to a healthy colony. For guidance on inspecting brood and framed equipment, see inspecting brood frames and options for repair at repair damaged boxes.
Long Term Prevention Strategies for Healthy Colonies
A few strategic changes around the apiary cut the chance of infestations and help colonies thrive. Small habits, done every season, add up to stronger bees and cleaner frames.
Maintain strong populations by moving boxes to sunnier spots and combining weak units into one vigorous colony. A larger, active colony defends comb and brood and reduces the chance that pests will settle.
Plant mint near your stands. The scent deters wax moths and creates a natural barrier. Also, keep equipment tight so adult moths cannot enter the bottom or sides and lay eggs.

Environmental Modifications
Store combs in a cool, well-ventilated building after a short freezer treatment to kill any remaining eggs or larvae.
Rotate placement around the property so colonies get sun and airflow. Sun-warmed boxes dry comb and make conditions less favorable for pests.
- Combine weak colonies to boost population and defense.
- Inspect frames regularly to catch diseases or early infestation signs.
- Reduce plastic use where possible to favor repairable foundation; see how to reduce plastic use in.
“Strong bees, good placement, and routine checks are the easiest ways to prevent future problems.”
For maintenance routines and lifespan advice on boxes and parts, consult the detailed guide on hive maintenance and repairs.
Conclusion
Recovering usable frames depends on a clear plan: inspect carefully, freeze suspect comb, clean thoroughly, and repair or replace parts as needed.
Freezing frames remains the most reliable nonchemical method to kill eggs and larvae quickly. Assess plastic foundations closely; they often need replacement when the coating is gone.
Keep colonies strong and compact to let bees defend their space. Simple environmental steps — plant mint, tighten boxes, and rotate or store frames properly — reduce risk long term.
For a practical, step-by-step freezing and treatment guide, see this resource on how to kill wax moths.