Reviewed by Thomas B. · Last Updated September 23, 2026 · How we review
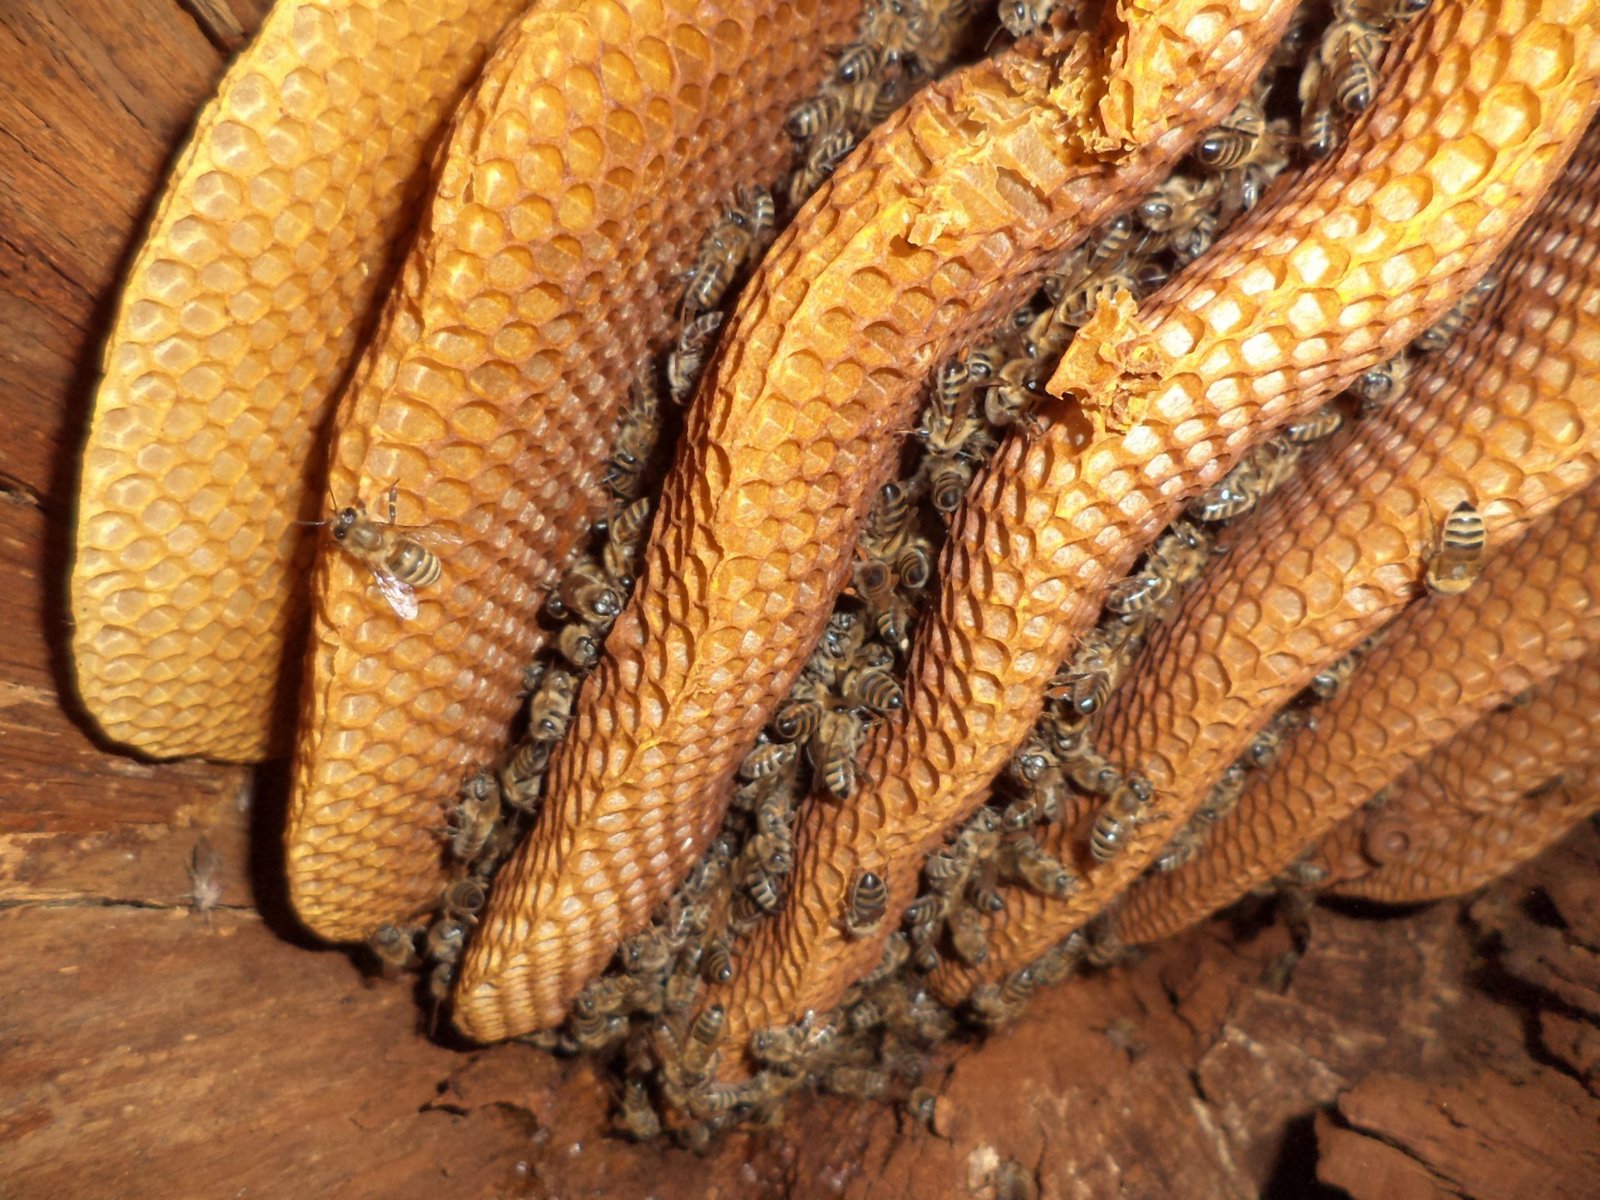
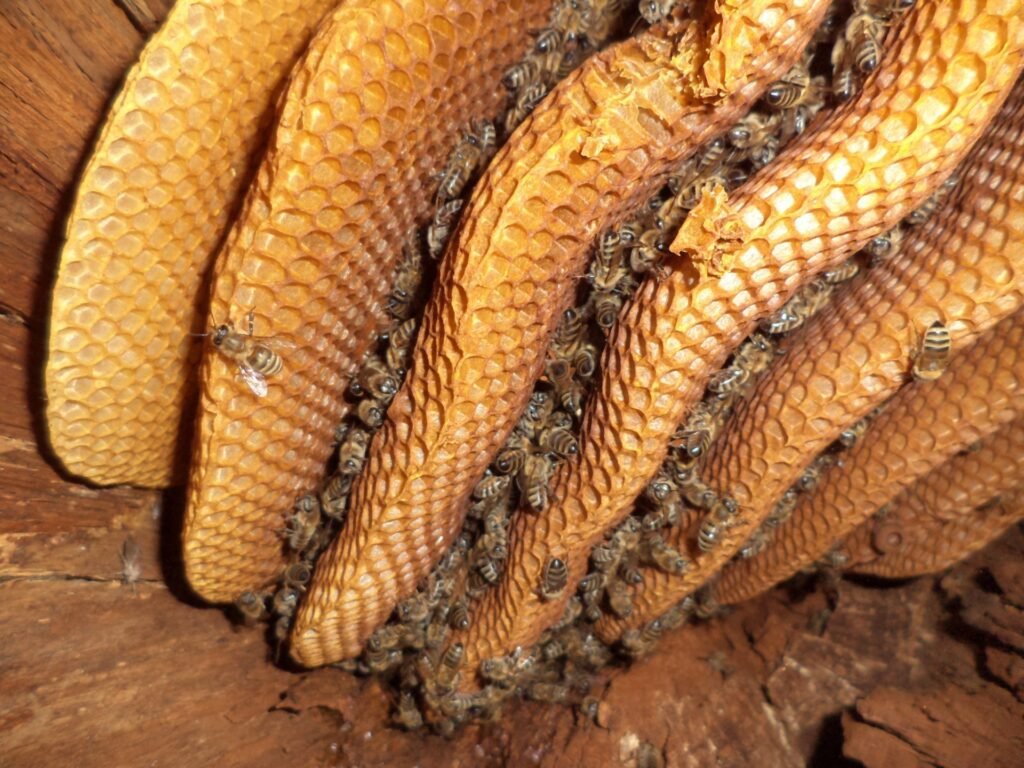
To frame wild comb, trim each piece to fit inside an empty frame, set it in the same way up it grew, and hold it with a cage of rubber bands until the bees fasten it to the wood. Bands run top to bottom around the frame, with a couple of long ones around the sides. Brood comb goes straight into the middle of the new brood box, because it chills fast. The bees attach the comb within days and chew the bands away over the next week or two. Comb that holds only honey doesn’t need framing. Take it for crush-and-strain instead.
This guide covers just the framing step: what to keep, how to cut it, how to band it and what happens afterward. For the whole job of opening a wall or tree and removing the colony, see our bee cutout guide.
Key Takeaways
- Frame the brood comb and some pollen comb. Honey-only comb can come out.
- Keep every piece the same way up it grew. Cells tilt upward about 13 degrees, so an upside-down piece leaks nectar and gets torn down.
- Pre-load the bands on the empty frames before you start cutting. It halves the time brood spends out of the cluster.
- Use plain frames with no foundation. Wired frames are fine and give extra support.
- Don’t use fishing line or nylon string. Bees can’t chew it out.
- Brood is temperature-sensitive. Pupae raised even a few degrees cool develop into poorer-performing adults, so work fast.
Table of Contents
What You Need
Set everything up before you cut the first piece. A cutout goes badly when brood comb sits on a board while you hunt for bands.
| Item | Why | Notes |
|---|---|---|
| Empty frames, no foundation | Comb sits in the open space | Wired frames are fine; the wires add support |
| Rubber bands, pre-loaded | Hold comb until bees attach it | Test one first: it should grip snugly without bowing the end bars |
| Long, thin knife | Clean cuts crush fewer cells | A bread knife works; dip it in warm water between cuts |
| Flat board or tray | Cutting surface | Lay the frame on it as a template |
| Hive body or nuc box, ready | Framed comb goes in immediately | Place it right beside where you’re working |
| Bucket with a lid | Honey comb and scraps | Keeps robbers off in a dearth |
Frame size matters less than you’d think, because most wild comb has to be trimmed anyway. Deep frames hold bigger pieces with fewer joins. Mediums are lighter and easier to band.
Which Comb to Frame and Which to Harvest
Not every piece is worth framing. Sort as you cut:
- Brood comb (eggs, larvae, capped brood): always frame it. This is the colony’s future workforce, and the reason the transfer is worth doing.
- Pollen comb: frame a few pieces and put them beside the brood. Nurse bees need protein right away.
- Honey or nectar comb: usually skip it. Betterbee’s guide to tying in comb says it plainly: “If the freeform comb is only filled with nectar or honey, you can just remove it.” Heavy honey comb is also the piece most likely to tear out of the bands. Crush and strain it, and feed the colony syrup for a week or two instead.
- Old, dark comb: it’s tougher than new white comb and bands well. It’s also the comb you’ll want to rotate out later.
- Fresh white comb: it’s very soft, especially on a hot day. Frame it only if it holds brood, and handle it flat.
If the colony has built comb inside a hive, crossing several frames, the same sorting applies. See how to fix cross comb in a hive for that version of the job.
Cutting and Banding, Step by Step
Step 1: Pre-load the frames
Slide four or five bands onto each empty frame so they run top to bottom and hang loose at the end bars. Add one or two longer bands running horizontally around the frame. When a piece of comb goes in, you only have to slide the bands across it. Pre-loading the bands, as Betterbee’s guide also recommends, is the single biggest time saver.
Step 2: Note which way is up
Before you cut a piece free, note which edge was attached at the top. Natural cells angle upward about 13 degrees from horizontal, which is what keeps nectar from running out. A piece framed upside down leaks, and the bees will often chew it back rather than repair it.
Step 3: Cut to fit
Lay the empty frame on the comb as a template and cut just inside the frame’s inner edges with a steady sawing motion. Aim for a snug fit, with straight edges touching the wood. The bees fasten comb to wood much faster where they touch. If you’re filling a frame with several narrow ribbons, start filling from the bottom bar up so each piece rests on the one below. Betterbee gives the same advice.
Step 4: Slide the bands across
With the frame lying flat, ease the vertical bands across the comb until they’re evenly spaced. Roll them rather than dragging, so they don’t scrape cappings. Then bring the horizontal band into place. The comb should not move when you tilt the frame gently.
Step 5: Hang it in the box at once
Put brood frames in the center of the new box, side by side, with pollen frames next to them. Fill the outer positions with empty drawn comb or empty frames. Keep frames snug together so bee space is correct; our guide to frame spacing for straight comb covers why. The queen belongs in this box too. If you haven’t found her, keep the brood frames together and the colony will settle around them.
For a demonstration, the Treatment-Free Beekeeping channel’s video How to Frame Loose Comb with Rubber Bands, with Solomon Parker shows the pre-loaded band technique on real cutout comb.
Why the Brood Can’t Wait
Once comb is cut out, the brood in it is outside the cluster that keeps it warm. Betterbee notes that “Brood needs a nearly constant temperature of between 91-94 degrees F.” Brood that is chilled badly enough dies outright. Brood that is only kept cool can still suffer. In a 2003 study published in PNAS, researchers at the University of Würzburg raised honey bee pupae at constant temperatures of 32, 34.5 and 36°C. Bees raised at 32°C performed only about 20% of the dance circuits of warmer-raised bees when they became foragers. Bees raised at 32 and 34.5°C also did significantly worse in a learning test (Tautz et al., 2003).

“This flimsy-sounding technique works very well and is easy to do.”
Betterbee, “Tying In Comb: A Way to Solve Problems”
In practice, that means framing brood comb within minutes, not stacking it up to do all at once at the end. It matters more in the northern Plains than in the South. In eastern North Dakota and western Minnesota, even a June evening can drop into the 50s °F, so plan cutouts for the warm middle of the day.
Alternatives to Rubber Bands
Rubber bands are the standard because they’re cheap, fast and the bees remove them. Other options work too:
- Cotton string or baling twine: wrap it around the frame in a spiral from one top-bar lug to the other. This is where the term “tying in comb” comes from. Bees chew natural fiber out, just as they do rubber.
- Nylon string or fishing line: avoid it. Bees can’t remove it, so it stays in the comb and can tangle bees.
- Wire-mesh “rescue bars”: some top-bar beekeepers fix a strip of welded wire mesh along the bar to grip comb. This makes sense for top-bar hives, where there’s no frame to band around. For more on that setup, see handling cross comb in top bar hives.
After the Transfer
Leave the colony alone for about a week. Betterbee suggests checking then, and by that time the bees have usually waxed the comb to the top bar and end bars and are chewing through the bands. At the check:
- Pull out any bands that have been chewed loose and dropped to the bottom board.
- Look for eggs. They confirm the queen made it through.
- Cut away any comb pieces that fell or were abandoned. Left in the hive, they attract wax moths and small hive beetles.
- Feed 1:1 syrup if there’s no nectar flow. The colony has lost its stores and much of its comb.
Framed wild comb is a bridge, not a permanent fixture. It’s often patchy, heavy in drone cells and difficult to inspect. Over the next season or two, move framed pieces to the edges of the brood box as the colony draws new comb, then remove them. Our guide on how often to replace old brood comb covers the rotation.
One legal point if you’re keeping the colony in North Dakota: anyone keeping even one colony must hold a state beekeeper’s license, register every hive location, and post a sign with their name, phone number and beekeeper ID in each yard (North Dakota Department of Agriculture). A rescued colony counts.
Frequently Asked Questions
How long does it take bees to attach comb to a frame?
The bees usually start fastening comb to the wood within a few days. It’s typically secure within about a week, by which point they’re chewing the bands away.
Do I have to remove the rubber bands?
No. The bees chew through them and carry the pieces out or drop them on the bottom board. Clear out any loose pieces you find at your first inspection.
Should I frame comb full of honey?
Usually not. It’s heavy, likely to tear out of the bands, and the colony can do without it if you feed syrup. Crush and strain it instead.
Can I rubber-band comb into frames with foundation?
No, the comb needs the open space inside the frame. Use empty frames. Wired frames without foundation are ideal, because the wires give the comb something to rest against.
What size rubber bands work for deep frames?
Any band long enough to stretch around the frame snugly without bowing the end bars. Beekeepers report using everything from standard office bands to extra-long ones. Test a band on an empty frame before the day of the cutout.
Why is the comb I framed being torn down?
Usually because it was framed upside down, it’s honey comb the bees are emptying, or it was badly crushed. Bees remove comb they can’t use. That’s normal as long as the brood pieces are kept.
The Bottom Line
Rubber-banding comb into frames is simple. The key is doing it fast and the right way up. Set the frames up with bands before you cut, frame brood first, skip the honey, and get the framed brood into the cluster within minutes. The bees attach the comb within a week, remove the bands themselves, and give you a colony you can inspect. Rotate the framed comb out over the next season or two.