Reviewed by Elena P. · How we review
Managing frame feeder leaks and wax buildup is critical for healthy colonies. A wet hive can chill the brood and cut honey production. Small faults in a jar or feeding tool often start simple problems that grow fast.
Use sturdy equipment and keep access clear to prevent syrup from flooding the nest. Use a well-designed plastic lid or box to keep liquid away from comb and rearing areas.
Quick action preserves food access and lowers the risk of drowning for bees. Regular checks of the hive entrance, placement of feeders, and proper maintenance of frames help sustain growth and productivity through spring.
Key Takeaways
- Fixing leaks early protects the brood and honey stores.
- Use solid lids or boxes to stop syrup from flooding the nest.
- Simple jar or tool faults can cause big problems if ignored.
- Routine maintenance keeps bees safe and feeding steady.
- Reliable equipment supports colony growth and productivity.
Table of Contents
- Understanding Internal Frame Feeders
- Troubleshooting Frame Feeder Leaks and Wax Buildup
- The Role of Proper Hive Placement
- Managing Syrup Ratios for Seasonal Success
- Preventing Drowning with Ladder Systems
- Routine Maintenance and Cleaning Protocols
- Addressing Wild Comb and Propolis Accumulation
- Evaluating Different Feeder Designs
- Best Practices for Refilling Reservoirs
- Strategic Feeding for Colony Growth
- Conclusion
- FAQ
Understanding Internal Frame Feeders
An in-hive feeding solution replaces a standard board to let the colony reach food safely during cool weather.
Design Characteristics
These units fit into the hive by taking the spot of one regular frame. The design gives direct access to syrup inside the box. Durable plastic construction resists warping and saves time on maintenance.
Benefits for Brood Rearing
Keeping syrup inside helps the cluster stay warm. That warmth supports the queen and encourages steady egg laying in early spring.
“Internal feeders reduce robbing risks and help maintain hive temperature.”
- Protects honey stores by keeping liquid within the hive.
- Enables uninterrupted feeding without opening the top.
- Simplifies refill cycles and lowers disturbance to the brood.
| Feature | Benefit | Practical note |
|---|---|---|
| In-hive fit | Direct access for bees | Replaces one standard frame |
| Plastic body | Durable and easy to clean | Suitable for repeated seasonal use |
| Internal reservoir | Keeps syrup warm | Supports brood rearing in spring |
For a hands-on review and product options, see the beekeeping frame feeder guide.
Troubleshooting Frame Feeder Leaks and Wax Buildup
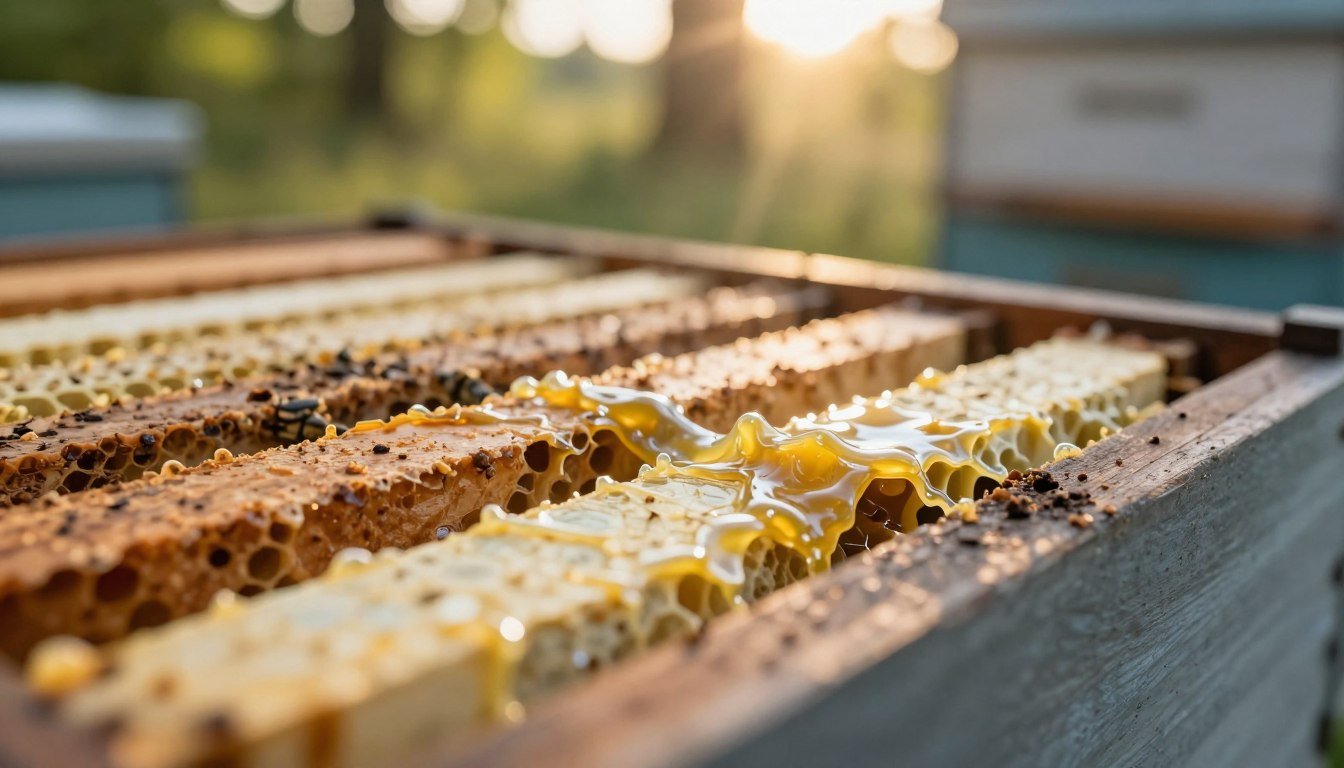
Detecting wet spots near the nest early keeps sugar syrup from spreading across comb and chilling the colony.
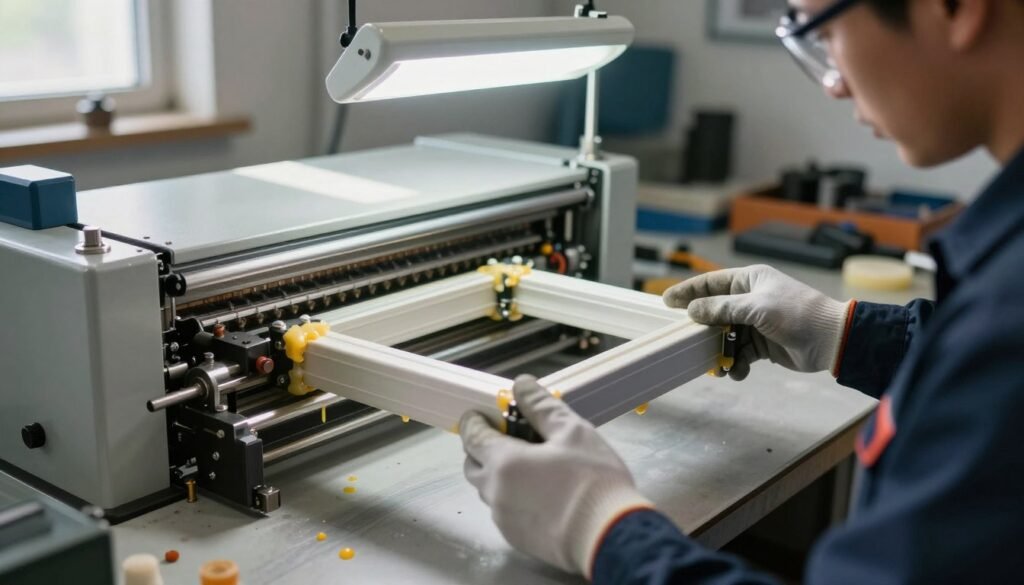
Inspect seating first. A unit meant to replace a standard frame must sit flush inside the brood nest. If it shifts, syrup can reach the cluster and cool brood rearing.
Check for extra space around the edges. Excess room invites unwanted comb construction. A snug design limits wild comb and restores proper access.
- Look at plastic seals and the lid for cracks in any jar or box.
- Ensure the top access sits level to avoid drips onto bees.
- Perform routine maintenance every refill to reduce risk in spring.
| Issue | Quick check | Fix |
|---|---|---|
| Syrup on comb | Inspect seating in brood nest | Reseat unit and tighten lid |
| Unwanted comb | Measure gaps around unit | Use spacer or replace with snug design |
| Cracked plastic | Visual seal inspection | Replace part or full equipment |
Regular checks keep bees healthy and honey stores safe.
The Role of Proper Hive Placement
Hive placement near morning sun and shelter from wind makes a big difference in brood rearing success. A sunlit, protected site helps bees warm the cluster faster and fuels early feeding activity.
Optimizing for Temperature Regulation
Choose a level, stable base so your feeder sits true and the jar or box does not tilt. A level hive reduces the chance of syrup spilling into comb and wetting the brood.
Face the entrance toward morning sun when possible. This gives the colony quick warmth at daybreak, which boosts food transfer and honey processing in spring.
Shelter the hive from cold winds but keep airflow to prevent moisture buildup. Good placement lowers routine maintenance and reduces the risk of damp inside the box.
| Placement Factor | Benefit | Practical tip |
|---|---|---|
| Morning sun exposure | Faster cluster warming | Orient entrance east or southeast |
| Level foundation | Stable syrup access | Use concrete blocks or adjustable stands |
| Wind protection | Lower moisture risk | Place near a hedge or windbreak |
| Good ventilation | Healthy brood rearing | Keep top vents clear; avoid sealed boxes |
For seasonal feeding practices that pair with smart hive making, see this guide on feeding the bees in fall.
Managing Syrup Ratios for Seasonal Success
Adjusting syrup strength to the season is a simple way to match hive nutrition to colony needs.

Spring: Use a 1:1 sugar syrup to encourage brood rearing. This mix gives the queen quick energy. Bees process this syrup fast while the colony builds.
Fall: Shift to a 2:1 sugar syrup to help bees store honey for winter. Thicker syrup converts to longer-lasting stores. This approach improves survival rates during cold months.
- Consistent feeding strategy means matching ratios to season and colony strength.
- Always clean equipment before refilling to avoid fermentation and preserve bee health.
- Monitor stores; reduce feeding when natural nectar flows start.
Good ratio management is a core beekeeping skill. For related comb issues and advice on encouraging drawing, review reasons bees won’t draw comb.
Preventing Drowning with Ladder Systems
A well-designed access ladder can cut drowning losses while keeping food available to the colony.
Open trough designs give direct access but raise the risk of bee mortality. Shallow troughs without textured surfaces let workers slip and fall into sugar syrup.
Open Trough Designs
Pros: easy to fill and inspect. Cons: higher risk unless fitted with textured inserts or escape rails.
Modern Float Mechanisms
Modern units use floats, textured plastic ramps, or ladder inserts to create dry footholds above syrup. These features let bees drink safely and climb out.
- Position the ladder correctly each refill so bees can reach a dry surface.
- Inspect ramps during routine checks to ensure the system stays secure.
- Choose equipment with textured surfaces or floaters to reduce mortality.
| Design | Safety | Maintenance |
|---|---|---|
| Open trough | Moderate without inserts | Frequent checks; add texture |
| Float mechanism | High when functional | Inspect seals and floats |
| Ladder insert | High | Position at fill; clean regularly |
Routine Maintenance and Cleaning Protocols
Small, regular cleanings can save a colony from disease and food spoilage. When you open a hive, take a quick look at the feeding unit, the lid, and nearby frames for debris that blocks access.
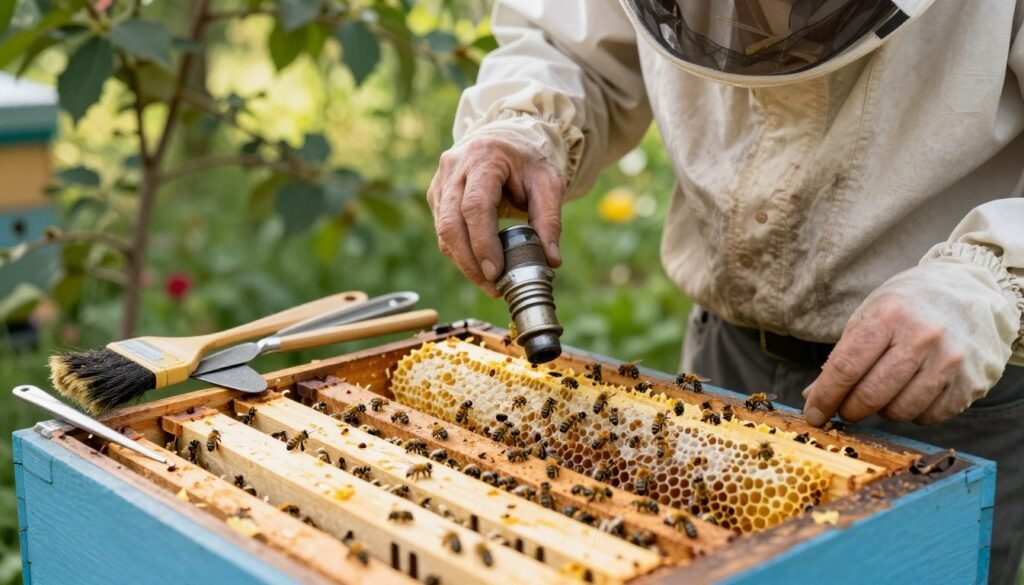
Equipment made of durable plastic needs less effort but still needs checks. Wipe visible residue after each refill. If the reservoir sits empty for days, remove it and clean before reuse.
Do a deep clean with hot water at least once a year. This prevents fermentation and mold that harm bees and reduce honey quality.
- Inspect frames and the feeding area on every hive check.
- Sanitize tools between colonies; see how to sterilize hive tools.
- Keep sugar syrup fresh; discard old mixes and rinse before refilling.
Beekeepers who follow strict protocols protect their hive health, keep bees productive, and ensure honey stays clean for harvest.
Addressing Wild Comb and Propolis Accumulation
Sticky propolis and stray comb often form where the lid meets the hive and between adjacent frames. These deposits make inspections slow and can jam a feeding opening.
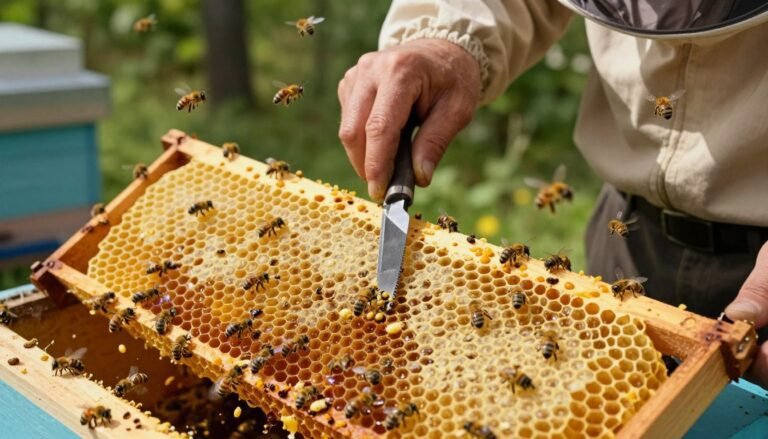
During regular checks use a hive tool to scrape clear areas around the equipment. Work gently to avoid crushing bees near the entrance.
Removing Debris During Inspections
Inspect each frame edge and the lid gap. If bees build comb inside a feeder space, refilling gets hard and syrup may pool, raising drowning risk.
- Clear propolis lumps so you can lift and clean frames without damage.
- Trim or remove wild comb that blocks narrow access paths.
- Sanitize tools and parts between uses; follow a trusted beginning beekeeping guide for basics.
Small, steady attention to these details keeps your hive in good order. For cleaning advice after colony loss, review this clean plastic foundation guide.
Evaluating Different Feeder Designs
Selecting the right feeding solution can cut maintenance time and protect colony health.
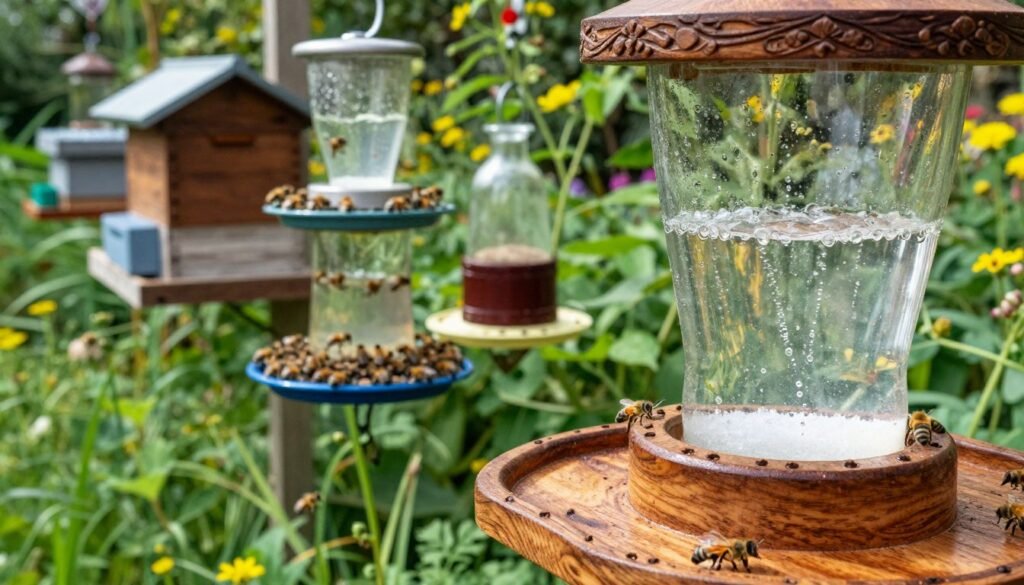
Look for designs built from durable plastic. These last through seasons and resist warping in a wet hive. Durable parts save money and lower replacement needs.
A unit that fits into a standard slot lets beekeepers swap it for regular frames without extra boxes. That interchangeability keeps inspections quick and lowers disturbance for the bees.
Capacity matters. Compare volume so the hive has enough syrup during peak feeding. Too small means frequent refills. Too large adds weight and cleaning time.
- Choose easy-clean surfaces to cut time at each refill.
- Prefer safe access features that let bees drink without slipping.
- Pick equipment that balances capacity with simple maintenance.
| Design | Key benefit | Practical note |
|---|---|---|
| In-hive unit | Replaces a regular frame for direct access | Fits standard hive layouts; simple to install |
| Top-mounted tank | Large capacity for long flows | Easier fills but needs secure sealing |
| Shallow trough | Low drowning risk when textured | Best for small colonies; clean often |
Best Practices for Refilling Reservoirs
Use the right tool when adding sugar syrup to the hive. A pump or specialized refill device lets you add syrup without opening the box fully. This reduces disturbance and keeps workers calm.
Never top off old syrup with fresh batches. Mixing new and aged syrup invites fermentation that harms bees and spoils honey stores. Empty and clean the reservoir before refilling when possible.
Check the ladder system each refill. Remove any debris and confirm textured surfaces are secure. A clear ladder reduces drowning and helps access during feeding.
- Prepare fresh syrup in a clean container.
- Use a pump to place liquid into the reservoir gently.
- Inspect seals and the ladder after filling.
- Record the refill date and plan the next check.
Consistent schedules keep food available and support steady colony growth. Beekeepers who track fills cut waste and protect equipment over time.

| Task | Why it matters | Quick tip |
|---|---|---|
| Use a pump | Limits hive disturbance | Choose a hand or battery pump for control |
| Empty before refill | Prevents fermentation | Rinse reservoir with hot water |
| Inspect ladder | Reduces drowning risk | Clear debris and secure textured inserts |
| Log refills | Improves feeding timing | Note date, syrup ratio, and observations |
Strategic Feeding for Colony Growth
A targeted feeding plan gives your colony the steady energy it needs through critical seasonal shifts. Use a clear feeding strategy to time syrup additions during nectar gaps and support brood expansion.
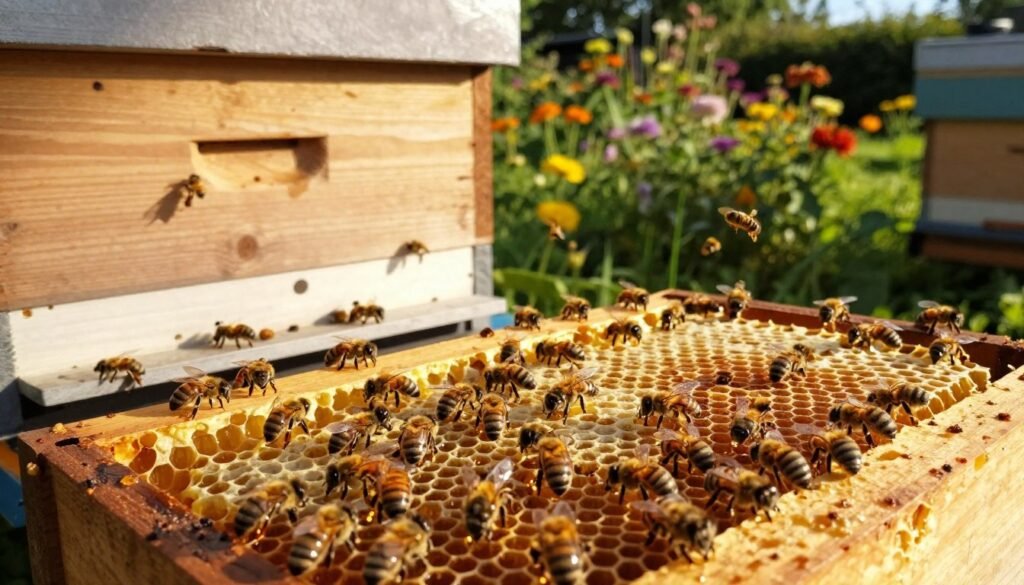
Provide fresh sugar syrup at predictable intervals so the queen increases laying and the hive builds stores for honey production. Watch consumption rates and raise or lower feeds based on how fast workers take the syrup.
Use your hive tool to inspect nearby frames and confirm bees have access to the reservoir. Small, regular checks reveal whether a ladder, textured insert, or updated equipment will improve access and reduce losses.
“Consistent, well-timed feeding supports brood rearing and long-term hive productivity.”
For techniques that cut robbing and keep service safe, review guidance on feeding without causing robbing. Invest in quality feeders and follow best practices to grow a healthy, productive apiary.
Conclusion
Clear end-of-guide advice helps beekeepers turn checks into a steady habit that protects the colony and boosts harvests. Use quality equipment and a simple maintenance plan to keep things running smoothly.
Address small faults early to avoid syrup spreading, brood chill, or unnecessary losses. Proper site choice and seasonal syrup mixes support long-term hive health.
Keep a short cleaning routine and inspect access systems to prevent drowning and fermentation. For practical product options, learn more about safe bee feeders.
Follow these steps to streamline your routine and raise healthier, more productive hives.
FAQ
What causes internal feeder syrup to spill into hive boxes?
Syrup spills most often when placement is uneven, seals fail, or vents ice over. Use a level surface and check lids and seals before adding food. Durable plastic reservoirs with tight lids and well-fitted access ports reduce movement and prevent unwanted waste inside the brood nest.
How can I avoid drift of sugar syrup into comb and brood areas?
Keep syrup concentrations appropriate for the season and use feeders designed to reduce flow. A shallow trough or capped reservoir slows migration. Maintain an even temperature in the hive so syrup viscosity stays stable and bees store less liquid inside brood areas.
What syrup ratio should I use in spring versus fall?
In spring, a 1:1 sugar-to-water mix supports brood rearing and stimulates foraging. In fall, a thicker 2:1 mix helps bees store reserves for winter. Adjust ratios for local nectar flows and colony strength to avoid fermentation or excess moisture.
Are ladder systems effective in preventing bee drowning in feeders?
Yes. Ladder or ramp inserts give bees a dry route to feed and reduce losses. Open trough designs combined with modern float mechanisms or textured surfaces help bees stay safe while they eat liquid food.
How often should I clean internal reservoirs and access ports?
Inspect reservoirs at least every two weeks during feeding periods and clean at first sign of residue, fermentation, or propolis buildup. Rinse with warm water, scrub with a non-toxic brush, and air-dry. Regular maintenance extends equipment life and keeps colonies healthy.
What is the best way to remove wild comb and propolis without harming the colony?
Remove debris during inspections using a hive tool and gentle brushing. Warm the hive slightly to soften propolis for easier removal. Work quickly to limit stress on the queen and cluster. Store removed comb for rework or proper disposal.
Which feeder designs minimize robbing and ant access?
Top-mounted internal reservoirs with small entrance holes, screened bottom boards, and guarded ports reduce robbing. Add ant guards to external access points and choose containers with narrow passages so guard bees can defend food sources.
Can feeder parts be replaced with off-the-shelf durable plastic components?
Yes. Many beekeepers retrofit jars, buckets, or molded plastic parts to match hive dimensions. Choose food-grade, UV-stable plastics and ensure tight seals. Properly fitted components avoid gaps that allow syrup migration or pest entry.