Most wooden beehive frames go together with wood glue and small nails, not screws, so you might wonder why a drill matters. A cordless drill earns its place in three jobs. It bores pilot holes where thin frame parts tend to split. It drives screws for repairs and for assembling hive boxes. And it drills or cleans out wire holes in the end bars. The “best” bit for frame work is therefore not one bit. It is a small set, sized to the nails and screws you actually use.
This guide explains where drilling helps in frame assembly, how to match a bit to your fasteners, and which bit types are worth keeping in the frame-building box.
Key Takeaways
- Standard frames are assembled with glue and nails. A drill is for pilot holes, screws and wire holes, not for every joint.
- Splits usually start where a nail goes in close to the end of a thin piece, such as the top of an end bar or near the ears of a top bar.
- Size a pilot bit to the fastener: slightly smaller than a nail’s shank, and matched to the core of a screw.
- A brad-point wood bit starts cleanly without wandering. Ordinary twist bits also work if you mark the spot first.
- Keep 1/4-inch hex driver bits that match your screw heads, and run the drill slowly with a low clutch setting in soft pine.
Table of Contents
- What a Frame Is Made Of
- Why Frame Parts Split and How Pilot Holes Help
- Matching the Bit to Your Fasteners
- Drilling for Wired Foundation
- Screws or Nails?
- A Simple Frame-Building Workflow
- Safety
- Conclusion
- FAQ
What a Frame Is Made Of
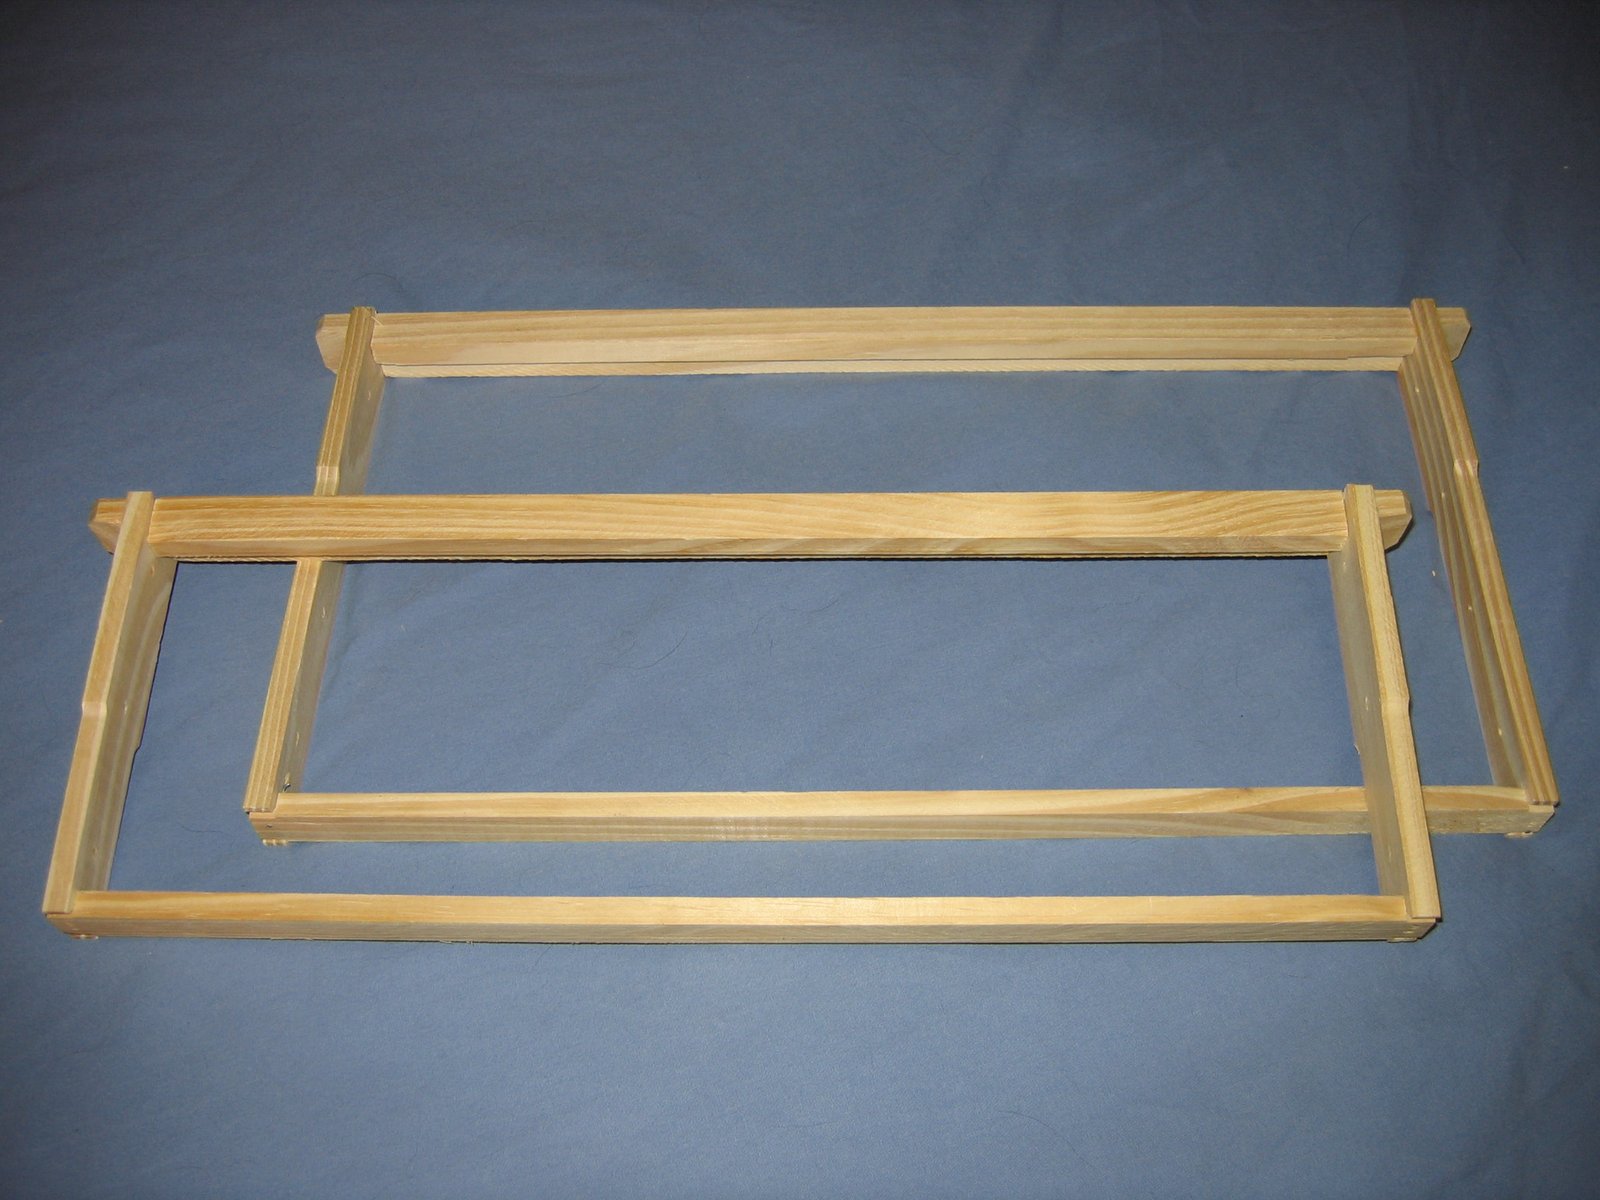
A Langstroth frame has four main parts: the top bar, whose ends (the “ears” or lugs) rest on the frame rests of the box; two end bars (also called side bars); and a bottom bar, sometimes supplied as two split pieces. If you are still deciding whether to build frames at all, see Beginner’s Guide: Assembled vs Unassembled Frames.
A typical nailing pattern, as shown in Carolina Honeybees’ frame assembly guide, is:
- Spread wood glue in the joint where each end bar meets the top bar.
- Nail the bottom bar to each end bar with two small nails per end.
- Turn the frame over and nail through the top bar into the end bars at the notches.
- Optionally, add a nail through the end bar into the top bar for extra strength.
That guide notes that the nail only needs to be long enough to join the parts and thin enough not to split the wood. It also mentions that some beekeepers use nail guns to speed the job up, which helps most in a large apiary.
Nail patterns vary. UK beekeeper Dave Cushman’s frame assembly page argues against driving a nail straight down through the top bar into the end grain of the side bar. The nail head gets in the way when you scrape burr comb off the top bar with a hive tool, and end grain holds a nail poorly (Dave Cushman: Correct Assembly of Bee Hive Frames). Follow the pattern your frame supplier recommends. Just keep nail heads flush and away from the surfaces your hive tool scrapes.
Why Frame Parts Split and How Pilot Holes Help
Frame parts are thin, and most are softwood. When a nail goes in close to the end of a piece, it wedges the fibers apart and the wood splits along the grain. The weak spots are:
- the upper, wide part of the end bar, where nails pass close to its end
- the top bar near the ears, especially on grooved or thin top bars
- the ends of the bottom bar
- any part that is dry, brittle or has a knot near the nail line
A pilot hole removes some of the wood the nail would otherwise push aside. For nails, use a bit a little smaller than the nail’s shank, so the nail still grips. For screws, the pilot should match the screw’s core (the solid shaft inside the threads). Where you need to pull two parts tight together, drill a clearance hole through the top piece. Drill only as deep as the fastener will reach.
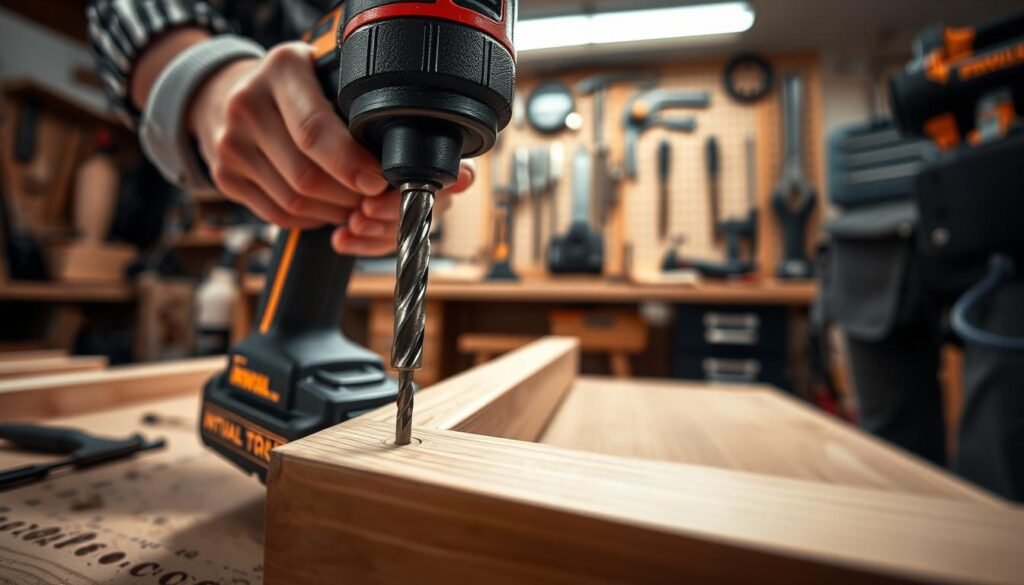
You don’t need to pre-drill every hole. On a well-made frame, glue plus correctly sized nails often goes together without splits. A practical approach is to build a test frame first. If one spot splits repeatedly, pre-drill only that spot on the rest of the batch.
Matching the Bit to Your Fasteners
Don’t guess the bit size from a chart. Check it against the fastener you are using:
- Nails: hold the bit directly behind the nail’s shank. The right pilot bit is just hidden behind the shank, not wider than it.
- Screws: hold the bit behind the screw. You should still see the threads on both sides, but not the solid core.
- Test in scrap: drill and drive into an offcut or a spare end bar before you start the batch.
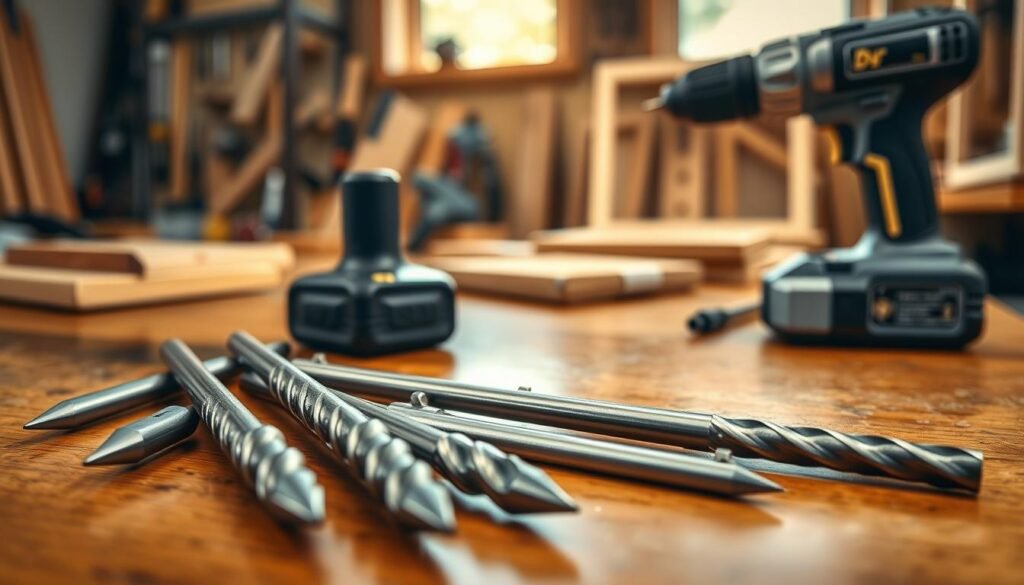
| Bit type | Use in frame and hive work | Notes |
|---|---|---|
| Brad-point wood bit | Pilot holes in end bars, top bars and bottom bars | The center spur locates the hole and stops the bit wandering on narrow parts |
| Standard twist (HSS) bit | Pilot holes; cleaning out or re-drilling wire holes | Cheap and widely available; mark or dimple the spot first so it doesn’t skate |
| Countersink / pilot combination bit | Screws in hive boxes, repairs and stands | Sets screw heads flush so they don’t snag the hive tool |
| 1/4-inch hex driver bits | Driving screws with a drill or impact driver | Match the bit to the screw head (Phillips, square or Torx) to avoid cam-out |
Because frames are small, a compact cordless drill with an adjustable clutch is easier to control than a large hammer drill. Set a low speed for pilot holes in thin parts and a low clutch setting when driving screws into pine, which strips easily.
Drilling for Wired Foundation
If you use wax foundation, the end bars need horizontal wires to support it. Most commercial end bars come with the wire holes already drilled. Mann Lake’s instructions have you press brass eyelets into the pre-drilled holes on the side of the end bar with an eyelet punch. You then run tinned wire through them and tie it off around small nails set halfway into the end bar, pulling it tight with needle-nose pliers before driving the nails home. Deep frames get this wiring step done twice (Mann Lake: How to Cross Wire Foundation).
A drill comes in only when a hole is missing, blocked with glue, or you are making your own end bars. In that case:
- Use a spare factory end bar as a template so the holes line up with the rest of your frames.
- Drill straight through the thickness of the end bar, supporting the back with scrap wood to prevent tear-out.
- Choose a bit that fits the eyelets you use. The eyelet should press in snugly, not drop through.
For the rest of the process, see Step-by-Step Guide: Wiring Wax Foundation. Plastic foundation in grooved frames does not need wiring. Grooved Top Bar vs Wedged Top Bar Frames explains how each top bar style holds foundation.
Screws or Nails?
For new frames, glue and nails are standard. They are quick and hold well, and the frame can still be taken apart later. Screws are more useful for:
- Repairs, such as re-attaching a loose end bar or reinforcing a cracked top-bar ear. Always pre-drill, because the wood near a break is already weak.
- Hive boxes, where screws in pre-drilled holes help keep finger joints tight as the wood swells and shrinks.
- Frame jigs, stands and other apiary woodwork.
A Simple Frame-Building Workflow
- Sort the parts and discard any with cracks or large knots near the joints.
- Set up a frame jig or a flat, square surface so frames go together true.
- Build one test frame to see where splits happen.
- Pre-drill only the spots that split, using a bit matched to your nails.
- Glue, nail, and check each frame for square.
- Install eyelets and wire, or fit plastic foundation, once the glue has set.
Common mistakes at the foundation stage are covered in Top 5 Foundation Installation Mistakes Beginners Make.
Safety
Wear eye protection when drilling. Small frame parts can spin if the bit catches, so clamp them or hold them in a jig rather than in your hand. Keep fingers clear of the line of the bit. Remove the battery before changing bits.
Conclusion
Frame assembly is mostly glue and nails. A cordless drill makes it cleaner by preventing splits in end bars and top bars, driving screws for repairs and boxes, and fixing missing wire holes. Keep a small set of brad-point or twist bits matched to your own nails and screws, plus driver bits that fit your screw heads. Test on a scrap piece first and pre-drill only where the wood tells you to.
FAQ
Do I need a drill to assemble beehive frames?
No. Most wooden frames are assembled with wood glue and small nails, either by hammer or nail gun. A drill is useful for pilot holes where parts split, for driving screws during repairs, and for re-drilling missing or blocked wire holes.
What size drill bit should I use for frame nail pilot holes?
Match the bit to your nail rather than a chart: it should be slightly smaller than the nail’s shank so the nail still grips. Hold the bit behind the nail; if the bit is hidden behind the shank, it is about right. Test on a scrap piece first.
Why do my frame end bars keep splitting?
Nails driven close to the end of a thin softwood piece wedge the fibers apart. Nails that are too thick, dry or brittle wood, and knots near the nail line make it worse. A pilot hole at the problem spot, or a thinner nail, usually solves it.
Is a brad-point bit better than a regular twist bit for frames?
A brad-point bit has a center spur that locates the hole and resists wandering, which helps on narrow frame parts. A regular twist bit works too if you mark or dimple the spot first and start at low speed.
Do I need to drill holes for frame wires?
Usually not. Most commercial end bars come with the wire holes pre-drilled, and you only press eyelets into them. You only need to drill if a hole is missing or blocked, or if you make your own end bars. Use a factory end bar as a template.
Should I use screws instead of nails on frames?
For new frames, glue and nails are standard and quicker. Screws are better for repairs and for hive boxes. Always pre-drill for screws in thin frame parts, and use driver bits that match the screw head.