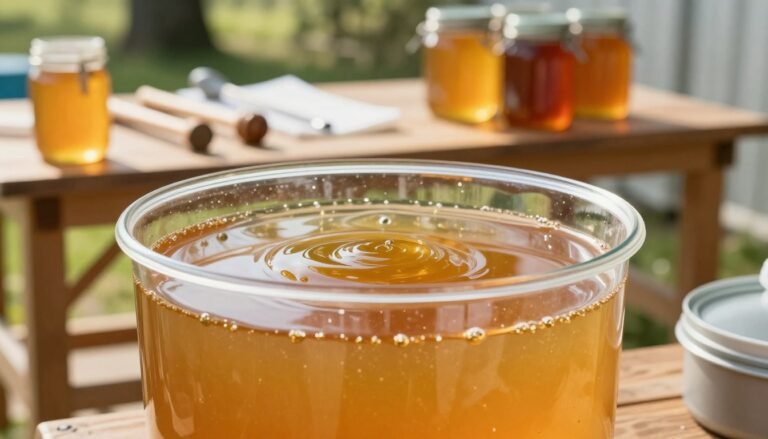
Proper moisture content in capped comb frames is vital for safe storage and great flavor.
Professional beekeepers know that controlling water in the hive prevents unwanted fermentation and preserves honey quality. Bob Binnie of Blue Ridge Honey Company stresses measurement and timely action.
Use a quality refractometer and dry equipment when testing extracted product. In humid regions, a dehumidifier or climate-controlled room helps lower levels. Simple stirring and steady air flow speed evaporation without overheating.
For practical tips on handling wet frames and post-harvest steps, see this wet-honey solutions.
Key Takeaways
- Measure moisture content with a refractometer before bottling.
- Keep hives dry to limit fermentation risks.
- Use dehumidifiers and airflow to stabilize honey moisture.
- Monitor temperature and wax exposure year-round.
- Prioritize hive health to ensure consistent honey quality.
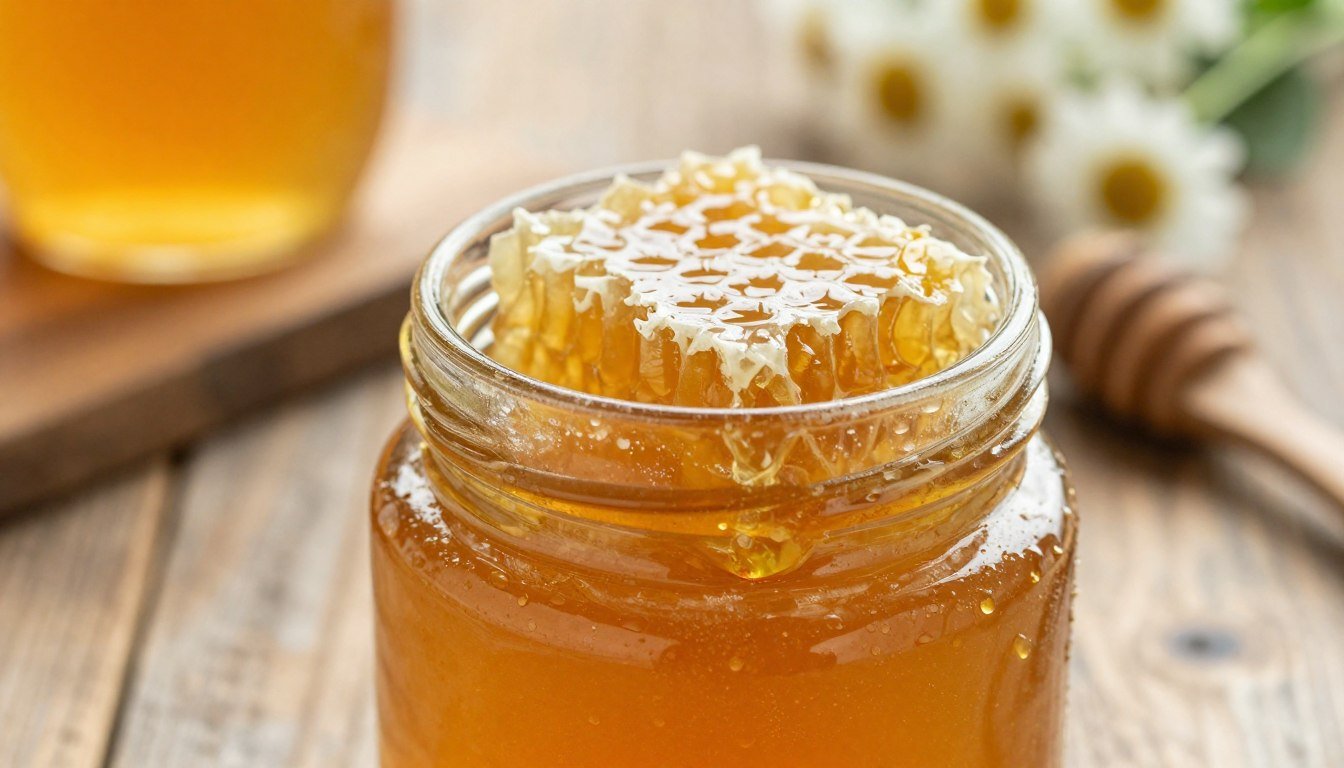
Why Capped Honey Can Still Have High Moisture
Sealed comb may still hold extra water trapped beneath thin wax lids. That trapped water explains why capped frames sometimes test above safe levels despite appearing fully finished.
The Science of Wax Cappings
Wax cappings are porous at a microscopic level. Bees deposit a thin layer that looks impermeable, yet evaporation continues slowly through wax. A strong hive left on lean rations once showed frames capped for months but tested just under 14 percent content — proof that time and colony behavior matter.
Understanding Diffusion Rates
Diffusion of water through wax is notoriously slow. After a heavy flow, capped comb may retain excess water for days or weeks. That delay forces beekeepers to decide between leaving supers to finish or harvesting mixed frames and risking fermentation.
- Frames fully sealed do not always equal stable product.
- Humidity and air flow in the hive affect final water levels.
- Fermentation risk rises above 19 percent content, so careful testing is essential.
For practical extraction tips that protect quality and avoid overheating, see avoiding overheating during extraction.
The Role of Refractometers in Quality Control
A handheld refractometer turns sampling into a precise step before packing jars for sale. It reads the refractive index and reports exact water content, so producers know the batch meets safety targets.
Use a calibrated unit — plastic or metal — to keep readings dependable. Calibration is simple but vital. Incorrect setup leads to bad data and lost product.
Collect a representative sample in a clean bucket to test blended lots rather than single frames. That gives a true picture of the moisture level across the batch.
“A reliable refractometer is one of the most important tools for beekeepers who want consistent honey quality across all jars.”
| Tool | Material | Key Benefit | Typical Use |
|---|---|---|---|
| Handheld refractometer | Plastic/Metal | Fast, portable readings | Field checks & bucket samples |
| Digital refractometer | Metal | High precision, easy readout | Lab-grade testing before bottling |
| Hydrometer | Glass/Plastic | Simple density checks | Quick verification |
| Calibration kit | Various | Ensures accurate results | Before each testing session |
For step-by-step testing guidance, see this practical guide on a handheld tester and a how-to for hive sampling: handheld refractometer FAQ and hive sampling methods.
Environmental Factors Influencing Honey Moisture
Air humidity and steady temperature control determine whether uncapped frames finish drying on the hive. Both outdoor conditions and the honey house matter for final content and quality.

Impact of Humidity and Temperature
High humidity in the environment prevents bees from drying nectar. That raises the moisture content in an uncapped frame and increases fermentation risk.
Maintaining a consistent temperature in your processing area helps control the air level around supers. In a sealed shipping container, for example, 30% relative humidity and 85–92°F are achievable with a dehumidifier and proper heat control.
- Monitor weather each year to pick the best harvest window.
- If supers sit in a damp room, water will be absorbed from the air and spoil quality.
- Beekeepers in humid states often must delay or alter harvest plans to avoid losses.
For more on factors that influence water content and practical testing methods, see this guide on water content factors and a simple approach to field testing at hive testing without instruments.
Techniques for Reducing Moisture Content in Comb
Effective drying starts with steady airflow through stacked supers to carry water away from the comb. This approach helps lower water content in sealed and uncapped comb without heating the product.
Air Circulation Strategies
Stack supers and add a small fan on the top box. Forced air through gaps moves air across frames and speeds evaporation.
Use plastic or wooden spacer boards between supers to keep channels open. On day three of a proper drying run, uncapped honey tested at 15.5 percent water — proof that airflow works.
Dehumidification Methods
Use a dehumidifier in the drying room to pull excess water from the air. A dry, warm space helps finish frames within three days when managed carefully.
Combine a dehumidifier with a calibrated refractometer and bucket sampling to confirm target content before bottling.
Managing Small Hive Beetle Risks
Do not leave supers unattended in beetle-prone areas. Beetles multiply quickly and destroy comb, risking the entire harvest.
Monitor often and move frames into a secured drying room if beetles appear. A quick transfer protects quality and saves equipment.
| Method | Key Action | Best Use | Result |
|---|---|---|---|
| Stacked airflow | Fan on top, spacer boards | Field drying of supers | Faster evaporation, low heat |
| Dehumidifier | Dry room control | Processing area | Predictable water removal |
| Quick transfer | Move to secure room | Beetle risk zones | Protects comb and harvest |
| Sampling | Bucket blend, refractometer | Pre-bottling check | Confirmed content & quality |
“Air plus dry air equals consistent results for beekeepers who want to reduce moisture quickly.”
For a full drying workflow, see a practical guide to drying to prevent fermentation at drying honey to prevent fermentation.
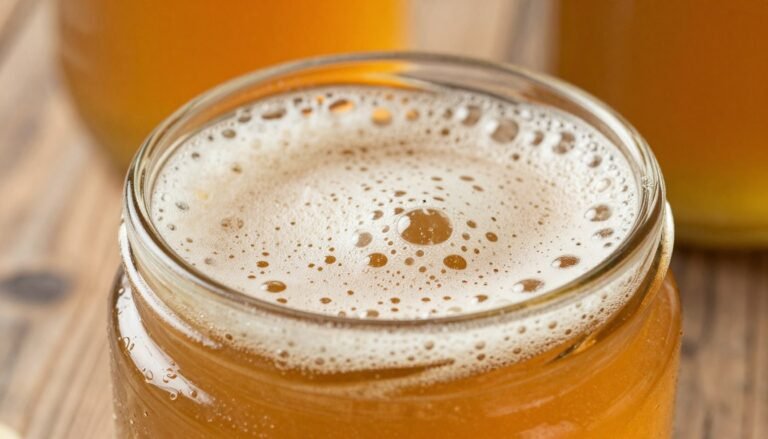
Managing Extracted Honey and Fermentation Risks
Extraction shifts the challenge from evaporation in comb to controlled drying in buckets and tanks.
Once product is out of the frames, reducing water is harder. Diffusion drops and evaporation slows. That makes post-extraction testing essential before bottling.

Use a calibrated refractometer on a bucket sample to confirm the moisture level. Fermentation becomes a major threat above 19 percent, especially when stored in jars.
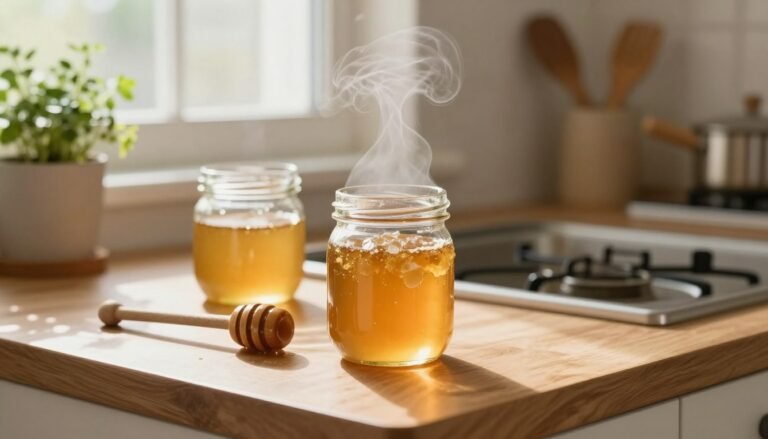
A bucket heater is a useful piece of equipment for producers. Gently raise temperature toward 165°F to help evaporate excess water over several days. Monitor temperature and stir slowly to protect flavor and overall quality.
Practical tip: Test daily, blend batches if needed, and only bottle when water content meets your target. Proper management of extracted product preserves quality and prevents fermentation on the shelf.
- Test with a refractometer after extraction.
- Use a bucket heater for gradual drying when necessary.
- Keep jars at stable temperature during bottling.
For field-tested steps on handling wet frames and storage, see handling wet frames and a guide to extract and store raw honey.
Maintaining Premium Honey Standards
Consistent testing and careful timing are the backbone of premium jarred honey. Measure moisture content with a calibrated refractometer and sample from a blended bucket to ensure every lot meets your target before bottling.
Invest in the right tools — a reliable refractometer and a dehumidifier in the drying room reduce risk of fermentation and protect wax comb and frames. Manage flow and harvest timing so uncapped comb finishes on the hive and product enters jars at peak quality.
Store finished product in airtight jars and record checks each year. These steps help beekeepers build a trusted brand while safeguarding flavor, shelf life, and overall quality. For clear capping basics, see this guide: capping basics.
FAQ
What causes wax cappings to trap elevated moisture inside comb?
Bees seal cells with a thin wax layer once nectar is concentrated, but that seal doesn’t instantly equalize internal moisture with surrounding air. If nectar wasn’t fully reduced before sealing, water remains in the cell. Slow diffusion through wax plus low airflow inside the hive can leave internal water content above safe bottling levels, raising fermentation risk.
How does diffusion affect moisture movement through wax and uncapped cells?
Wax is semi-permeable. Moisture moves slowly through cappings compared with open cells. Uncapped comb allows quicker evaporation when air circulation is adequate. Thus frames that look fully finished but were capped early can retain higher in-comb water content than visibly uncapped ones.
When should beekeepers use a refractometer to check water content?
Test honey from multiple frames and spots across supers before extraction. Use a calibrated digital refractometer at hive temperature or correct readings to 20°C. Repeat tests on both capped and uncapped samples to spot variability and to prevent fermentation during storage or bottling.
What environmental factors raise moisture in stored product inside hives?
High ambient humidity, cool nights, and rainy conditions slow evaporation and encourage moisture uptake in nectar stores. Poor ventilation, dense apiary placement, and long nectar flows of high-water-content plants increase the chance that sealed combs retain water.
How do temperature swings affect in-comb moisture and quality?
Warm daytime temperatures help bees evaporate water; cool nights reduce evaporation and may condense moisture on comb surfaces. Repeated swings make it harder for colonies to finish curing nectar, increasing water content in finished comb and extracted product.
What practical air circulation strategies reduce in-comb water content?
Improve hive ventilation with screened bottom boards, angled outer covers, or top entrances during wet seasons. Space supers properly and avoid overpacking frames. During extraction, use fans or mild warm airflow in the uncapping room to speed evaporation before bottling.
Can dehumidifiers protect bulk honey during storage and processing?
Yes. Use dehumidifiers in extraction rooms or storage areas to keep relative humidity below 60%. That helps reduce moisture pickup in open buckets and jars and lowers fermentation risk. Track temperature and humidity with a reliable hygrometer to maintain conditions.
How do beekeepers manage small hive beetle risks while reducing moisture?
Good ventilation and rapid removal of overripe supers limit attractive damp sites for small hive beetles. Store extracted honey in sealed, clean buckets with tight lids. Use beetle traps and regular inspections to prevent infestation that can increase moisture and contamination.
What steps prevent fermentation in extracted product with borderline water levels?
Test water content; if above target (commonly 17–18%), use controlled warming, aeration, or a dehumidifier-assisted settling period to lower levels before bottling. Rapidly transfer honey into clean, airtight jars at stable temperature to avoid yeast growth during cooling or storage.
How can beekeepers maintain premium standards across seasons and flows?
Combine routine refractometer checks, good apiary ventilation, timely super management, and clean extraction practices. Cull frames with unusually light or runny comb, avoid bottling early in a heavy flow, and store product in climate-controlled rooms to ensure consistent quality year after year.