Reviewed by Elena P. · How we review
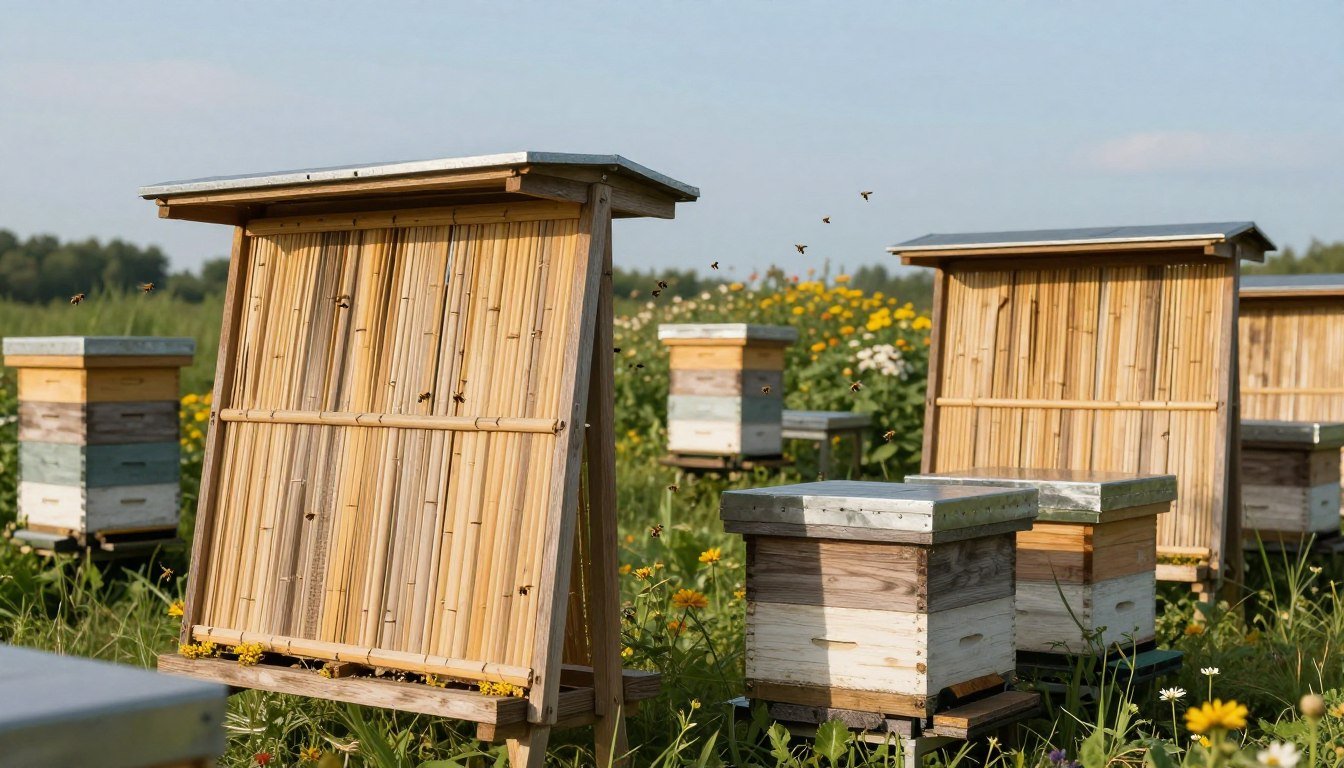
Protecting colonies genuinely means creating a stable shelter that keeps hives warm and calm during harsh outdoor weather conditions. A well-placed barrier reduces heat loss and limits damaging gusts that stress foraging bees, disrupt hive-entrance traffic, and can chill developing brood if wind exposure is severe enough.
Professional-grade solutions help beekeepers closely mimic the natural shelter bees would otherwise find on their own in the wild. Using durable materials and genuinely smart siting decisions, a beekeeper can actively manage the microclimate around each hive and meaningfully improve overall winter survival rates.
Quick, low-cost adjustments like stacking straw bales or securing upright pallets can offer surprisingly affordable, effective results. For step-by-step DIY methods and insulation tips, see a practical guide on building protective structures at DIY winter projects.
Site placement genuinely matters. Position barriers on the windward side and anchor them securely to reduce shifting in high winds. Learn more planning strategies at windbreak strategies.
Key Takeaways
- Reliable shelter lowers heat loss and protects brood.
- Durable structures boost colony survival in winter and spring.
- Affordable options like pallets or straw can work well.
- Place barriers on the windward side and secure them tightly.
- Professional or DIY solutions both improve apiary microclimates.
Table of Contents
- Why Windbreak Panels for Open Apiaries are Essential
- Technical Specifications and Durable Design
- Installation and Versatility for Your Property
- Low-Cost and DIY Windbreak Alternatives
- Hive Orientation and Wind Exposure
- Conclusion
Why Windbreak Panels for Open Apiaries are Essential
A properly designed barrier stops high-speed air and prevents the chill that harms developing bees.
In field tests, wind velocity dropped by as much as 95% immediately behind the panel, tapering to a more typical 30–60% reduction at the distance a hive would actually sit downwind. Even that partial reduction is enough to keep snow from swirling the way it would near a solid wall. The result is drier, more stable conditions near each hive.
Like structures used to protect livestock, these units give animals and insects a trusted refuge. When animals stay close to protective screens, stress falls and productivity improves. Bees show similar benefits with calmer surrounds — foragers spend less energy fighting turbulent air on approach and departure, and a colony that isn’t constantly bracing against gusts can direct more of its collective effort toward foraging, brood-rearing, and honey production instead.
- Consistent air control: controlled airflow prevents drifts and keeps hive entrances clear.
- Durable design: engineered to stand up to farm-grade environmental loads.
- Temperature stability: reduces cold-pressure on hive interiors to support overwintering.
- Configurable layout: easy to place for access and inspection while maximizing shelter.
Watch a video demonstration of windbreak panel installation
Technical Specifications and Durable Design
Engineered steel assemblies deliver reliable stability and predictable performance when wind speeds rise.
Steel Gauge and Construction
These units use a 2 7/8″ drill stem pipe frame paired with 22 gauge steel decking. The outside frame is 1 1/2″ x 3″ x 14 gauge tube to resist bending and wear.
The face sheets are 20 gauge galvanized-punched metal with 1 5/8″ holes. Corrugated to 3″, the perforations give a 21% open area. This measured opening balances airflow and protection.
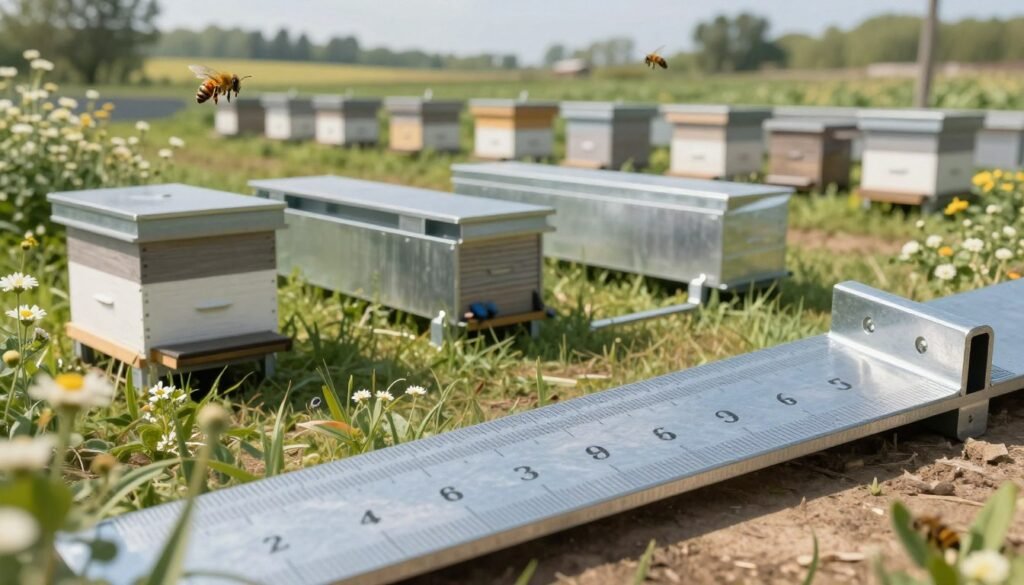
Wind Velocity Reduction
Design and mass matter. A 7′ x 12′ unit has a total weight of 225 lbs. Each 12′ sheet weighs 54 lbs, so these heavy, well-built components stay put during storms.
- Built with drill stem pipe and 22 gauge steel decking for long life.
- The corrugated, punched sheets provide structural strength and proven wind control.
- An outside frame of 14 gauge tube adds stability used in agricultural and livestock settings.
- This specific design reduces wind velocity substantially — most dramatically right behind the panel, tapering to roughly 30–60% further downwind — while still allowing measured airflow rather than creating dead, turbulent air.
Installation and Versatility for Your Property
A fast, one-person setup transforms site layout in minutes, letting you reposition shelter where bees need it most.
Portable Setup and Maintenance
Install in five minutes. One person can place a panel with no tools and no bolts. That speed reduces labor and downtime during seasonal moves.
These panels made to be moved by dragging or lifting. Tractor pallet forks can carry five heavy duty units at once, easing large installations.
- Some 25′ sections have a weight near 1,000 lbs yet stand freely or connect to livestock buildings.
- Units hook to existing structures or work as standalone protection, giving a modular layout.
- Maintenance is minimal; rugged construction keeps them safe and long-lasting.
Scalable logistics: whether a small yard or a larger farm, the design simplifies seasonal moves and protects colonies. Learn more about travel options with portable hives.
Low-Cost and DIY Windbreak Alternatives
Engineered steel panels are certainly not the only workable option, and beekeepers with just a few hives or a genuinely tight budget often get real, measurable results from far simpler and cheaper barriers instead. Stacked straw or hay bales, a run of snow fencing, or a section of shipping pallets stood on end and secured against tipping can all meaningfully cut wind speed at hive level, even though none of them match the durability or wind-tunnel-tested numbers of a purpose-built commercial panel. Living windbreaks — a hedgerow or a dense row of shrubs planted specifically upwind of an apiary — take several years to mature but eventually provide comparable shelter with essentially no ongoing maintenance once established, and they add genuine forage and pollinator habitat value the entire time they are growing in, which no steel panel can ever offer regardless of how well engineered it is. For more on evaluating these lower-cost approaches against a site’s specific conditions, see our broader guide to windbreak strategies for apiaries.
The right choice ultimately depends on scale: a single backyard hive rarely justifies a 225-lb engineered panel, while a commercial operation running dozens of yards across an exposed region may find the upfront cost of durable, reusable panels pays for itself in reduced winter losses within a season or two.
Cost isn’t the only variable genuinely worth weighing here, though — portability matters just as much in practice for beekeepers who regularly move colonies between different sites throughout the season. Straw bales and pallets are genuinely cheap up front but labor-intensive to move and re-stack each time a colony relocates, while a living hedgerow, once planted and established, simply cannot be moved at all under any circumstances. A commercial steel panel’s main practical advantage over these alternatives is exactly this combination of durability and portability together in a single product, which is why the tradeoff really comes down to how often a given apiary’s shelter needs actually change from one season to the next.
Hive Orientation and Wind Exposure
Windbreak placement works best in combination with thoughtful hive orientation, not as a substitute for it. Facing hive entrances away from the prevailing wind direction, rather than directly into it, reduces how much cold air a colony has to actively defend against right at the entrance itself, and it is a genuinely free adjustment available to every beekeeper before any physical barrier is even installed or purchased. Combining correct orientation with a windbreak positioned on the windward side compounds the benefit rather than simply duplicating it, since the two interventions address slightly different parts of the same underlying problem — one reduces direct wind entry right at the entrance itself, while the other reduces the broader ambient wind load pressing against the whole hive body throughout the day.
Wind exposure also interacts with insulation choices in ways worth planning for together rather than separately: a well-insulated hive sitting in a genuinely exposed, windy site still loses more heat overall than the identical hive placed in a sheltered spot, since moving air strips away the thin insulating boundary layer of warmer air that would otherwise naturally cling to the hive’s exterior surface. See our comparison of insulated hive wraps vs. foam board wraps for how these two approaches to hive insulation compare, and our guide to winterizing beehives for how windbreaks fit into a fuller winter-prep checklist.
Ventilation is the other factor worth weighing alongside wind protection, since the two can pull in opposite directions if not planned together: a hive wrapped tightly against wind and cold but left without adequate moisture escape can develop condensation problems that are arguably more dangerous to overwintering bees than cold itself. See our guide to getting hive ventilation right for how to balance wind protection against the colony’s ongoing need to vent excess moisture.
Conclusion
Investing in engineered windbreak panels yields clear, measurable benefits. A well-built unit adds stability through its weight and design, limits wind impact, and keeps colonies calmer during winter.
Choose equipment rated for livestock use to get durability that stands up to U.S. farm conditions. Portability and proven construction make these options practical for both small yards and larger operations.
Want practical placement tips or winter care steps? See this guide on protecting hives in winter and advice on managing colonies in gusty sites. Whichever option fits your site and budget, the underlying goal is the same: reduce wind stress enough for the colony to spend its energy on brood-rearing and foraging rather than fighting the elements.
FAQ
What are these panels and how do they protect bee colonies?
These metal shields create a controlled shelter around hives to reduce direct wind exposure and sudden gusts. By breaking airflow, they lower hive stress, help maintain stable internal temperatures, and reduce the risk of colony losses during cold or windy periods.
What material and gauge are used in durable designs?
Most high-quality models use galvanized or powder-coated steel with common gauges between 18 and 14. Thicker gauge steel increases rigidity and longevity while coatings prevent rust. Look for welded seams and reinforced edges to resist bending and heavy weather.
How much wind reduction can I expect?
Properly placed screens can cut wind speed by 30–60% immediately behind the barrier, depending on height and porosity. A semi-permeable design offers the best balance: it dissipates gusts while avoiding turbulence that could stress hives.
Can I move these barriers seasonally or between yards?
Yes. Many versions are made for portable setup with interlocking sections or stand legs. Lightweight steel or framed models allow a single person to reposition panels. Anchoring options like ground spikes or ballast keep them secure once placed.
How do I maintain the panels to ensure longevity?
Inspect coatings yearly and touch up chips with appropriate rust-inhibiting paint. Tighten fasteners, clear debris that traps moisture, and store removable components indoors during extended inactivity. Routine checks prevent corrosion and structural issues.
Will these barriers affect hive ventilation or bee flight paths?
When installed a few feet from hive entrances and with staggered openings or angled placement, barriers reduce wind without obstructing flight lanes. Maintain clear approach paths of at least 24–36 inches to keep normal foraging patterns.
Are there options that also protect livestock or garden areas?
Yes. Some steel-framed models serve dual roles by shielding small livestock pens, seed beds, or young trees from wind. Choose heavier-gauge units and secure anchoring if you plan to use them in multi-purpose settings.
What should I consider when choosing panel height and length?
Match panel height to the typical wind profile and the size of the hives. Shorter units work for low, consistent breezes; taller assemblies handle stronger gusts. Longer continuous runs reduce edge effects, so combine sections to cover prevailing wind directions.
Do panels require permits or meet zoning rules?
Rules vary by locality. Most small, low-profile barriers do not require permits, but taller or permanent installations might. Check local building codes and neighborhood covenants before installing fixed foundations or using heavy-duty anchors.
How do I choose between solid and slatted designs?
Solid sheets give maximum shelter but can create turbulent air around edges. Perforated or slatted panels reduce pressure build-up and perform better in very windy sites. For beekeeping, semi-permeable slats often offer the best protection with stable airflow.