Reviewed by Thomas B. · Last Updated September 24, 2026 · How we review
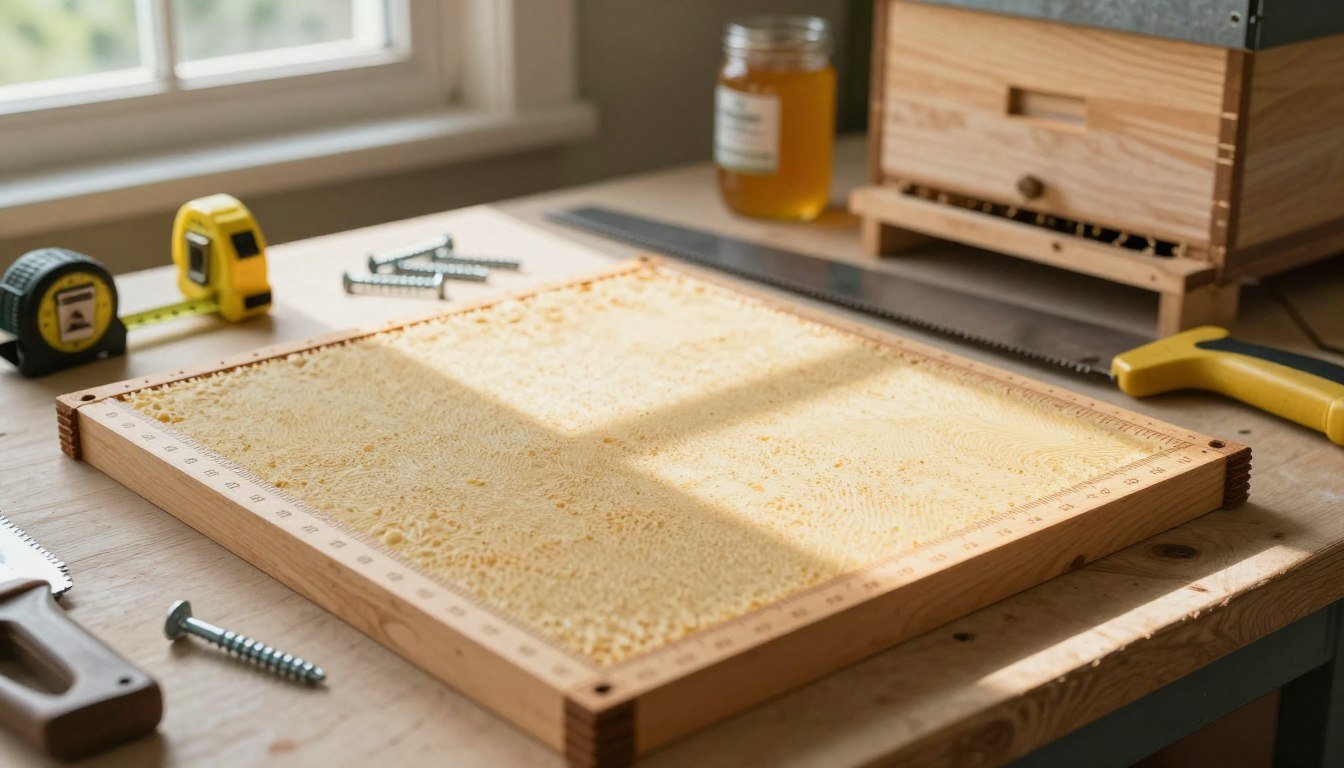
A DIY hive moisture board is a flat, absorbent panel cut to your hive’s footprint. It sits on the inner cover, under the telescoping cover, with the inner cover hole left open beneath it. For a 10-frame Langstroth, cut it to about 16-1/4 by 19-7/8 inches, the box’s outside size. You can go slightly larger if your cover allows: Mann Lake’s pre-cut 10-frame board is listed at 16.8 by 20.5 inches ($15.99 on September 24, 2026). For an 8-frame, cut about 14 by 19-7/8. The University of Minnesota Bee Lab specifies 3/4-inch fiberboard without asphalt. If you’d rather keep treated products out of your hive entirely, two other UMN-listed builds use only untreated materials: a shallow wooden rim filled with straw or wood chips, and a 3/8-inch stack of newspaper. Whichever you build, never use pressure-treated lumber, asphalt-impregnated board, plastic or foam as the absorbent layer. Below are all three builds, with cut lists and the material checks most DIY guides skip.
Key Takeaways
- Cut the board to the box’s outside dimensions (10-frame: 16-1/4 by 19-7/8 in) and test that your telescoping cover still drops over it.
- UMN’s spec is 3/4-inch fiberboard without asphalt. It absorbs vapor through the inner cover hole and lets it evaporate outward.
- Homasote 440, the board many beekeepers use, is sold with built-in protection against termites, rot and fungi. If you want strictly untreated materials, choose one of the other builds.
- The fully untreated builds are an untreated pine rim with a screen over the inner cover hole and straw or chips on top, or a 3/8-inch stack of folded newspaper.
- UF/IFAS says never to build hive components from pre-treated wood. That applies to any rim you make.
Table of Contents
What a Moisture Board Has to Do
A wintering cluster gives off a lot of water vapor. The warm, moist air rises until it meets the coldest surface in the hive, and in a Red River Valley January that’s the underside of the cover. There it condenses and drips back onto the bees. Gary Reuter’s wintering notes for the University of Minnesota Bee Lab put the board’s job in one sentence:
“The purpose of the moisture board is to absorb moisture from within the colony (through the hole in the inner cover) and evaporate it out the outside.”
Gary Reuter, University of Minnesota Bee Lab, “Wintering Tips”
Every build below does those two things: it takes up vapor from underneath and releases it toward the outside. If you’d rather buy than build, our guide to the best moisture board for winter hives compares ready-made options. If your hive is already wet, start with our fix-it guide to winter hive moisture.
Choosing Materials That Are Safe Around Bees
This is where most DIY instructions go vague. The board sits directly over the inner cover hole, and bees will walk on its underside and propolize it. So it’s worth knowing what’s in it. UF/IFAS Extension’s guide to preserving beekeeping woodenware is direct on the wood question:
“Never assemble hive components constructed from pre-treated wood.”
J. D. Ellis, W. H. Kern and C. M. Zettel Nalen, UF/IFAS Extension, ENY125 “Preserving Woodenware in Beekeeping Operations”
The same guide notes that “many wood preservatives are toxic to bees.” It also says that even where US beekeepers do treat woodenware, the inner cover and frames should not be treated. A moisture board sits right on the inner cover, so we hold it to the same standard.
| Material | Treated? | Absorbs vapor? | Verdict |
|---|---|---|---|
| Fiberboard sheathing without asphalt, 3/4 in | No asphalt; ask the supplier for the product data sheet | Yes | UMN Bee Lab specification |
| Homasote 440 cellulose board | Yes. The maker lists built-in protection against termites, rot and fungi. | Yes | Widely used and lab-tested by UMN, but not untreated |
| Asphalt-impregnated fiberboard | Yes (asphalt) | Partly | No. UMN says not to use it. |
| Untreated pine rim with straw or wood chips | No | Yes | Fully untreated. UMN-listed alternative. |
| Newspaper stack, 3/8 in | No | Yes | Fully untreated. One-winter stopgap. |
| Pressure-treated lumber, stained or preserved wood | Yes | — | Never. UF/IFAS advises against treated hive parts. |
| Plastic, Styrofoam, kraft-faced insulation | — | No | No. On UMN’s do-not-use list. |
The Homasote detail comes from the manufacturer’s own 440 SoundBarrier product page. It describes the board as having “uniformly distributed protection against termites, rot and fungi.” It doesn’t name the chemistry. We’re not aware of evidence that it harms colonies, and many beekeepers use it. But it is a treated product, so it doesn’t fit an “untreated only” rule.
Build 1: The Flat Fiberboard Board
Materials: one 4-by-8-foot sheet of non-asphalt fiberboard, 1/2 to 3/4 inch thick; a tape measure; a straightedge; a fine-tooth saw or sharp utility knife; a dust mask.
Cut list:
| Hive | Box outside size (typical) | Board size | Boards per 4×8 sheet |
|---|---|---|---|
| 10-frame Langstroth | 16-1/4 × 19-7/8 in | 16-1/4 to 16-3/4 × 19-7/8 to 20-1/2 in | 10 (2 across, 5 down) |
| 8-frame Langstroth | About 14 × 19-7/8 in | 14 to 14-1/2 × 19-7/8 to 20-1/2 in | 12 (3 across, 4 down) |
Box sizes vary a little between manufacturers. Carolina Honeybees’ Langstroth dimensions guide gives 16-1/4 by 19-7/8 inches for 10-frame boxes and about 14 by 19-7/8 for 8-frame. Measure yours, and measure the inside of your telescoping cover. The board has to be big enough to cover the inner cover fully and small enough for the cover to drop over it.
Step 1: Mark and cut. Work outdoors and wear a dust mask, because fiberboard throws fine dust. Score deeply with a utility knife against a straightedge, or saw with a fine-tooth blade to limit fraying.
Step 2: Test-fit. Set the board on an inner cover on an empty box and lower the telescoping cover over it. Trim any edge that binds.
Step 3: Optional groove. Mann Lake’s moisture board instructions add a lengthwise groove about 1 inch wide and 3/8 inch deep down the center. They say it lets the board expand and contract as it absorbs and releases moisture. It’s optional. If you cut one, put it on the top face, away from the bees.
Step 4: Mark the top. Pencil “UP” on the top face so the same side faces the bees every year.
Build 2: The Untreated Rim-and-Fill Board
UMN’s wintering notes list this as an alternative. Put a screen over the inner cover hole, set a ring 1.5 to 3 inches deep on top, and fill the ring with straw or wood chips. It’s a lighter cousin of the quilt box. For a deeper, fully ventilated version, see our quilt box vs moisture board comparison.
Cut list for a 10-frame rim (butt joints): from untreated 1×3 or 1×4 pine or spruce, cut two long sides at 19-7/8 inches and two short sides at 14-3/4 inches. The short sides fit between the long ones, which brings the outside width to 16-1/4 inches. For an 8-frame box, cut the short sides to fit your box’s outside width, about 12-1/2 inches for a 14-inch-wide box.
- Glue and nail or screw the corners square with plain exterior wood glue. Don’t stain, preserve or paint the inside faces.
- Staple a piece of #8 hardware cloth or window screen over the inner cover hole, so bees can’t climb into the fill.
- Set the rim on the inner cover and fill it with plain, kiln-dried pine shavings sold as animal bedding (no scents or additives) or clean, dry straw.
- Drill two or more ventilation holes near the top of the rim and cover them with screen. Rusty Burlew of Honey Bee Suite uses 1-inch holes covered in #10 hardware cloth on her moisture quilts, with about two inches of chips.
Build 3: The Newspaper Stopgap
If winter arrives before your board is ready, UMN’s notes offer a no-tools option. Open the paper at its first fold, stack it to about 3/8 inch, fold the stack in half, and lay it on the inner cover like a board. It absorbs well but softens as it gets wet. Treat it as a one-winter solution and replace it with Build 1 or 2 next fall.
Installing It on a Northern Hive
- Stack order, top down: telescoping cover, then moisture board, then inner cover with its hole open, then the top brood box. See our guide on migratory lids vs telescoping covers if you run flat lids, which leave no room for a board.
- Keep an upper exit. UMN pairs the board with a 1/2- to 1-inch upper entrance. If you use the inner cover notch, don’t cover it with the board. Our inner cover notch guide and upper vs lower entrance guide cover the options.
- Timing: in eastern North Dakota and western Minnesota, fit the board when you wrap, usually late October or early November, after syrup feeding is done.
- Check it: on a mild late-winter day, lift the cover. Damp but firm means it’s working. Soaked or moldy means the hive needs more upper ventilation.
- Spring: dry the board in the sun, store it flat, and replace fiberboard once it crumbles or delaminates.
Frequently Asked Questions
What size should a DIY moisture board be?
For a 10-frame Langstroth, about 16-1/4 by 19-7/8 inches, up to roughly 16-3/4 by 20-1/2 if your telescoping cover allows. For an 8-frame, about 14 by 19-7/8 inches.
Is Homasote safe for a beehive moisture board?
It’s widely used, and the University of Minnesota lab-tested it. But its maker says it has built-in protection against termites, rot and fungi, so it isn’t untreated. For strictly untreated materials, use a pine rim with straw or chips, or newspaper.
Can I use plywood as a moisture board?
Plywood absorbs far less than fiberboard or loose fill, so it acts more like a lid than a moisture board. It’s fine for the rim of Build 2, but not as the absorber.
Which side of the moisture board faces the bees?
The plain side faces down toward the inner cover. If you cut a groove or painted a face, that side goes up.
Can I use pressure-treated wood for the rim?
No. UF/IFAS Extension says never to assemble hive components from pre-treated wood, and notes that many wood preservatives are toxic to bees.
How long does a homemade moisture board last?
Fiberboard usually lasts several winters if dried each spring. Straw or chip fill should be replaced each year, and newspaper after one winter.
The Bottom Line
Cut an absorbent board to your box’s outside size, check that your cover still fits, and set it over the inner cover hole with an upper entrance nearby. For a strictly untreated hive, build the pine rim with straw or chips, or use newspaper in a pinch. Never use pressure-treated wood, asphalt board, or foam as the absorber.