Fall prep matters. Protecting your colony during cold months keeps stores and frames safe. Finalize winter work by Thanksgiving, says a Maine beekeeper with seven seasons of experience.
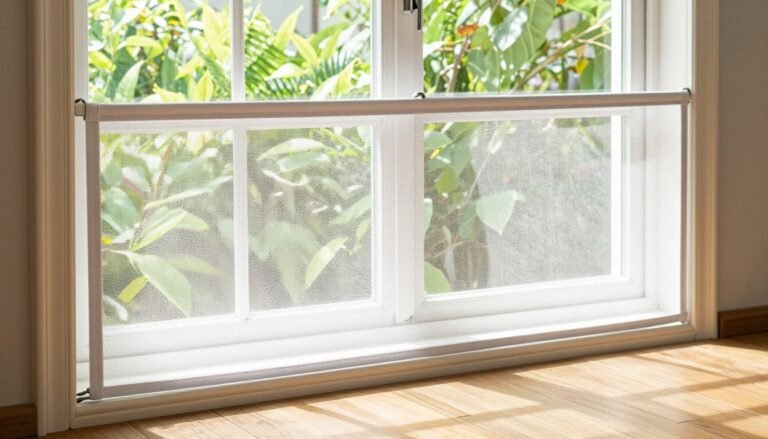
Install protection early. Add a mesh screen at the entrance as temperatures cool in September. The right entrance reducer or metal screen stops rodents from chewing combs, frames, and boxes while letting bees pass freely.
Choose durable equipment — metal or sturdy plastic — and check the hive interior before placement so no rodent gets trapped. Simple DIY plans and sizing for Langstroth boxes make installation straightforward. For step‑by‑step DIY details, see our DIY mouse guards guide, and for broader apiary planning consult beekeeping expansion tips.
Key Takeaways
- Finish winter prep by Thanksgiving to protect honey stores and frames.
- Install a mesh at the entrance once cool weather starts, typically September.
- Metal screens resist chewing and also deter skunks and other pests.
- Confirm no rodents are inside before securing the entrance reducer.
- Proper tools and planning make installation safe and effective.
Understanding the Threat of Rodents in Your Apiary
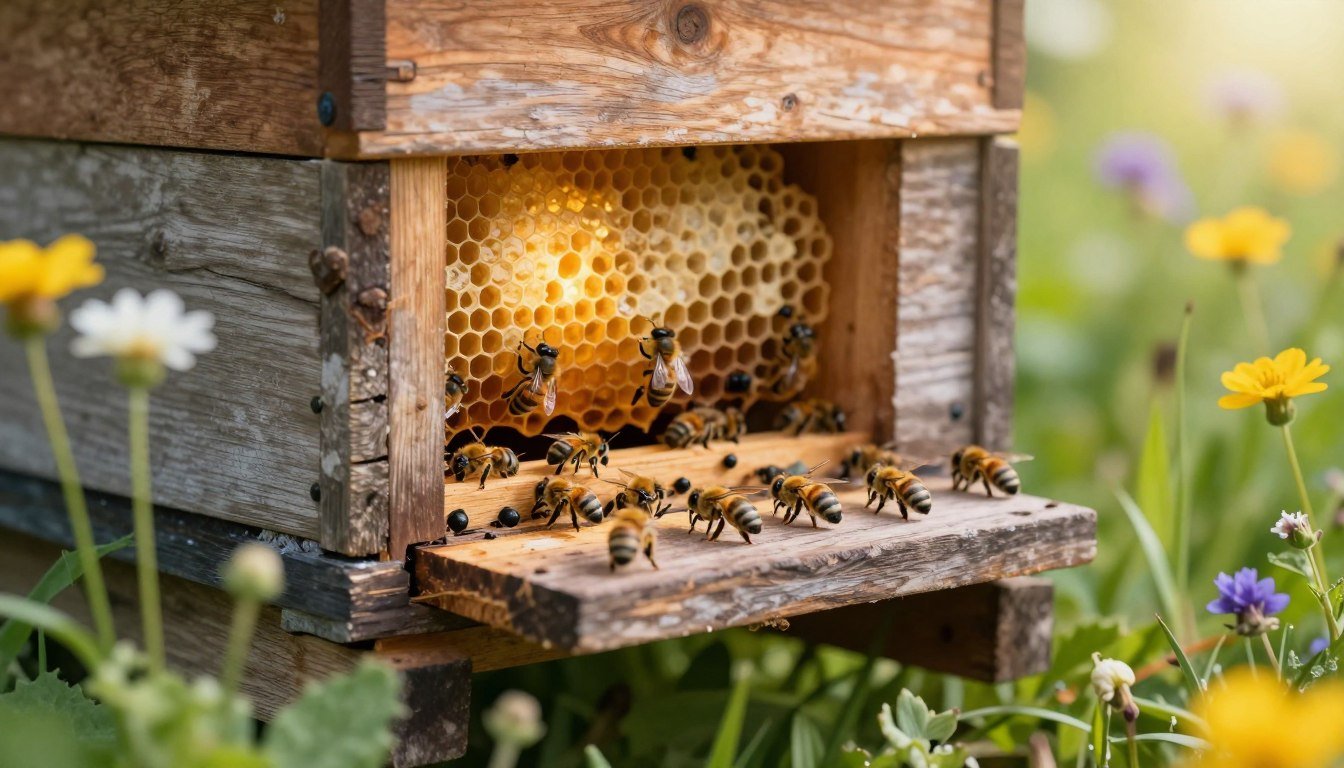
Quiet, insulated beehive boxes turn into tempting winter refuges for rodents in many regions. Rodents look for draft-free shelter, stored honey and soft nesting material. Skunks add pressure by clawing at the entrance and drawing out bees for prey.
Why Mice Seek Shelter
In fall, small mammals slip past large openings and nest inside boxes. They chew through burlap in wintering-quilts and line nests inside frames. This behavior often leads to destroyed combs and ruined stores.
Risks to Colony Health
Rodent residency causes equipment damage, spreads disease and reduces colony numbers. One resident can chew frames and wood, harming brood and honey stores. Proper reducer placement and sturdy metal or plastic guards limit intruders.
“A single rodent can ruin winter preparations and threaten an entire colony.”
| Threat | Impact | Common Defense |
|---|---|---|
| Mice | Chewed combs, ruined stores | Entrance reducer, metal screen |
| Skunks | Bee loss from predation | Raised stand, reduced entrance |
| Other rodents | Structural box damage | Sturdy boards, regular checks |
Beekeepers should stay vigilant across fall and winter. For more practical tips and common mistakes, see beginner mistakes in beekeeping.
When to Use a Mouse Guard on a Hive
Install an entrance reducer in early September, as cool evenings signal nesting searches by small rodents. Aim for placement before the first frost so colonies avoid intrusion and stores stay intact.
Choose metal or sturdy plastic reducers for reliable protection. A well-fitted reducer keeps bees moving through the hive entrance while blocking mice and other pests from chewing combs and frames.

Monitor boxes during fall. If installation is delayed, you risk trapping a resident and creating severe damage to wood, honey and brood. Secure fasteners and check gaps; persistent intruders exploit tiny openings.
- Install in September, before hard frost.
- Prefer metal or plastic entrance reducer for longevity.
- Confirm no rodents are inside prior to closing the entrance.
| Timing | Benefit | Recommended Equipment |
|---|---|---|
| Early September | Prevents mice entering, protects stores | Metal or plastic entrance reducer |
| Before first frost | Reduces risk of trapped intruders | Fitted reducer, secured board |
| Throughout fall | Maintains colony health | Regular checks, tightened fasteners |
For practical steps and sizing guidance, see our mouse guard installation guide.
Selecting the Right Protective Equipment
Select equipment that fits your hive geometry and holds up through the cold months.
DIY or commercial options both work well if sized and fastened correctly. For do-it-yourself guards, choose 1/2-inch metal mesh from a hardware store. Cut the mesh to fit: 28 squares by 10 squares for a 10-frame Langstroth, or 24 squares by 10 squares for an 8-frame box.
DIY Versus Commercial Options
DIY mouse guards let beekeepers trim wires for a precise fit. Lightweight wire cutters and basic tools speed the job and reduce sharp edges.
Commercial plastic or metal guards save time and come pre-sized. Either choice must allow bees to exit while blocking rodents and preserving honey and brood warmth.
- Check fit against the board and hive entrance before fastening.
- Secure the reducer so it cannot loosen under weather or animal pressure.
- Prefer metal if chewing resistance is critical; plastic is lighter and easier to snap in place.
| Option | Pros | Cons |
|---|---|---|
| DIY 1/2-inch metal mesh | Custom fit, durable | Requires tools, time |
| Commercial metal reducer | High durability, ready to mount | Higher cost |
| Commercial plastic reducer | Lightweight, easy install | Less chew-resistant |
For product reviews and a range of choices, compare our roundup of the best mouse guard for beehive and alternatives in this hive entrance reducer alternatives guide.
Essential Steps for Safe Installation
Begin by confirming the interior is clear; a missed intruder can ruin winter stores. A quick, careful check prevents trapped animals and lost honey.
Checking for Existing Residents
Safety first: move slowly. Hives can weigh 175–260 pounds in fall, so work in pairs when tipping boxes.
Carry a hive tool, flashlight, and smoker. Inspect under frames and above the bottom board for any signs of mice or nests.
“Never skip the inspection step; trapping an animal inside leads to severe comb and store damage.”
If you find a small guest, gently evict it with a wire clothes hanger or stick before sealing the entrance.

Proper Positioning
Fit the entrance reducer so bees can exit while rodents remain blocked. Secure the reducer with screws or a snug board.
Ensuring Proper Ventilation
Balance is vital. Guards must block pests without cutting airflow needed for winter colony health. Check vents and leave minimal openings for gas exchange.
- Inspect with a flashlight and smoker before sealing.
- Work in pairs when handling heavy boxes.
- Confirm reducer placement allows steady bee traffic and ventilation.
For step‑by‑step sizing and mounting, see our mouse guard installation guide.
Maintaining Your Hive Protection Throughout the Season
A blocked entrance can turn winter survival into a losing battle for bees. Check the entrance every few weeks so dead bees and debris do not trap traffic or cut airflow.
Inspect frames and bottom boards gently. Beekeepers should confirm the guard is secure and free of rust after each cold spell. If bees cluster at the opening, clear the obstruction right away.
Keep vents clear. Proper ventilation stops moisture and mold inside wooden boxes and helps the colony keep stores of honey in good shape.
Durable metal or plastic guards last multiple seasons, but examine fasteners and mesh for damage after winter. Stay proactive; small fixes now prevent lost comb and weakened colonies later.
- Inspect every few weeks during cold months.
- Clear any blockage if bees cluster at the entrance.
- Remove the reducer once spring warmth returns so foraging resumes.
For step‑by‑step checks, see this guide on beehive inspection steps, and read a practical overview of beehive mouse guard pros and cons.
Final Thoughts on Securing Your Bee Colonies
Small openings invite pests; correct sizing stops damage before it starts. Tom Seeley notes wild bees favor an entrance roughly 10–15 square centimeters. Matching that scale with a properly fitted entrance reducer helps mimic nature and keeps comb and honey safe.
Protecting colonies from mice is core beekeeping responsibility. Regular checks, timely installation in fall, and basic maintenance prevent long-term harm. Whether choosing commercial or DIY options, prioritize fit and ventilation so bees remain active and warm.
For pros and cons of different solutions, compare this beehive mouse guard overview. For broader behavior and robbing prevention, see preventing robbing behavior.