Last Updated September 15, 2026
Knowing the level of nosema in a hive gives beekeepers a clear path for action instead of guesswork. Monitoring adult bees, especially older foragers, reveals whether a colony carries a heavy load of spores or only a few affected individuals.
Microscopic examination is the only reliable diagnosis. Field signs like dysentery or k-wing can mislead, since other issues often cause similar symptoms.
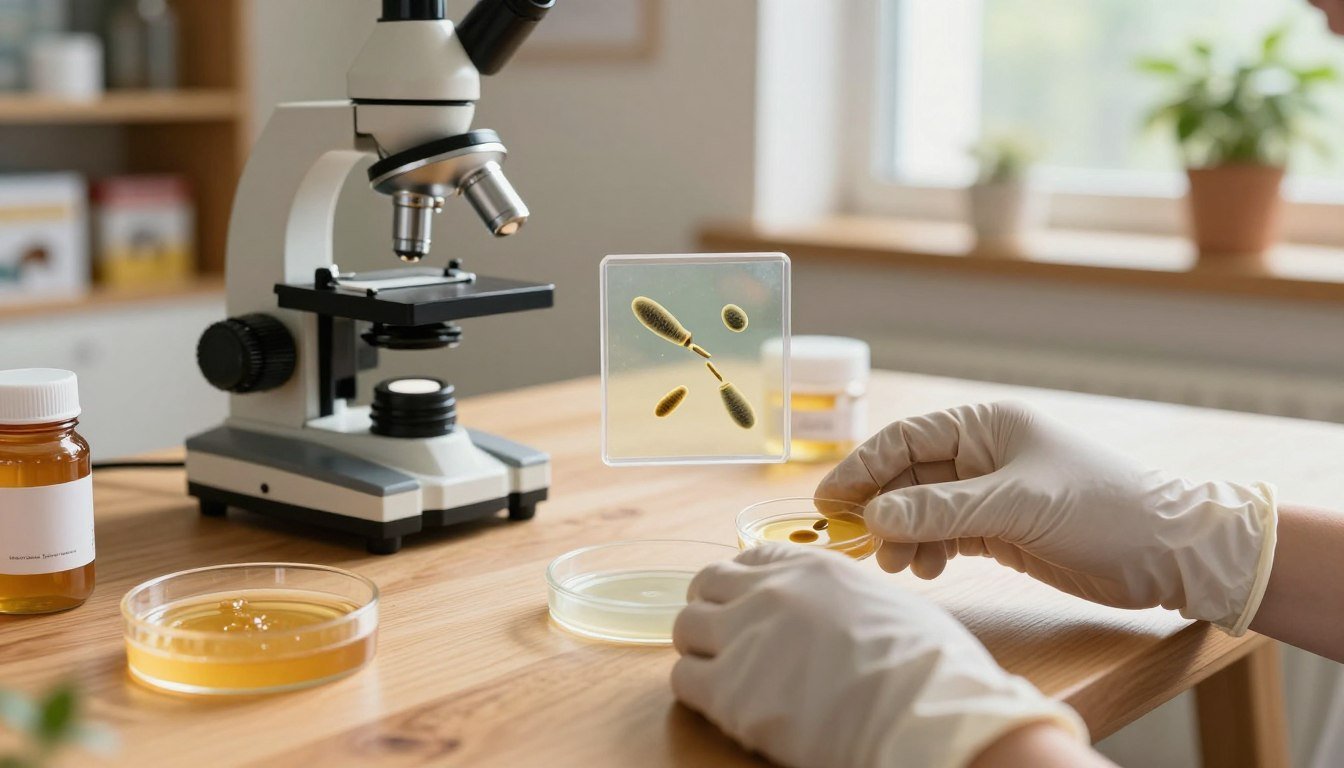
A modest investment in a good microscope pays off quickly. With simple sampling methods and basic equipment, you can grind a small sample, place a drop on a slide, and view spores at 400x. Practical guides, such as Randy Oliver’s microscopy notes, explain sampling and interpretation in clear steps: simple microscopy of nosema.
Key Takeaways
- Microscopy is the only definitive way to confirm infection.
- Sample older bees from under the cover or an outer frame for best results.
- A quality microscope and basic methods can prevent unnecessary treatment.
- Dysentery at the hive is not a reliable field diagnosis by itself.
- Use simple dilution and slide prep steps to triage infection levels.
Table of Contents
Essential Equipment for Nosema Testing
Good optics are the backbone of accurate hive diagnostics. Proper gear makes microscopic checks fast and reliable for beekeepers who want measured results rather than guesses.
Microscope Requirements
A compound microscope capable of 400x magnification is required to identify tiny pathogens. Binocular scopes ease long sessions, and a mechanical stage helps scan a hemacytometer grid smoothly.
Many pros praise the Omano OM36L for field use because its optics and battery power suit on-site work. For more detailed guidance, see this microscopy guidance.
Necessary Lab Supplies
Essential supplies include a hemacytometer for precise counts, a 60ml syringe to measure dilution water, clean cover slips, and disposable pestles for homogenizing samples.
| Item | Purpose | Recommendation |
|---|---|---|
| Compound microscope (400x) | Visual identification of infection | Binocular with mechanical stage; Omano OM36L preferred |
| Hemacytometer | Quantify number per bee | Standard counting chamber |
| 60ml syringe | Measure dilution water | Graduated, reusable |
| Cover slips & slides | Protect lens and stabilize sample | Glass, dust-free |
Accurate equipment yields better treatment decisions. Reliable counts help protect the colony, preserve honey quality, and keep honey bees healthy.
The testing method at a glance
Accurate spore counts begin with a representative bee sample and a clear, repeatable method. Collect at least 50 workers from under the inner cover or an outer frame. This reduces errors from a single highly infected individual.
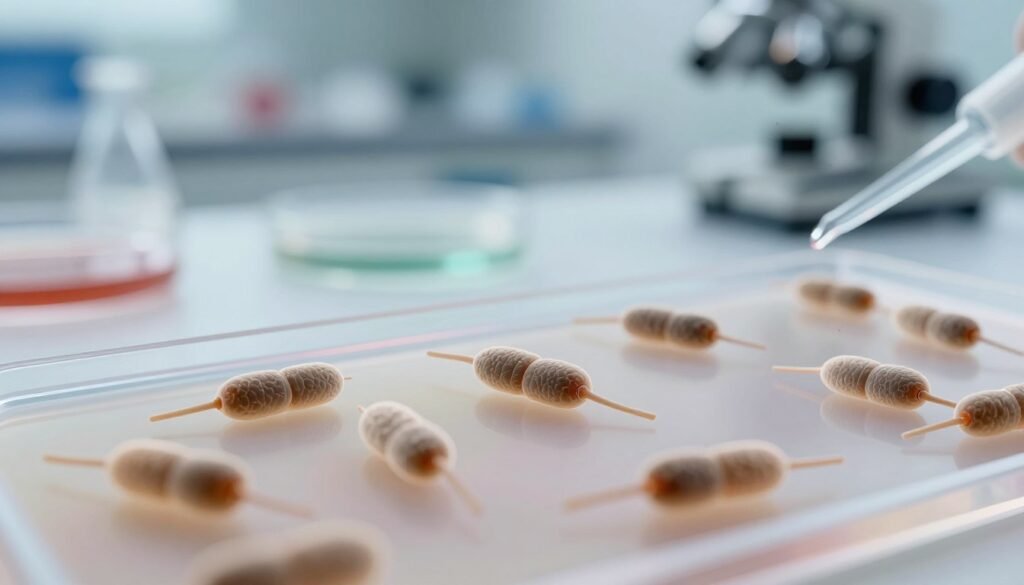
Many beekeepers use the ziplock method: crush the bees in a sealed bag, add measured water, and mix to create a uniform suspension. Use 1 mL of water per bee when possible; that dilution lets you estimate the number per bee by dividing counts in a field of view by five.
Preserve samples with rubbing alcohol before processing. A single drop of the homogenized liquid on a slide reveals whether infection is present and whether it is likely Nosema ceranae or Nosema apis under the microscope.
- Sample size: 50+ bees for reliable counts.
- Processing: ziplock bag plus 1 mL water per bee.
- Count: one drop on a slide, apply dilution factor to get spores per bee.
| Step | Key Detail | Reason |
|---|---|---|
| Collect sample | 50+ worker bees from under cover | Reduces skew from single heavy infections |
| Prepare suspension | Ziplock crush, 1 mL water per bee | Quick, clean, yields measurable dilution |
| Slide exam | One drop on a slide at 400x | Determines presence and approximate spore count |
For practical treatment guidance and diagnosis tips, see this diagnosing and treating nosema in honey.
Collecting and Preparing Bee Samples
Start sampling with a clear plan: pick bees that best represent colony health. Choose older workers from under the inner cover or an outer frame rather than from the entrance. Randy Oliver recommends this because entrance catches often overrepresent heavy infections.
Selecting the Right Bees
Count and record the number of bees before you add liquid. A standard sample uses 50 bees for a consistent water per bee ratio.
Collect quickly and work in the shade so the honey bee sample does not overheat or defecate. If you need guidance on diagnosis and treatment, see this diagnosing and treating nosema.
Homogenizing the Sample
Place the counted bees in a heavy ziplock bag. Use a rolling pin or wine bottle to crush them until gut contents are released.
Add 1 mL of water per bee for the standard dilution. As an alternative, some use 10 bees with 3 mL water when a concentrated suspension is preferred.
Knead the bag thoroughly so the material mixes evenly. Take a fresh drop for each slide; stray bee parts can lift the cover slip and skew the spore count.
This video from beekeeper David Bonner demonstrates preparing a homogenized bee sample and mounting it on a slide, matching the crush-and-dilute steps described above.
- Tip: Preserve extra material in alcohol if you need to repeat the examination.
- Note: Record your final count and dilution; this lets you calculate number spores per bee accurately.
For related lab techniques and follow-up monitoring, consider resources on post-treatment mite counts as part of a full hive health plan.
Microscopic Examination Techniques
Begin every examination with a low-power sweep of the slide; this saves time and prevents lens damage. Start at 40x or 4x to locate debris and the hemacytometer squares before increasing magnification.
After locating the field, move to 100x, then 400x. Use the fine focus knob gently at 400x; tiny turns reveal the faint glow that confirms nosema ceranae or nosema apis. Adjust the condenser and diaphragm to create a darker background so the spores stand out against debris.
Wait at least 60 seconds after placing the drop so particles settle. Remember that the microscope inverts movement—slide left, image moves right—so track your hemacytometer counts carefully.
- Begin low, finish high: 4x → 100x → 400x.
- Use fine focus slowly to avoid breaking the cover slip.
- Count in hemacytometer squares to calculate spores per bee and overall infection level.
- If you preserved samples in alcohol, prepare the drop so debris does not obscure the view.
“Once you find spores…move the fine focus until they ‘glow.’ Then adjust the condenser…to the point where the glowing spores are bright against a relatively dark background…the outline will fade, and the centers will glow brightly. A spore must have both of these characteristics.”

For a step-by-step demo, watch this nosema analysis video.
Identifying Nosema Spores Under the Lens
Under the lens, true identification rests on shape, movement, and that bright central flash.
Look first for elongated, capsule-like bodies with a smooth dark outline. These often show Brownian motion as water molecules jostle them. Wait about 60 seconds so particles settle; real spores will come into focus at one level.
Distinguishing spore characteristics
Nosema spores have a glowing center when you fine-focus. The outline stays dark and elliptical. If the center and rim alternate in sharpness, you are likely seeing a true spore.
Nosema ceranae can vary in shape and sometimes looks pointed or curved. Nosema apis is usually blunter and broader. Experienced examiners can tell the difference with practice and repeated counts.
| Feature | Spore | Common lookalike |
|---|---|---|
| Shape | Elongated ellipse or capsule | Oval debris or pollen grain |
| Motion | Brownian movement in water | Static particles |
| Focus | Bright center, dark rim at same level | May glow but lacks both features |
- Keep the cover slip clean; debris hides the glow.
- Count in hemacytometer squares for a reliable spore count.
- For detailed species differences, see this nosema ceranae vs nosema apis differences.
Interpreting Spore Counts and Colony Health
The number you record is only part of the picture, and the two species are not judged the same way. For Nosema apis, researcher Randy Oliver notes the treatment threshold traditionally used is a mean count of about 1 million spores per bee. Nosema ceranae is judged differently and remains a subject of real debate in the field — rather than one clean spore-count cutoff, Oliver suggests watching what share of sampled bees are infected at all (he flags fewer than 3 infected out of 10 sampled as a rough low-concern marker). Treat any single number as a guideline, not an absolute rule, and always weigh it alongside brood pattern, food stores, and the colony’s overall behavior.
Season and bee age change counts. Nosema ceranae often rises in winter and spring pollen flows, then may drop by late summer in many hives. If more than half of the house bees are infected, treat the colony as having a significant problem.

- Compare sequential samples to spot trends rather than relying on one reading.
- Assess brood, food stores, and adult bee activity along with the count.
- High counts across samples suggest the need for treatment or management changes.
- Low counts are encouraging but do not guarantee colony resilience.
Track counts over time — a trend across several samples guides decisions far better than any single reading.
Conclusion
Regular screening gives beekeepers clear, data-driven insight into colony health.
Monitoring your colony for nosema spores is straightforward and empowers smarter hive care. By tracking the number per bee in each sample, you detect rising disease levels before they affect brood and honey stores.
Consistent methods and the right equipment make counts comparable over time. Trends matter more than single readings—record squares and dilution details so results stay useful.
The habit that separates useful monitoring from noise is the same one Oliver stresses: log the raw numbers (bee count, dilution, spores counted) every time, not just a verdict, so a rising trend is obvious before a single scary reading causes a panic treatment — see his improved sampling method for the recordkeeping approach.
With practice, counting gives you control and helps your bees thrive.
Frequently Asked Questions
How many bees should I sample, and from where in the hive?
Sample 30–50 bees for a statistically useful count. Take them from under the inner cover or an outer frame rather than the entrance — entrance traffic skews toward heavily infected foragers and overstates the colony’s real average. Work quickly and in the shade so bees don’t overheat or defecate before you can process them.
What’s a workable beginner microscope setup for spore counting?
You need a compound microscope reaching 400x (1000x oil immersion helps but isn’t required to start), a hemacytometer for real quantitative counts, glass slides and cover slips, distilled water for dilution, and something to homogenize the sample (a disposable pestle or even a ziplock bag and rolling pin both work). A binocular head and mechanical stage make repeated sessions much less tiring on your eyes and neck.
How do I tell a real Nosema spore from pollen or other debris?
True spores are smooth-edged ovals that show Brownian motion when suspended in water, and at correct fine-focus they show a bright glowing center with a dark rim at the same focal plane — debris and pollen grains may glow but rarely show both features together. Give the drop about 60 seconds to settle before judging what you’re seeing.
Can I tell Nosema apis from Nosema ceranae just by looking at spores?
Not reliably. Nosema apis spores run roughly 5–7 by 3–4 microns, while Nosema ceranae spores are typically smaller and more elongated, roughly 4–5 by 2–2.5 microns — but the size ranges overlap enough that light microscopy alone can’t confirm species. If knowing the exact species actually changes your management decision, PCR testing through a diagnostic lab is the only reliable way to tell them apart; see this site’s full comparison of the two species.
What spore count actually means I should treat?
For Nosema apis, a mean around 1 million spores per bee is the traditional treatment threshold. Nosema ceranae doesn’t have an equally clean number — watching what fraction of sampled bees carry any infection at all, and whether repeat samples are trending up, matters more than chasing one cutoff.
Are there faster or more precise alternatives to microscopy?
Microscopy stays the most cost-effective option for routine home checks. For a definitive species ID or to resolve an ambiguous result, a university extension lab or private diagnostic lab can run qPCR, which is more sensitive and species-specific than anything visible under a light microscope.
How often should colonies be screened, and does the time of year matter?
Spring and fall are the two standard checkpoints, plus any time a colony shows dysentery, a slow buildup, or otherwise unexplained weakness. Nosema ceranae in particular tends to run higher during winter confinement and spring pollen flows, then often drops by late summer — so a single high reading in early spring isn’t automatically an emergency; a repeat sample a few weeks later tells you whether it’s a trend or a snapshot.