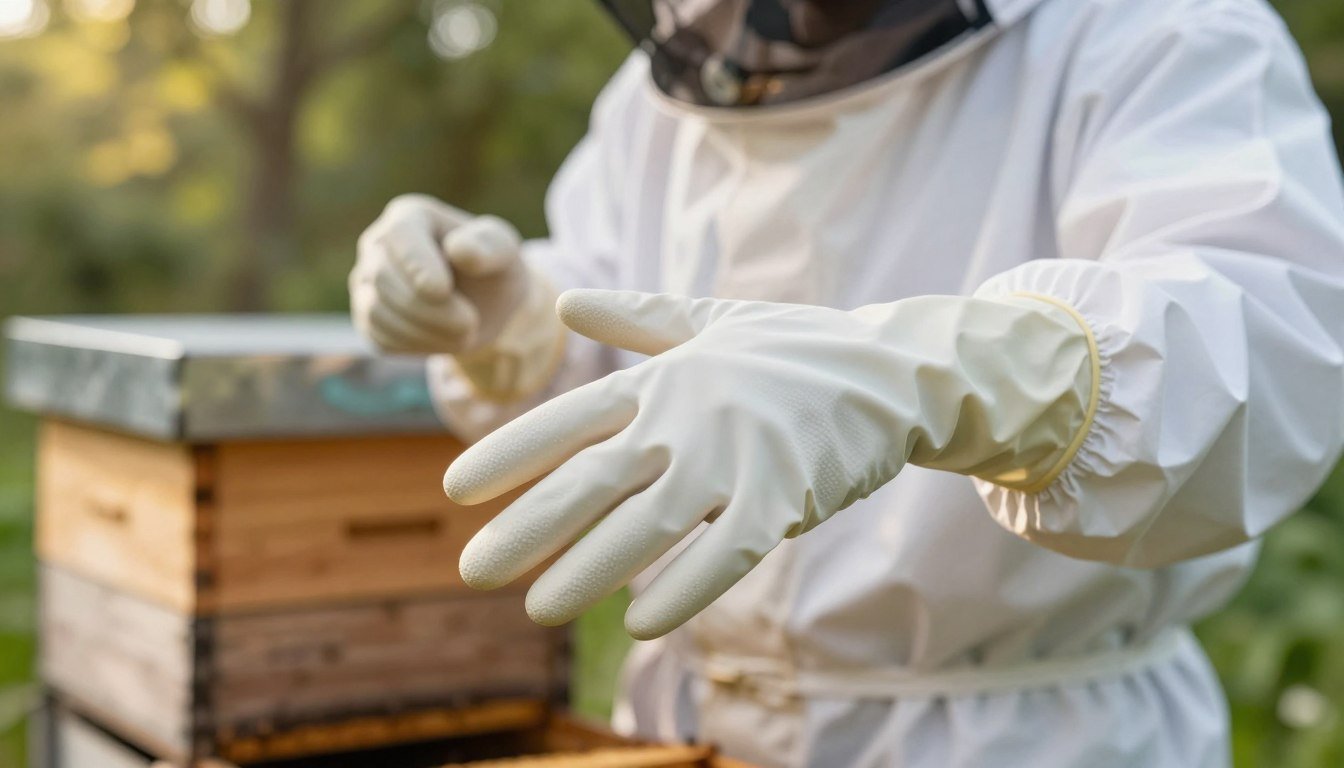
Clean beekeeping gloves are vital for every beekeeper who cares about colony health and personal safety. Regular washing removes sticky honey, wax, and propolis that can hide pathogens and attract pests.
Dadant & Sons has supported beekeepers with quality gear and advice for over 150 years. Their guidance highlights that proper cleaning prevents disease spread and keeps protective gear working season after season.
Choose the right material care for leather or synthetic gear. Start with warm water and mild soap, remove debris, then apply a suitable disinfection method. For more detailed equipment steps, see the research on cleaning and sterilizing beekeeping equipment at Extension resources.
For flame or chemical options and safety notes, consult practical guides on using heat and disinfectants safely: flame sterilization tips and sanitizing between colonies.
Key Takeaways
- Keeping beekeeping gloves clean protects both hands and colony health.
- Remove honey, wax, and propolis before any disinfection step.
- Match cleaning methods to material: treat leather and synthetics differently.
- Follow proven protocols and manufacturer guidance for longevity.
- Store washed gear dry in a ventilated area to avoid recontamination.
Why You Must Sanitize Gloves Between Hive Inspections
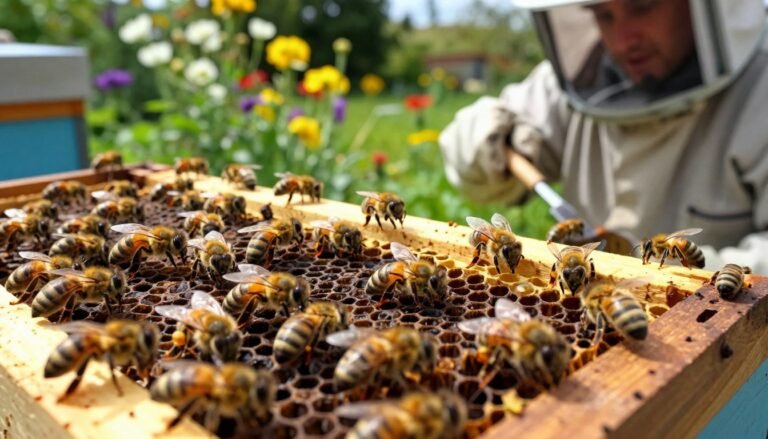
Before opening frames, every beekeeper should check protective handwear for damage and contamination. Inspect for holes, thinning spots, or loose seams. Damaged gear loses protection and can let bees through.
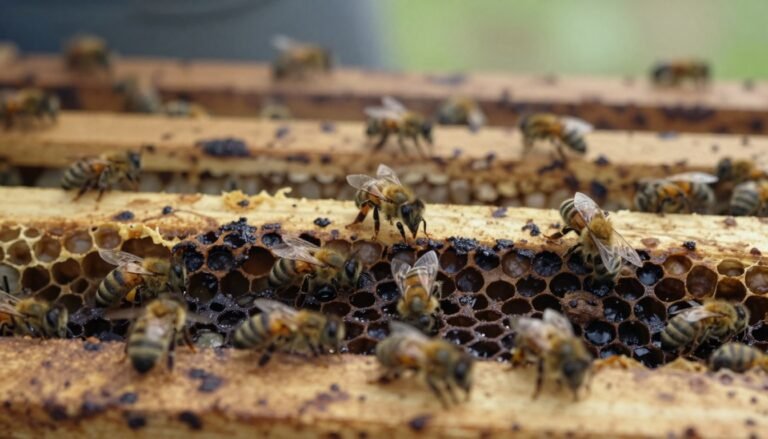
Dirty gloves can carry bacteria or fungal spores from a diseased hive and spread them across your apiary. Sticky honey, wax, and propolis stiffen material and reduce dexterity. That increases the chance of accidental stings and lost control during inspections.
Using a proper disinfectant solution helps kill microbes left after a long day with the colony. Always remove debris before washing; this step prevents contaminants from embedding in leather or synthetics.
- Check gear first: worn sections mean repair or replacement.
- Clean residues: remove honey and propolis before water and soap.
- Disinfect: apply a recommended solution for reliable hygiene.
For guidance on cleaning beekeeping gloves, see this cleaning beekeeping gloves resource. If you need new protective options, find the best beekeeping gloves for beginners—and remember BeBees offers 20% off with code EARLYBEE20.
Material-Specific Cleaning Techniques
Material-specific care preserves fit, flexibility, and protection during apiary work. Treat leather and synthetics differently so your protective gear lasts and stays safe.

Cleaning Leather Gear
Most leather items, often goatskin, need a gentle hand wash and a conditioner. Start by using a stiff brush to clear debris from cuffs and seams.
Apply a small amount of mild soap on a damp cloth and gently scrub the surface. Do not submerge leather in water.
Pat dry with a towel and allow the leather to air dry away from direct sunlight or heat. Once dry, use a leather conditioner to restore oils and protect against acidic propolis and wax.
Washing Synthetic Gloves
Synthetic options like nitrile and rubber are non‑porous and tolerate thorough washing.
- Use a mild soap and water solution to remove honey and wax.
- Rinse well to prevent soap residue and then air dry.
- Avoid machine agitation for leather items; machine use is fine for most synthetics.
For step‑by‑step care for specific products, see cleaning beekeeping gloves and guidance on related equipment like clean plastic foundation.
Advanced Disinfection and Storage Protocols
Consistent cleaning and careful storage reduce wear and limit transfer of pathogens among colonies. Follow clear steps for reliable long‑term maintenance that protect material and colony health.
Best Practices for Long-Term Maintenance
Disinfecting solution: mix one part bleach with nine parts water and soak for at least 10 minutes. This kills many bacteria and lowers cross‑contamination risk.
Rinse thoroughly with cool water after soaking to remove all chemical residue that could agitate bees or damage material.
- Allow items to air dry completely away from direct sunlight and high heat sources.
- Store clean beekeeping gloves in a cool, dry place, ideally inside a sealable plastic bag to keep out dust and insects.
- Avoid storing them with other gear to prevent cross‑contamination across different hives.
- Inspect regularly for thinning material, holes, or damaged cuffs and replace when safety is compromised.
| Step | Action | Notes |
|---|---|---|
| Prepare solution | 1:9 bleach to water | Use gloves when mixing; work in a ventilated area |
| Soak | At least 10 minutes | Do not exceed recommended exposure for leather items |
| Rinse & dry | Rinse with cool water; air dry | Keep away from direct sunlight and heat |
| Store & inspect | Sealable bag; separate from other tools | Replace if material shows wear or holes |
For protocols on managing contaminated equipment, see guidance on managing infected equipment. Also consider advice about keeping separate tools for sick colonies at separate tools for sick colonies.
Conclusion
Caring for protective handwear is a small habit that protects bees and beekeepers alike.
Proper maintenance of beekeeping gear ensures personal safety and supports colony health. Brush off debris, wash with mild soap and water, then let items air dry for best results.
Match methods to material: treat leather gently and treat synthetics with a thorough wash. Disinfect when needed and store clean items separately so honey residues do not invite pests.
Keep routines simple and consistent. For a full step‑by‑step guide on cleaning and extending the life of your gear, see clean beekeeping gloves.