Successful spring expansion relies on worker timing and colony health. Young workers make wax in their second and third weeks, and a productive queen keeps brood flowing. A strong colony will seek space for honey and brood when nectar arrives.
Plastic frames need special care if comb acceptance is slow. A thin beeswax coating, applied with a foam roller, gives scent and grip. Seeding a frame with old drawn comb and placing new frames near the brood nest speeds acceptance.
Keep frames straight and level and watch mite loads and queen performance. If progress stalls during the season, brief fixes—feeding light syrup, adding pollen, or moving drawn comb—often restore momentum. Learn more about common reasons comb is rejected in this guide: reasons bees won’t draw comb.
Key Takeaways
- Young workers supply natural wax; timing matters for build-up.
- A light beeswax coating and seeding boost acceptance of new frames.
- Place new material near the brood nest and keep frames level.
- Check queen health and mite loads before major expansions.
- Match frame additions to local nectar flow and spring buildup.
Understanding the Biology of Comb Building
Young worker bees set the tempo for comb formation during their second and third weeks.
Nutrition drives readiness. Workers must consume pollen in the first five to six days of life. That diet builds fat stores needed for wax secretion. Without that early protein, wax output falls and comb growth slows.
Wax production demands a big metabolic outlay. Bees convert calories from honey and nectar into wax scales. This conversion reduces stores, so hives invest only when the colony and queen are strong.
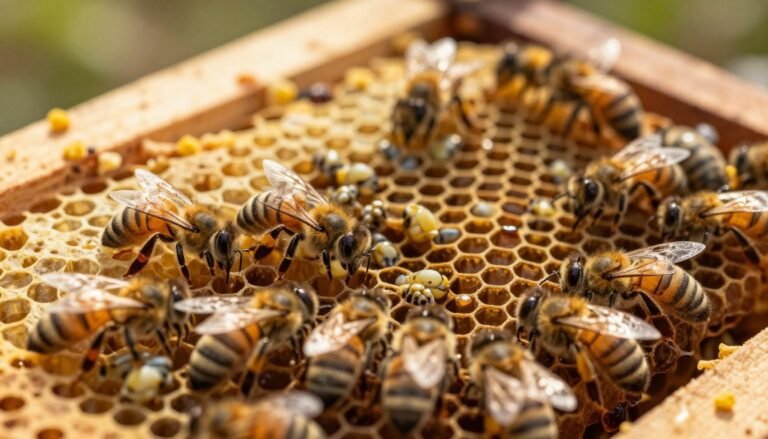
The Role of Young Workers
Workers aged about two weeks focus on building cells. They shape comb used for brood, honey, and pollen storage. A busy workforce means faster comb expansion.
Metabolic Investment in Wax
Comb supports winter survival. Properly-built comb aids thermoregulation and brood rearing. Colonies balance resource use against future needs when deciding how much wax to make.
- Early pollen intake → wax glands develop.
- Energy cost: converting honey/nectar into wax scales.
- Queen output and colony strength drive investment.
| Factor | Effect on Comb | Practical Note |
|---|---|---|
| Pollen intake | Enables wax gland development | Feed pollen substitute if natural sources low |
| Worker age | Weeks 2–3 are peak builders | Introduce new frame near brood nest |
| Energy reserves | Converts honey/nectar into wax | Avoid adding too many supers before flow |
For additional guidance on encouraging comb acceptance and foundation choices, see comb drawing guidance and a review of best foundation choices.
How to Get Bees to Draw Out Plastic Foundation Effectively
Success often starts with scent and timing. Apply a thick coat of melted beeswax with a foam roller or brush so the surface smells and feels familiar. That first cue makes a big difference.
Simulate a nectar rush by feeding a 1:1 sugar syrup when natural resources are scarce. A visible flow encourages workers to expand brood and store honey, which increases the chance they will accept new frames placed near drawn comb.
Place new material between existing drawn comb so the workforce follows an established blueprint. If the colony shows urgency for space or has strong stores, they will more readily build regular comb on synthetic sheets.
Use quality supplies from reputable suppliers like HONESTBEE when stocking commercial hives. Good plastic materials and a proper wax coat reduce problems and save time.

- Coat sheets with melted beeswax using a roller or brush.
- Simulate flow with 1:1 syrup when needed.
- Insert new frames between drawn comb near the brood nest.
- Monitor colony strength and adjust placement.
| Action | Why it works | Practical tip |
|---|---|---|
| Beeswax coating | Restores scent and tack | Use a foam roller for even coverage |
| Feed 1:1 syrup | Simulates nectar flow | Offer during slow seasons for short bursts |
| Place between drawn comb | Encourages straight comb | Put new frames next to brood for best results |
For more practical steps on using plastic foundation, see this guide.
The Importance of Colony Strength and Population
Only a well-staffed colony can spare the energy needed for major comb-building efforts.
A large workforce of young workers matters most. These bees produce the wax and labor required for new frames. If the population is low, the hive will focus on survival and brood warmth rather than expansion.
Check the brood box regularly. Ensure the queen has room to lay and that the box is not honey-bound. A crowded brood area slows brood rearing and limits comb growth.
Recognizing the Signs of a Ready Colony
- Consistent brood pattern and many young bees present.
- Active foraging and a visible nectar flow.
- Space for the queen to lay without jammed cells.
“A robust population is the clearest signal that the hive will invest in building new comb.”
When colonies are firing on all cylinders, workers use the brood box and nearby frames for growth. For placement guidance and swarm cues, see the discussion on placement of foundation and signs of a swarm at swarm preparation signs.
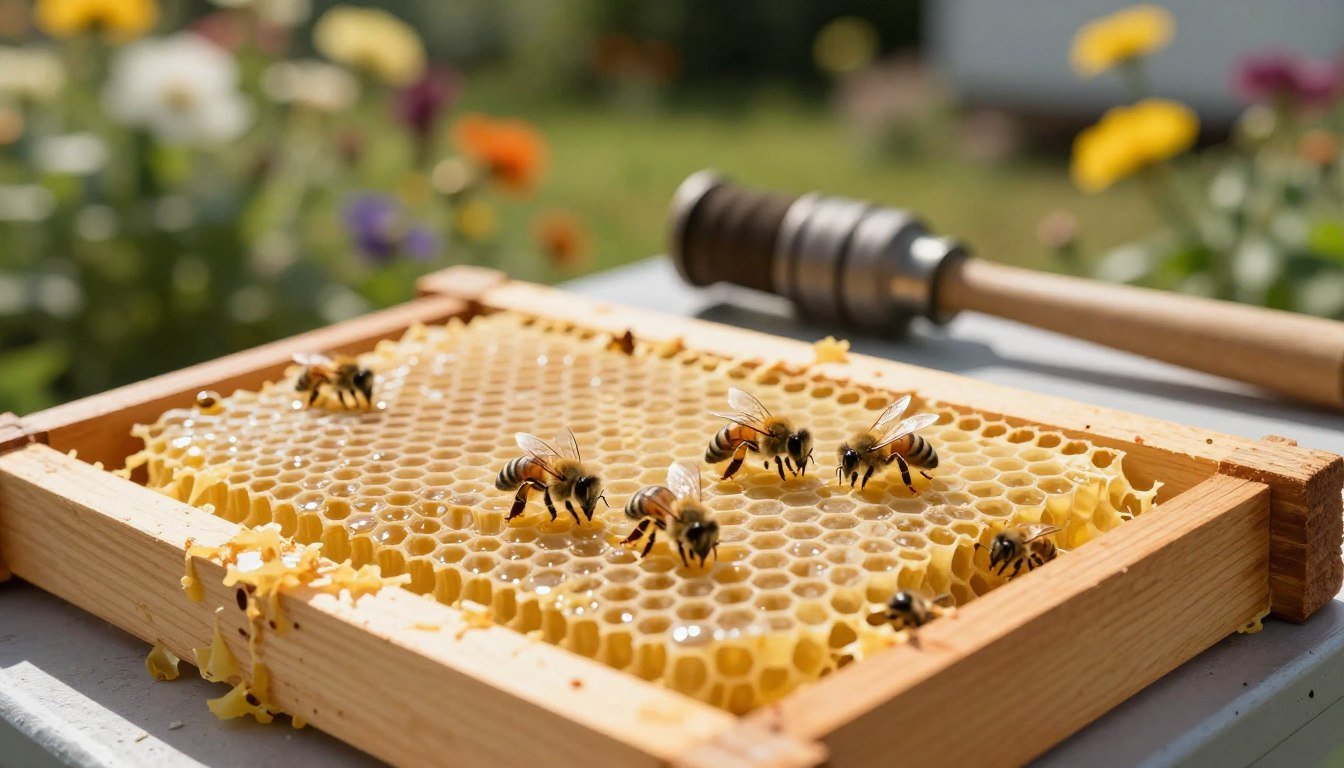
Preparing Your Plastic Frames for Better Acceptance
An extra beeswax layer changes scent and texture, which helps workers treat the frame like natural comb.
Start with clean material. Remove dust and residues before any coating. A tidy surface lets wax adhere evenly and prevents contamination in the brood area.
Use a foam roller to apply a thick, consistent coat of melted beeswax. The roller gives uniform coverage quickly and leaves a familiar scent that encourages comb construction.

Apply wax across the entire surface and along the frame edges. This consistent coating reduces the chance of irregular comb and helps the colony recognize the sheet for honey or brood.
- Clean and dry the frame before work.
- Warm beeswax and use a foam roller or brush for even coverage.
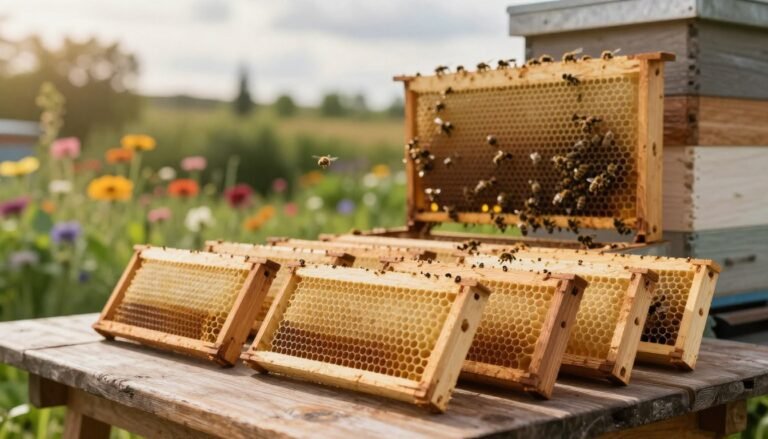
- Check that new frames sit straight in the hive near drawn comb and the brood nest.
| Preparation Step | Benefit | Practical Tip |
|---|---|---|
| Cleaning sheets | Better wax adhesion | Wipe with a dry cloth; avoid solvents |
| Thick beeswax coat | Familiar scent and tack | Use a foam roller for even layers |
| Place near drawn comb | Encourages straight comb and quick use | Insert new frames next to active brood |
For more on guaranteeing acceptance, read this practical guide on acceptance of plastic foundation.
Strategic Placement Within the Hive
Good placement guides natural behavior. Small, deliberate moves often direct the workforce and prevent messy brace comb. In spring, when expansion is likely, use space and drawn comb as a roadmap for building.
The Checkerboarding Technique
Checkerboarding means inserting a single new plastic frame between two fully drawn combs. This gives workers a clear template and encourages straight cell construction.
- Place one new frame between drawn comb on a mid-level bar.
- Keep the row aligned so the pattern continues naturally.
- Limit gaps; avoid large empty pockets that invite brace comb.
Utilizing Emerging Brood Areas
Put new frames in the upper brood box of a strong hive. That area hosts many young workers and is the hive’s growth center.
Bees are attracted to emerging brood. The scent and heat near those cells prompt building. By placing a wax or plastic foundation next to this activity, the colony treats the sheet as useful space for honey or brood.
- Match additions with local nectar flow and colony strength.
- Use drawn comb as a physical guide for new frames.
- Monitor progress and adjust placement if workers ignore a sheet.
“Use existing comb as a blueprint; it keeps new work tidy and efficient.”
Managing Seasonal Nectar Flows
A clear surge in nectar supply triggers workers to convert sugars into wax at higher rates. That energy push is the main driver for comb building and filling frames with honey.
When natural nectar is sparse, simulate a short burst of abundance. Feed a 1:1 sugar syrup for a brief period to encourage wax secretion and active use of new frames.
Plan major additions in spring and early summer. At that time the queen lays heavily and the colony will expand rather than backfill cells with stores.
In fall, egg laying drops and hives contract. Trying new boxes or extra supers then often fails because the system shifts from growth to conservation.
Watch for backfilling. If the queen lowers output, workers will store nectar in brood space instead of building fresh comb. Pause major changes until the next strong flow.

- Match additions with local bloom timing.
- Use syrup sparingly to mimic a natural flow.
- Place new frames near drawn comb and brood during a real or simulated flow.
| Condition | Effect | Practical Action |
|---|---|---|
| Strong nectar flow | Increases wax production and comb building | Add frames and supers during peak spring |
| No natural flow | Low wax output; little comb progress | Offer brief 1:1 syrup packs to stimulate work |
| Queen reduces laying | Backfilling of brood cells | Hold off on new foundation or extra boxes |
| Simulated short flow | Can jump-start comb acceptance | Place new plastic foundation near active brood; monitor closely |
For practical feeding guides and stepwise productivity tips, see this feeding and acceptance guide and an article on boosting hive productivity at Beekeepers Realm.
Troubleshooting Common Refusal Issues
When frames sit untouched, the cause is usually scent, coating, or timing.
Foreign smells and thin coatings often keep a hive from accepting a new sheet. Waxes and residues that seem odd will slow worker attention.
Also watch for a honey-bound brood box. If workers stash syrup in brood cells, the queen may stop laying. That halts comb progress and frustrates any attempt at expansion.
Simple fixes: Apply a thicker beeswax coat and place the frame next to emerging brood. Warm, active brood signals workers that the space is useful.
Be patient during weak seasons. Small colonies under a nectar dearth should not be forced into major building. Forcing effort can waste time and stores.
- Check scent and cleaning of the sheet.
- Thicker wax or beeswax coating improves acceptance.
- Move new frames near drawn comb and brood for best results.
| Problem | Likely cause | Quick action |
|---|---|---|
| Ignored frame | Unfamiliar scent or thin coat | Recoat with beeswax; place by brood |
| Honey-bound box | Excess stores in brood cells | Remove some stores; reopen brood area |
| Weak season | Low nectar flow and small workforce | Delay additions; offer short syrup only if needed |
“A thicker coat and correct placement usually fix the usual refusal problems.”
Conclusion
A careful, regular routine kept the hive working at peak efficiency through the year.
Successful beekeeping relied on guiding natural instincts rather than forcing change. Create brief periods of resource abundance, place frames where young workers were active, and keep inspections steady and respectful.
Always monitor the queen and overall colony health. Match additions of supers with strong growth phases and use proven supplies like bee frames with foundation when structure matters.
For setup and seasonal checks that kept colonies productive, see this beehive installation guide. Small, well-timed actions delivered the best results across the year.