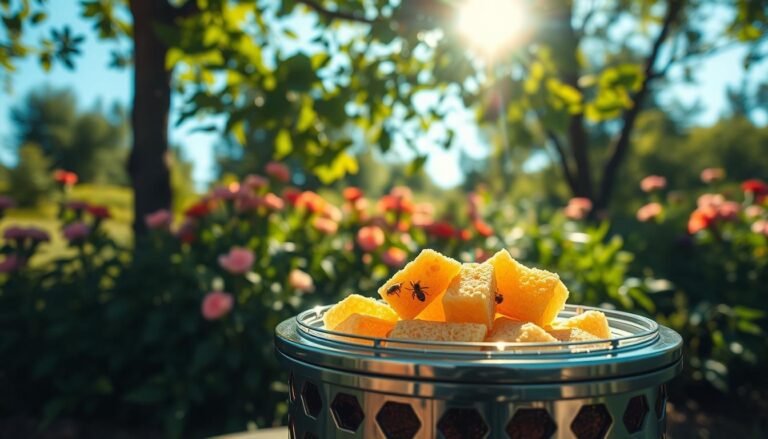
Sticky resin can be a real problem for beekeepers. Many community posts describe the trouble of scrubbed gear and slowed inspections. This introduction outlines practical, professional methods that keep your apiary working well.
Understanding the resin is step one. It helps you choose safe techniques for wood or plastic parts. Our approach aims to remove stubborn deposits without harming frame integrity.
We draw on field-tested tips and careful procedures. You will learn gentle scraping, rinsing, and drying steps, plus when to use mild sterilants. For detailed guidance on plastic foundation and post-cleaning care, see this plastic foundation guide.
Key Takeaways
- Sticky buildup is common; identify the type before work begins.
- Use gentle methods first to avoid damage.
- Rinse and sun-dry parts thoroughly after treatment.
- Follow PPE and safe-chemical guidance for sterilization.
- Document steps and monitor storage for pests and mold.
Understanding Propolis and Its Properties
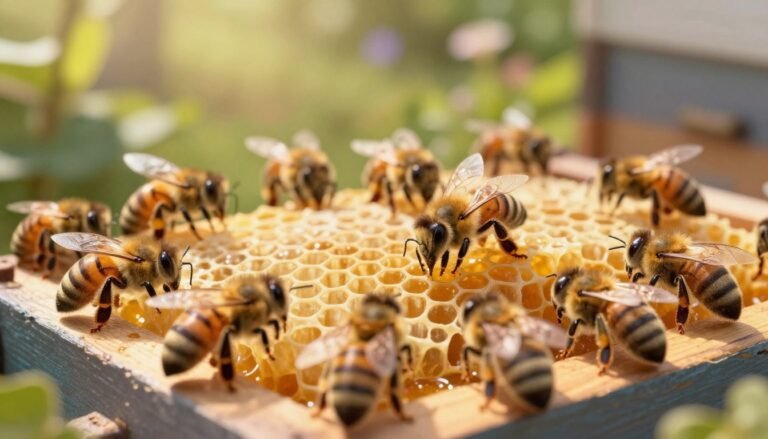
Propolis is a complex natural resin produced by bees from plant buds and exudates. It serves as a biological sealant and a disinfecting lining inside the hive. You will find a lot of it around hive entrances and on wooden parts where bees need protection.
Chemical Composition
Composition varies with local flora, producing colors from dark brown to near-concrete shades. Research shows this resin is soft and pliable at 25°C to 45°C, which explains why it molds to gaps and crevices.
When heated to 60°C–70°C it becomes liquid. That transition matters for treatments and for beekeepers preparing tinctures, since alcohol can dissolve some compounds but the resin remains stubborn.
Why Bees Use Propolis
- Bees apply it to seal cracks and deter predators.
- They line honeycomb cells and brood areas, aiding hygiene around the queen’s part of the colony.
- Heavy deposits can interfere with honey extraction and routine inspections.
For practical guidance on harvest and use, see the research on propolis harvest and use, and for tools useful in heavy colonies check this best hive tool guide.
Essential Tools for Beekeeping Maintenance
A compact kit of reliable instruments makes routine hive work faster and less stressful. A good set keeps inspections smooth and lowers the risk of damaging parts or spreading spores between colonies.
Start with basics: a standard hive tool is the single most important implement for prying and scraping sticky deposits. Add a sturdy scraper for heavier buildup and a soft bee brush for loose debris before deeper work.

Many beekeepers add a propolis trap under the lid. These plastic traps cost under $10 and catch a lot of resin while staying affordable.
- Keep your primary tool clean. A dirty implement can move debris and harmful spores across locations. For guidance on sanitizing implements between colonies, see tool sanitation practices.
- Invest in a durable scraper and a dedicated bee brush for frame prep.
- Using the right equipment saves time during seasonal inspections and reduces strain on the beekeeper.
For a full checklist and maintenance tips, consult a practical guide on beekeeping tool care.
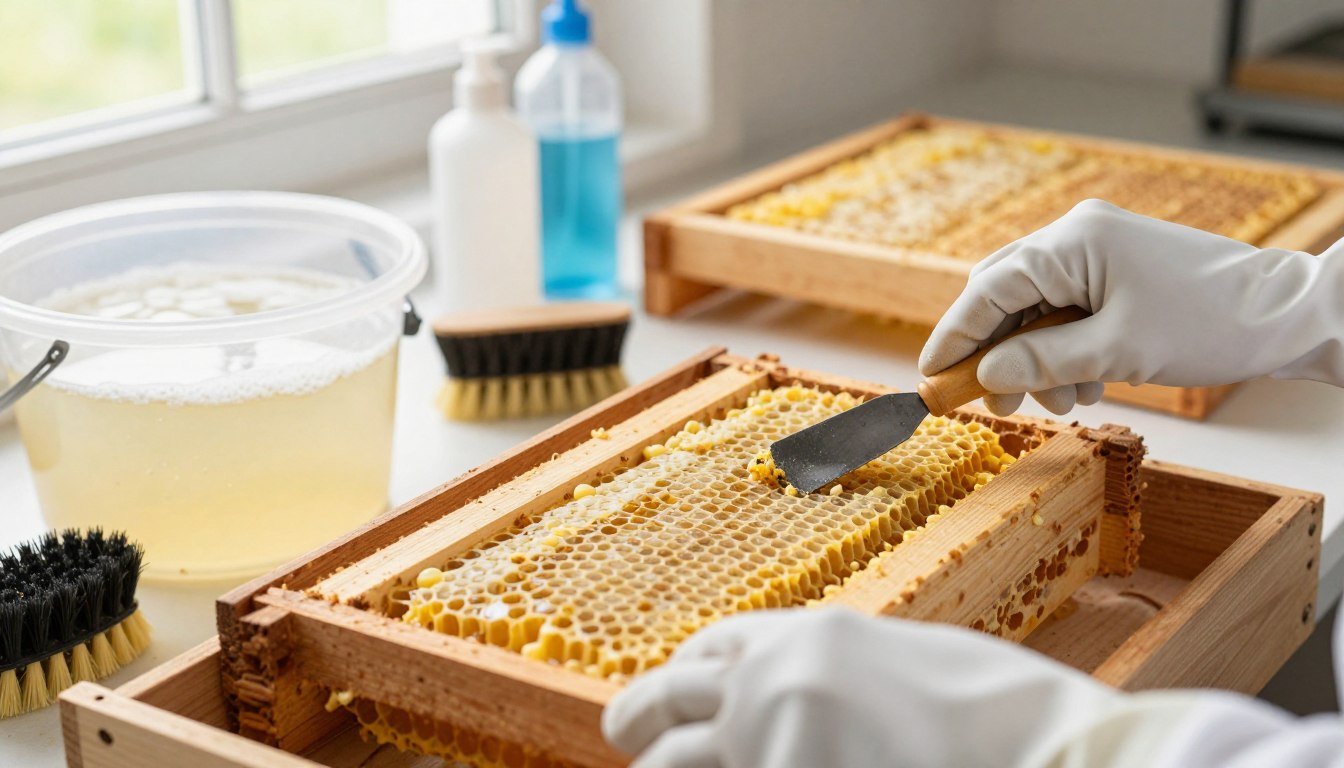
How to Clean Propolis Off Frames
Practical techniques blend cold, heat, and careful scraping to remove heavy resin without harming wood or plastic parts. Use gentle steps first and reserve stronger treatments for stubborn buildup.
Freezing Techniques
Freeze frames for at least 24 hours to harden deposits. The cold makes propolis brittle and easier to chip away with minimal force.
Watch plastic closely. A freezer-hardened plastic part can fracture if you apply too much leverage.
Using Heat Safely
A hot water rinse will soften resin and wax. Keep temperatures high enough to melt wax but low enough to avoid warping frames.
For stubborn areas, brief alcohol soaks will dissolve bonds. Rinse with water afterward and let parts dry in sun.
Mechanical Scraping Methods
Use a sharp hive tool for scraping hardened deposits. Work slowly and test each part, since this is physically demanding and can damage thin wood.
| Method | Best for | Notes |
|---|---|---|
| Freezer | Heavy, brittle propolis | Safe for wood; caution with plastic and freezer times |
| Hot water | Waxy residues | Use controlled temp; follow with drying |
| Alcohol soak | Stubborn resin bonds | Prepare small solution; rinse with water after |
| Hive tool scraping | Final manual removal | Work slowly; use proper PPE and a covered basin |
For community tips on severe buildup, see a focused discussion at propolis-clogged frames.
Managing Propolis on Other Hive Components
Routine gear care keeps inspections quick and reduces cross-hive contamination. Proper attention to suits, gloves, veils, and smoker parts lowers stress for bees and people.

Cleaning Protective Gear
Start by treating fabric suits with washing soda. Mix warm water and washing soda and soak stained areas briefly. Hand wash with a soft brush to lift sticky chunks that machines miss.
Leather gloves benefit from a cold chlorine water soak to loosen wax. After rinsing, apply a light conditioning oil to keep leather flexible.
“Even faint alarm pheromones on clothing will unsettle a hive — thorough washing protects both bees and beekeeper.”
Smokers need regular scraping of soot and a vinegar rinse in the bellows and airways. For multi-hive operations, scrub and sanitize every hive tool between locations.
| Item | Recommended treatment | Note |
|---|---|---|
| Bee suit (fabric) | Washing soda soak, hand brush, rinse in water | Removes wax and sticky deposits; dry in sun |
| Leather gloves | Cold chlorine water soak, oil conditioner | Prevents stiffness and preserves grip |
| Smoker | Scrape soot, vinegar rinse, air dry | Maintains airflow and reduces smoke residue |
| Veil and mesh | Hand wash separately in mild detergent and water | Protects delicate fabric and removes pheromones |
For sterilization guidance and approved methods, consult the hive cleaning and sterilisation guide. For specifics on bleach and equipment, review this bleach solutions for equipment.
Best Practices for Storing Cleaned Equipment
A solid storage routine extends the lifespan of hive parts and tools. After washing and drying, freeze drawn-out frames for at least 24 hours to kill wax moth eggs and other pests.
Wrap plastic components carefully once dry. Use breathable protective material and store in a cool, dry spot to prevent warping and UV damage.
- Store your primary tool in a clean container. This saves time when you prepare for spring inspections.
- If alcohol was used, allow full evaporation before long-term storage so no residues remain.
- Boiling water sterilization for wooden boxes is an effective step before putting items away.
Keep all parts out of direct sunlight. UV exposure can make materials brittle and shorten their usable life.
Proper storage of hives and frames is the final step in a safe maintenance cycle. For advice on repairing worn boxes before storage, see this repair damaged hive boxes.
Conclusion
A steady routine of maintenance saves time and protects hive health across seasons. Good habits in the workshop and yard support beekeeping goals and keep the bee colony resilient.
Maintaining gear matters. As noted in related posts, techniques like freezing and gentle scraping are essential for managing stubborn propolis deposits and preserving timber and plastic parts. See this keep it clean guide for practical steps.
Regular upkeep limits disease spread, extends tool life, and simplifies seasonal work. For sterilization tips that complement manual methods, review how to sterilize hive tools with flame.
Prioritize safety and cleanliness so your interactions with bees remain positive and productive all year.
FAQ
What is propolis and why do bees use it?
Propolis is a resinous mixture bees collect from tree buds and sap. They use it to seal gaps, reinforce the hive structure, and limit pathogens. Its sticky, antimicrobial nature makes maintenance necessary for hive management.
What tools work best for removing hardened residue from frames?
A sturdy hive tool, metal scraper, and putty knife remove most deposits. For plastic frames, use a plastic scraper or a soft-bristled brush to avoid damage. Keep tools dedicated to hive work and clean them with warm water and food-grade alcohol when needed.
Is freezing an effective method for loosening sticky build-up?
Yes. Placing frames in a freezer for a few hours makes the resin brittle and easier to snap or scrape away. This method reduces mess and preserves wax and foundation better than aggressive scraping.
Can gentle heat help soften material without harming comb or honey?
Controlled heat from a heat gun or hot water can soften deposits for safer removal. Avoid high temperatures near comb to protect honey and brood. Use low settings and keep heat moving to prevent warping or melting plastic parts.
Are solvents like alcohol safe for use on hive parts?
Food-grade alcohol or isopropyl alcohol can dissolve sticky residue on metal and plastic tools. Use sparingly, rinse thoroughly, and allow full evaporation before returning frames to the hive to avoid chemical residues that might stress bees.
What mechanical scraping techniques minimize damage to frames?
Apply steady, even pressure with the blade at a shallow angle. Work from the edge inward and lift rather than gouge. For stubborn areas, freeze first or soften with heat to prevent tearing foundation or removing paint.
How should protective clothing and fabric get treated after exposure?
Remove excess material manually, then wash gear in hot water with a mild detergent. For heavy build-up, pre-soak items or use a solvent-safe wipe on hard surfaces. Inspect and repair suits and veils regularly to maintain protection.
What’s the best way to store cleaned frames and parts to prevent re-contamination?
Store dry, clean frames in a sealed, ventilated crate or freezer if long-term. Keep wooden parts in a cool, dry spot away from pests. Label and rotate stored equipment so older, treated items return to service first.
When should a beekeeper replace frames rather than attempt restoration?
Replace frames with severe warping, broken foundation, persistent contamination, or significant loss of usable comb. Restoration is practical for minor build-up; replacement saves time and preserves hive health when damage is extensive.