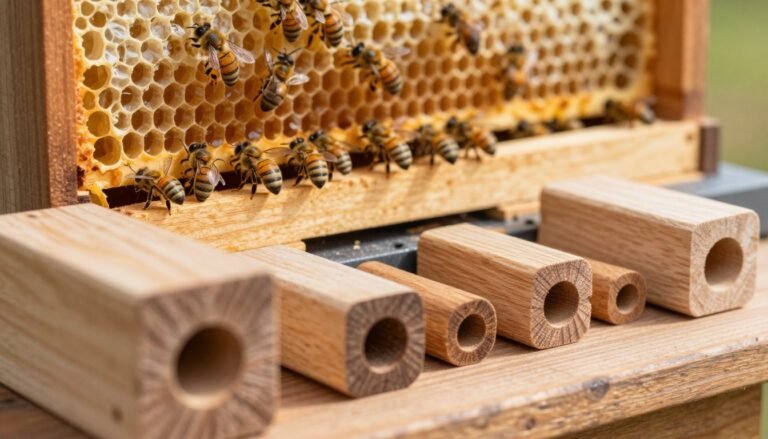
Mastering the position of the small slot on a Langstroth lid. This simple move shapes airflow, creates a top entrance, and helps control burr comb during heavy honey flow.
Chari Elam of The Bee Supply notes that a proper inner piece stops bees from propolizing the telescoping outer lid to the box. That saves time at inspections and preserves the lid.
Experienced beekeepers have debated this for years. Placing the slot just right balances ventilation and security. A small hole center gives bees enough space to move while limiting unwanted comb.
Learn how to shift the slot to create a top entrance during summer flow, or tighten ventilation for winter. These tweaks are a practical way to protect brood, honey, and your hive’s health.
Key Takeaways
- Adjusting the slot is a basic skill for any beekeeper managing a Langstroth hive.
- Using the inner piece prevents propolizing the telescoping outer lid to the box.
- Proper placement balances ventilation and reduces burr comb formation.
- A top entrance helps bees during heavy honey flow and eases inspections.
- Small changes to the hole center affect air, space, and colony comfort.
Understanding the Role of the Inner Cover Notch
How you position that tiny opening affects bee traffic, moisture, and comb habits.
“The notch should be open to the bottom to prevent bees from building comb between the lid and the inner cover.”
Charlotte’s advice helps prevent burr comb that can glue the lid to the box. Leaving the slot open to the bottom stops bees from starting comb in the gap.
Many beekeepers also use the hole center to set a feeder above an empty honey super. This keeps honey and feeders separate and limits comb in unused space.
- Winter access: A two-bee space notch gives a secondary entrance if snow blocks the front bottom entrance.
- Telescoping outer cover: The inner piece acts as a barrier that makes lid removal easier for the beekeeper.
- Air management: Proper placement helps ventilation and reduces moisture during cold months.
How to Adjust Your Inner Cover Notch Up or Down
Small tweaks to the lid slot change how air moves through the hive and how bees use the top entrance.

Turn the notch side down and place that side at the front of the hive to encourage steady airflow. If the weather is warm, prop a corner of the lid with a small rock or twig to boost ventilation without making a wide opening.
When the notch is too small, remove a half inch from the border or drill a 1/2″ hole at the hole center. Charlotte Ekker Wiggins recommends this as a simple fix that keeps bees moving while limiting burr comb.
Creating a Top Entrance
During heavy nectar flow, slide the telescoping outer cover forward so the hive has a top entrance. This gives forager bees a second route and eases traffic at the front entrance.
- For more air: use a thin strip of wood or a popsicle stick to widen the gap slightly.
- To make a notch: remove a half inch of the border or drill a 1/2″ hole as Charlotte suggests.
- Balance security: provide enough space for bees to move, but avoid an opening too large for the colony to defend.
For seasonal tips on moisture and temperature, see winter hive management and practical temperature tips for hives.
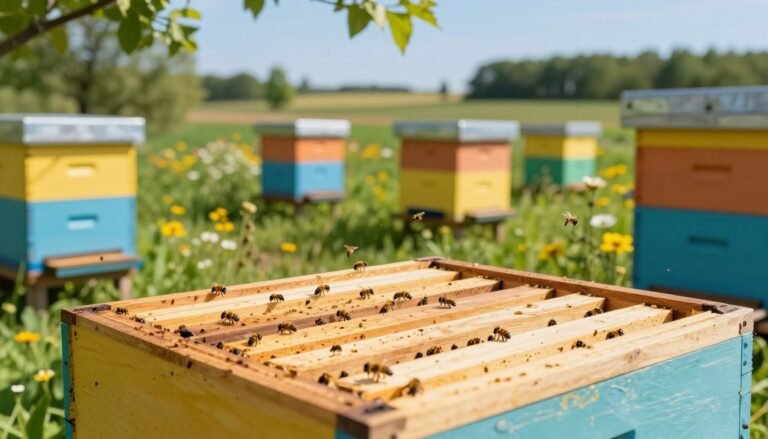
Seasonal Management for Hive Health
Managing air and moisture at the hive’s top keeps bees healthier through cold months.
Winter Moisture Control
Condensation is the main threat in winter. Warm air from the bee cluster can hit cold surfaces and form water that drips onto the brood. That weakens the colony fast.
Give the bees a dry space above the cluster to protect them from dripping moisture.
Use the inner piece to create a small insulated space. Placing a super or eke filled with dry wood shavings or white sugar above this space helps absorb excess water.
- Absorbent layer: Add shavings in a spare super to trap condensation.
- Upper entrance: Flip a small slot to act as a top entrance when the bottom is blocked by snow.
- Migratory option: In regions that stay above 60°F, some beekeepers choose a migratory lid instead of the inner layer to save time and gear.
Before cold weather, check that the inner piece is not encouraging burr comb during flow. For guidance on positioning and wet-climate care, see this inner cover positioning guide and tips for managing hives in wet climates.
Conclusion
A simple change at the hive’s top can improve airflow and reduce moisture damage. Learning to adjust the inner cover gives you a practical way to balance summer ventilation with winter protection. This small skill helps sustain brood health and honey production.
Check local conditions before you decide how to use inner cover features. A telescoping lid combined with the proper inner piece eases inspections and creates a reliable secondary entrance when needed. For guidance on lid layout, see the Langstroth lid guide.
Monitor your hive often and adapt the cover setup as seasons change. For cold regions, consider solutions like an insulated wrap; learn more about a recommended cold-climate wrap. Consistent checks are the best way to keep colonies thriving.
FAQ
What does adjusting the inner cover notch do for a hive?
Adjusting the notch changes airflow and access at the top of the hive. Shifting the notch creates a narrow opening that improves ventilation, helps release moisture, and can serve as a secondary entrance for bees during warm months or when adding a feeder or honey super.
When should I move the notch to create a top entrance?
Create a top entrance in spring and summer to aid cooling and reduce congestion at the main lower entrance. A small top opening helps bees ventilate the brood area, supports foragers flying in and out, and provides emergency escape routes without exposing the colony to predators.
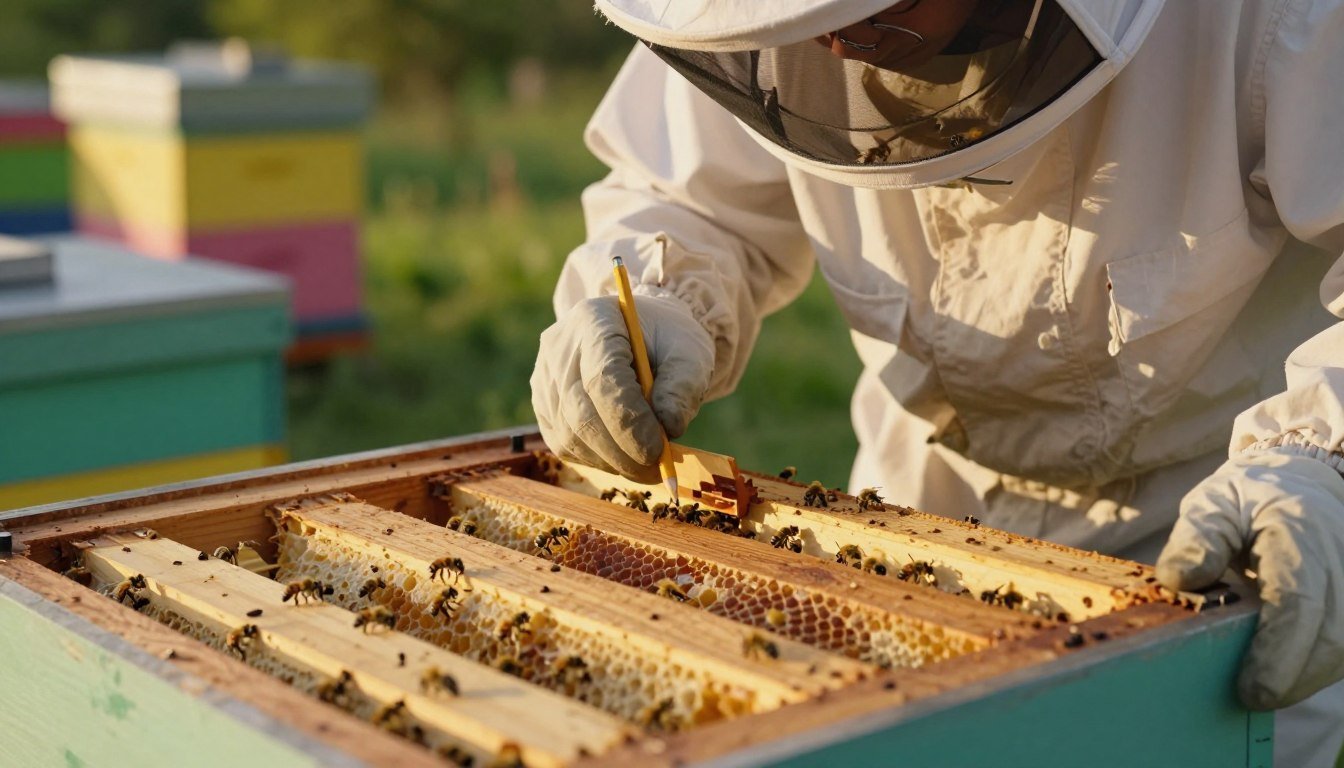
How do I adjust the notch without disturbing the bees?
Lift the telescoping outer cover slightly, slide the side inner piece to align the hole over the center, then lower the outer cover back in place. Make small adjustments during calm weather or mid-day when foraging activity is high to minimize disruption.
Will creating a top entrance reduce burr comb and robbing?
A modest top opening can reduce congestion-related burr comb by allowing better traffic flow inside the box. It does not directly prevent robbing; maintain small, defended lower entrances and monitor hive strength during nectar dearths to limit robbing risk.
How does the notch setting affect winter moisture control?
In cold months, close the notch to minimize drafts and retain heat. Proper ventilation remains important to prevent condensation, so use a small off-center hole in the lid or a ventilation shim to allow moist air to escape while keeping the colony warm and dry.
Can I use a feeder with the notch open?
Yes. When using an internal feeder, align the notch or top hole to provide bees easier access and extra air movement. Ensure the feeder sits securely and does not create excess space that invites pests or lets syrup leak into the hive.
Does the notch position affect honey production or brood health?
Proper airflow supports brood development and honey flow by stabilizing temperature and humidity. A correctly positioned notch helps bees manage those conditions, but strong colony management, adequate space in the honey super, and timely inspections remain primary factors.
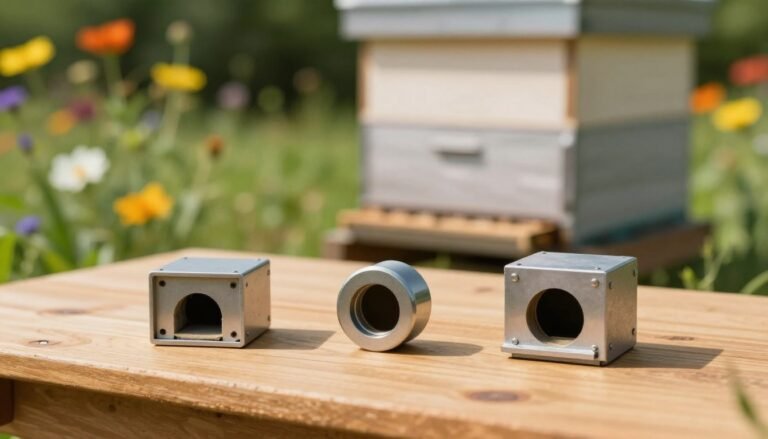
What tools or parts do I need to adjust the notch?
Use standard equipment: a telescoping outer cover, the side inner plate with a center hole, and a top lid or shim if needed. No special tools are required—just steady hands and attention to bee activity and weather when making changes.
How much space should I leave when creating a top entrance?
Leave a small gap—just enough for bees to pass comfortably, typically around 3/8 to 1/2 inch. Too big an opening increases exposure to wind and cold, while too small limits ventilation benefits and traffic flow.
Are there risks to frequently changing the notch setting?
Frequent, large changes can stress the colony and invite pests if gaps are left. Make gradual adjustments and observe colony response over days. Seasonal tweaks are normal; avoid unnecessary moves during winter or extreme weather.