Clear identification of the breeding female speeds inspections and helps you track productivity across colonies. Carol Maier, a noted entomologist, stresses that reliable tags and visible dots cut handling time and reduce stress during field checks.
For the diligent beekeeper, choosing a dependable marker makes a real difference. A quality marker lets you spot the queen bee fast, record her hatch year, and return her safely to the hive.
Practical choices favor water-based inks, fine tips for precise dots, and quick-dry formulas that limit smears. Experienced pros pair markers with simple handling aids to keep inspections smooth.
Learn product picks and technique in our detailed guides, like this best marking pen for queen review and the high-precision queen marking tools overview.
Key Takeaways
- Identify fast: A visible mark saves time during inspections.
- Choose safe inks: Water-based formulas reduce risk to bees.
- Use fine tips: Small dots prevent harm and stay readable.
- Pair with tools: Simple catchers lower colony stress.
- Track performance: Marking helps monitor queens over the season.
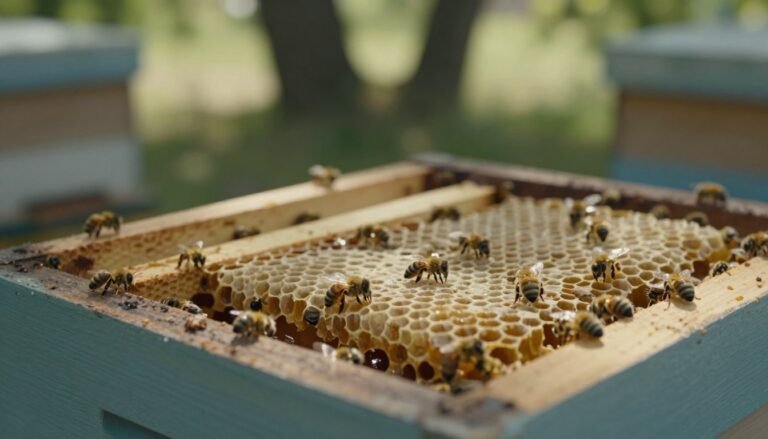
Why You Need the Best Queen Marking Pen for Your Hive
Knowing exactly which female leads a colony speeds decisions about replacement and boosts apiary productivity. Clear identification helps you manage the age of queens and decide when to requeen.
When you track queen performance, you can spot which queens lay consistently and which reduce brood growth. That data improves long-term management and protects your investment.
“A visible mark lets you find the breeding female instantly, even among thousands of worker bees.”
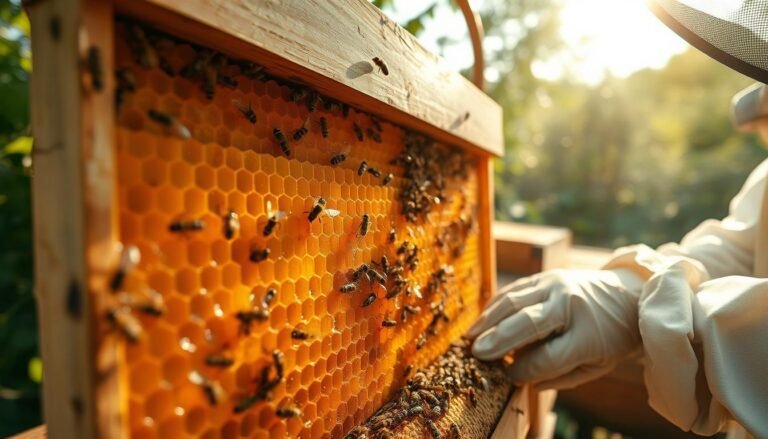
Professional beekeepers keep simple, accurate records. A marked female makes inspections faster and reduces hive disturbance. This saves time and lowers stress for the colony.
| Benefit | What it Helps | Outcome |
|---|---|---|
| Age tracking | Record queen age | Better requeening decisions |
| Performance monitoring | Observe laying patterns | Improved brood health |
| Faster inspections | Locate female quickly | Less hive disturbance |
Learn more about suitable kits in our queen marking kit guide and explore broader apiary strategy with these apiary expansion tips.
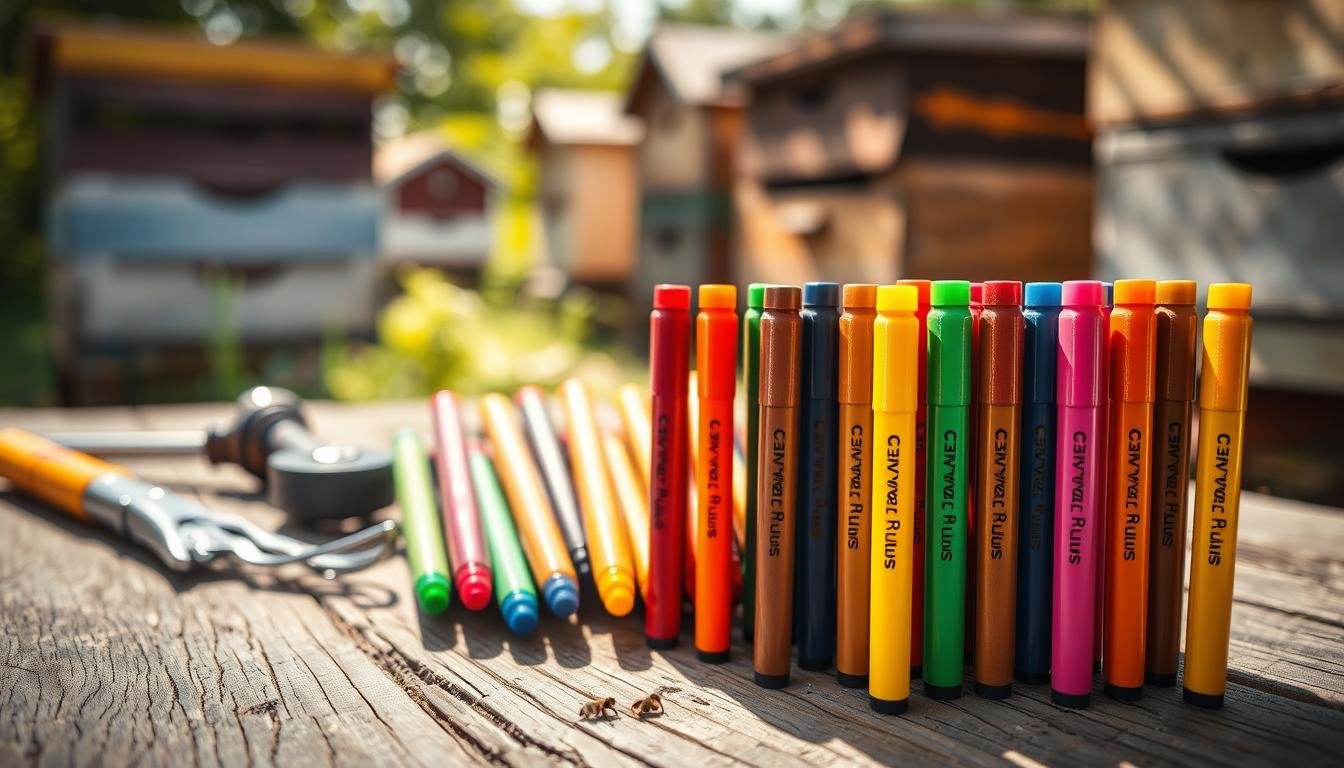
Top Rated Marking Kits and Pens for Beekeepers
A compact kit can save time at inspections and keep the hive calm during routine checks.
Choose tools that pair reliable colors with catcher aids so you can work with control on any frame.

Premium All-in-One Kits
BeeCastle 10pcs Queen Bee Marking Kit ($31.99) bundles POSCA pens and a catcher set. It holds 5-star reviews from 6 beekeepers and is ideal for those who want full-color options and secure handling.
Precision Fine-Tip Markers
Walfront Queen Bee Marking Pen ($9.36) offers a fine tip for accurate dots and a smooth flow. Users give it a 5-star score across 3 reviews, noting its control on small targets.
Budget-Friendly Options
Qualirey 12 Pcs Queen Bee Marker Kit ($13.99) includes eight pens and four metal clips. With a 4.8-star rating from 6 reviews, it covers multiple colors and offers good value for newcomers.
| Kit | Price | Includes | Rating (reviews) |
|---|---|---|---|
| BeeCastle 10pcs | $31.99 | POSCA pens, catcher set, multi-colors | 5.0 (6) |
| Walfront Fine-Tip | $9.36 | Fine-tip marker, smooth flow | 5.0 (3) |
| Qualirey 12 Pcs | $13.99 | 8 pens, 4 metal clips, assorted colors | 4.8 (6) |
These kits help you track queen age and lineage with clear colors and consistent marks. For deeper product analysis and user experiences, see this roundup of pen reviews and related beekeepers resources.
Essential Factors to Consider Before You Buy
A reliable tool that balances safety and visibility streamlines every hive visit. Choose equipment that helps you work quickly while protecting the breeding female and the colony.
Ink Durability and Safety
Start with ink that is non-toxic and water-based. This protects the queen bee and limits chemical exposure to the colony.
- Durability: Pick a marker whose ink lasts through inspections, humidity, and seasonal wear so the color stays legible.
- Tip: A 0.5mm chisel tip gives a precise, bold line without covering the thorax.
- Ergonomics: Look for pens designed for control so beekeepers can apply dots accurately and fast.
- Colors: Choose high-contrast colors to spot the marked individual among thousands of bees.
- Reviews: Read real-world reviews to confirm how a marker performs in hives.
For practical technique and a step-by-step guide, see how to queen mark. If you need broader supply advice, check a guide on choosing beekeeping equipment.
Understanding the International Queen Color Code
A simple color standard removes guesswork when you inspect colonies each season.

The international color code assigns five colors to years so you can tell a queen’s hatch year quickly.
White is used for years ending in 1 or 6. Yellow marks years ending in 2 or 7. Red covers years ending in 3 or 8.
Green denotes years ending in 4 or 9. Blue is for years ending in 0 or 5. This five-year rotation keeps records consistent worldwide.
Why it helps: Using these colors makes it easy to spot queens in the hive and to note their age without checking files.
Practical benefit: Following the system simplifies requeening plans and performance checks across multiple apiaries.
For a concise reference and visual chart, see this color guide.
Expert Tips for Safe and Precise Application
A steady hand and the right routine keep the process safe for the marked female and the colony.
Preparing the queen for marking
Gather your tools before you open the hive: a clean marker or pen, a gentle catcher, and a soft sponge or small cage. Work on a calm day so the bees stay quiet and your time in the hive is short.
Locate the insect on the frame carefully. Move slowly and keep control to avoid startling workers. Test the ink flow on paper first to make sure the dot will be small and even.
Avoiding common application mistakes
Hold the bee gently so you do not press on wings or cover vital parts. Apply one small dot of color to the thorax and step back to confirm it dries.
“Control and calm reduce colony stress and make the process repeatable.”
Read product reviews of different pens to find tools recommended by experienced beekeepers. Proper management and practice will shorten your inspections and protect the hive.
Final Thoughts on Maintaining Hive Records
Keep clear records after every inspection to turn a small dot into meaningful hive history. After you apply a mark, log the date, color, and frame location so the record matches what you see in the field.
Consistent entries save you time on future checks and improve long-term management. Clean and cap your pens and marker tips between uses so tools are ready when you need them.
Use a brief log or digital notes and pair routine checks with broader hive monitoring tools found in this hive monitoring resources. For a practical marking method review, see this marking guide.
Good records make beekeeping easier. They help beekeepers spot which queens and colonies need attention and give you more time to enjoy the bees.
FAQ
What types of marking kits and tools are available for identifying a hive queen?
Marking options include all-in-one kits that combine holders, stickers, and markers; fine-tip markers for delicate application; and budget-friendly pens for occasional use. Kits from reputable beekeeping brands often include a simple queen holder and non-toxic ink formulated for bees. Choose a tool that matches your comfort level and how often you inspect hives.
How do I choose ink that is safe for bees and long-lasting?
Look for inks labeled non-toxic and designed specifically for beekeeping. Alcohol-based inks dry quickly and resist wear, while some water-based formulations are gentler but may need touch-ups. Verify the product notes for weather resistance and compatibility with wax and propolis to ensure durability during inspections and seasonal changes.
What is the International Queen Color Code and how does it help with hive management?
The International Queen Color Code assigns a color to each year-ending digit, making it easy to track a queen’s age at a glance. Using the correct color helps with swarm control, replacement planning, and record keeping. Display the color in your hive logs so you and other beekeepers can maintain consistent records across apiaries.
When is the best time during an inspection to mark a queen?
Mark a queen when she is calm and easy to handle—typically during a routine inspection when brood patterns and colony behavior appear normal. Avoid marking during extreme temperatures or when the colony is highly defensive. Quick, confident handling reduces stress on the queen and the colony.
How do I prepare a queen for marking without harming her?
Use a gentle queen catcher or holder designed to immobilize her briefly. Wear gloves if needed and work over a soft surface. Keep movements steady and limit the time the queen spends restrained. Apply a small dot of ink to the thorax only after the queen is secure and the ink is suitable for bees.
What tip size should I use for precise application on a queen?
Fine or extra-fine tips offer the most control and reduce the risk of covering too large an area. A narrow tip helps place a small mark on the thorax without touching legs or wings. Test on a non-living surface first to confirm flow and color intensity.
How often should I re-mark a queen or check the marking color?
Inspect the mark each season or whenever you suspect wear. Re-marking frequency depends on ink durability, hive activity, and environmental exposure. Some marks last multiple seasons; others need refreshing after heavy cleaning or frequent handling.
Can marking affect a queen’s pheromones or acceptance by the colony?
When done correctly with approved inks, marking does not significantly alter pheromone profiles or colony acceptance. Use small dots and avoid covering large areas of the thorax. Proper technique and non-toxic inks minimize disruption to social cues within the hive.
Are there affordable marking solutions for hobby beekeepers on a budget?
Yes. Budget-friendly markers and simple plastic queen catchers provide effective options for occasional use. They may not have the longevity or advanced features of premium kits, but they perform well for basic identification and tracking during regular inspections.
What are common mistakes to avoid when applying a mark to a queen?
Avoid using untested inks, applying large blobs of color, or restraining the queen too long. Don’t mark near wings or legs. Also, don’t skip testing marker flow before use—excess ink can smear and stress the queen or the colony.
How should I record queen age and marking color in my hive logs?
Note the marking color, date of application, and any observations about the queen’s behavior and brood pattern. Use a consistent format across your apiary records. Digital spreadsheets or dedicated beekeeping apps help filter by color, age, and inspection notes for better long-term management.
Which brands and models are recommended for reliable performance and safety?
Choose well-reviewed beekeeping suppliers that specify non-toxic, beekeeping-grade ink and provide clear usage instructions. Established agricultural and beekeeping brands tend to offer tested products with consistent quality. Read user reviews and product specs for ink composition, tip size, and kit inclusions before buying.
How do environmental factors like heat and humidity affect a queen mark?
High heat can soften some inks, causing smudging, while heavy humidity may slow drying and reduce adhesion. Pick inks rated for outdoor conditions and plan marking during cooler, dryer parts of the day. If you operate in a wet climate, expect to reapply more often.
Can I use colored stickers instead of ink for marking a queen?
Colored stickers exist but are less common and can interfere with the queen’s movement or attract excessive attention from workers. If you choose stickers, use small, lightweight options designed for bees and monitor the colony for any negative reactions.
What safety gear should a beekeeper use when marking a queen?
Wear standard protective clothing—veil, gloves, and a jacket—especially if the colony is defensive. Use tools like a queen catcher and a soft holder to minimize direct contact. Maintain calm, steady handling to keep both the queen and keeper safe during the process.