Published August 28, 2026
Table of Contents
- The Named Trap Landscape at a Glance
- Freeman Beetle Trap
- West Beetle Trap
- Beetle Baffle
- AJ’s Beetle Eater
- Side-by-Side Comparison
- Oil Choice and Refilling
- Combining Multiple Trap Types
- What No Trap Solves on Its Own
- Cost Comparison Across the Four Products
- Regional Beetle Pressure Affects Which Approach Makes Sense
- Installation Walkthrough for Each Type
- Signs a Trap Is Actually Working
- Seasonal Timing for Installation
- Addressing the Soil Stage, Not Just the Hive
- Scaling Across Multiple Hives
- Trap Effectiveness Depends on Colony Strength
- Common Mistakes
The Named Trap Landscape at a Glance
Our general guide to hive beetle traps that actually work covers trap categories broadly — bottom-board traps, in-frame traps, above-frame traps. This guide goes a level deeper, comparing four specific, widely available named commercial products by design mechanism, placement, and real practical tradeoffs, since the category-level guidance doesn’t tell you which actual product to buy.
Freeman Beetle Trap
The Freeman trap replaces the hive’s standard bottom board entirely with a screened unit containing a removable oil-filled tray beneath the screen — beetles that fall or are chased through the screen by defending bees drop into the oil below and drown, without needing to navigate into a small in-frame device. Because it replaces the whole bottom board rather than sitting inside the hive body, it also functions as a screened bottom board for mite management, giving it a genuine dual-purpose advantage over trap designs that only address beetles. The tradeoff is cost and installation effort — it’s the most involved of the four to retrofit onto an existing hive, since it requires replacing hardware rather than simply inserting a small trap between frames.
West Beetle Trap
The West trap is a small, low-profile oil-filled tray designed to sit on the bottom board itself, beneath the frames, rather than replacing the bottom board like the Freeman design — beetles seeking dark, tight refuge spaces (their natural hiding behavior) crawl into the trap’s channels and drown in the oil reservoir. It’s simpler and cheaper to add to an existing hive than the Freeman design since no hardware replacement is needed, but it also doesn’t double as a screened bottom board, so any mite-management benefit has to come from a separate setup if you want one.
Beetle Baffle
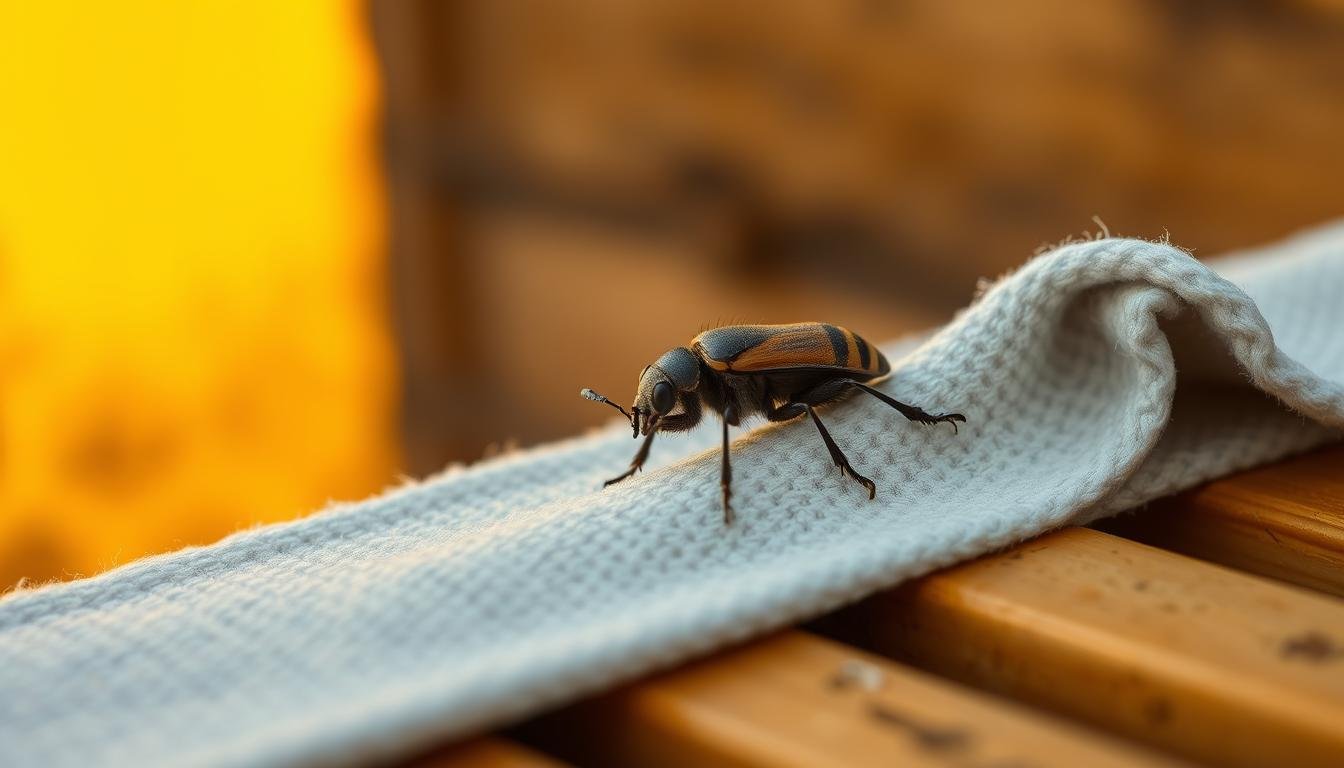
Beetle Baffle takes a fundamentally different, non-trapping approach: rather than luring and drowning beetles, it’s a slick coating or barrier applied to the hive’s legs or stand, physically preventing beetles from climbing up into the hive from the ground in the first place. This makes it a genuinely complementary product to the oil-tray trap designs rather than a direct substitute — Beetle Baffle addresses beetles trying to enter from outside, while Freeman, West, and AJ’s address beetles already inside seeking shelter.
AJ’s Beetle Eater
AJ’s Beetle Eater is another in-hive oil-tray design, generally positioned as a lower-cost, simpler alternative that sits on top of frames or on the bottom board depending on the specific model, using the same basic oil-drowning mechanism as the West trap. The main practical distinction between AJ’s and West tends to come down to capacity (how much oil and beetle volume the tray holds before needing a refill/cleanout) and specific placement flexibility — check current product specifications directly, since exact designs and capacities can change between product revisions.
Side-by-Side Comparison
| Trap | Mechanism | Installation Effort | Dual Mite Function |
|---|---|---|---|
| Freeman | Screened bottom board + oil tray | High (hardware replacement) | Yes |
| West | Oil tray on existing bottom board | Low | No |
| Beetle Baffle | Physical climb barrier (non-trapping) | Low | No |
| AJ’s Beetle Eater | Oil tray, various placements | Low | No |
Oil Choice and Refilling
All three oil-tray designs (Freeman, West, AJ’s) need a food-grade mineral oil or vegetable oil reservoir refreshed periodically — how often depends on beetle pressure and how quickly the oil gets fouled with debris and dead beetles, but checking every routine hive inspection and topping off or fully replacing the oil at that point is a reasonable baseline schedule. An empty or badly fouled trap provides essentially no ongoing protection, so this maintenance step isn’t optional if you want the trap to keep working through a full season.
Combining Multiple Trap Types
Because Beetle Baffle addresses beetle entry from outside while the oil-tray designs address beetles already inside, using both together — a Baffle-type barrier on the hive stand plus an in-hive oil trap as a backup for any beetles that get past the barrier — covers more of the beetle’s actual life cycle and behavior pattern than relying on either approach alone. For heavy beetle pressure regions specifically (much of the southeastern U.S.), this layered approach is generally more effective than betting on a single product type.
What No Trap Solves on Its Own
Traps reduce adult beetle numbers inside the hive but don’t address beetle larvae that have already left the hive to pupate in surrounding soil, which is why soil-drench treatments around the hive stand are sometimes used alongside trapping in heavy-pressure situations. Traps also work best supporting an already strong, well-populated colony that can defend comb and chase beetles into the traps in the first place — a weak, understaffed colony will struggle against beetle pressure regardless of how many traps are installed — see our guide to identifying small hive beetle damage for what to look for during inspections, since trap effectiveness partly depends on the bees’ own defensive behavior driving beetles toward the traps.
Cost Comparison Across the Four Products
Beetle Baffle and the simpler oil-tray traps (West, AJ’s) are generally the lowest-cost entry points, while the Freeman trap’s full bottom-board replacement design carries a meaningfully higher upfront cost, reflecting both more material and its added screened-bottom-board function. Factor in that Beetle Baffle is typically a one-time, largely maintenance-free installation once applied, while the oil-tray designs carry an ongoing (if modest) cost in oil replacement over a season — the cheaper upfront option isn’t necessarily the cheaper option over a full year of use once maintenance is factored in.
Regional Beetle Pressure Affects Which Approach Makes Sense
Small hive beetle pressure varies substantially by region, generally heaviest across the warm, humid southeastern United States where the beetle’s soil-pupation stage thrives, and lighter in cooler, drier climates. In low-pressure regions, a single trap type — or even relying primarily on strong colony management without dedicated trapping products at all — may be perfectly adequate, while high-pressure regions generally benefit from the layered, multi-product approach described above. Check with your local extension office or beekeeping association for realistic guidance on beetle pressure in your specific area before over-investing in trapping products a lower-pressure region might not need.
Installation Walkthrough for Each Type
For the Freeman trap, installation means removing your existing bottom board entirely and replacing it with the Freeman unit, then filling the oil tray before closing up the hive — plan for this as a deliberate hive-maintenance session rather than a quick add-on, since you’re handling the full hive stack during the swap. For West and AJ’s designs, installation is simpler: slide the pre-filled oil tray into place on your existing bottom board, generally without needing to fully break down the hive. Beetle Baffle installation involves applying the product to the hive stand legs or support structure the beetle would otherwise climb, done once per hive stand rather than needing hive disassembly at all.
Signs a Trap Is Actually Working
Check the oil tray periodically and look for drowned beetles accumulating in the oil — a consistent presence of trapped beetles is a sign the trap is intercepting real beetle pressure, while an empty tray in a region with known beetle activity may mean bees aren’t successfully chasing beetles toward the trap, or that placement needs adjustment. For Beetle Baffle, success is harder to observe directly since it prevents entry rather than capturing anything visible — a general reduction in beetles seen during routine hive inspections, combined with the barrier product remaining physically intact and un-bypassed, is the best available indicator.
Seasonal Timing for Installation
Install traps before beetle pressure builds rather than reactively once you’ve already spotted a problem — in most U.S. climates this means having trapping products in place by early spring, ahead of the warm-season period when beetle populations are most active and colony stress (from nectar dearth, heat, or other factors) makes hives more vulnerable to a beetle population getting out of hand. Reactive installation after spotting significant beetle damage still helps, but proactive placement gives the trapping system time to establish its role in the colony’s defense before pressure peaks.
Addressing the Soil Stage, Not Just the Hive
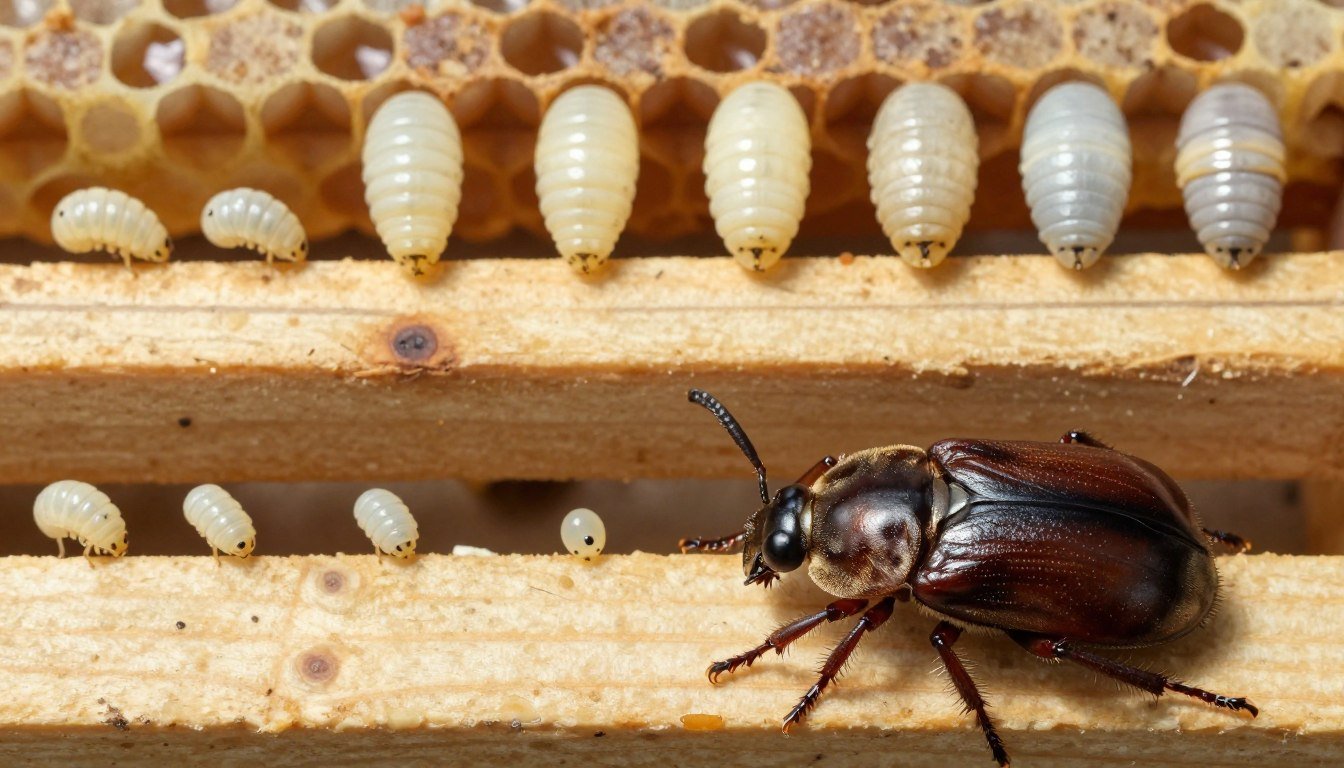
Small hive beetle larvae leave the hive to pupate in soil near the hive stand, meaning even a perfectly trapped hive can face renewed pressure from beetles that pupated nearby and are now emerging as new adults seeking a hive to enter — this is part of why the beetle’s life cycle makes hive-only trapping only a partial solution in heavy-pressure areas. Some beekeepers use a soil drench (typically an approved insect growth regulator or similar labeled product) in the area immediately around hive stands as a complementary step, though this is a more involved intervention worth researching current labeled products and application guidance for specifically before pursuing, rather than applying anything to soil without confirming it’s labeled and legal for that use.
Scaling Across Multiple Hives
For an apiary with several colonies, standardize on one or two trap types rather than mixing many different products across your operation, since consistency simplifies your maintenance routine (knowing exactly what to check and refill at each hive during a round of inspections) and makes it easier to compare beetle pressure between colonies using a like-for-like trap setup. Beetle Baffle’s one-time installation makes it a reasonable baseline across every hive stand regardless of scale, while choosing between Freeman, West, and AJ’s for the in-hive trapping component can reasonably vary by budget and how much retrofit effort you’re willing to put into existing equipment.
Trap Effectiveness Depends on Colony Strength
Worth restating on its own: no trap product substitutes for a genuinely strong, well-populated colony, since a colony with enough bees to actively patrol and defend comb is what drives beetles toward traps in the first place — a weak colony with too few bees to mount an effective defense will see beetles roam more freely regardless of how many traps are installed. If you’re seeing persistent beetle problems despite a solid trapping setup, look first at overall colony strength and management before assuming you simply need a different or additional trap product.
Common Mistakes
Installing a trap and then forgetting to check and refresh the oil regularly is the most common mistake, effectively turning a working trap into a non-functional one after a few weeks. Relying on trapping alone in a weak colony, without addressing the underlying colony strength issue that makes it vulnerable to beetle pressure in the first place, treats a symptom rather than the cause. Assuming any single product type (traps alone, or Beetle Baffle alone) fully solves a heavy beetle infestation, rather than combining approaches, underestimates how beetle life cycle and behavior actually work.
Sources
Product mechanisms and design details reflect publicly available manufacturer documentation for each named trap and general USDA/university extension guidance on small hive beetle biology and integrated management, alongside our broader guide to managing hive pests.
FAQ
Which small hive beetle trap is most effective?
No single trap eliminates beetles entirely — effectiveness depends on your regional beetle pressure, colony strength, and consistent maintenance. Combining an entry-barrier product like Beetle Baffle with an in-hive oil trap generally outperforms relying on either alone.
What oil should I use in an oil-tray trap?
Food-grade mineral oil or vegetable oil, refreshed regularly since a fouled or empty tray provides little ongoing protection.
Does the Freeman trap replace my existing bottom board?
Yes — it’s a full bottom-board replacement that also functions as a screened bottom board for mite management, unlike the West or AJ’s designs, which add into an existing bottom board setup.
Do traps work without a strong colony?
Less effectively — trap success partly depends on bees actively defending comb and chasing beetles toward the traps, so a weak, understaffed colony gets less benefit from trapping alone.
Can I use Beetle Baffle together with an oil-tray trap?
Yes — they address different parts of the problem (entry prevention versus in-hive capture), so combining them typically outperforms relying on either product alone, especially in high beetle-pressure regions.