Published August 27, 2026
Table of Contents
- What the Pagden Method Is
- Why Moving Hives Works as Swarm Control
- Where the Method Comes From
- Equipment Needed
- Day 1: Initial Setup
- Day 6-7: The Second Move
- The Outcome: Two Colonies
- Pagden vs. Walk-Away Split vs. Demaree
- Who This Suits Best
- Modern Variations
- Signs the Method Worked
- Disease and Mite Management Across Both Colonies
- Space Requirements and Apiary Practicality
- Common Mistakes
- FAQ

What the Pagden Method Is
The Pagden method, commonly just called “artificial swarming,” is a swarm-control technique that separates a colony’s queen and flying foragers from its brood and nurse bees using two staged hive moves rather than a queen excluder, a double-screen board, or foundation manipulation. It’s widely considered the most commonly taught swarm-control method for newer beekeepers specifically because the core mechanics — move a hive, wait, move it again — are more intuitive to grasp on a first attempt than the excluder logic of the Demaree method or the multi-day door sequence of a Snelgrove board.
Why Moving Hives Works as Swarm Control
Foraging bees strongly favor returning to the specific physical location they remember as home, rather than following the colony’s queen wherever she happens to be moved. The Pagden method exploits this directly: by moving the queen (on a frame of brood) to the hive’s original location and moving the rest of the colony’s brood and nurse bees away, returning foragers end up joining the queen’s smaller colony rather than the brood-heavy one, since the original location is what they’re conditioned to return to. This achieves a similar practical effect to what the Snelgrove board’s entrance-door sequence accomplishes through mesh and doors — separating flying bees from brood-tending bees — but through simple hive positioning instead of specialized equipment.
Where the Method Comes From
The technique is named after Pagden, a 19th-century beekeeper credited with formalizing this approach to swarm control, and it remains foundational enough in UK and Commonwealth beekeeping education that “doing an artificial swarm” and “using the Pagden method” are used essentially interchangeably by many beekeeping associations and instructors. Its longevity as a taught technique, compared to some other named methods, reflects how straightforward the underlying mechanic is to teach and execute correctly on a first attempt.
Equipment Needed
- A second complete hive setup (floor, brood box with foundation and/or drawn comb, roof) — not a specialized board or excluder
- Enough physical space in the apiary to position hives more than a meter apart, and later on opposite sides of the original location
- Standard hive tools for the two inspection visits
Day 1: Initial Setup
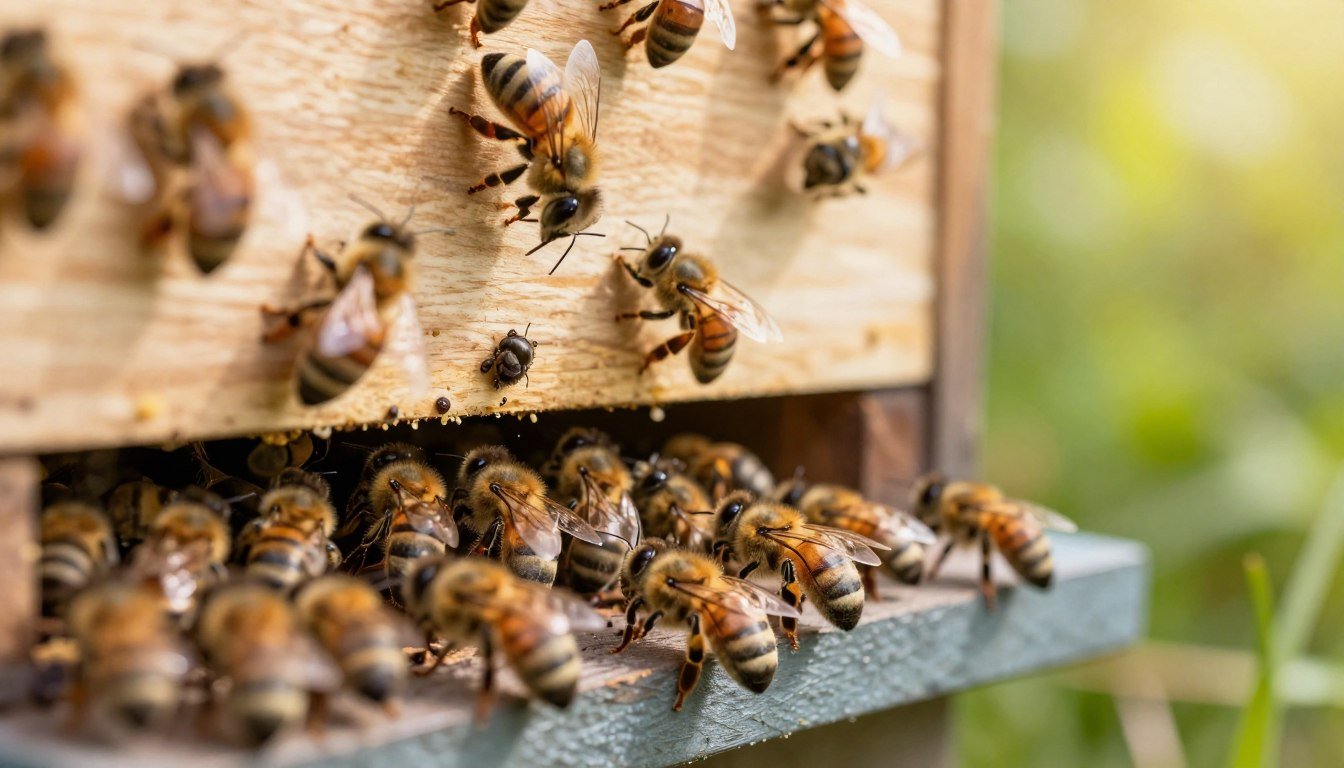
- Move the original hive (with its roof and any supers) more than a meter to one side of its current position.
- Set up a new hive — floor, brood box with foundation and/or drawn comb — at the original location.
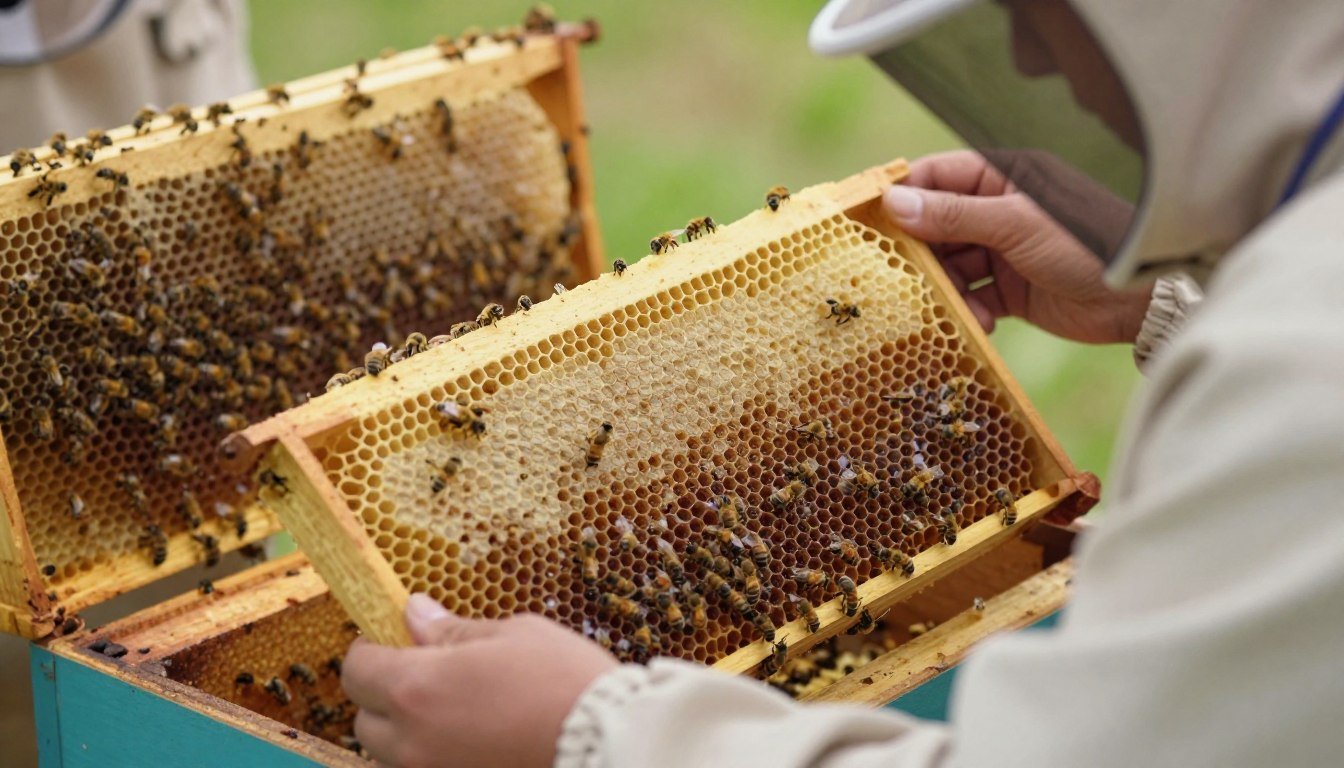
- Find the queen in the moved (original) hive and transfer her, on a frame with unsealed brood and no queen cells on it, into the new hive at the original location.
- Inspect the moved hive for queen cells. Leave one good-quality queen cell in place near the center of the brood, removing any others.
- Position 2 spare frames at the outer edges of the moved (original) hive’s brood box.
At this point, foragers that were using the original entrance location will return to the new hive there — the one now holding the queen — while the moved hive, with its retained queen cell, keeps its nurse bees and developing brood.
Day 6-7: The Second Move
About 6-7 days after the initial setup, move the original brood-holding hive again — this time to the opposite side of the queen’s hive, roughly the same distance out. This second move continues drawing returning foragers away from the brood-holding hive and toward the queen’s hive, reinforcing the separation established in the first move and further boosting the queen’s colony’s forager numbers heading into the productive part of the season.
The Outcome: Two Colonies
Unlike the Demaree method or checkerboarding, which are both designed to keep the colony as a single unit, the Pagden method is built to produce two separate, independent colonies: the queen’s hive, now boosted with the bulk of the original foragers, and the brood hive, developing a new queen from the single retained cell. This makes it a genuine “making increase” technique by design, not just a side option the way it is with the Demaree or Snelgrove methods — if you specifically don’t want to end up with two colonies, this isn’t the right method to reach for.
Pagden vs. Walk-Away Split vs. Demaree
| Method | Core mechanism | Ends as | Equipment needed |
|---|---|---|---|
| Pagden (artificial swarm) | Two staged hive moves redirecting foragers | Two colonies, by design | A second full hive setup, no specialized board |
| Walk-away split | Physically dividing brood/bees into a new box, no positional redirection | Two colonies, by design | A second full hive setup |
| Demaree method | Queen excluder separating queen from brood | One colony (by design) | Extra brood box + queen excluder |
The practical difference between Pagden and a plain walk-away split comes down to the forager-redirection mechanic: Pagden’s staged hive moves actively concentrate the existing forager force into the queen’s new colony, giving it an immediate boost in field-bee numbers, while a walk-away split typically just divides brood and bees between two boxes without engineering that same forager shift.
Who This Suits Best
The Pagden method is frequently recommended as a strong first swarm-control technique for newer beekeepers specifically because the mechanic (move, wait, move again) is easier to visualize and execute correctly than techniques depending on excluder placement or multi-door timing. It also suits beekeepers who are fine with — or actively want — an increase in colony count as a side effect of managing a strong colony’s swarm impulse, rather than beekeepers who specifically want to preserve one large colony through the productive season. See how to tell if your hive is preparing to swarm for the early warning signs that indicate it’s time to act, regardless of which method you choose.
Modern Variations
Some modern practitioners add a queen excluder temporarily under the queen’s new brood box for the first few days after setup, specifically to prevent the newly relocated colony from absconding (abandoning the new location entirely) before the queen has settled in and begun laying — a real risk in the early hours after a sudden relocation. There’s also increased attention in modern practice to disease and pest transfer between the two resulting colonies, since splitting a single colony’s varroa load and any latent pathogens across two hives doesn’t reduce the total burden, just distributes it — worth factoring mite treatment planning into your post-split care for both resulting colonies, not just the stronger-looking one.
Signs the Method Worked
Within the first week or two after the second move, a few signs indicate the process went as intended: the queen’s hive at the original location should show a clearly boosted forager population compared to what you’d expect from the brood alone, with steady incoming pollen and nectar traffic at the entrance; the queen should continue laying normally in her new box without a gap in brood production; and the brood hive, now moved to the opposite side, should show its retained queen cell developing on schedule, with workers continuing to tend the remaining brood without unusual agitation. If the queen’s hive still seems weak in foragers a week or two out, that can indicate the initial move distance wasn’t sufficient to fully redirect returning bees, or that a nearby beekeeper’s colonies are close enough to create competing orientation cues — in either case, giving it a bit more time before concluding the process needs to be repeated is usually the right call, since forager drift isn’t always instantaneous. A patient wait of another few days before intervening again is generally more productive than repeating the whole process prematurely, which just adds disruption without addressing whatever actually slowed the drift down.
Disease and Mite Management Across Both Resulting Colonies
Because splitting a single colony into two doesn’t reduce its total mite or pathogen load, just distributes it, both resulting colonies deserve mite-count monitoring and appropriate treatment planning after a Pagden split, not just the stronger-looking queen’s colony. Treat both boxes as full, independent colonies from a health-monitoring standpoint the moment the split is made, not just once one of them visibly outgrows the other. The brood hive, in particular, goes through a natural brood break while its new queen mates and begins laying, which is itself a useful (if incidental) opportunity for varroa treatments that work best during low-brood periods — see oxalic acid vaporization for varroa mites for a treatment option that’s specifically more effective during exactly this kind of broodless window.
Common Mistakes
| Mistake | Why it matters |
|---|---|
| Not moving hives far enough apart on day 1 | Foragers may drift back to the wrong hive if the separation distance is too small to register as a real location change |
| Leaving more than one queen cell in the brood hive | Multiple queens emerging can lead to fighting or an unplanned swarm from the brood hive itself |
| Forgetting the second move at day 6-7 | Skipping this step leaves the forager-redirection process incomplete, weakening the queen’s colony’s boost |
| Assuming this method keeps the colony as one unit | Unlike Demaree or checkerboarding, Pagden is specifically designed to produce two colonies — plan apiary space and equipment accordingly |
Space Requirements and Apiary Practicality
The Pagden method’s reliance on physically repositioning hives means apiary space is a real practical constraint worth thinking through before starting, in a way it isn’t for methods like the Demaree method or checkerboarding that work within a single hive footprint. You need enough room to place a second full hive setup more than a meter from the original position, and later room on the opposite side for the second move — workable in most backyard and small apiary setups, but worth planning for in advance rather than discovering mid-process that there isn’t a clear spot for the second hive. If your apiary sits on a shared or rented site, check whether other beekeepers’ hives are positioned closely enough that the moved hives could cause forager drift between different keepers’ colonies, not just within your own — a courtesy worth extending in any shared bee yard regardless of which swarm-control method you’re using. For beekeepers managing colonies in a tightly packed apiary or a shared bee yard with limited layout flexibility, this space requirement is one practical reason some choose an in-place method like Demaree or checkerboarding instead, even though Pagden’s underlying mechanic is simpler to execute correctly.
Sources
Step-by-step process and timing reflect published UK beekeeping association guidance on the Pagden method, consistent with how the technique is documented and taught as “artificial swarming” across established beekeeping education resources.
FAQ
What is the Pagden method in beekeeping?
Also called artificial swarming, it’s a swarm-control technique that uses two staged hive moves to separate a colony’s queen and foragers from its brood, resulting in two independent colonies.
How long does the Pagden method take?
The core process spans about a week — initial setup on day 1, with a second hive move around day 6-7 to complete the forager redirection.
Does the Pagden method always create two colonies?
Yes, by design — unlike the Demaree method or checkerboarding, which are built to keep a colony as one unit, Pagden’s mechanism is specifically intended to produce two separate colonies.
Is the Pagden method good for beginners?
Yes — it’s widely taught as an accessible first swarm-control technique because the core mechanic (move, wait, move again) is easier for new beekeepers to visualize and execute correctly than excluder- or entrance-timing-based methods.
Do I need a lot of space to use the Pagden method?
You need enough room for a second full hive setup positioned more than a meter from the original, plus space on the opposite side for the second move about a week later — workable in most small apiaries, but worth checking layout before starting.