Understanding fermentation risks helps every beekeeper protect their harvest. This short guide explains the key drivers that can turn a stable jar into an active product.
Moisture balance, stray yeasts, and storage matter most. When water content climbs above safe limits, osmophilic yeasts can grow and produce gas and off flavors. Careful testing and controlled processing cut that risk.
Good practice spans the whole process — from hive timing and extraction to final capping and storage. Simple steps, like checking moisture and keeping work areas dry, preserve quality and shelf life.
For details on how floral source and acidity influence preservation, see this short guide on floral source and honey pH. Follow these measures and your product will stay safe and flavorful.
Key Takeaways
- Keep moisture low to block osmophilic yeasts.
- Test water content before sealing jars.
- Maintain clean, dry processing areas.
- Monitor storage temperature and humidity.
- Know that floral source and acidity affect stability.
Understanding the Science of Honey Fermentation
Fermentation and crystallization begin from different root causes in the jar. A supersaturated sugar solution can form crystals as temperatures and floral source vary. This crystallization is a normal, harmless physical change.
Microbial activity changes the picture. Osmophilic yeasts thrive when water rises and break down simple sugar molecules. That biological breakdown produces ethanol and carbon dioxide and marks true fermentation, not just crystal formation.
High-quality raw honey often carries pollen and enzymes that speed crystal growth. Crystallized texture usually signals purity and proper handling.
By contrast, a batch showing gas, off-odors, or bubbling needs action. Test moisture and review extraction methods. For examples from comb-level spoilage, see uncapped comb fermenting, and for comparisons of product types consult this raw vs processed guide.
What Causes Honey to Ferment After Bottling
Small changes in moisture and heat determine whether a sealed jar stays stable or shifts into active spoilage. Below we explain the two main drivers and how they interact with sugar chemistry and storage.

High Moisture Content
Water content above 18% raises the risk of yeast activity; at over 20% fermentation is likely. Moisture lets osmophilic yeasts access sugars and grow.
The balance of glucose and fructose matters. Glucose is less soluble and causes faster crystallization, while fructose stays liquid longer. That uneven crystallization can create layers with higher free water that feed microbes.
Temperature Fluctuations
Temperatures near 57°F speed crystallization. Rapid or repeated warming and cooling can cause a two-phase separation.
When a liquid layer forms on top of crystals, it often holds more water. That liquid can become a hotspot for fermentation if jars are not airtight.
“Manage moisture post-harvest and keep storage steady. Those are the most effective controls against spoilage.”
| Factor | Threshold | Effect |
|---|---|---|
| Water content | >18% (risk), >20% (likely) | Yeast growth and gas production |
| Glucose:Fructose | Higher glucose ratio | Faster crystallization, uneven layers |
| Storage temperature | ~57°F | Fastest crystallization, promotes separation |
| Jar seal | Airtight | Prevents moisture uptake |
For grading and handling guidance that helps prevent spoilage, review our grading standards.
The Role of Osmophilic Yeasts in Spoilage
Small, resilient microbes live in every jar and wait for the right moment. Most bacteria cannot survive high sugar levels, but specialized yeasts thrive in that environment.
Research names two common culprits. Saccharomyces bisporus var. mellis needs elevated glucose (roughly 10–20%) to grow. Zygosaccharomyces richteri often dominates samples tested in lab studies.
Both species remain dormant until free water rises enough for them to multiply. Once active, they consume sugars and produce ethanol and carbon dioxide. The result is a sour taste and a foamy, bubbling texture in fermented honey.
- Osmophilic yeasts survive high-sugar environments that block other microbes.
- Scientific studies identify species that require high glucose and often take over.
- Good hygiene and strict moisture control are the best defenses.
| Species | Glucose Requirement | Common Effect |
|---|---|---|
| S. bisporus var. mellis | 10–20% | Rapid activation with high glucose |
| Z. richteri | Moderate to high | Often dominant fermenter |
| General note | N/A | Dormant until moisture rises |
“Control moisture and sanitation; that limits yeast growth and protects product quality.”
How Crystallization Triggers the Fermentation Cycle
Crystallization begins when glucose molecules form solid crystals and force the remaining solution to concentrate in a thinner, sweeter liquid. This leaves the top layer richer in fructose and free water, while crystals settle at the bottom.

The Two-Phase Separation Process
As crystals grow, a clear liquid layer often forms at the top. That layer has higher water activity and feeds dormant yeasts.
Types that crystallize faster, like canola or mustard, split sooner than slow-crystallizing varieties such as acacia or tupelo. The bees influence initial sugar balance, but the split is a natural, time-driven change.
Keep storage temperature steady to slow the cycle. If the top becomes too wet, yeasts multiply and biochemical fermentation can follow. For practical prevention steps, review our fermentation prevention guide.
| Stage | Characteristic | Risk |
|---|---|---|
| Early crystallization | Glucose crystals form | Liquid becomes water-rich |
| Two-phase split | Top liquid, bottom crystals | Top is susceptible to yeast |
| Prolonged storage | Warm-cool cycles | Higher fermentation risk |
“A stable environment limits the split that invites microbial activity.”
Identifying Signs of Fermented Honey
A quick sensory check often reveals whether a jar is stable or has started an active process.
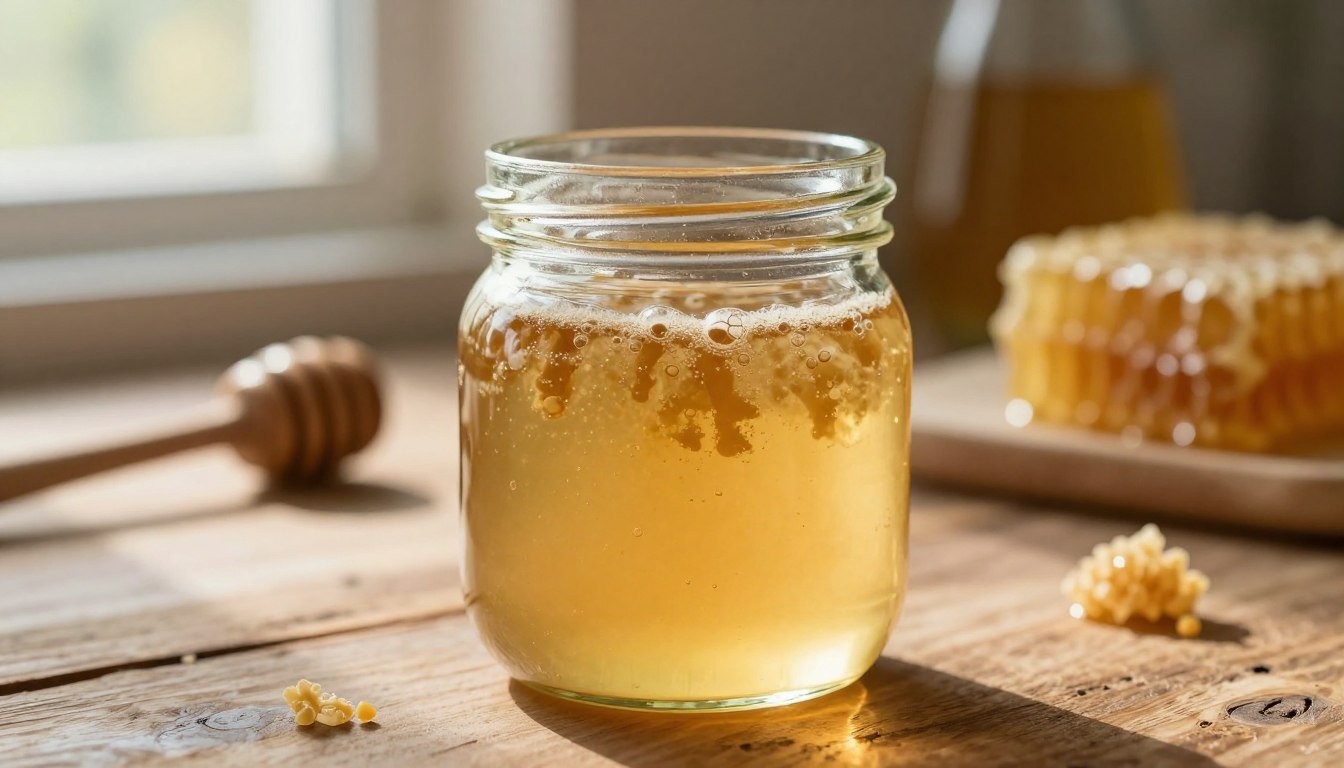
Smell and surface activity: A distinct sour or alcoholic odor is often the first clear sign. Look for bubbling or foam on the surface; this gas is carbon dioxide from microbial action.
Visual cues: Unlike crystallized honey, which forms uniform crystals and a granular texture, a product affected by fermentation may show pressure signs. A bulging lid or small gas pockets around the crystals indicates trapped gas buildup.
Taste and texture: The flavor will shift from sweet to sour or vinegar-like. Fermented jars can also become thinner and runnier than expected, especially in raw honey with higher water activity.
- Check lids and seals for swelling or leaks.
- Inspect surface for foam and escaping bubbles.
- Compare texture against a known, crystallized sample.
“When smell, texture, and pressure align, discard the jar—safety matters more than salvage.”
Best Practices for Harvesting Ripe Honey
Timing and judgment at the hive matter most. Harvest when the comb shows at least 75% capped cells. That level indicates low moisture and a stable product ready for extraction.

Testing with a Refractometer
Use a refractometer as a simple, precise method to check water content before you extract. Measure several frames and average the readings.
Good note: aim for readings that confirm low moisture. This reduces crystallization and lowers the chance that jars will develop problems later.
Ensuring Proper Capping
Only harvest frames where bees have capped most cells. Capping means the comb is dehydrated enough for safe storage and higher overall quality.
- Keep post-harvest handling dry to avoid moisture pickup.
- Heat gently if needed — only for a few minutes to preserve enzymes in raw honey.
- Follow careful extraction practices; see our guide on extracting honey for step-by-step advice.
“Harvest ripe comb and test before you extract — that single step prevents most spoilage.”
Controlling Moisture Levels Post-Harvest
Targeted post-harvest drying is the most practical defense against yeast growth. Act quickly after extraction to lower free water and stabilize each batch before jars are filled.
Store supers in a warm, dry room with a dehumidifier. Maintaining temperatures between 85–92°F for several days will reduce water content safely and help the process finish naturally.
- Keep the room ventilated and monitor relative humidity until readings hold steady.
- If moisture is still high, a controlled heat treatment (heating honey at 63°C for 30 minutes) can kill yeast and lower risk.
- Always transfer product into airtight containers once the target content is reached to prevent moisture pickup.
Monitor stored lots regularly. Check temperature and humidity in the facility and rotate supers by batch age so older material does not compromise newer jars.
“Drying and a steady environment protect your harvest better than last-minute fixes.”
For step-by-step practical advice on drying, consult this drying honey guide before bottling.
Proper Storage Techniques to Maintain Quality
Good storage begins with the container and ends with steady conditions. Choose options that block moisture and keep flavor intact over time.
Choosing Airtight Containers
Store product in food‑grade glass jars. Glass is inert, easy to sanitize, and prevents gas exchange that invites problems in a sealed jar.
Keep lids tight and use clean, dry utensils each time you open a jar. This stops water from entering and lowers the chance of microbial activity.
Refrigeration slows crystallization but does not extend shelf life. If you use a fridge, note that cold can make crystals form faster in some varieties. For long-term advice on how to store honey long-term, see our guide: store honey long-term.

| Technique | Recommendation | Benefit |
|---|---|---|
| Container type | Food‑grade glass jars | Prevents moisture uptake and preserves quality |
| Utensils | Clean, dry spoons | Limits contamination and water introduction |
| Temperature | Cool, consistent (not freezer) | Slows crystallization and maintains texture |
| Fridge use | Optional for short-term control | Slows crystals but may change texture |
“Airtight jars and dry handling are the simplest, most effective safeguards for product quality.”
Managing Batches That Have Already Fermented
Discovering active spoilage in a lot need not mean total loss—there are practical recovery paths. Assess the jar and sample the product for smell and pressure before deciding.

Mild cases can be salvaged. Gentle heating for a few hours at low temperatures will kill active yeast and reduce gas. Heat slowly and monitor temperature closely; overheating damages flavor and enzymes.
Severe fermentation often suits other uses. Many beekeepers redirect such batches into mead. For an established process, follow a reliable mead guide like this one: ending fermentation and aging.
Other options include selling as baker’s product where the tart taste is masked. Always check water and moisture levels before packaging to avoid repeat problems. For safe labeling and packaging practices, review packaging for sale.
“Handle fermented jars with care; salvage where safe, repurpose where practical.”
Conclusion
, Protecting harvest quality means combining simple tests with steady handling at every stage. Check moisture, monitor glucose and fructose balance, and keep storage steady. These steps stop yeast and preserve taste and value.
Respect the hive rhythm and handle raw honey gently. Crystallization is normal for many types honey, but active spoilage is avoidable with good technique.
Use refractometers, dry rooms, and airtight jars. Small efforts at harvest and during storage yield long-term quality. With care, your jars will reflect the work of the bees and serve customers well over time.