
Reviewed by Thomas B. · Last Updated September 24, 2026 · How we review
To render cappings wax cleanly, drain the honey out first, then wash the cappings in cool, soft water until it runs clear. Melt them in water, never dry, and keep the temperature under 85°C (185°F). Let the wax cool slowly, scrape the dirty underside, then re-melt it in a water bath and strain it through progressively finer cloth. Use stainless steel, enamel or aluminum, not iron, copper, brass or galvanized metal. Two melts give wax clean enough for candles. A third, finer filtration gets it ready for balms and cosmetics.
Cappings are the cleanest wax a beekeeper produces, but “clean” has two meanings here. Filtering removes dirt. It doesn’t remove chemical residues. This guide covers both.
Key Takeaways
- Cappings give the lightest, highest-quality wax in the hive, far better than burr comb or old brood comb.
- Washing matters more than filtering. Honey left in cappings caramelizes and darkens the wax during melting.
- Keep wax in water and under 85°C (185°F). Hotter or direct heat discolors it and strips its aroma.
- Iron, copper, brass and galvanized containers darken wax permanently. Use stainless steel, enamel or aluminum.
- In a SARE-funded study, cappings carried about half the contaminants of commercial foundation, but 9 of 10 samples still had detectable residues.
Table of Contents
Why Cappings Make the Best Wax
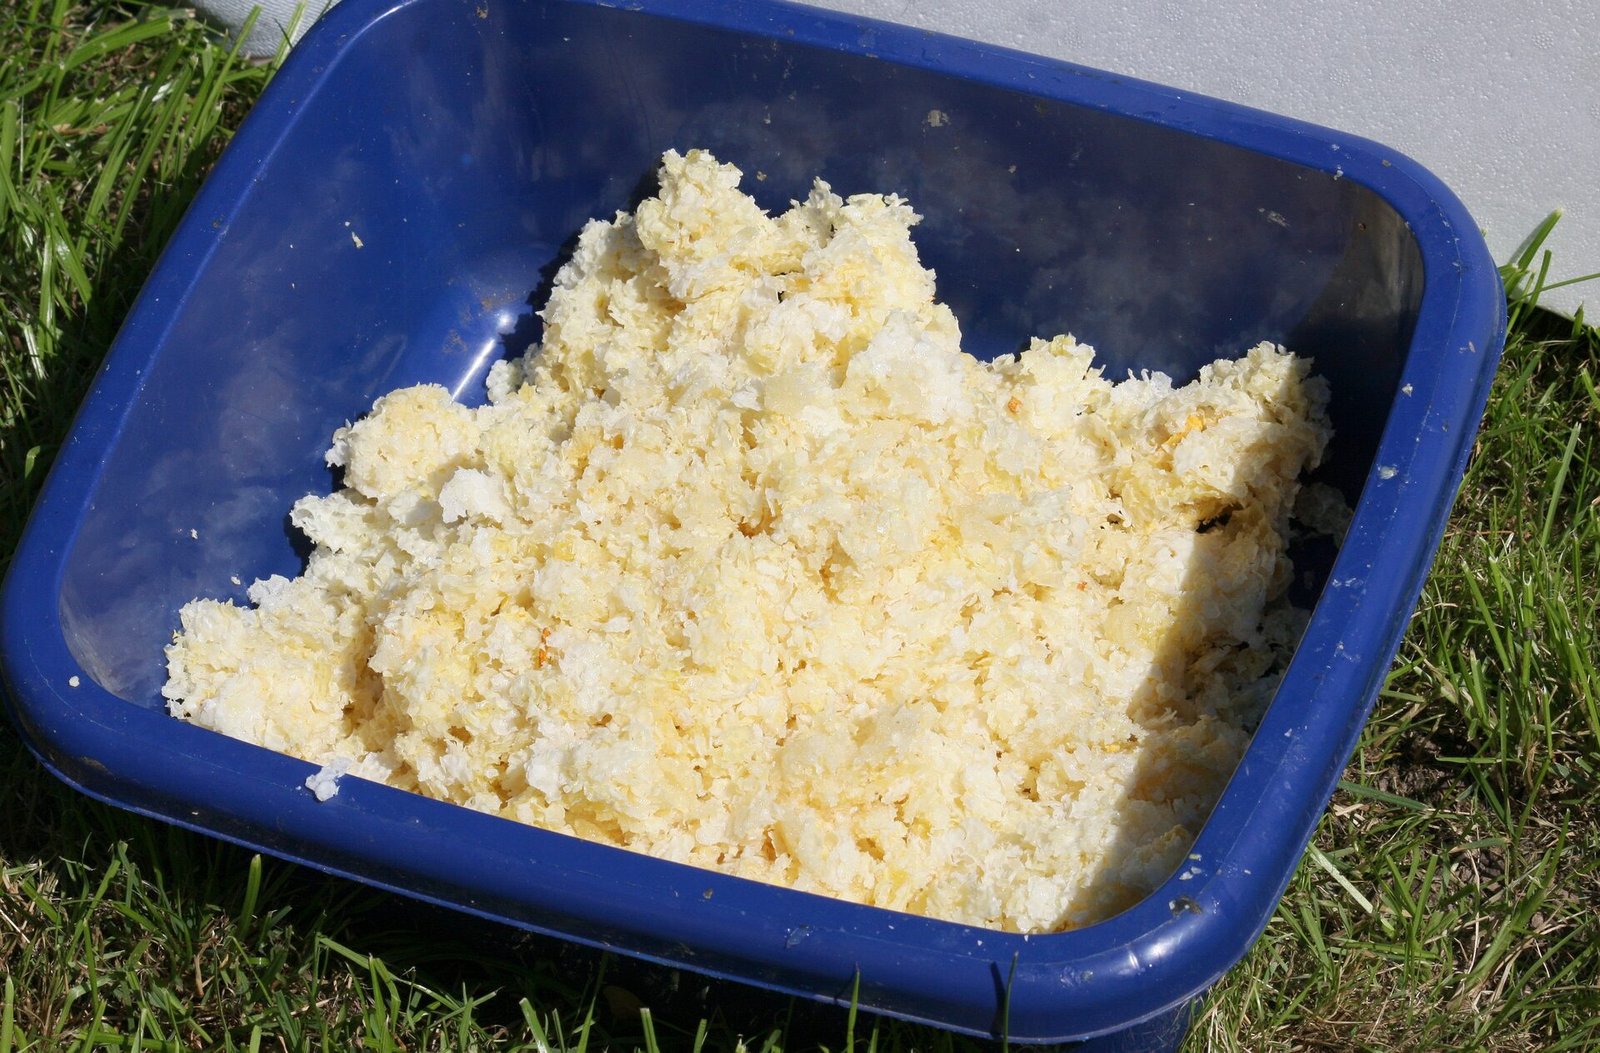
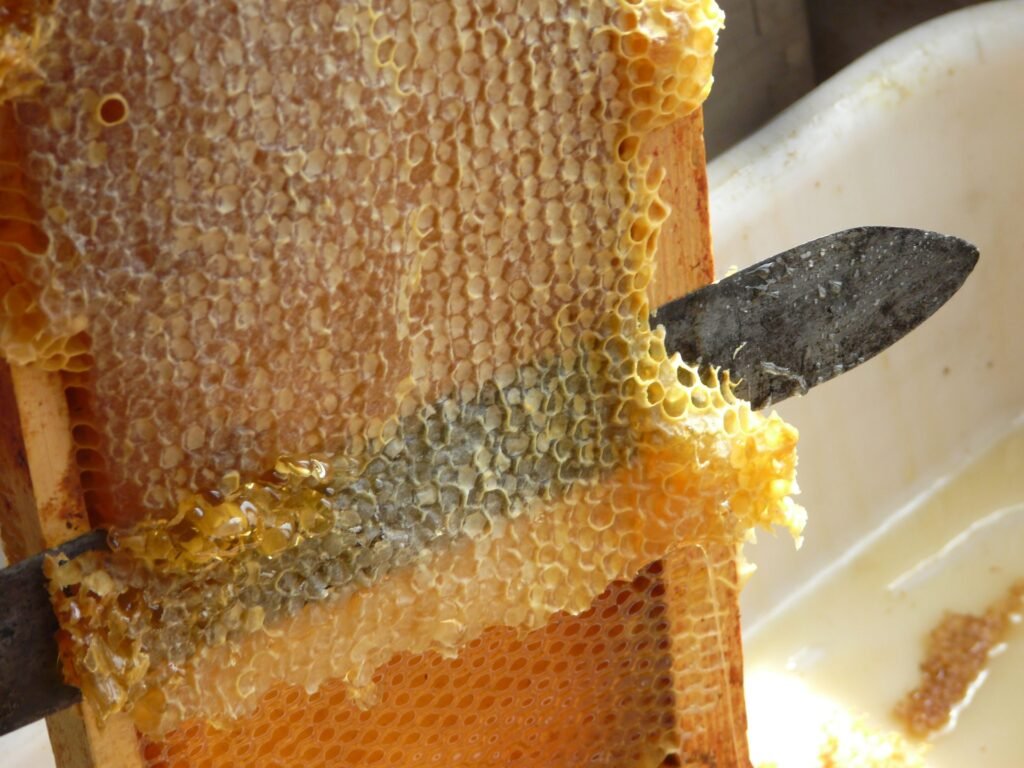
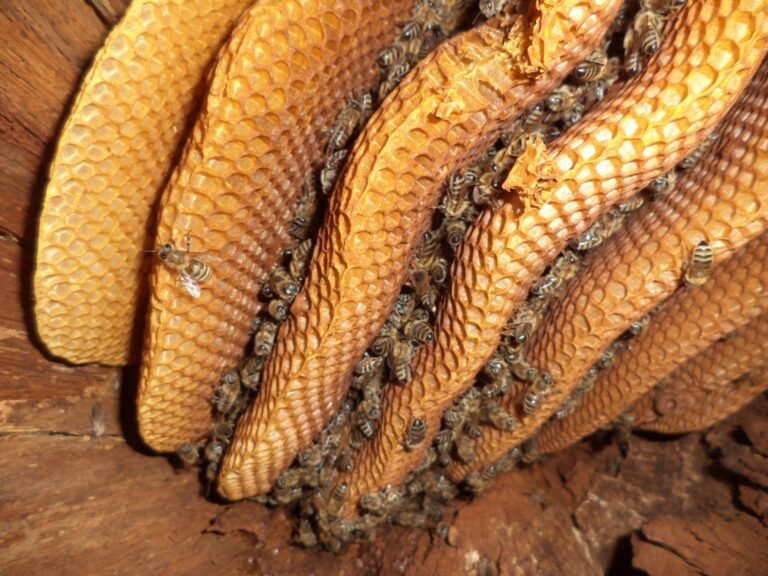
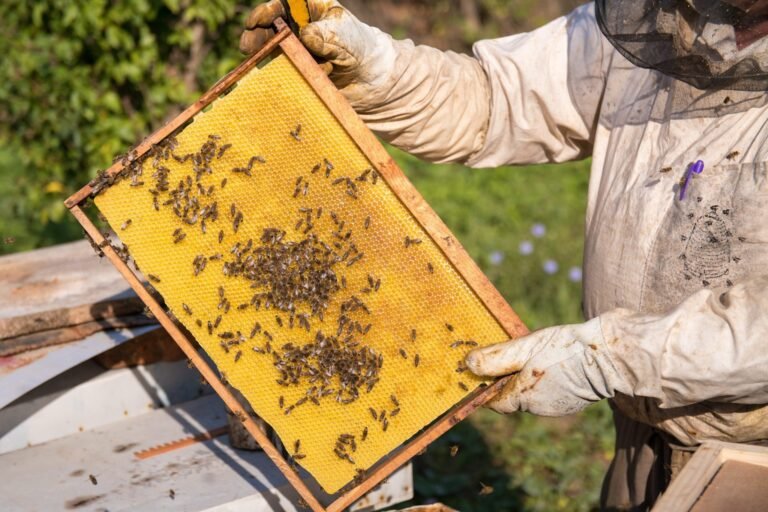
Cappings are the thin wax lids bees build over ripe honey. They’re made during the flow, sit in the hive for only weeks, and never hold brood. You slice them off when you uncap for extraction. Brood comb, by contrast, collects cocoons, pollen and propolis for years. The FAO’s beekeeping products bulletin ranks cappings as producing “a very high quality, light coloured wax.” Old black brood comb gives the smallest yield and lowest quality (Krell, FAO Agricultural Services Bulletin 124).
| Wax source | Color after rendering | Effort to clean | Best use |
|---|---|---|---|
| Cappings | Light yellow | Low | Candles, balms, lip balm, food wraps, coating foundation |
| Burr and brace comb from supers | Light to mid yellow | Low to moderate | Candles, general use; can join a cappings batch |
| Light broken honey comb | Mid yellow | Moderate | Candles, polish, crafts |
| Old dark brood comb | Dark yellow to brown | High, with low yield | Polish, fire starters, wood treatment. Keep out of hives. |
This article covers cappings only. For the other rows, see processing wax scraps from apiary work and recycling old beeswax comb safely. For cleaning up wax from any source, see our guide to purifying beeswax naturally.
Clean isn’t the same as residue-free
Beeswax absorbs fat-soluble chemicals. A SARE-funded project tested cappings from ten Virginia and North Carolina apiaries. One sample was clean. The other nine had detectable contaminants, though at about half the level found in commercial beeswax foundation (SARE project FS12-261). Cappings are the best wax you have, but no amount of filtering removes dissolved residues. That’s worth knowing if you plan to sell cosmetics. The cleanest cappings come from supers that were never on a hive during a miticide treatment.
Rendering Cappings Step by Step
Step 1: Drain the honey
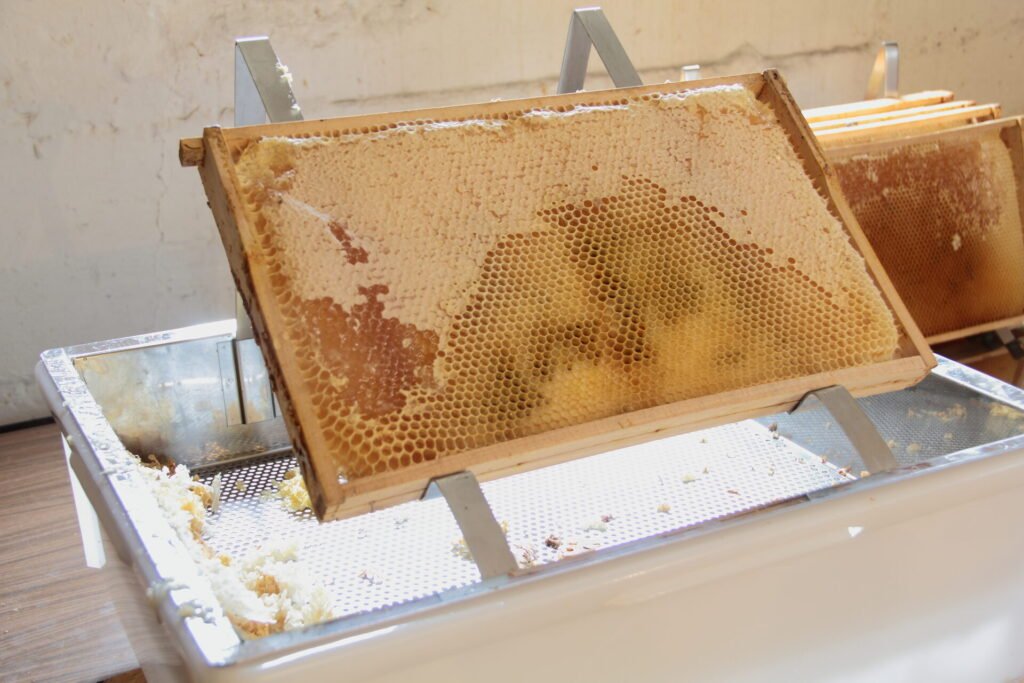
Fresh cappings can hold a lot of honey. Let them drip through a strainer or uncapping tank into a bucket for a day or two at room temperature. If you process a lot of cappings, a cappings spinner recovers more honey faster. Draining first gives you more honey to bottle and less sugar to deal with at the melter.
Don’t leave drained cappings sitting for weeks. The FAO bulletin warns that unrendered wax “will quickly be attacked by wax moths,” and in frame hives the wax harvest is only about 1–2% of the honey crop, so it’s worth protecting. If you can’t render soon, freeze the cappings in sealed containers until you can.
Step 2: Wash until the water runs clear
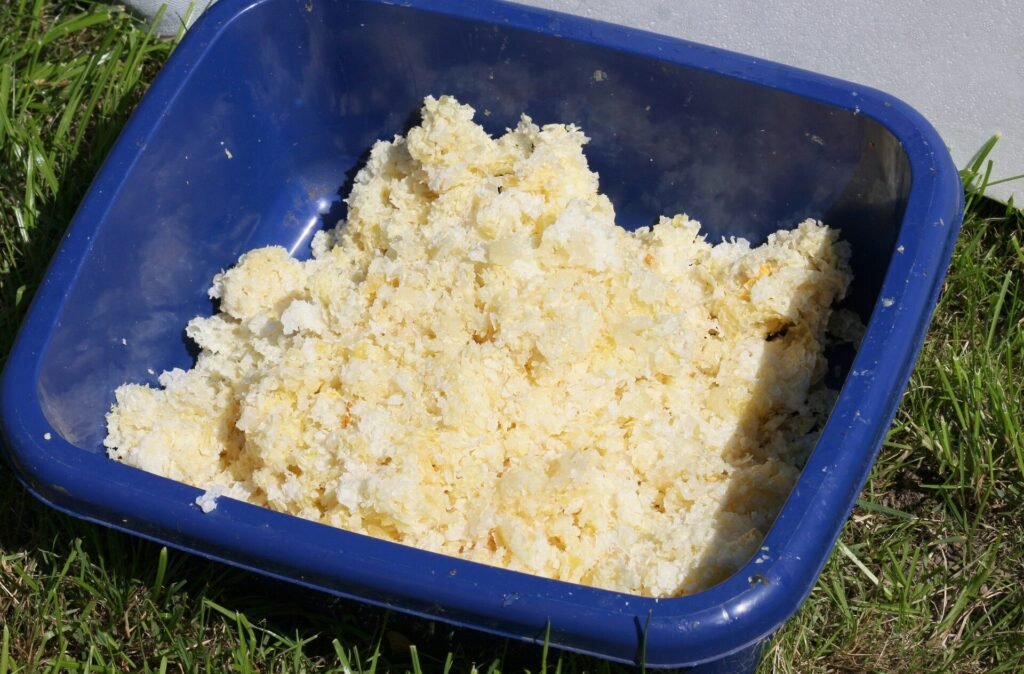
Put the drained cappings in a bucket of cool water, stir, and pour off the water through a strainer. Repeat until it comes out clear. Three changes is typical. Cool water dissolves honey without melting the wax. This step does more for color than any filter, because honey left in the wax scorches and darkens during melting. Use rainwater or soft water if you can. The FAO bulletin, citing Crane (1990), recommends adding 0.1% vinegar if your water is hard.
Step 3: First melt in water
Tie the washed cappings in a cloth bag, or load them loose into a dedicated pot half full of soft water. Heat gently on an electric burner until the wax melts, then hold it below a simmer. Keep the temperature well under boiling. Rolling water churns fine debris back into the wax. A solar melter works too. The FAO bulletin notes that solar-melted wax comes out much whiter but “can sometimes be less aromatic,” which matters if you want scent in your candles.
Step 4: Cool slowly and scrape
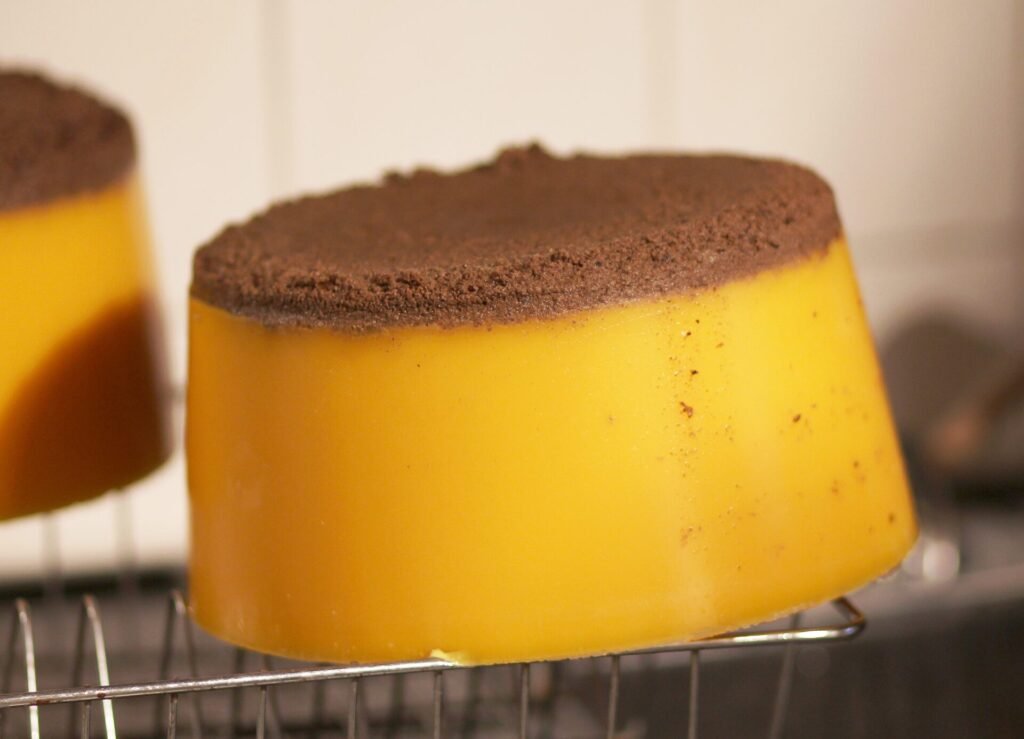
Turn off the heat, cover the pot and leave it overnight. The wax floats up and sets as a disc, and heavy debris settles into a soft layer on its underside. Cooling slowly reduces cracks. The University of Florida’s solar rendering guide recommends letting it “cool very slowly” (Sanford and Bustamante, UF/IFAS ENY111). Lift the disc and scrape the underside clean with a knife.
Step 5: Second melt in a water bath
Break the disc into chunks and melt them in a water bath, meaning a smaller container sitting in a pot of hot water. A slow cooker on low with water in it works too. The wax never touches the heat source directly.
Step 6: Filter from coarse to fine
Pour the melted wax through a stainless mesh strainer lined with a layer of cheesecloth, then through a finer cloth such as tightly woven cotton, into a warm container. Pre-warm the strainer and cloth so wax doesn’t set in the weave. For cosmetic use, repeat once through a fine cloth or a thin layer of cotton flannel.
Step 7: Mold and cool slowly
Pour into silicone or lightly oiled molds, cover loosely, and cool at room temperature away from drafts. Rapid cooling cracks blocks and pulls the center in. When the blocks are cold, any fine sediment will show as a thin film on the bottom. Scrape it off before storage.
Temperature, Water and Container Rules
| Rule | Why | Source |
|---|---|---|
| Melting point is about 62–65°C (144–149°F) | You only need a little above this to pour | FAO Bulletin 124 |
| Never above 85°C (185°F), never heated dry | Direct or excess heat discolors wax | FAO Bulletin 124 |
| Avoid iron, copper, brass, nickel and galvanized containers | These metals react with wax and darken it | FAO Bulletin 124 |
| Use soft water, or add 0.1% vinegar to hard water | Minerals in hard water react with wax | FAO Bulletin 124, citing Crane (1990) |
| Avoid direct live steam on the wax | FAO notes it causes partial saponification | FAO Bulletin 124 |
For wax that has already come out dark, FAO notes that metal-caused discoloration can only be reversed with a special chelating process. Prevention is much easier than repair.
Candle-Grade vs Cosmetic-Grade Wax
For candles, what matters is fine debris. Specks left in the wax get drawn up the wick with the molten fuel and can make the flame sputter or the wick clog. Two melts and a fine cloth filter are usually enough for cappings. Wick size matters as much as the wax. FAO notes that wick diameter must be proportioned to the candle to prevent dripping. See beeswax vs paraffin vs soy wax for candle making for how beeswax behaves differently.
For balms and cosmetics, use only cappings wax. Filter it one extra time, and use dedicated, clean utensils. If you want paler wax, FAO describes sun bleaching as the least expensive, least dangerous and least toxic method. You flake the wax thin and expose it to sun without letting it melt. It lightens the color at some cost to aroma. For finished recipes, see our guides to making beeswax lip balm and beeswax food wraps. If you plan to sell cosmetics, check your state’s cottage-food and cosmetic labeling rules before you do.
For coating plastic foundation, cappings wax from your own untreated supers is the best choice you have. It’s lower in residues than most bought wax. Our comparison of waxed vs unwaxed plastic foundation covers how much to use.
Working Safely With Hot Wax
FAO’s candle-making section warns that “beeswax is highly flammable” and, because it holds so much heat, “can cause severe burns.” The practical rules follow from that:
- Melt in water or a water bath, on an electric burner or in a solar melter. Never melt dry wax over a flame.
- Stay with the pot. Follow the U.S. Fire Administration’s pan-fire advice: keep a lid or baking sheet within reach to smother a fire, and turn the heat off if you leave (USFA cooking fire safety).
- Don’t throw water on burning wax. It spatters.
- Check the water level in a water bath during long melts so it can’t boil dry.
- Wear gloves and eye protection when pouring through filters.
Our guide on beeswax extraction equipment and safety covers larger melters and steam units.
Storing Finished Blocks
FAO advises storing wax in cool, dry places and “never in the same room with any kind of pesticide,” since wax absorbs chemicals and odors. Wrap blocks or keep them in lidded tubs, and label each with the date and source. If a whitish dust appears on the surface, that’s bloom. FAO describes it as small wax crystals that return to normal wax when melted. It’s not mold and it’s not a defect. For a dedicated space, see building a honey and wax storage room.
If a whitish dust later appears on your rendered blocks, see what wax bloom is.
Frequently Asked Questions
Should I wash cappings before melting them?
Yes. Rinsing in cool water until it runs clear removes the honey that would otherwise scorch and darken the wax. It’s the single biggest factor in getting light-colored cappings wax.
What temperature should I render cappings at?
Beeswax melts at about 62–65°C (144–149°F). Keep it in water and below 85°C (185°F). Above that, or with direct heat, the wax discolors and loses aroma.
Why did my cappings wax come out dark?
The usual causes are honey left in the cappings, overheating, or melting in an iron, copper, brass or galvanized pot. Dark comb mixed into the batch will also darken it.
Is a solar melter good for cappings?
Yes. It’s safe and needs no fuel. FAO notes that solar-melted wax comes out paler but can be less aromatic. Use a water melt if scent matters most to you.
Is rendered cappings wax safe for lip balm?
Cappings are the right wax for balms. Filter it finely and use clean, dedicated equipment. Be aware that cappings aren’t always residue-free. One SARE-funded study found low-level residues in 9 of 10 samples, so wax from supers kept off treated hives is the best choice.
Can I render cappings in a slow cooker?
Yes, with water in it and the lid on, on the low setting. Use a slow cooker you’ll only use for wax from then on, because it won’t come clean enough for food.
The Bottom Line
Clean cappings wax comes from three habits more than any gadget. Drain and wash the honey out, keep the wax in water below 85°C, and filter from coarse to fine after a slow cool. Stick to stainless steel, enamel or aluminum, and store the blocks away from chemicals. For wax going back into the hive, cappings from untreated supers are the best you’ll get.
.jpg)

.jpg)
.jpg)