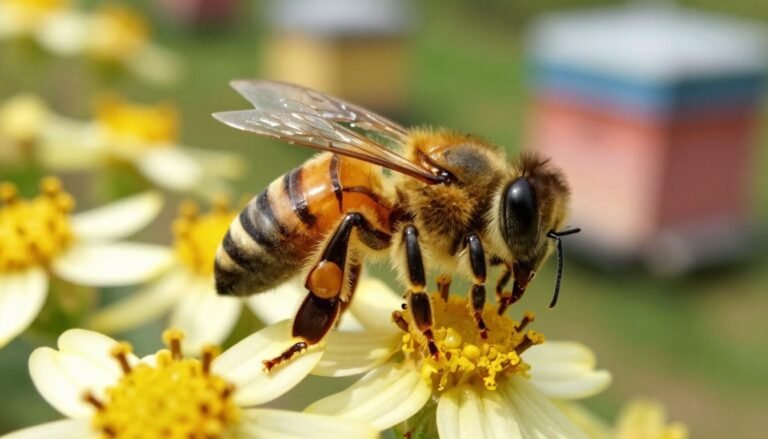
Protecting your hives starts with clear, accurate information. The alcohol wash method is a standard test used by beekeepers to measure varroa mite levels in a sample of bees. This approach gives a reliable snapshot that guides timely treatment decisions and helps prevent colony loss.
Prevention matters. An ounce of prevention often saves a hive. Regular monitoring keeps problems small and manageable, and it supports consistent, effective beekeeping practices across the active season.
The University of Guelph Honey Bee Research Centre offers instructional videos that walk through proper sampling and interpretation. For natural management tips and context on treatment options, see a practical guide on natural remedies for varroa and a detailed primer on understanding mite counts. Consistent vigilance and informed action keep colonies productive and resilient.
Key Takeaways
- Regular monitoring is essential for healthy colonies.
- The alcohol wash gives a precise estimate for treatment planning.
- Use reliable resources, like university guides, for correct technique.
- Act early—small infestations are easier to control.
- Combine monitoring with an IPM strategy for best results.
The Importance of Regular Mite Monitoring
Routine monitoring gives beekeepers the evidence they need before selecting a treatment. Regular checks of varroa provide a clear view of mite levels across the year and help prevent severe mite infestations that can devastate a colony.
Post-treatment checks matter. Always perform monitoring exactly 21 days after the final treatment ends to confirm effectiveness. Comparing pre-treatment and post-treatment levels shows whether your management plan worked.
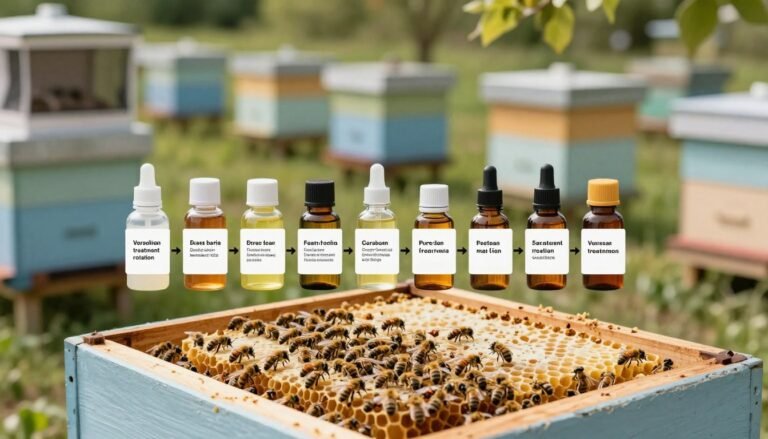
Rotate chemical treatments to reduce the risk of resistance. Varroa can adapt when the same products are used repeatedly. Note that formic acid has a long history of use and no widespread resistance over 30 years, making it a trusted option for many beekeepers.
“Consistent monitoring is the best insurance against unexpected colony losses.”
Tracking trends helps with timing and treatment choices. For guidance on breeding traits that support hygienic behavior and resilience, see predisposition to hygienic behavior in bee.
| Action | When | Purpose |
|---|---|---|
| Routine sampling | Monthly | Track seasonal trends |
| Post-treatment check | 21 days after end | Confirm treatment efficacy |
| Treatment rotation | Each year or per cycle | Prevent resistance |
| Compare counts | Pre & post treatment | Evaluate management plan |
Essential Equipment for the Alcohol Wash Method
Choosing the right tools makes monitoring consistent and reliable. This short kit lets you gather a proper bee sample and get accurate mite levels without fuss.

Selecting Your Supplies
Use a 1/2 cup measuring cup to collect about 300 bees. This cup size gives a statistically useful sample for most hives.
Pick a jar system with a double shaker and fine mesh lid. The mesh separates the mites from the bees when you strain the fluid.
Preparing the Bee Sample
Inspect the chosen frame and avoid taking the queen. Look for a frame with open brood and plenty of nurse bees for a representative sample.
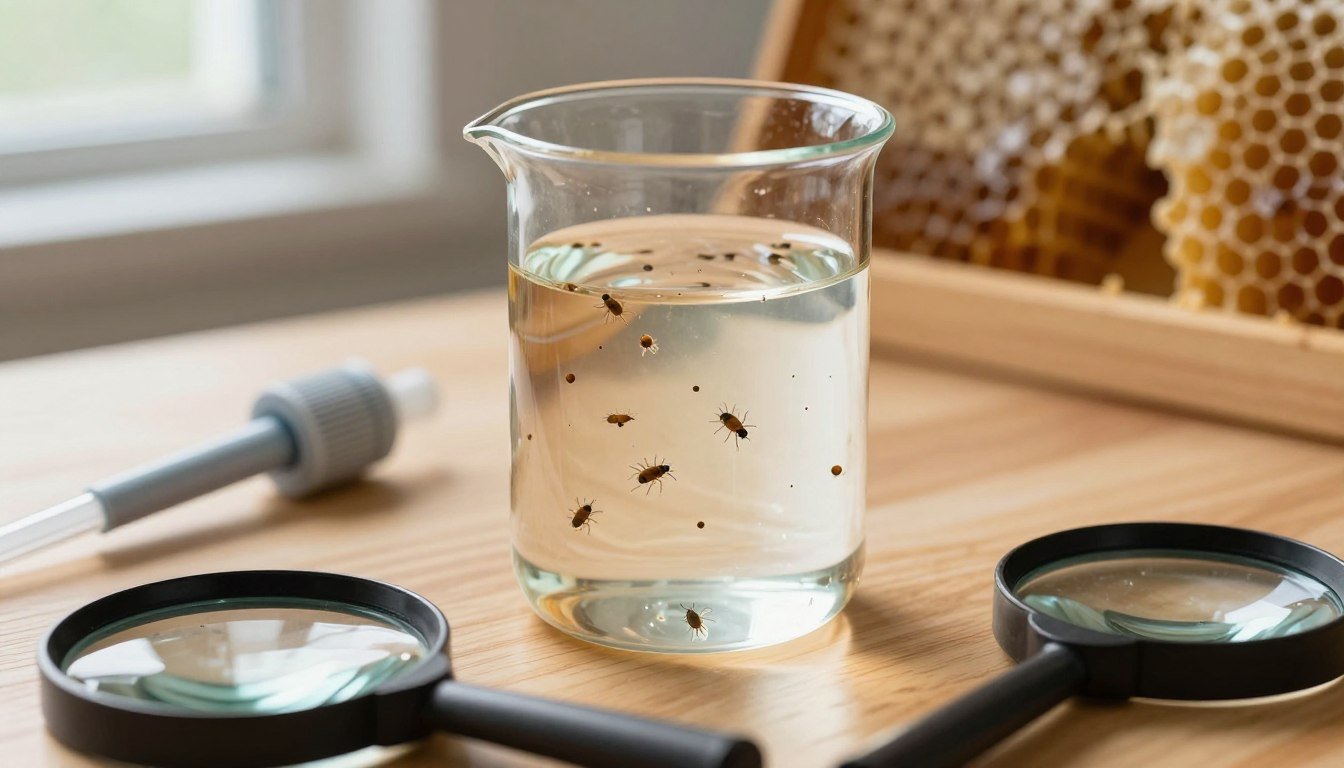
Fill the jar with 95% ethyl alcohol for best results. Windshield washer fluid is a low-cost alternative that many keepers use.
- Swirl the jar for 2–3 minutes to dislodge the varroa mites from bee bodies.
- Ensure the lid mesh is secure before shaking or straining.
- Record the time and hive ID for consistent monitoring data.
| Item | Why it matters | Typical spec |
|---|---|---|
| 1/2 cup measuring cup | Provides ~300 bees per sample | Plastic or metal, marked |
| Double jar shaker with mesh | Separates mites from bee sample | Two jars, fine mesh lid |
| 95% ethyl alcohol | Quickly dislodges mites | High purity or approved substitute |
| Frame selection | Ensures representative bee sample | Open brood, no queen present |
For practical steps and a detailed alcohol washing guide, see this alcohol washing guide.
How to Read an Alcohol Wash Mite Count
A quick formula converts the raw tally from a jar into an actionable level. Use a standard 1/2 cup sample that contains about 300 bees. That figure is the denominator for the math.
Performing the Calculation
Record the number of mites you find after straining the sample. If you count 6 mites in 300 bees, divide 6 by 300 to get 0.02, or 2% infestation.
Another simple trick: with 300 bees, divide the total mites by 3 to find mites per 100 bees. This makes comparisons between hives quick and clear.
Handle the jar with care. Secure the lid before the 2–3 minute swirl. Hold the jar up to the light after straining; that helps you spot small mites in the basin.
- Use a representative frame with open brood when taking a bee sample.
- Write the number of mites, date, and hive ID in your log for trend tracking.
- If your measured level rises above the 1–3% threshold, consider prompt treatment for the hive.
| Sample | Mites | Infestation |
|---|---|---|
| 1/2 cup (~300 bees) | 6 | 2% |
| 1/2 cup (~300 bees) | 3 | 1% |
For broader management tips and improving apiary productivity, visit apiary productivity. Keeping clear records makes your monitoring program confident and consistent.
Interpreting Thresholds and Seasonal Variations
Seasonal swings change acceptable infestation levels and shift treatment timing for active apiaries. Keep monitoring practical and calendar-based so your responses match hive biology.

Spring and Summer Guidelines
From April through July aim for a strict 2% threshold, which equals about 2 mites per 100 bees in a 1/2 cup sample of roughly 300 bees.
Act early. Maintaining this level helps stop mites from multiplying during brood rearing and peak foraging.
Fall Population Spikes
In August through October, natural shifts in brood production raise acceptable levels to about 3%.
Expect higher mite pressure as colonies contract. Robbing of weak colonies in summer can push mites into healthy hives, so keep records and watch trends.
When to Consider Treatment
If you find more than 3 mites per 100 bees, plan a prompt treatment. Delays risk severe infestations and colony loss.
Allow your bees 2–3 days recovery after inspection before applying any treatment. This short rest reduces stress and improves treatment uptake.
- Maintain a 2% threshold in spring and summer to protect brood.
- Adjust management toward a 3% threshold in fall as mite levels rise.
- Log each jar sample and the number mites found for year-round trend tracking.
For detailed treatment thresholds and practical solutions, see treatment threshold guidance.
Conclusion
Simple jar sampling and regular mite monitoring give beekeepers clear information about varroa mite pressure in each colony. Use a proper lid, a 1/2 cup sample and the alcohol wash method to spot rising mite levels early and plan timely treatment.
Keep concise records of the number found, the time and the sample jar used. Track thresholds by season, refine your management each year, and review common beginner beekeeping mistakes in this short guide: beginner beekeeping mistakes. Regular monitoring protects brood, improves hive health and helps you act with confidence.